For 1990-2009 cars only
Removal Procedure

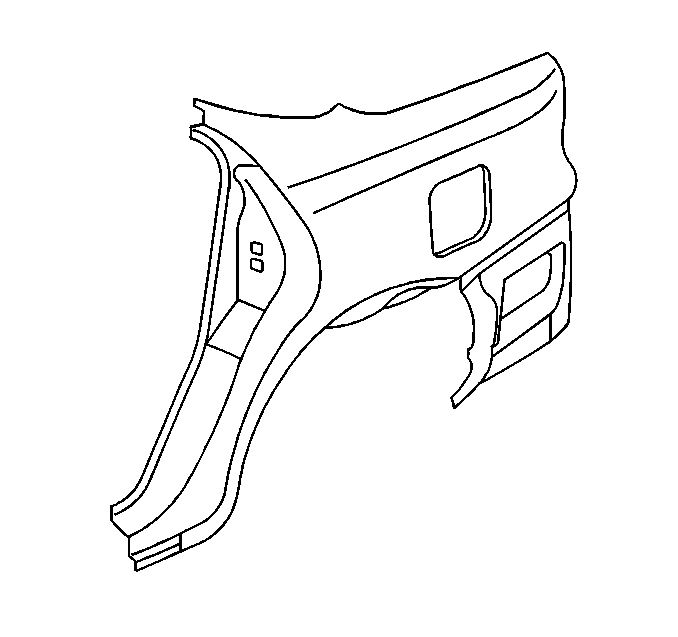
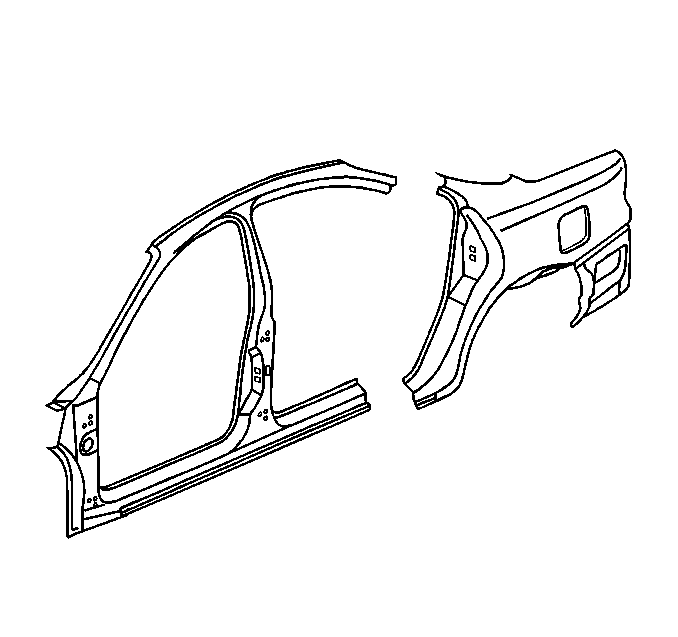
Important: The quarter panel is serviced as a one piece service assembly which includes the lock pillar and the lower rear quarter close-out panel. Replacement of the quarter panel requires removal of the back glass. Due to the manner in which the quarter panel attached to the door frame, a special sectioning procedure has been developed for improved serviceability.
- Remove all related panels and components including the back glass.
- Visually inspect and restore as much of the damage as possible to factory specifications.
- Remove sealers and anti-corrosion materials as necessary.
- Note the size of the service part and locate the sectioning joints at the sail panel and rocker panel accordingly.
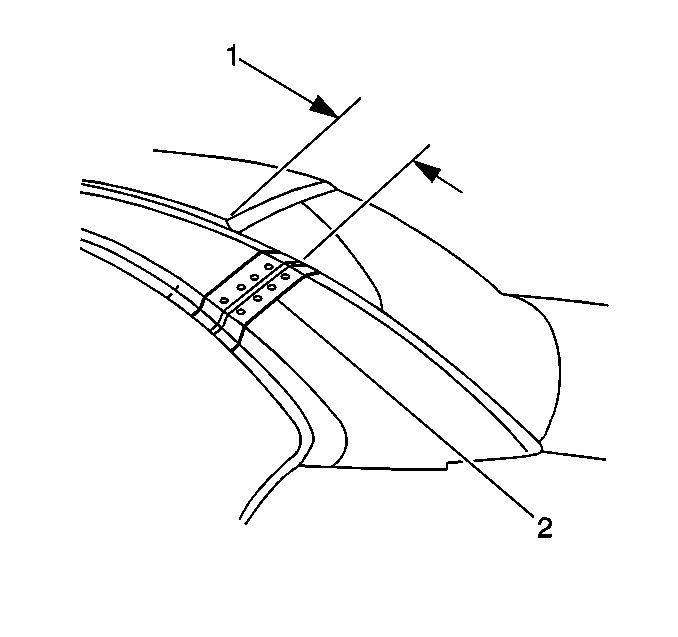
- Measure 50 mm (2 in) down from the factory silicon bronze joint to locate sectioning cut.
- Locate, mark, and drill out all factory welds. Note the number and location of welds for installation of the service assembly.
- Perform additional sectioning procedures as necessary.
- Remove the damaged quarter panel.

Installation Procedure
- Prepare the mating surfaces as necessary.
- Temporarily position the service panel on the vehicle.
- Trim the original panel to leave a gap of one and one-half times the thickness of the metal at the sectioning joint.
- Cut 100 mm (4 in) piece from the original quarter panel for backing plates (2) .
- Remove the flange on each side of the backing plates so that they will fit behind the sectioning joints.
- Drill 8 mm (5/16 in) plug weld holes as necessary in the locations noted from the original panel.
- Drill plug weld holes along the sectioning cuts of the service part. These should be located approximately 25 mm (1 in) from the edge of the cuts.
- Prepare the mating surfaces and position the backing plates with 50 mm (2 in) of the backing plates.
- Check for proper fit and alignment.
- Plug weld accordingly.
- Stitch weld along the entire joints.
- Make 25 mm (1 in) gaps between them.
- Go back and complete the stitch welds. This will create solid joints with minimal heat distortion.
- Complete all other welds and sectioning procedures as necessary.
- Clean and prepare all welded surfaces.
- Prime with two-part catalyzed primer.
- Apply sealers and anti-corrosion materials as necessary.
- Install all related panels and components.

Important: Prior to refinishing, refer to GM 4901MD-99 Refinish Manual for recommended products. Do not combine paint systems. Refer to paint manufacturers recommendations.
