For 1990-2009 cars only
Special Tools
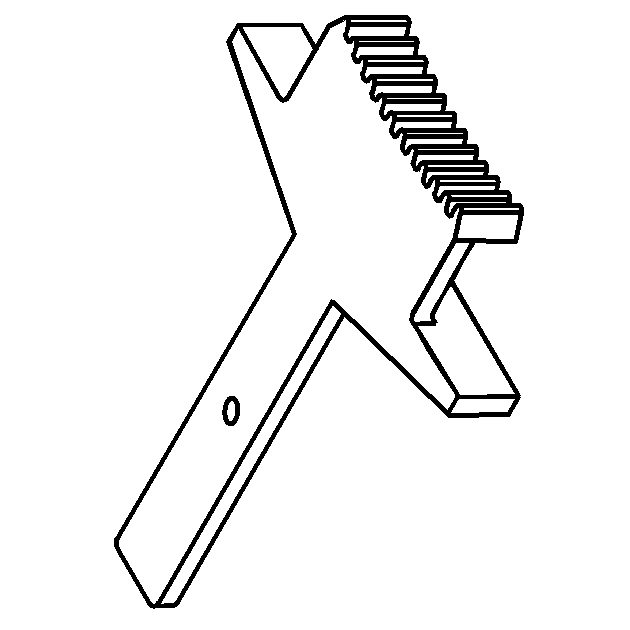
| • | EN 46547 Flywheel Holding Tool |
| • | EN-48034 Harmonic Balancer Installer |
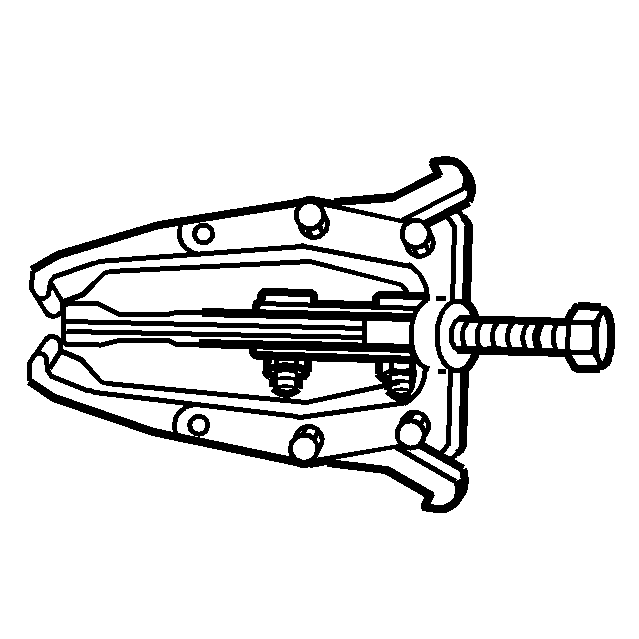
| • | J 41816-A Crankshaft Balancer Remover |
| • | J 41816-2 Crankshaft End Protector |
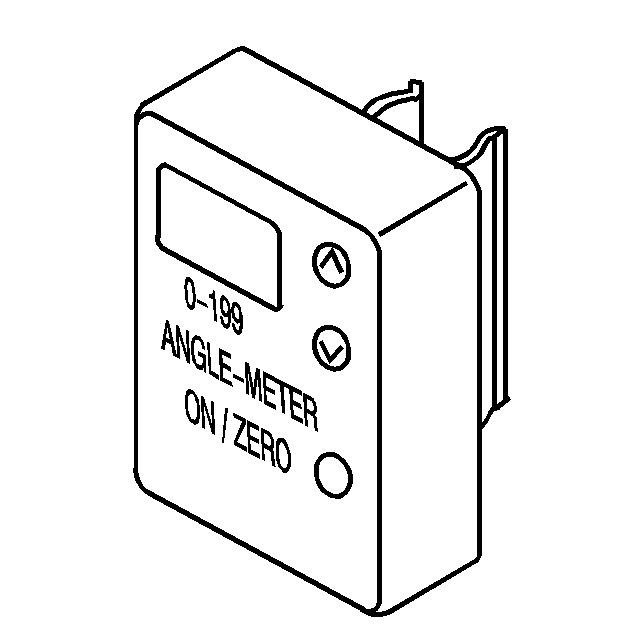
| • | J 45059 Torque Angle Meter |
Removal Procedure
- Remove the radiator. Refer to Radiator Replacement.
- Remove the drive belt. Refer to Drive Belt Replacement.
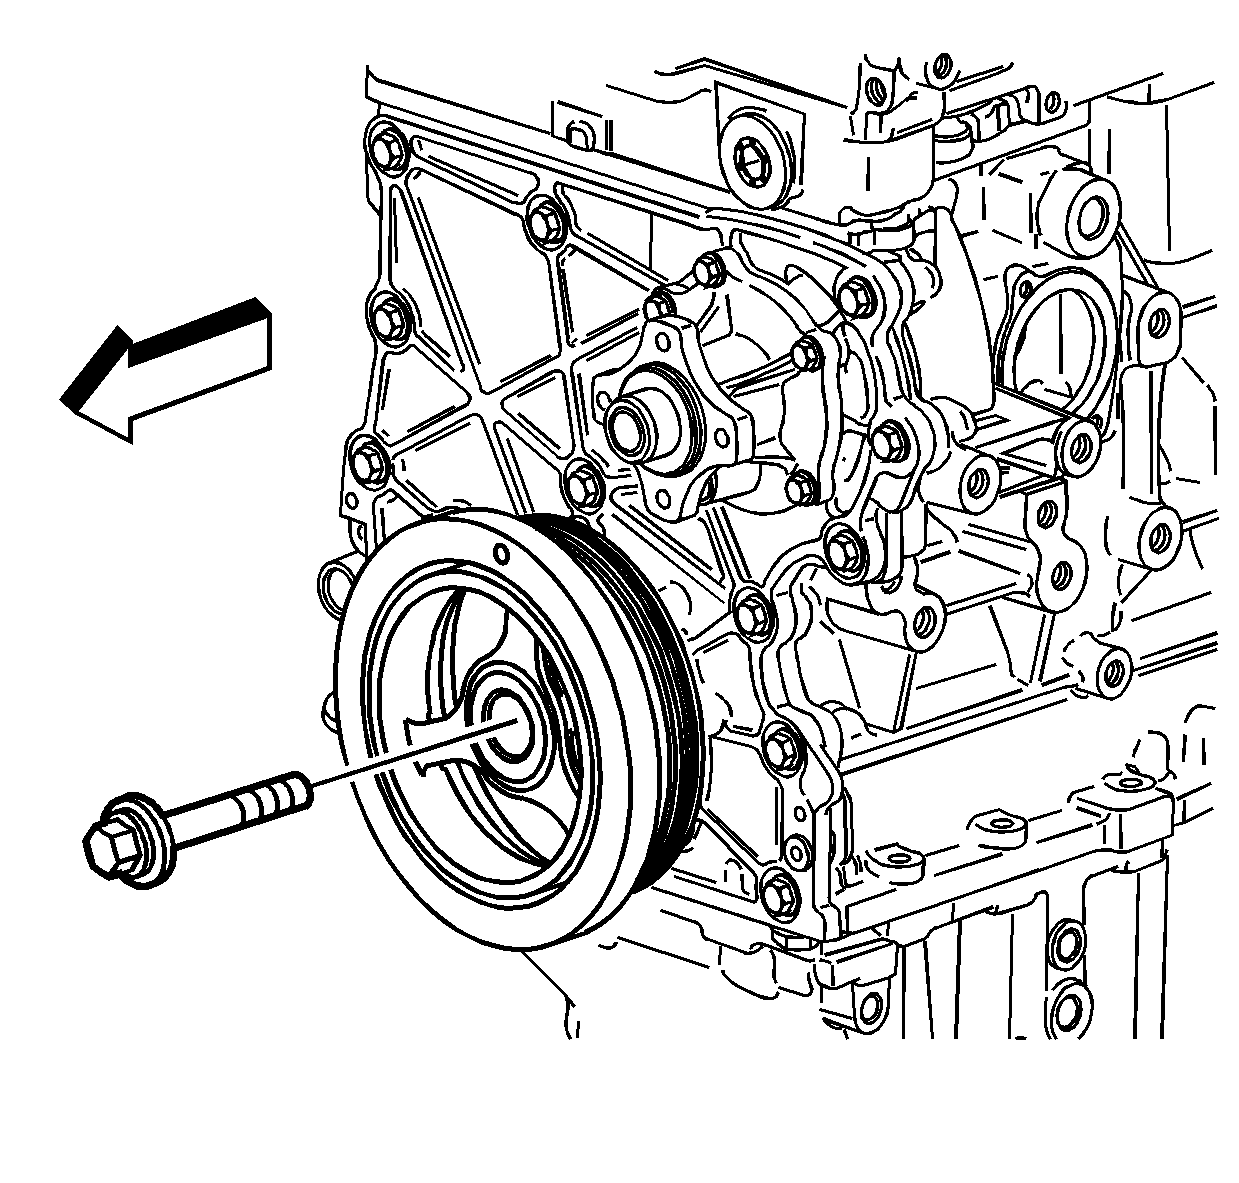
- Carefully loosen and remove the balancer bolt. Discard the bolt.
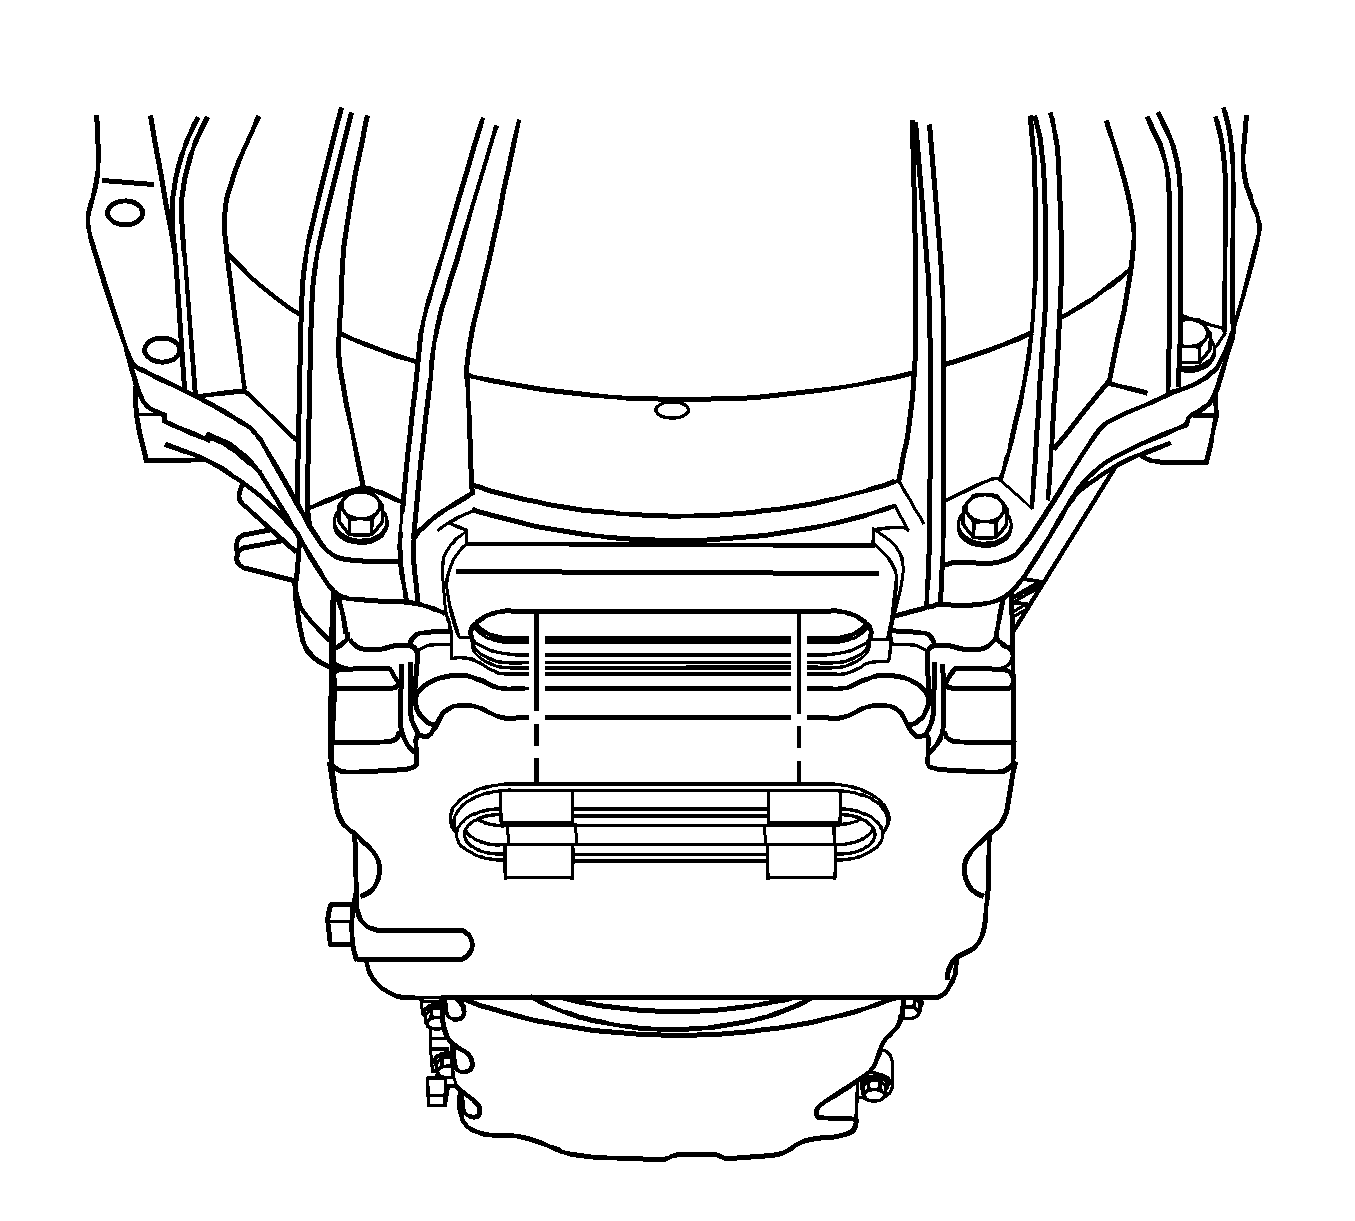
- Remove the service slot plug.
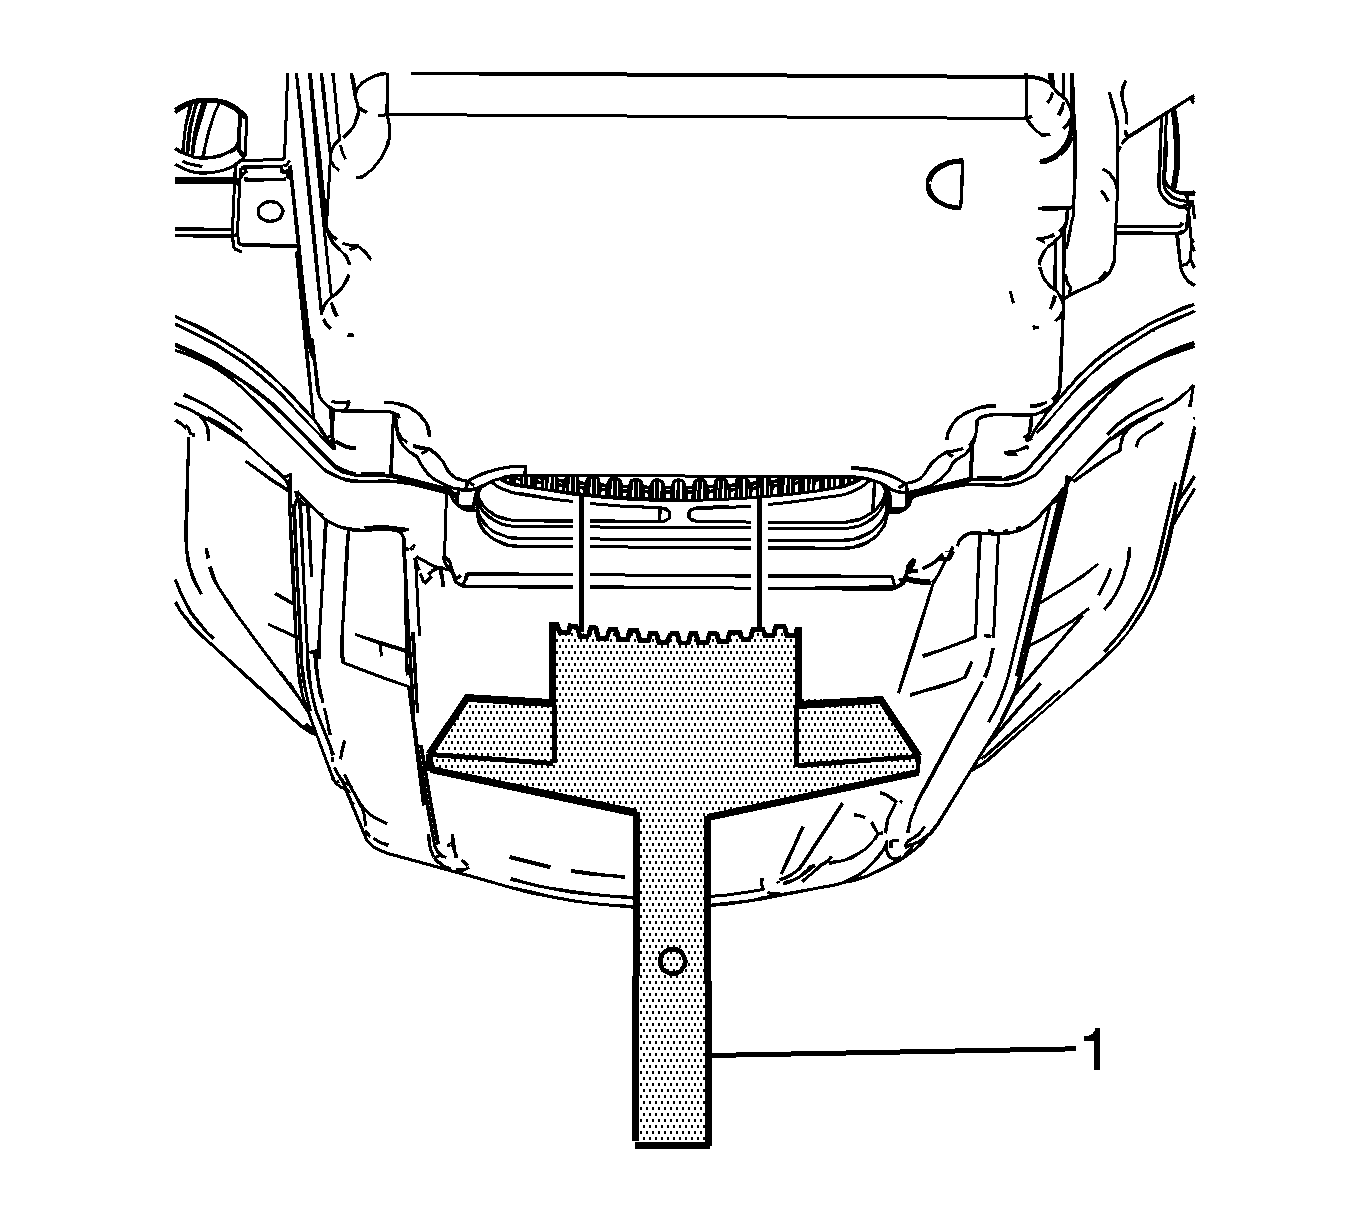
- Install the EN 46547 (1) into the flywheel teeth.
- Lower the vehicle.
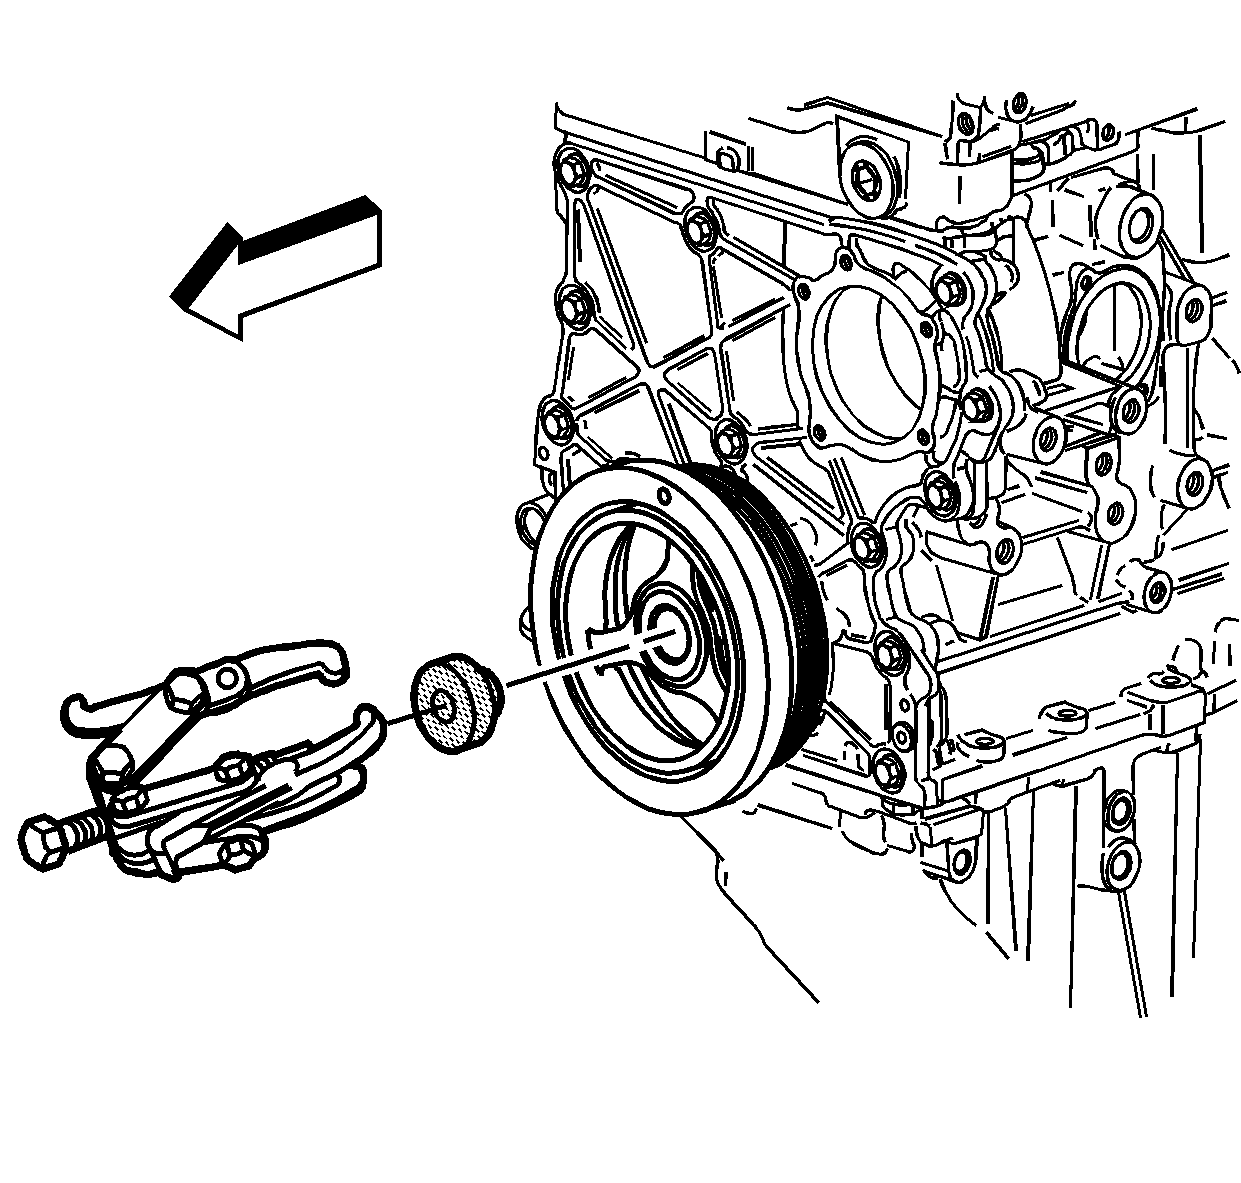
- Install J 41816-2 and J 41816-A to the balancer.
- Remove the crankshaft balancer.
- Remove the puller and the J 41816-A .
- Remove the crankshaft balancer shim from the crankshaft snout.
- Clean and inspect the crankshaft balancer. Refer to Crankshaft Balancer Cleaning and Inspection.
Important: The crankshaft balancer does not have a key-way, and the crankshaft could turn when tightening, causing the improper torque.
Important: Do not pull on outer edge of the crankshaft balancer.
Installation Procedure
- Raise the vehicle. Refer to Lifting and Jacking the Vehicle.
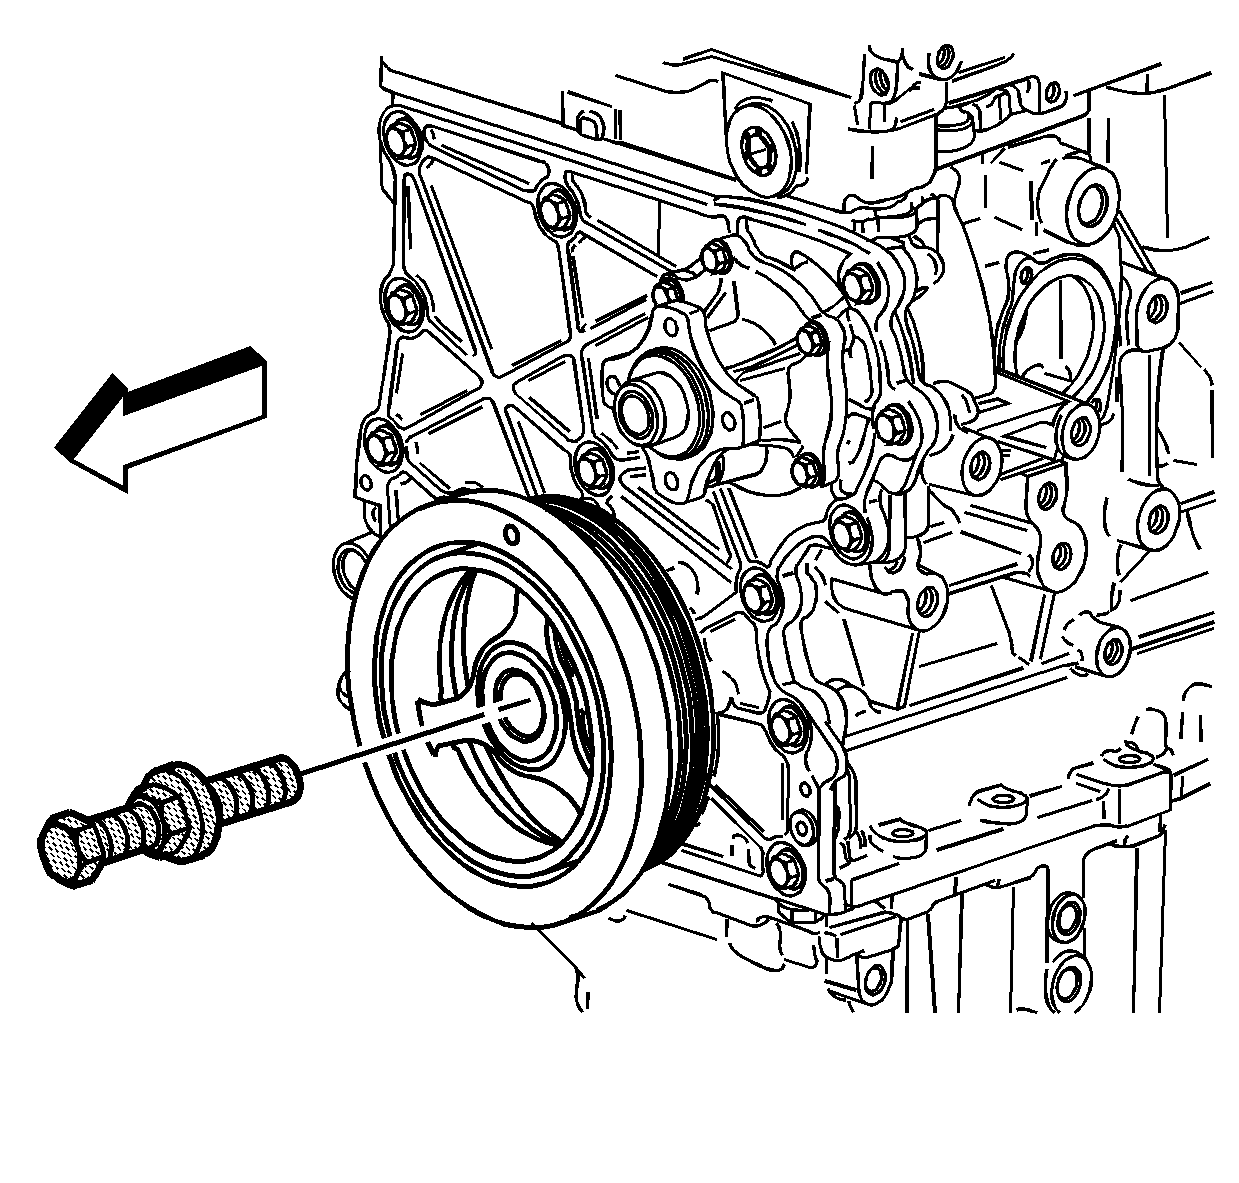
- Install a new crankshaft balancer shim. For 2003 and first design 2004 use GM P/N 12573950 over the crankshaft snout, against the crankshaft gear.
- Using the EN-48034 install and seat the crankshaft balancer.
- Remove the EN-48034 .
- While still holding the flywheel, install the balancer washer and a new bolt.
- Remove the torque converter holding tool.
- Install the torque converter access plug into the oil pan.
- Lower the vehicle.
- Install the drive belt. Refer to Drive Belt Replacement.
- Install the radiator. Refer to Radiator Replacement.
Important: The crankshaft balancer does not have a key-way; so the crankshaft could turn when tightening, causing an improper torque. Make sure to follow the installation procedure to prevent damage.
For second design 2004 and after use GM P/N 12578073. Service replacement balances will come with the correct shim.
Notice: Refer to Fastener Notice in the Preface section.
Tighten
Tighten the crankshaft balancer bolt to 150 N·m (110 lb ft). Use the
J 45059
in order to tighten the balancer bolt an additional 180 degrees.