For 1990-2009 cars only
Tools Required
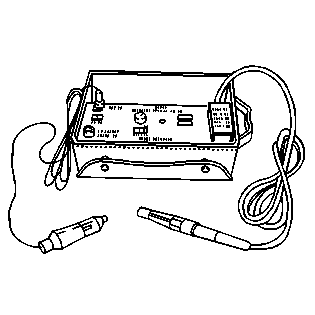
| • | J 39400-A Halogen Leak Detector |
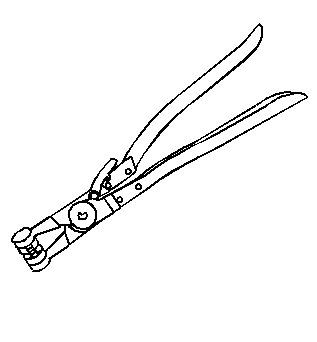
| • | J 38185 Hose Clamp Pliers |
Removal Procedure
Important: Cap or tape the open air conditioning (A/C) components immediately in order to prevent system contamination.
- Recover the refrigerant. Refer to Refrigerant Recovery and Recharging .
- Remove the left rear quarter trim panel.
- Drain the cooling system. Refer to Cooling System Draining and Filling .
- Raise and support the vehicle. Refer to Lifting and Jacking the Vehicle .
- Remove the level ride air compressor. Refer to Air Compressor Replacement .
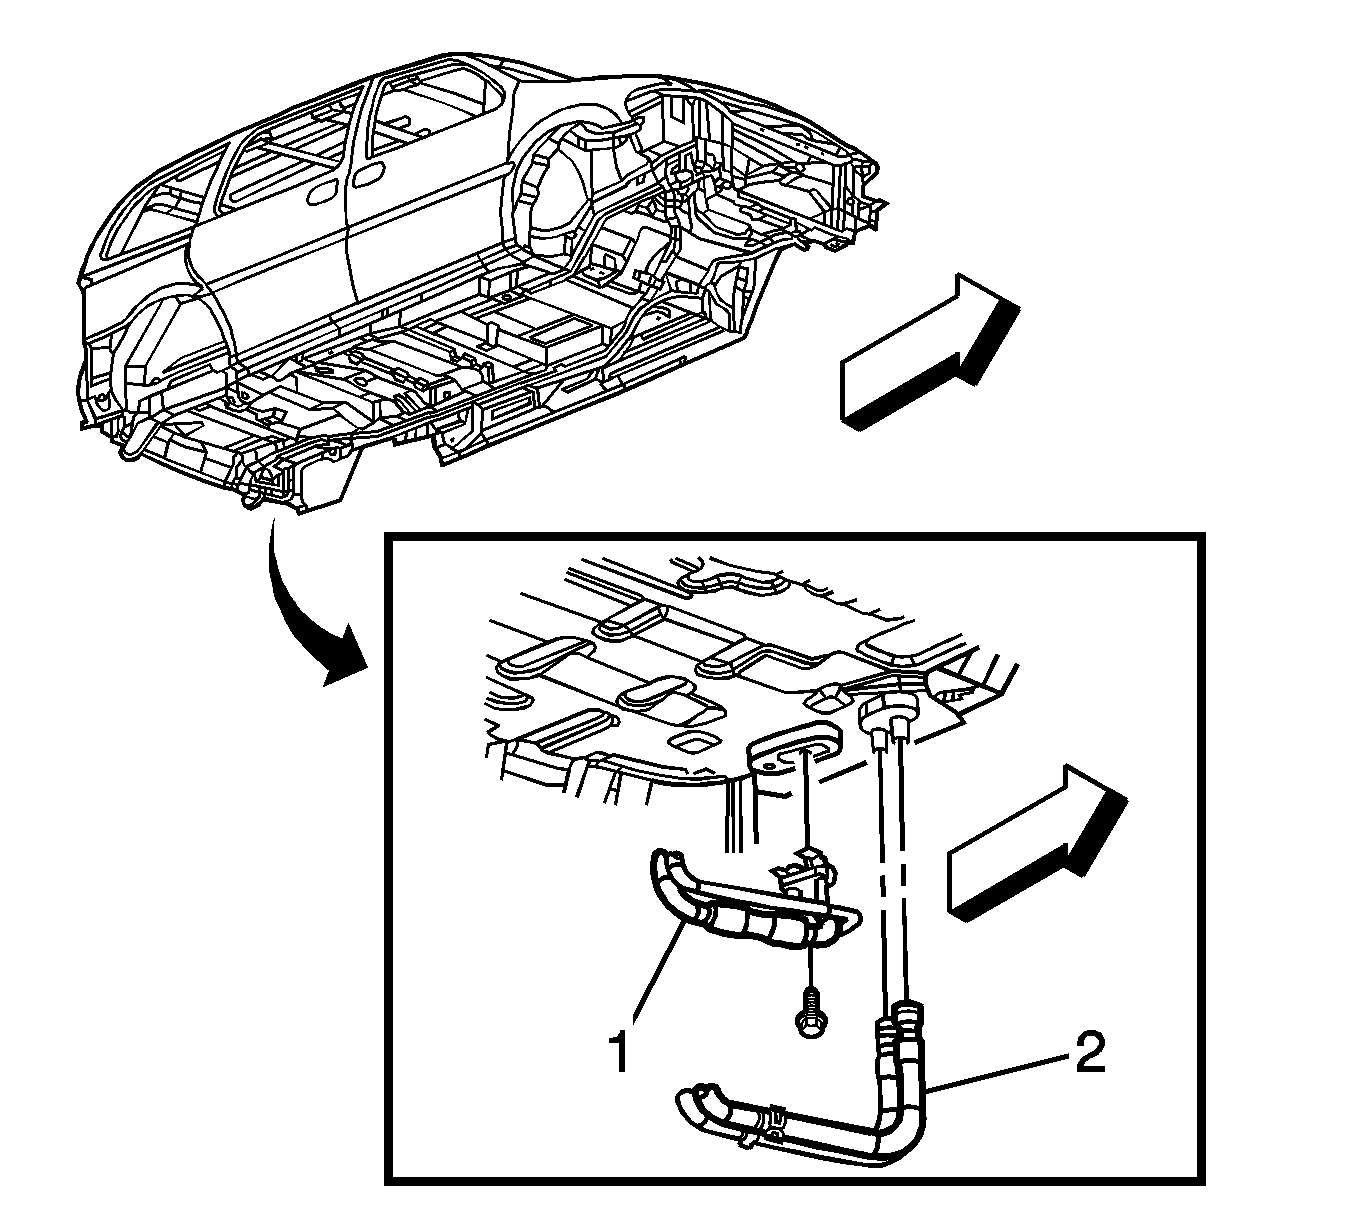
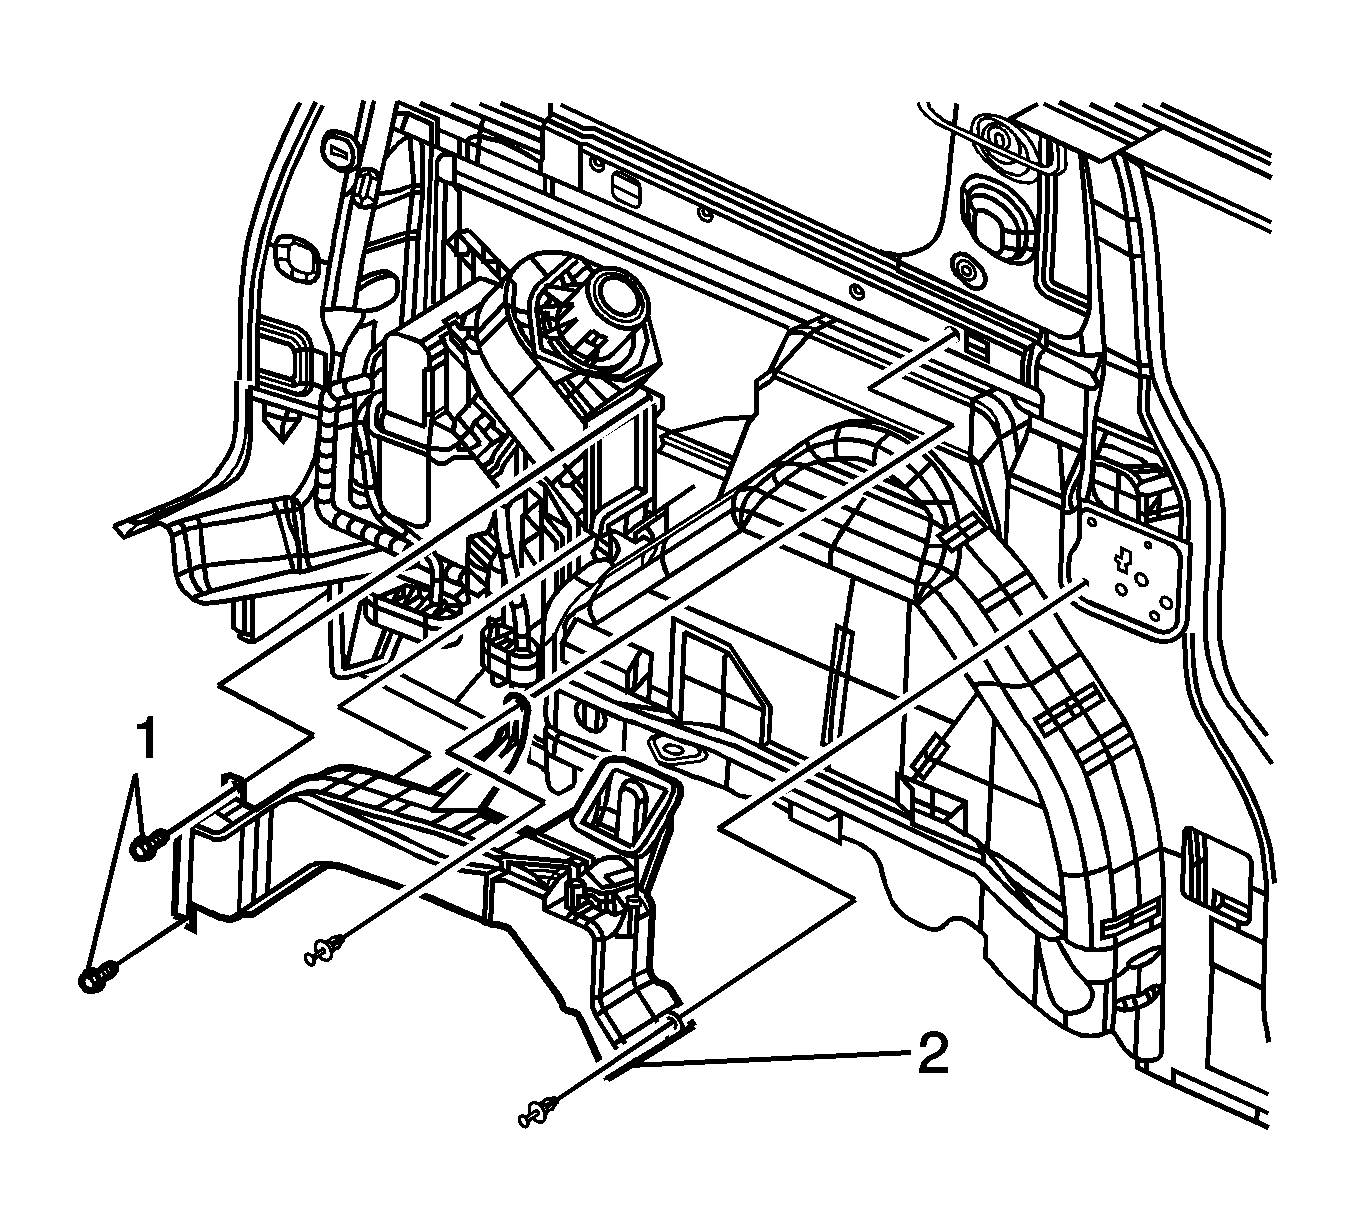
- Remove the auxiliary A/C line block fitting bolt.
- Remove the A/C line (1) block fitting.
- Remove and discard the sealing washers.
- Cap or tape the A/C lines.
- Disconnect the auxiliary heater hoses (2) from the heater core pipes using the J 38185 .
- Lower the vehicle.
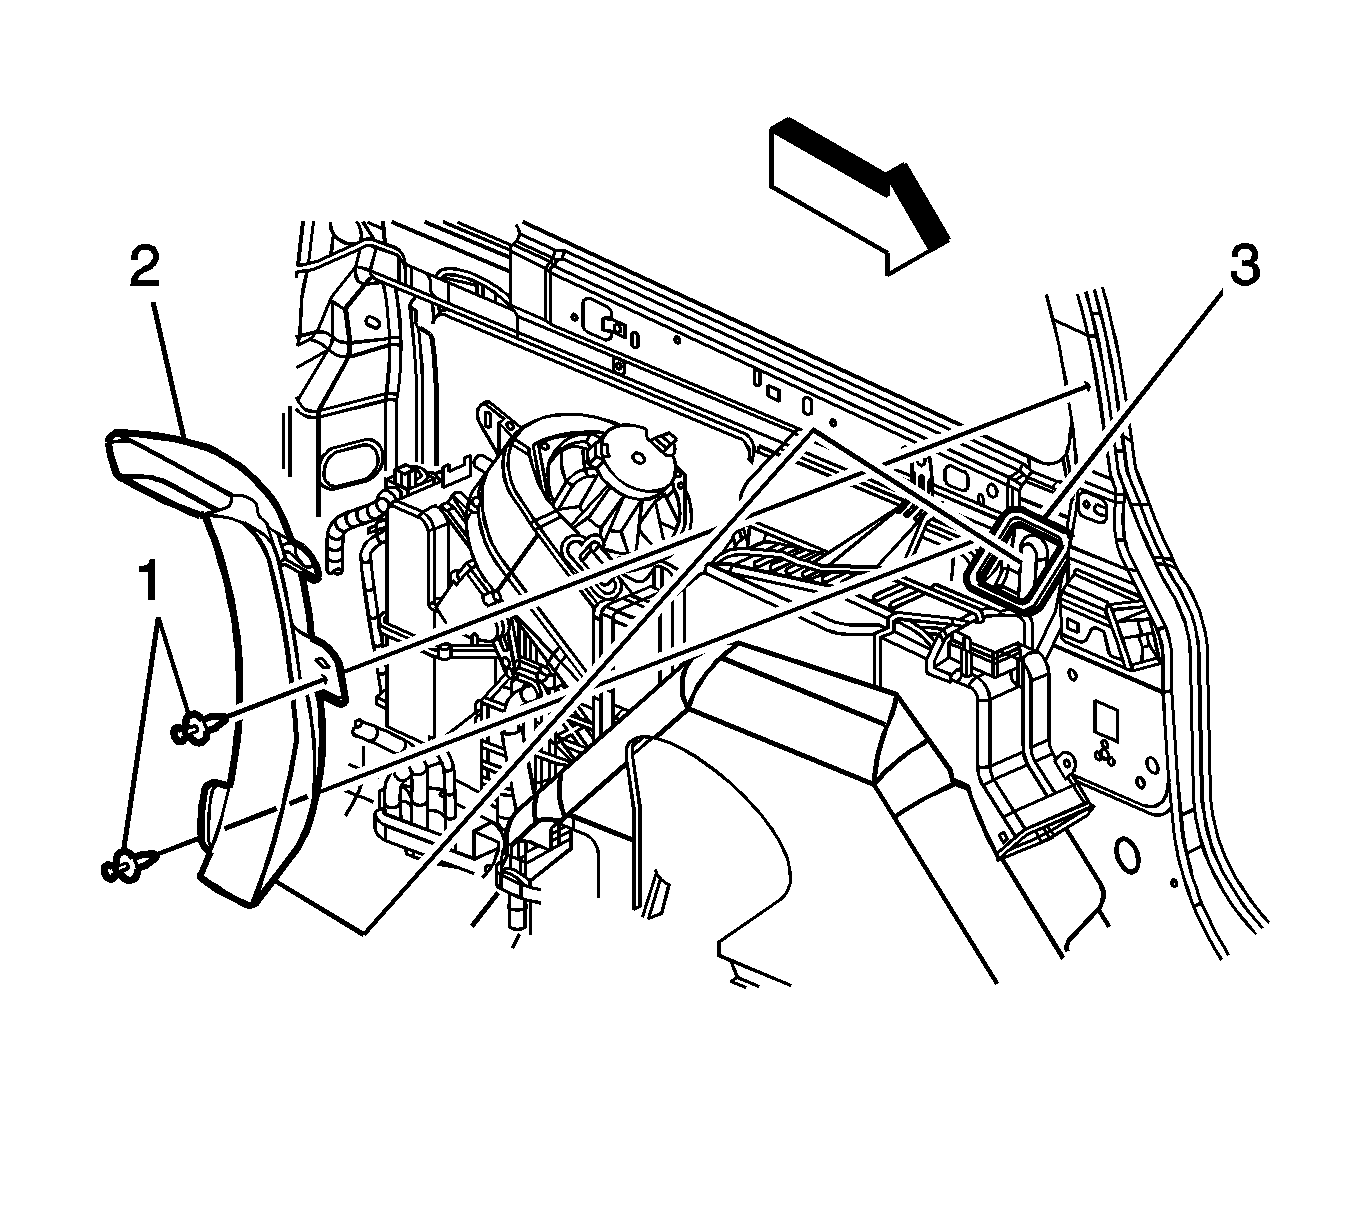
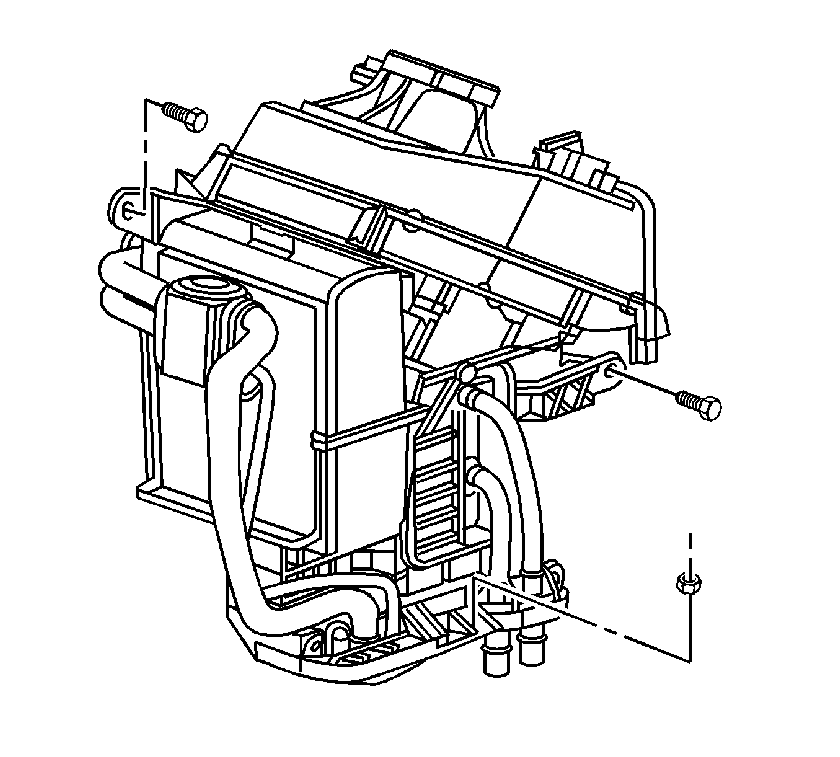
- Remove the auxiliary A/C outlet pillar duct bolts (1).
- Remove the auxiliary A/C outlet pillar duct (2).
- Remove the auxiliary A/C outlet duct bolts (1).
- Remove the auxiliary A/C outlet duct (2).
- Disconnect the auxiliary blower motor electrical connector.
- Disconnect the auxiliary blower motor resistor electrical connector.
- Disconnect the auxiliary temperature actuator electrical connector.
- Remove the HVAC module assembly bolts and nut.
- Remove the left power sliding door (PSD) module from the mounting bracket and reposition aside, if equipped.
- Remove the HVAC module assembly from the vehicle.
- Remove and discard the HVAC module assembly to body seals.
Installation Procedure
- Install new HVAC module assembly to body seals.
- Install the HVAC module assembly to the vehicle.
- Install the HVAC module assembly bolts and the nut.
- Install the left PSD module to the mounting bracket.
- Connect the auxiliary temperature actuator electrical connector.
- Connect the electrical connector to the auxiliary blower motor resistor.
- Connect the auxiliary blower motor electrical connector.
- Install the auxiliary A/C outlet duct (2).
- Install the auxiliary A/C outlet duct bolts (1).
- Install the auxiliary A/C outlet pillar duct (2).
- Install the auxiliary A/C outlet pillar duct bolts (1).
- Raise and suitably support the vehicle.
- Connect the auxiliary heater hoses (2) to the heater core pipes.
- Remove the cap or tape from the A/C lines.
- Install the new sealing washers onto the A/C line. Refer to Sealing Washer Replacement .
- Install the auxiliary A/C line (1) block fitting bolt.
- Install the level ride air compressor. Refer to Air Compressor Replacement .
- Lower the vehicle.
- Fill the cooling system. Refer to Cooling System Draining and Filling .
- Evacuate and recharge the A/C system. Refer to Refrigerant Recovery and Recharging .
- Leak test the fittings of the component using J 39400-A .
- Install the left rear quarter trim panel.
- Refer to Control Module References for programming and setup information.
Notice: Refer to Fastener Notice in the Preface section.
Tighten
Tighten the bolts/nut to 10 N·m (89 lb in).
Tighten
Tighten the bolts to 10 N·m (89 lb in).
Tighten
Tighten the bolts to 10 N·m (89 lb in).
Tighten
Tighten the bolt to 20 N·m (15 lb ft).
