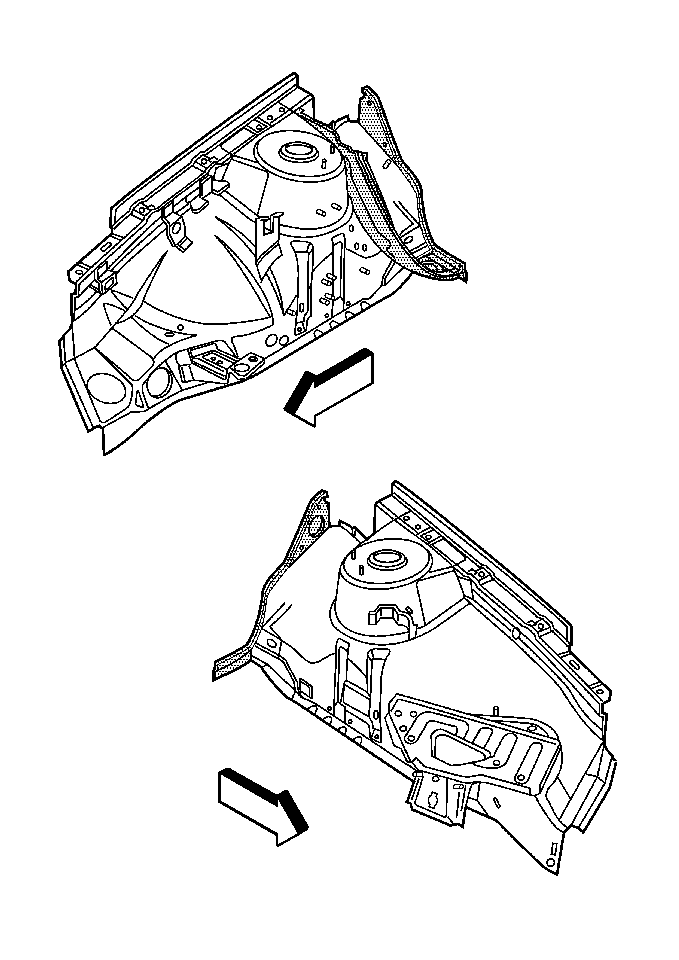
The front wheelhouse is available as a complete assembly, which includes the inner upper rail and battery tray.
Important:
• Perform the following steps when replacing the complete assembly: - Remove the extension that is spot welded at the rear of the service
assembly in order to modify the left side. - Modify slightly the right side. - Remove the 2 extensions that are welded at the rear of the service
assembly in order to avoid breaking the urethane seal at the dash panel (bulk
head). • Don't replace the entire wheelhouse assembly when damage is limited
to the front portion of the wheelhouse. Use the sectioning procedure.
Removal Procedure
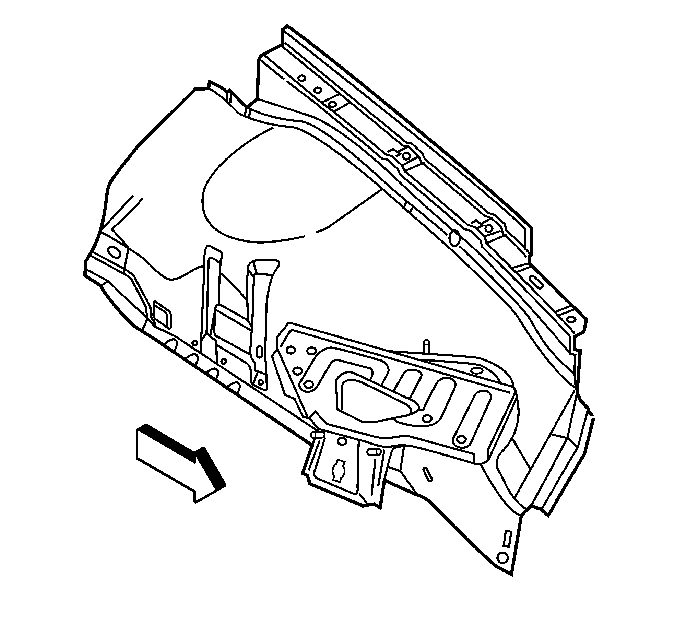
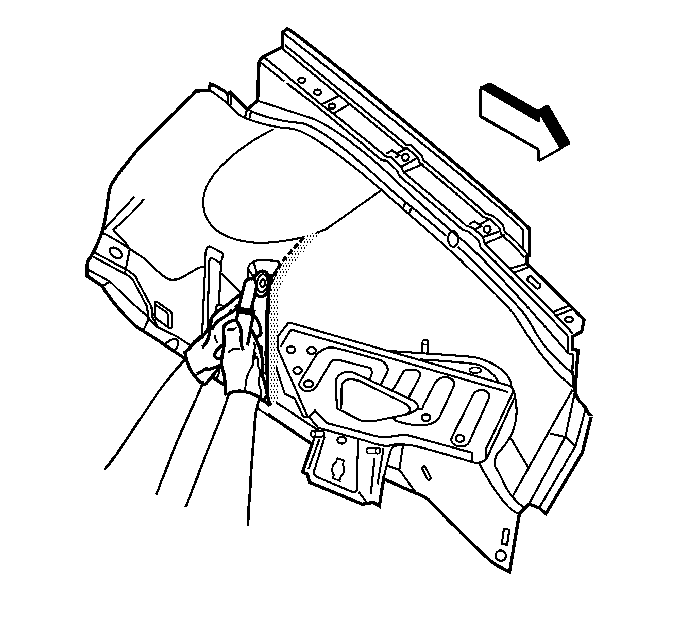
- Remove all related panels and components to gain access to the front wheelhouse.
- Visually inspect the damaged area.
- Restore as much of the damage as possible to factory specifications.
- Remove the sealers and anti-corrosion materials as necessary.
- Remove the inner and outer upper rails.
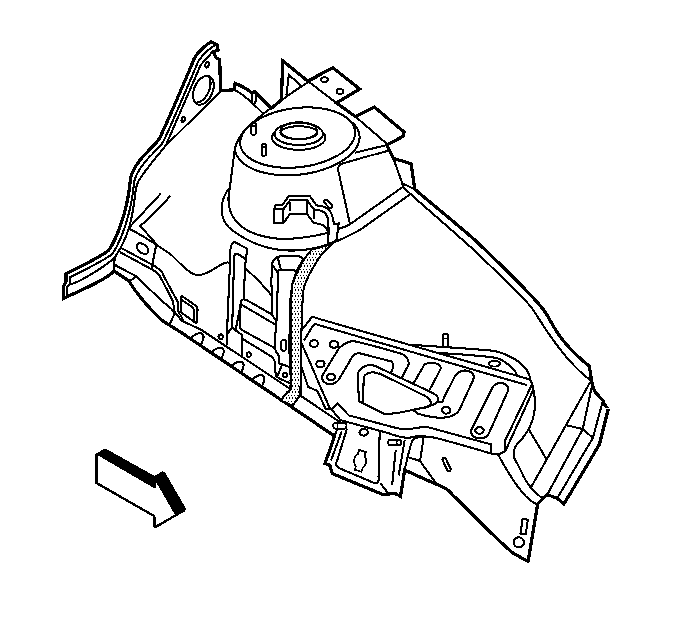
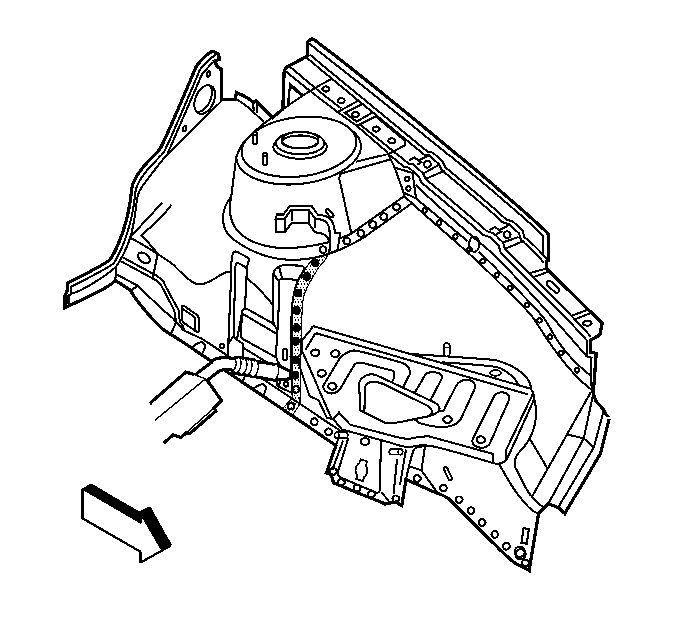
- Apply 25 mm (1 in) wide tape along the forward edge of the panel stiffener.
- Locate all factory welds.
- Mark all factory welds.
- Drill out all factory welds.
- Cut the wheelhouse at the forward edge of the tape to create a 25 mm (1 in) weld flange for installation.
- Remove the damaged wheelhouse.
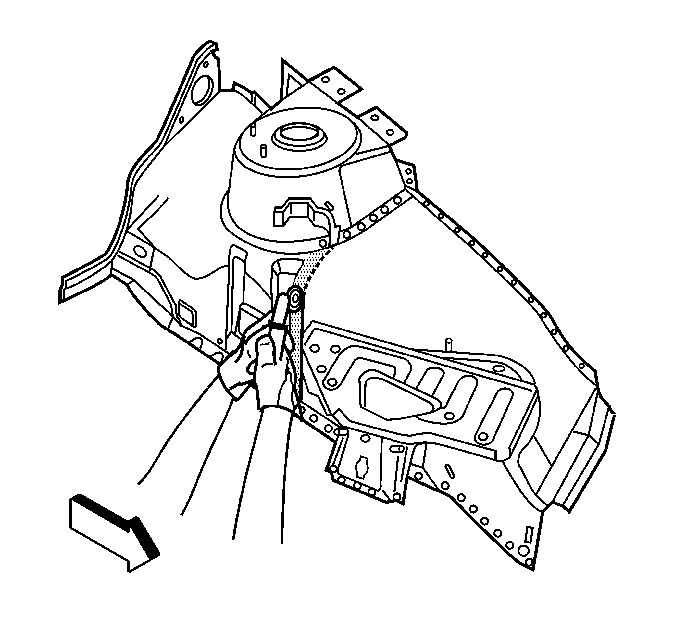
Important: Note the number and location of welds for installation of the service assembly.
Installation Procedure
Tools Required
3D Measuring Equipment
- Apply 25 mm (1 in) wide tape to the service wheelhouse at the forward of the panel stiffener.
- Cut the service wheelhouse rear of the tape
- Remove and discard the unused portion of the service wheelhouse.
- Drill 8 mm (0.31 in) plug weld holes as necessary in the locations noted from the original assembly
- Use 3D Tool in order to measure alignment of service wheelhouse in order to ensure proper fit.
- Plug weld holes as necessary.
- Clean and prepare all welded surfaces.
- Prime with two-part catalyzed primer to all welded surfaces.
- Apply sealer and anti-corrosion materials to all welded surfaces as necessary.
- Install all related panels and components.
| • | Create a 25 mm (1 in) overlap for plug welding |
| • | Leave the inner upper rail attached |
Important: Locate holes for plug welding 40 mm (1.5 in) apart if the original locations are damaged beyond recognition or a new weld flange is created.
Important: Do not combine paint systems. Refer to paint manufacturer's recommendations.
