For 1990-2009 cars only
Removal Procedure
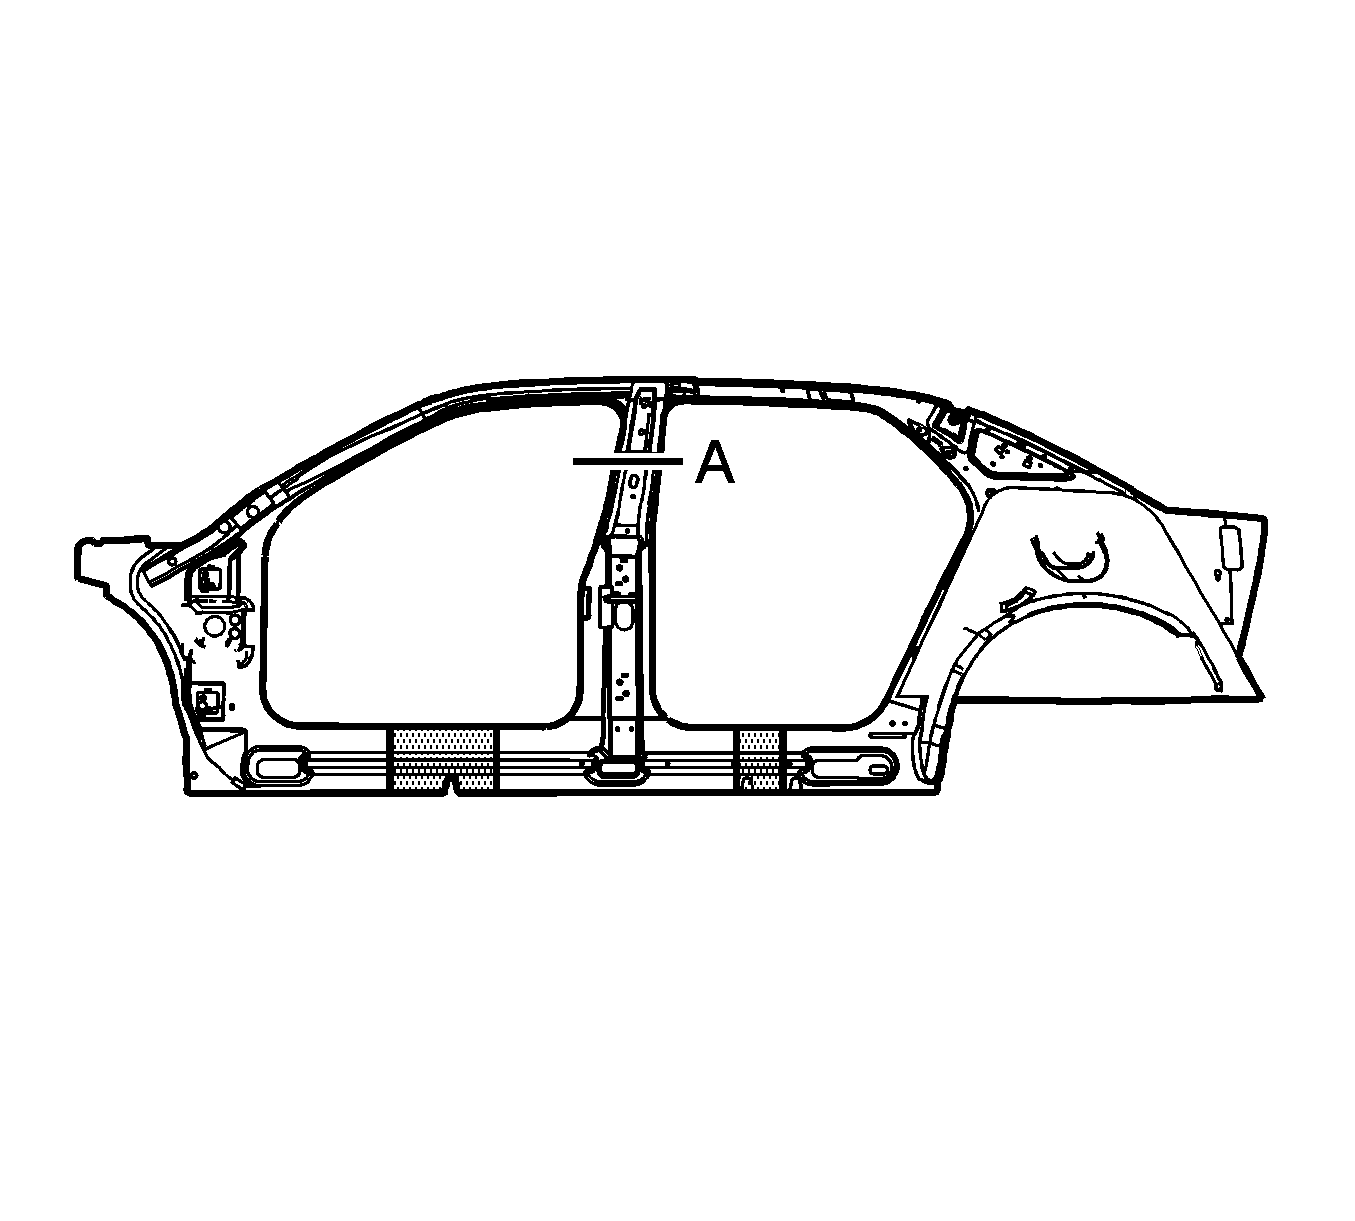
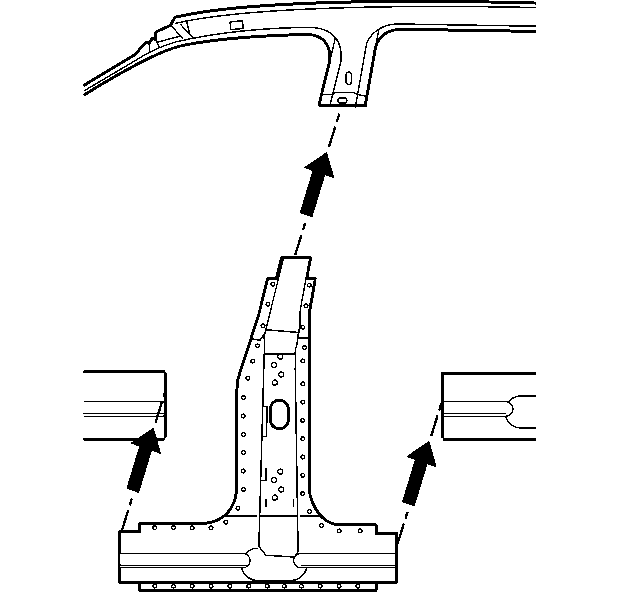
- The body side inner panel is available in one piece. Sectioning must take place in specified areas only.
- Disable the SIR system. Refer to SIR Disabling and Enabling .
- Disconnect the negative battery cable. Refer to Battery Negative Cable Disconnection and Connection .
- Remove the sealers and anti-corrosion materials from the repair area, as necessary and note their location. Refer to Anti-Corrosion Treatment and Repair .
- Remove any structural foam as necessary from between the inner rocker panel and the lock pillar-inner. Refer to Structure Foam Replacement .
- Repair as much of the damaged area as possible. Refer to Dimensions - Body .
- At the center pillar, locate the top round attachment hole (a).
- From the bottom of the round attachment hole (a), measure down 25 mm (1 in). Scribe a line.
- Measure from any key feature in the panel. Lay out the cut line location on the inner body side panel.
- Create cut lines on the rocker panel within the approved sectioning locations as needed.
- Cut the panel at the inner center pillar where the lay out line was scribed.
- Cut the panel at the rocker panel area where sectioning is to be performed, within the straight sections only.
- Locate and drill out all factory welds. Note the number and location of welds for installation of the service part.
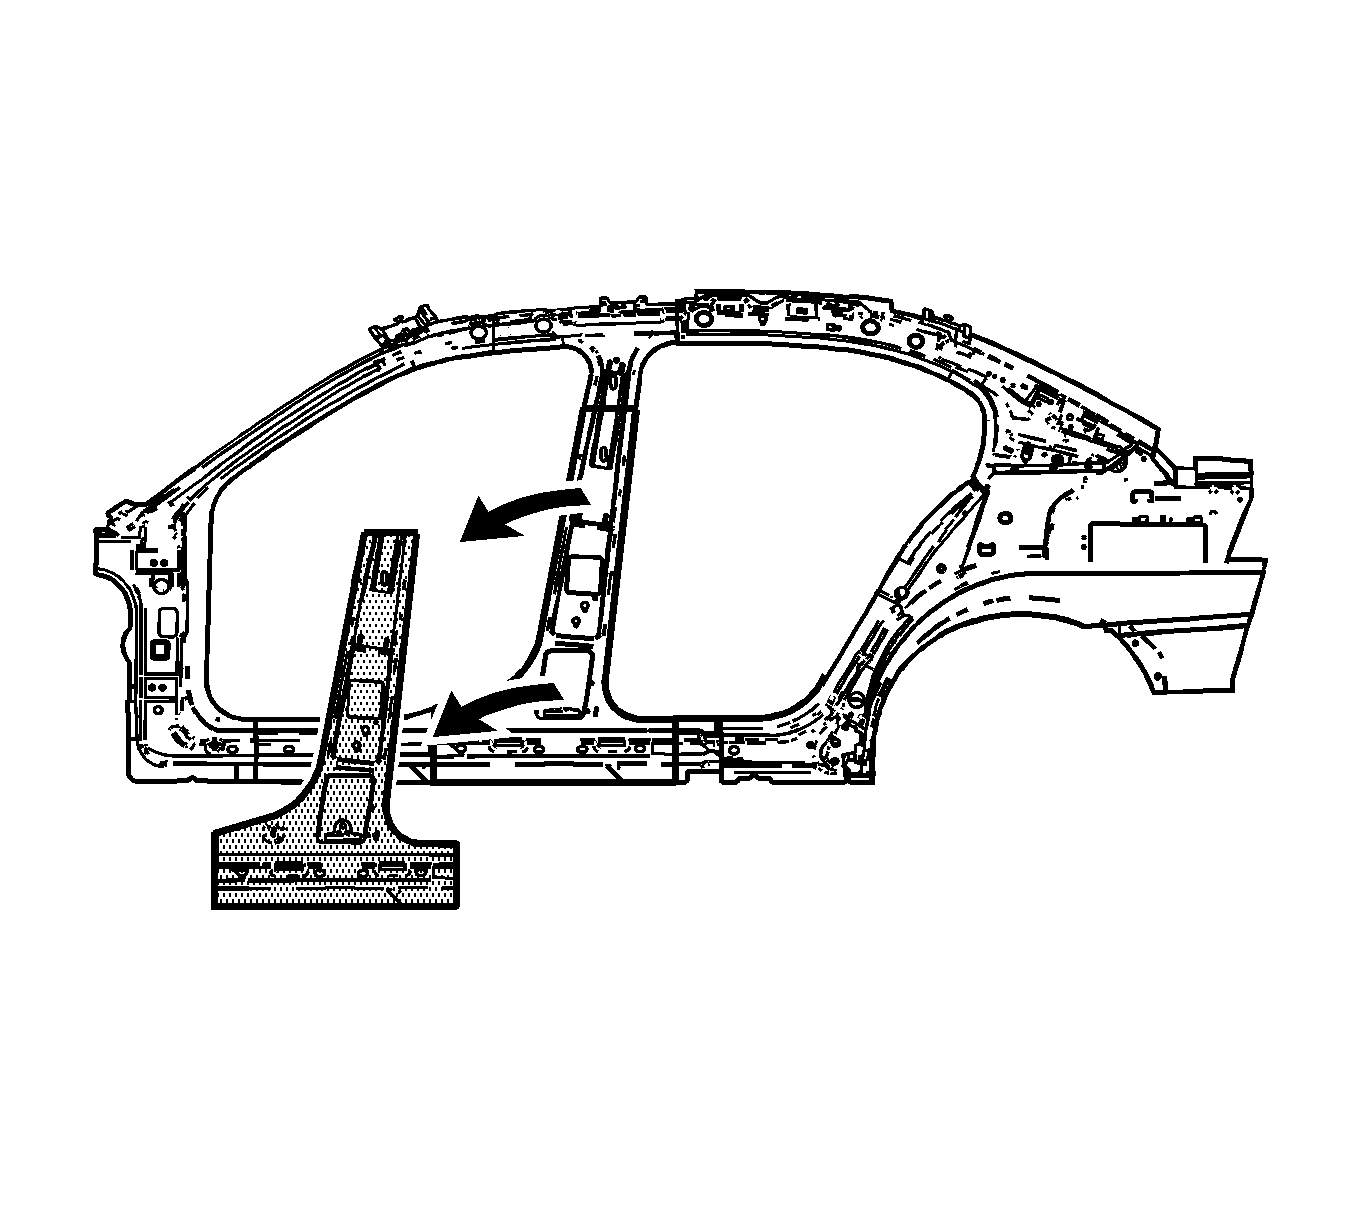
- Remove the damaged center pillar.
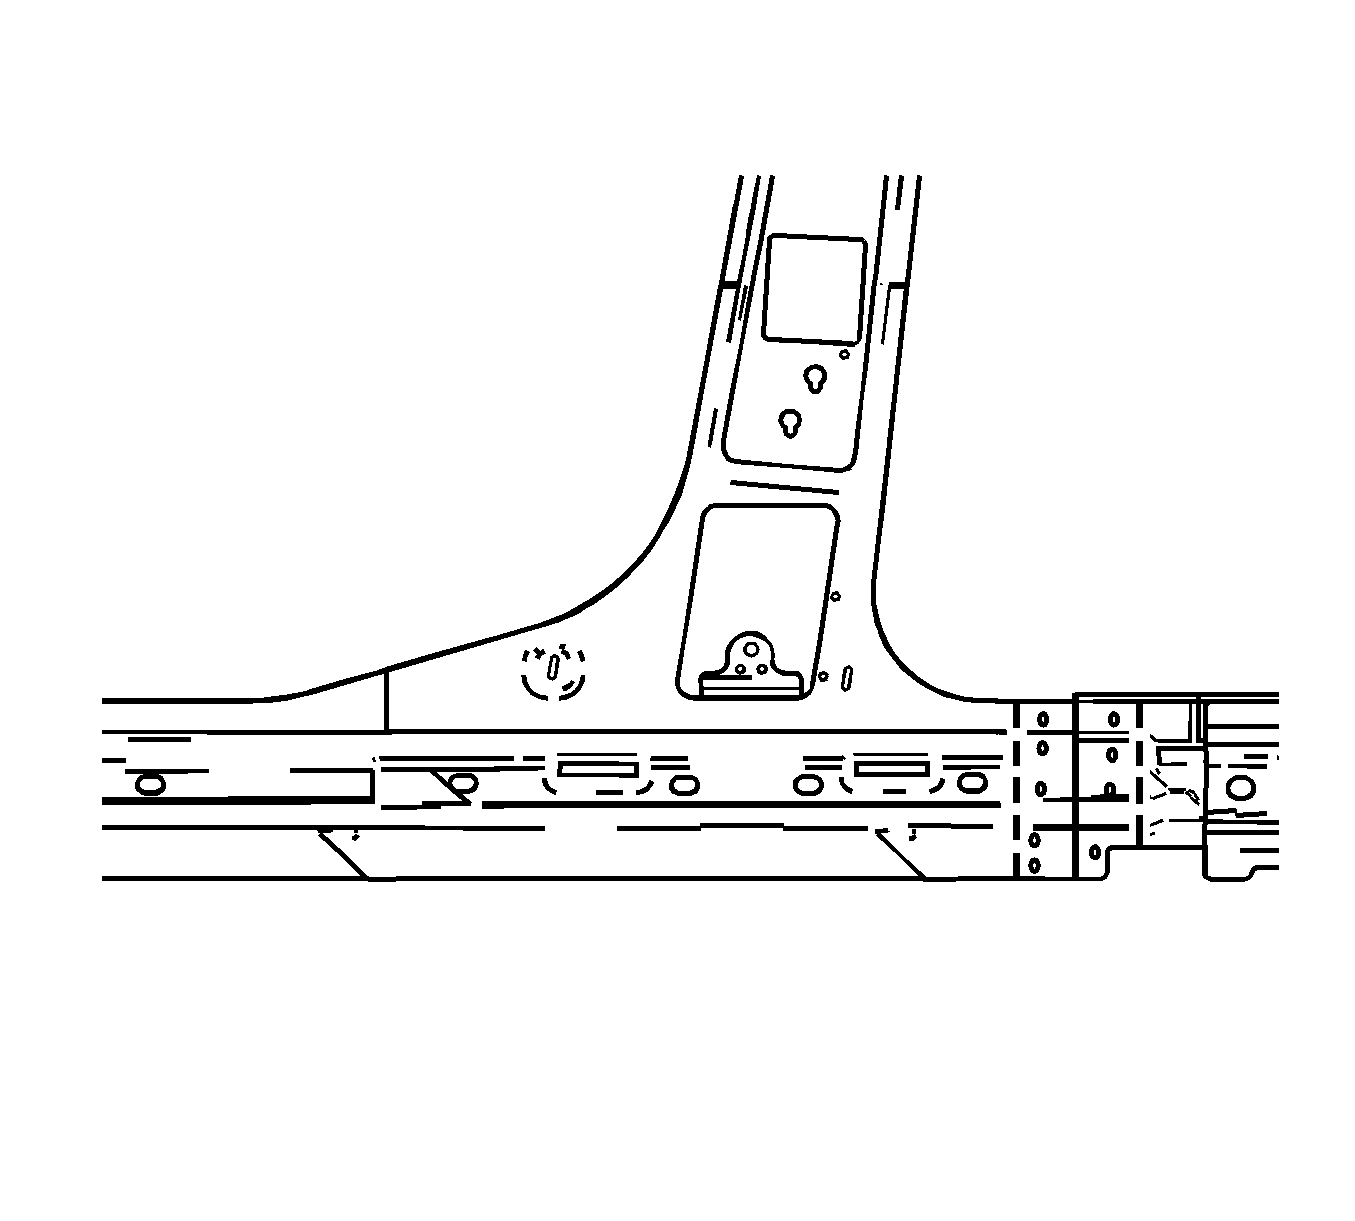
- Cut the B-pillar at the bottom of the roundhole. This will allow a 25 mm (1 in) overlap to the vehicle for welding.
- Notch the weatherstrip flange to prevent excessive metal thickness in these areas.
- In the front and rear door rocker areas of service part, scribe vertical cut lines to allow 50 mm (2 in) overlap of original cut lines on the vehicle.
- Drill 8 mm (5/16 in) plug weld holes every 40 mm (1 5/8 in) along the rocker overlaps, 25 mm (1 in) from the edge of the overlap. On the B-pillar, drill weld holes 10 mm (7/16 in) from the edge.
- Drill 8 mm (5/16 in) plug weld holes on the weld flanges as noted from original panel.
Caution: Refer to Approved Equipment for Collision Repair Caution in the Preface section.
Caution: Sectioning should be performed only in the recommended areas. Failure to do so may compromise the structural integrity of the vehicle and cause personal injury if the vehicle is in a collision.
Remove all related panels and components.

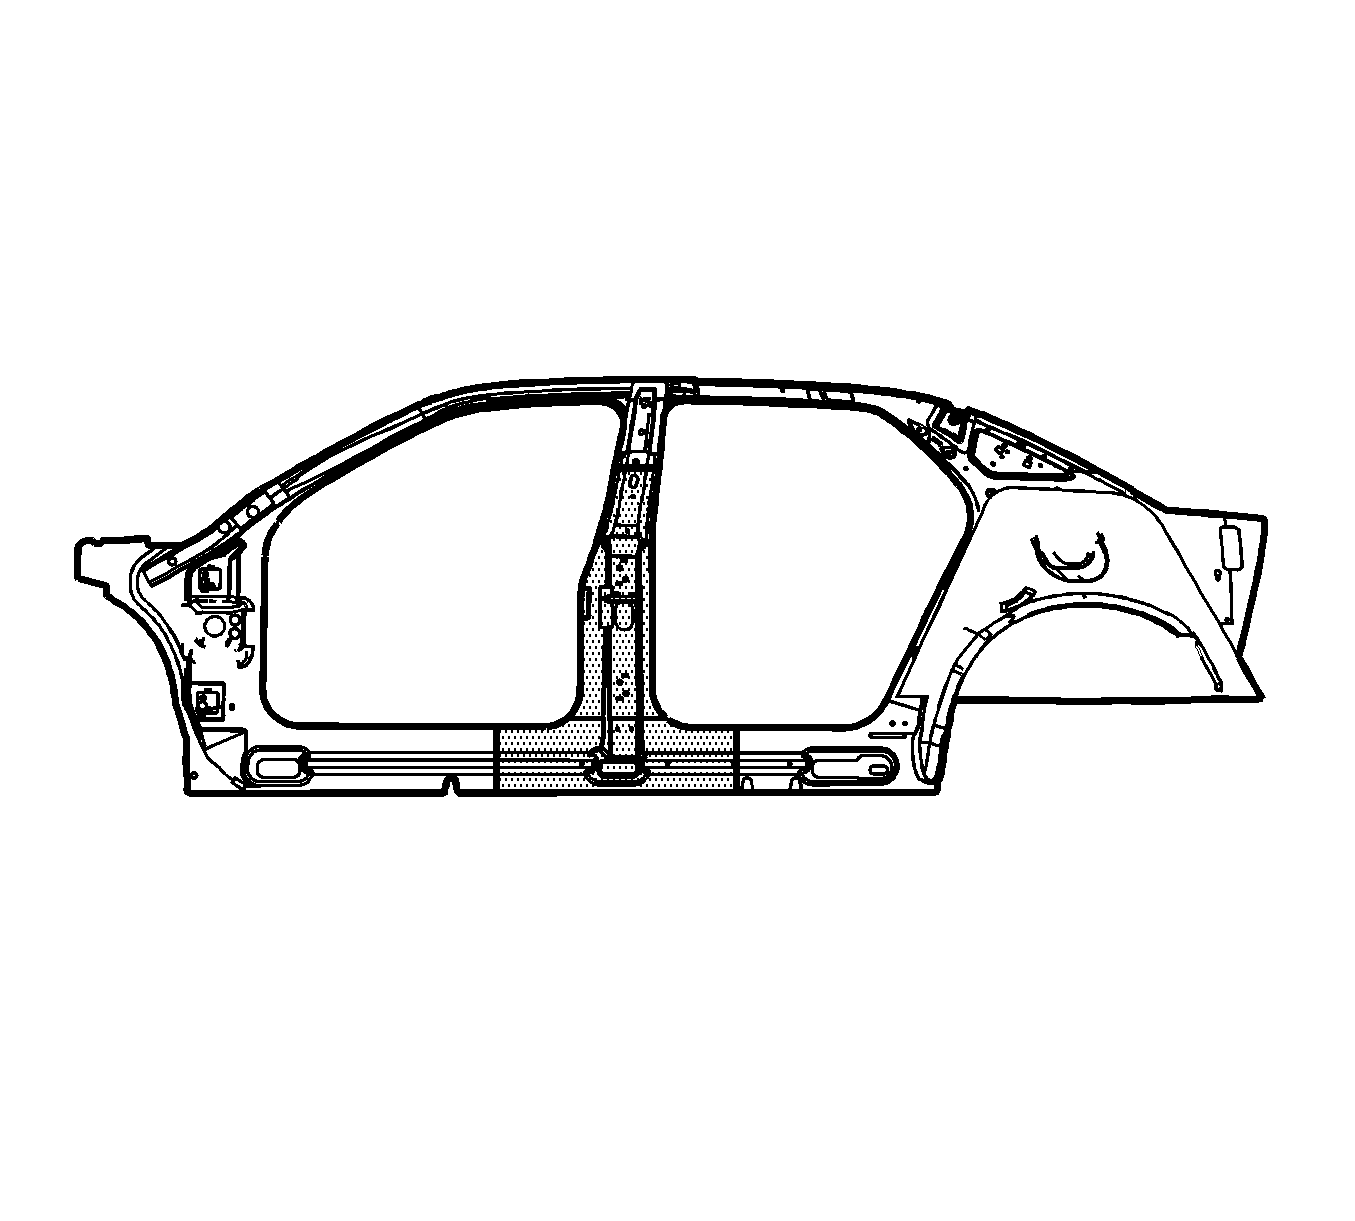
Important: Sectioning procedures can only take place in the straight areas of the inner body side panel.

Installation Procedure
- Prepare mating surfaces.
- Prime the repair areas with two-part catalyzed primer.
- Clamp the part in position. Check for proper fit.
- Spot blast plug weld areas.
- Plug the weld as necessary.
- Stitch the weld along the sectioned areas.
- Finish the seams as necessary.
- Refinish as necessary.
- Install all related panels and components.
Important: Prior to refinishing, refer to publication GM4901M-2000 "GM Approved Refinish Materials" for recommended products. Do not combine paint systems. Refer to paint manufacturer's recommendations.
