For 1990-2009 cars only
Removal Procedure
- Remove the upper trunk trim. Refer to Rear Compartment Trim Panel Replacement .
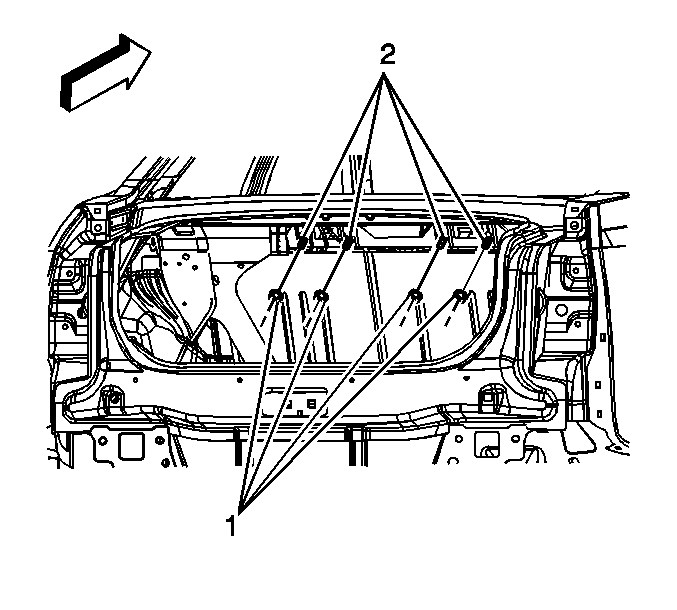
- Remove the upper retaining nuts (1) from the rear seat back.
- Remove the rear seat cushion. Refer to Rear Seat Cushion Replacement .
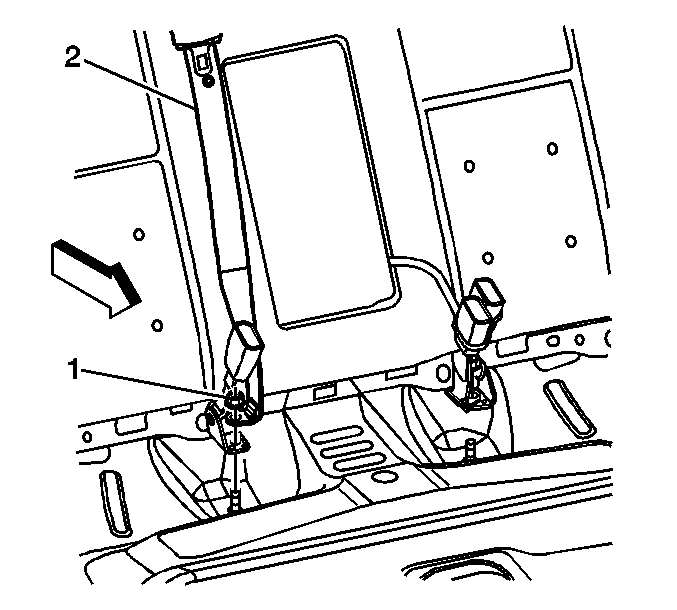
- Remove the center seat belt (2) and shoulder belt buckle nut (1), if equipped.
- Place the center shoulder belt on the rear shelf panel.
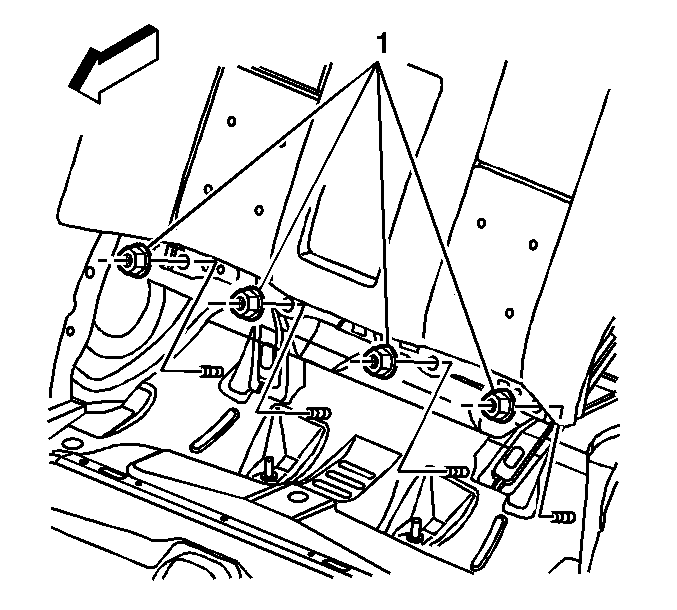
- Remove the lower seat back retaining nuts (1).
- Pull out on the top of the rear seat back.
- Position the rear shoulder belts to clear the rear seat back during removal.
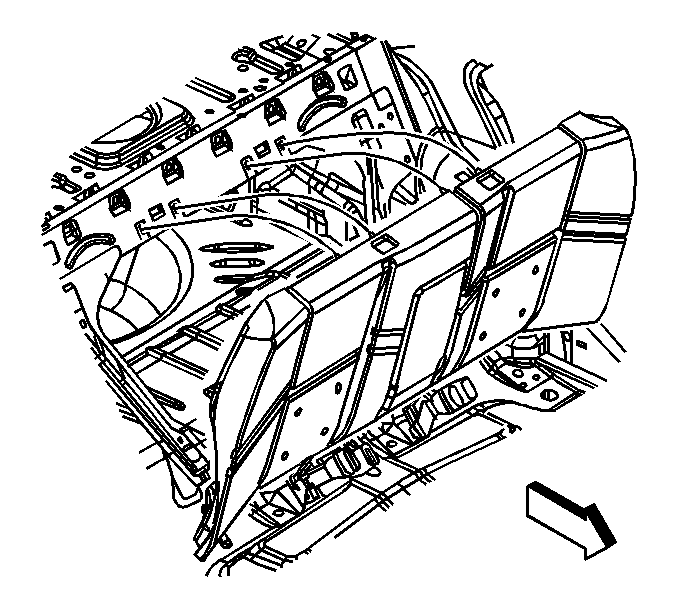
- Remove the rear seat back.
Caution: Refer to SIR Caution in the Preface section.


Installation Procedure
- Install the rear seat back into the car.
- Install the upper retaining nuts (1) to the seat back studs (2).
- Install the upper trunk trim. Refer to Rear Compartment Trim Panel Replacement .
- Install the rear seat back retaining nuts (1).
- Install the center seat belt (2) and shoulder belt buckle anchor nut (1).
- Install the rear seat cushion. Refer to Rear Seat Cushion Replacement .

Notice: Refer to Fastener Notice in the Preface section.

Tighten
Tighten the nuts to 9 N·m (80 lb in).

Tighten
Tighten the nut to 30 N·m (22 lb ft).

Important:
• Ensure that the bolt threads and bolt holes are free of any sealer patch material. • Ensure the seat belt buckles are properly positioned.
Tighten
Tighten the bolts to 30 N·m (22 lb ft).
