For 1990-2009 cars only
Removal Procedure
- Remove the hood release cable from the latch with the following procedure:
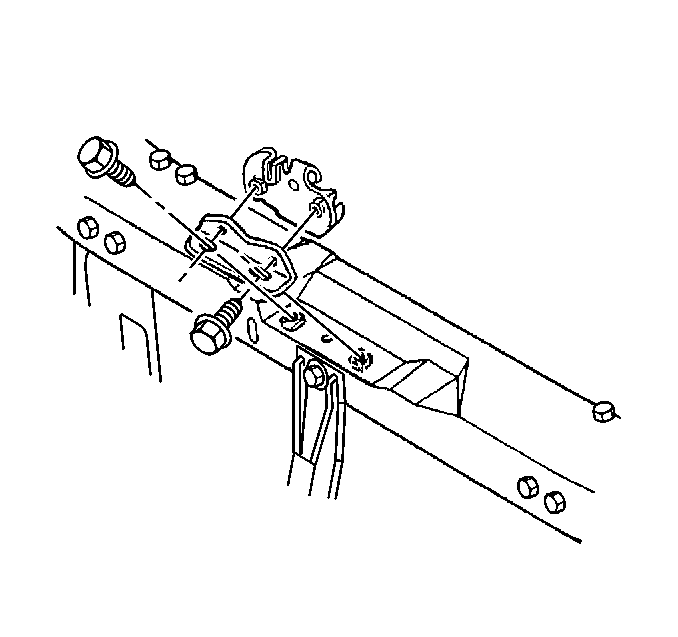
- Remove the primary latch support bolts to the radiator.
- Remove the primary latch with the bracket from the vehicle.
- Remove the bracket from the latch.
| 1.1. | Place a screwdriver into the cable clip. |
| 1.2. | Pry the cable clip open in order to remove the cable. |
| 1.3. | Pry the cable housing from the latch. |

Installation Procedure
- Install the bracket to the latch.
- Install the primary latch to the bracket bolts.
- Install the primary latch and bracket to the vehicle.
- Install the primary latch support bolts to the radiator.
- Adjust the latch right and left until the latch lines up with the striker pins in the hood.
- Raise the hood and tighten the latch to the radiator support bolts.
- Use a suitable tool in order to crimp the cable clip and retain the hood release cable to the latch.
- Verify that the hood is operating correctly.

Notice: Refer to Fastener Notice in the Preface section.
Tighten
Tighten the bolts to 25 N·m (18 lb ft).
Important: In the next step, do not tighten the bolts.
Tighten
Tighten the bolts to 25 N·m (18 lb ft).
