For 1990-2009 cars only
Tools Required
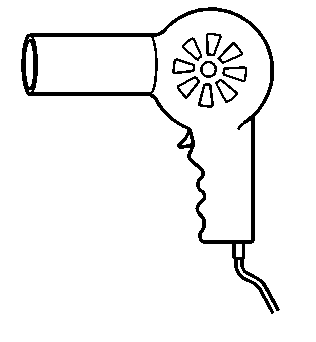
J 25070 Heat Gun
Removal Procedure
- When replacing a body side molding do the following:
- To remove a body side molding, heat the body side molding using a J 25070 .
- Hold the J 25070 approximately 152 mm (6 in) from the surface.
- Apply heat using a circular motion for about 30 seconds.
| 1.1. | Use tape to protect the mounting surface during removal. |
| 1.2. | Use tape for alignment marks for installation of the body side molding. |
Installation Procedure
- Clean the area where the molding will be installed.
- Dry the area thoroughly.
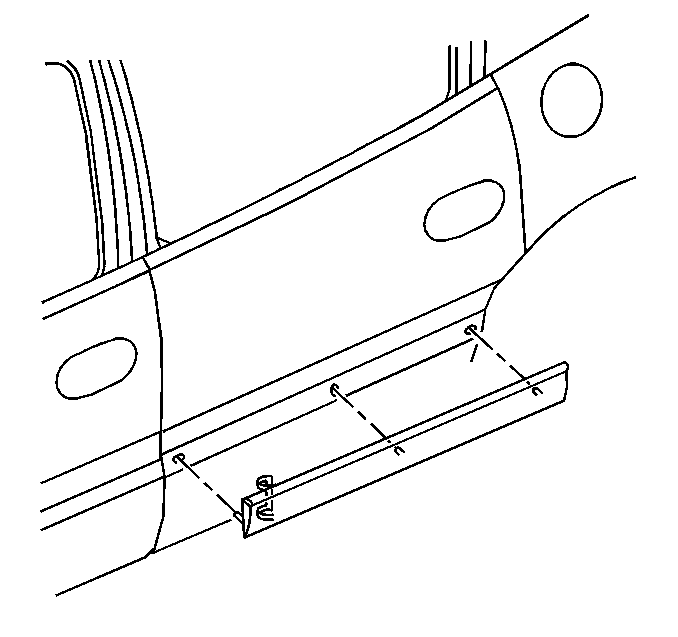
- If the location of the molding has not been marked, apply tape and use the following dimensions:
- Ensure that the temperature of the body side molding is approximately 29-32°C (85-90°F).
- Remove the protective liner from the back of the body side molding.
- Position the body side molding to the location marks and press the molding to the mounting surface.
- Apply equal pressure along the body side molding to uniformly bond the molding to the mounting surface.
- Remove the protective tape from the mounting surface.
Important: Apply the molding in an environment that is free from dust or other dirt that could come into contact with the sticky backing. Foreign material may cause improper adhesion.
Use a lint free cloth and Varnish Makers and Painters (VMP) naphtha or a, 50/50 mixture, by volume of isopropyl alcohol and water to clean the area.
| • | Starting at the front of the door, the distance from the door bottom to the molding is 168 mm (6.625 in). |
| • | At the rear of the door, the distance from the door bottom to the molding is 178 mm (7.0 in). |
Important: Do not touch the adhesive backing on the back of the body side molding.
