Removal Procedure
Tools Required
| • | J 39032 Stationary
Glass Removal Tool |
| • | Solvent for cleaning the edge of the window (use GM Glass Cleaner
P/N 1050427 or ispropyl alcohol) |
| • | Household cartridge-type caulking gun |
| • | Commercial-type utility knife used to cut around the edge of the
window |
Caution: When working with any type of glass or sheet metal with exposed or rough
edges, wear approved safety glasses and gloves in order to reduce
the chance of personal injury.
- Apply masking tape to the painted surfaces around the stationary
window in order to prevent paint damage.
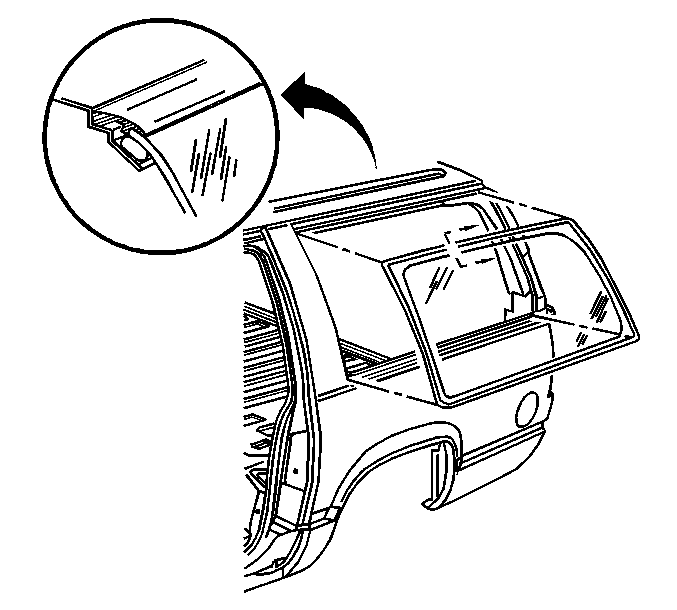
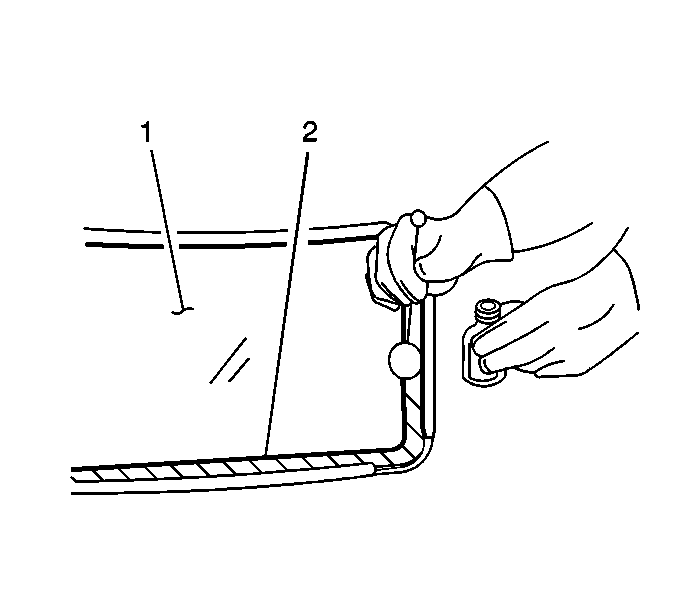
- Use J 39032
in order to cut the window from the pinchweld
flange. Do this from inside the vehicle.
- Remove the stationary
window from the pinchweld flange with the aid of an assistant:
- Keep the blade of the
knife as close to the pinchweld flange as possible in order to leave a base
of urethane on the window.
- The stationary window reveal molding retains the urethane adhesive
in the cavity between the body and the opening. If the stationary window reveal
molding is damaged by cutting it too close to the window surface,
replace the window.
- Inspect the condition of the stationary window opening and the
urethane adhesive bead to determine which installation method should be used.
Refer to
Short Method Description
or
Extended Method Description
for guidelines.
Important: If corrosion of the pinchweld flange is present, or if sheet metal repairs
or replacements are required, the pinchweld flange must be refinished in order
to present a clean primer only surface. If paint repairs are required,
mask the flange bonding area prior to applying the color coat
in order to provide a clean primer only surface. Materials
such as BASF DE17 ®, DuPont 2610 ® and
PPG DP40 ®, or equivalent products are approved for this
application.
- After repairing the opening as indicated, perform the following steps:
- Shake the pinchweld primer (#3 black) well.
- Use a new dauber to apply
the primer to any exposed painted surfaces ( or any scratches in the metal)
of the flange in the bonding area.
- Allow the primer to dry for approximately 10 minutes.
Installation Procedure
- With the aid of an assistant,
dry fit the stationary window in the opening in order to determine the correct
way to position the stationary window in the opening.
- Use masking tape in order
to mark the location of the stationary window in the opening.
- Slit the masking tape at the top edge of the stationary window.
- Remove the stationary window from the opening.
- Place the stationary window inside up on a clean, protected surface.
- If the original window is being reused, remove all but a thin
film of the existing urethane adhesive from the window surface using a utility
knife or equivalent.
- Clean the inside surface of the stationary window with GM Glass
Cleaner P/N 1050427 or equivalent.
- If an extended method installation is being performed:
| 8.1. | Remove all but a thin film of the existing bead of adhesive from
the pinchweld flange. |
| 8.2. | It is not necessary to remove all traces of adhesive, but there
should not be any mounds or loose pieces left. |
| 8.3. | Shake the pinchweld primer (#3 black) well. |
| 8.4. | Use a new dauber to apply the primer to the primed surface of
the flange in the bonding area. |
| 8.5. | Allow the primer to dry for approximately 10 minutes. |
| | Important: Use the following procedure:
|
| 8.6. | Use care when applying the stationary window prep (#1 clear) in order
to prevent the stationary window prep from running into the vision area of
the stationary window. This primer dries almost instantly and may
stain the viewing area of the stationary window. |
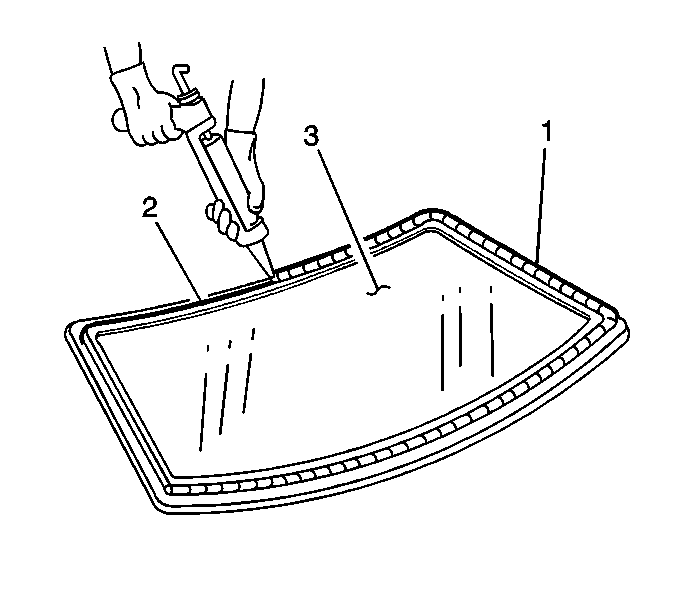
- If installing a new window:
| 9.1. | Use a new dauber, to apply the stationary window prep (#1 clear)
approximately 10 mm to 16 mm (3/8 in. to 5/8 in.) around the entire perimeter
of the glass inner surface (reference the illustration of the primer/bonding
areas). |
| 9.2. | Apply stationary window prep (#1 clear) to any exposed edges of
the window. |
| 9.3. | Wipe the primed area immediately with a lint free cloth. |
- Shake the stationary window
primer (#2 black)
well.
| 10.1. | Use a new dauber, to apply the stationary window primer (#2 black)
to the areas of the stationary window (1) which prep (#1 clear) was applied. |
| 10.2. | Allow the primer to dry for approximately 6 minutes. |
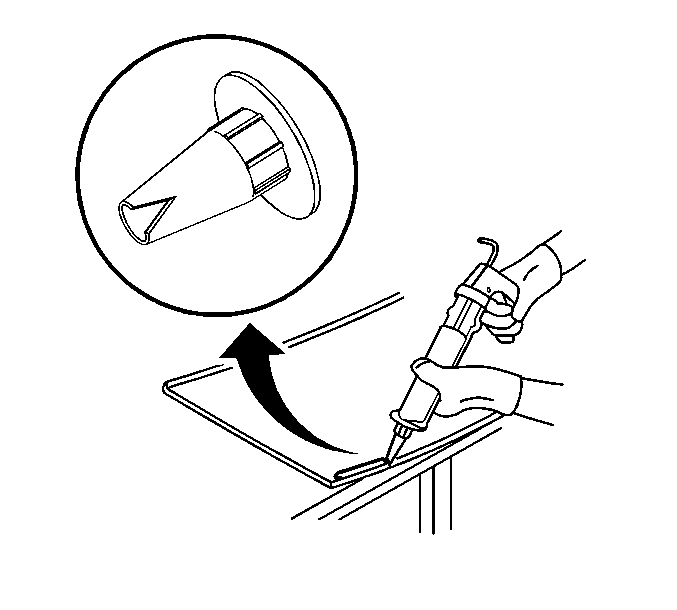
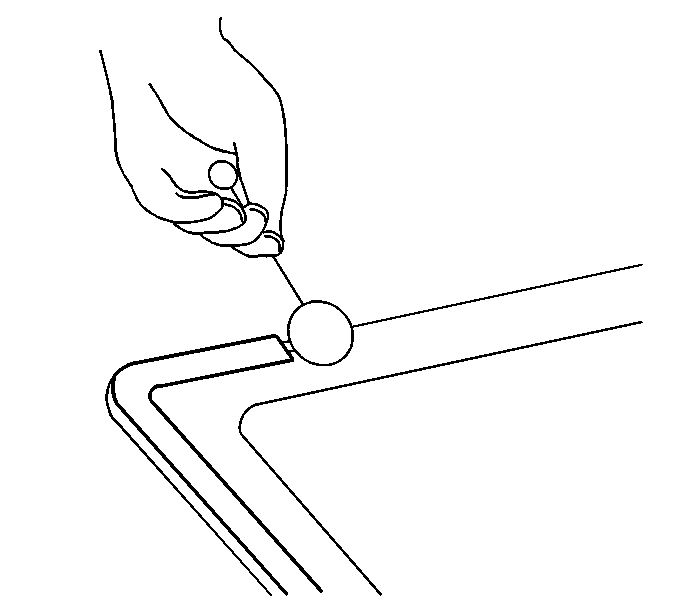
- Cut the tip of the applicator
nozzle as follows:
| 11.1. | If short method installation is being used, cut the tip to provide
an urethane adhesive bead of approximately 6.0 mm 1/4 in.). |
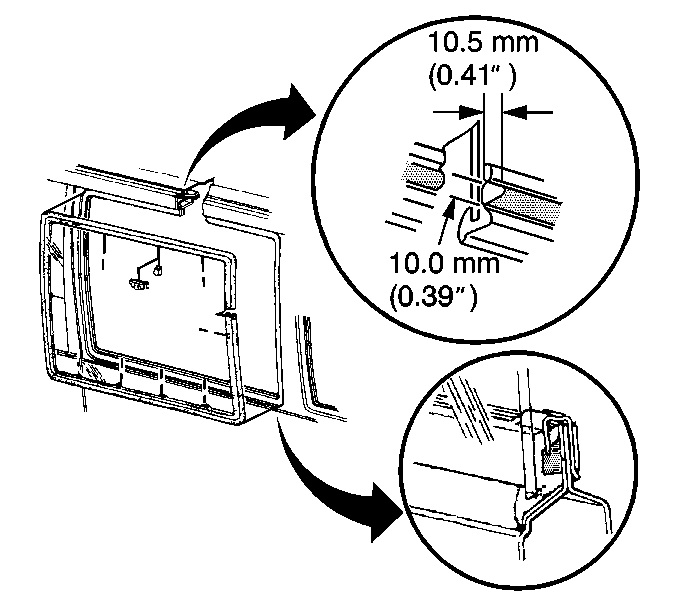
| 11.2. | If extended installation method is being used, cut the tip to
provide an adhesive bead of approximately 10.5 mm (0.14 in.) wide and
10.5 mm (0.14 in) high. |
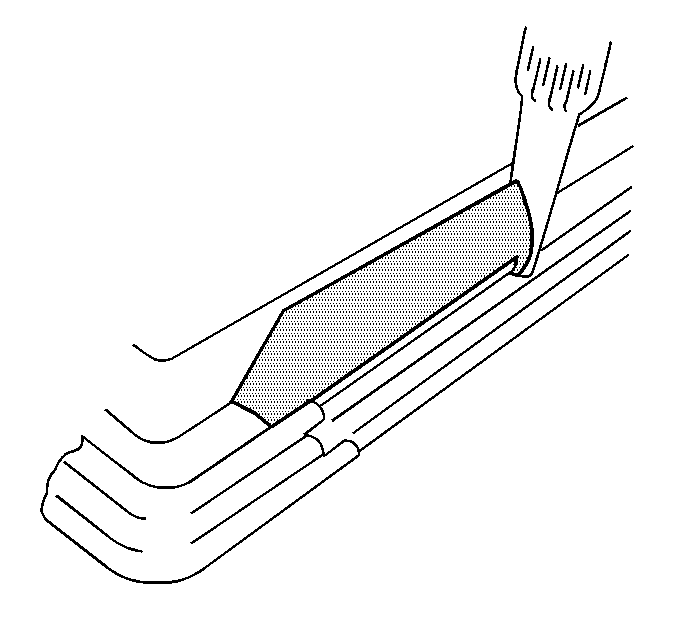
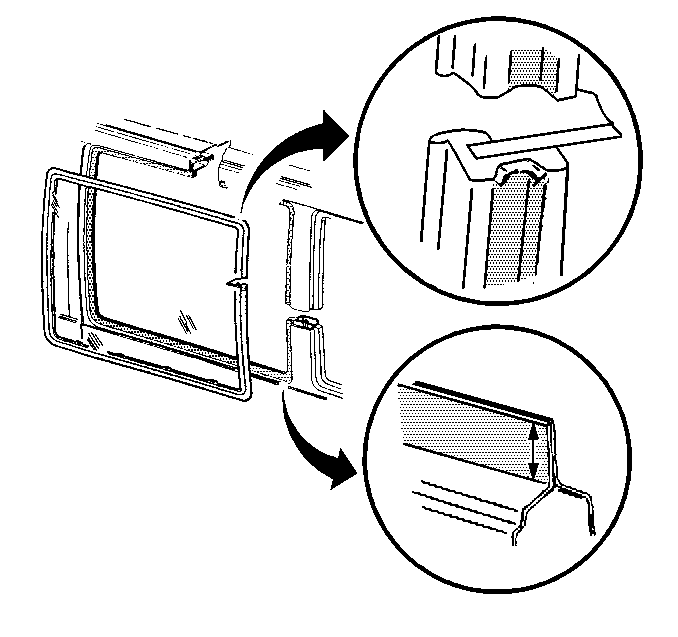
- Use a cartridge type caulking
gun, to apply a smooth continuous bead of urethane adhesive as follows:
- When using the short installation method, apply the urethane adhesive
to the existing bead of urethane adhesive on the body.
- When using the extended
installation method,
use the edge of the stationary window or the inside edge of the reveal molding
as a guide for the nozzle in order to apply the (2) urethane adhesive to
the inner surface of the (3) stationary window.
- Use rubber suction cups, and with the aid of a assistant, install
the stationary window into the opening.
- Align the tape on the stationary window and the body.
- Press the stationary window firmly into place.
- Tape the stationary window to body in order to minimize movement.
| 18.1. | Remove any excess urethane adhesive that may have squeezed out
from the body. |
| 18.2. | Use a soft spray of water in order to watertest the stationary
window immediately. |
| 18.3. | Warm or hot water is preferred in order to accelerate the cure
of adhesive. |
| 18.4. | Do not direct a hard stream of high pressure water at fresh urethane
adhesive. |
Important: Inspect the stationary window for leaks.
- If any leaks are found, use a plastic paddle in order to apply extra
urethane at the leak point.
- Retest stationary window for leaks.
- In order to properly cure the urethane adhesive, do the following:
| • | Allow the vehicle to remain at room temperature of 22°C (
72°F) at 30 percent or less relative humidity. |
| • | Allow a minimum of (6 hours) for the moisture curing urethane
adhesive. |
| • | Allow a minimum of (1 to 1½ hours) for the chemical curing
urethane adhesive. |
| • | Partially lower a door window to prevent pressure build ups when
closing doors prior to urethane adhesive cure. |
| • | Do not drive the vehicle until the urethane adhesive is cured. |
| • | Do not use compressed air in order to dry the urethane adhesive. |
- Remove the tape from the painted surfaces.
