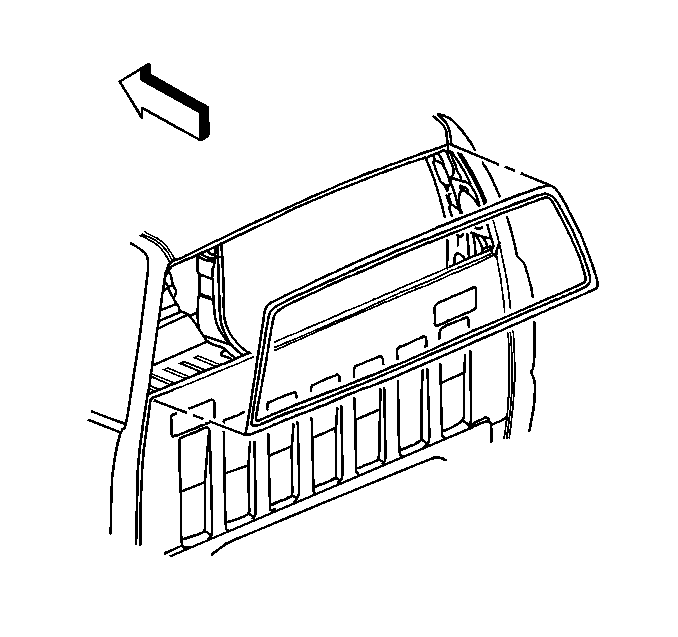
Removal Procedure
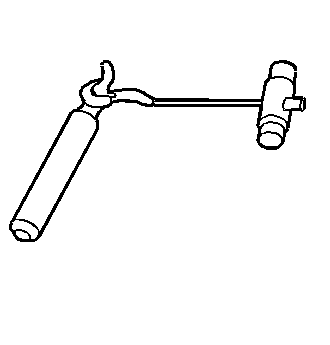
Tools Required
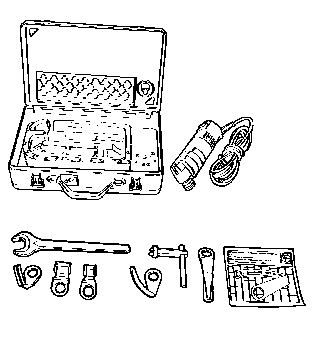
- J 24402-A Glass
Sealant (cold knife) Remover
- J 39040 Quarter Glass Remover
- Unclip the defogger connector at the left and the right side of
the window from the inside of the cab, if equipped.
- Remove the rear window lower molding. Refer to
Rear Window Lower Garnish Molding Replacement
in Interior
Trim.
- Remove both rear seat headrests (extended cab). Refer to
Rear Seat Head Restraint Replacement
.
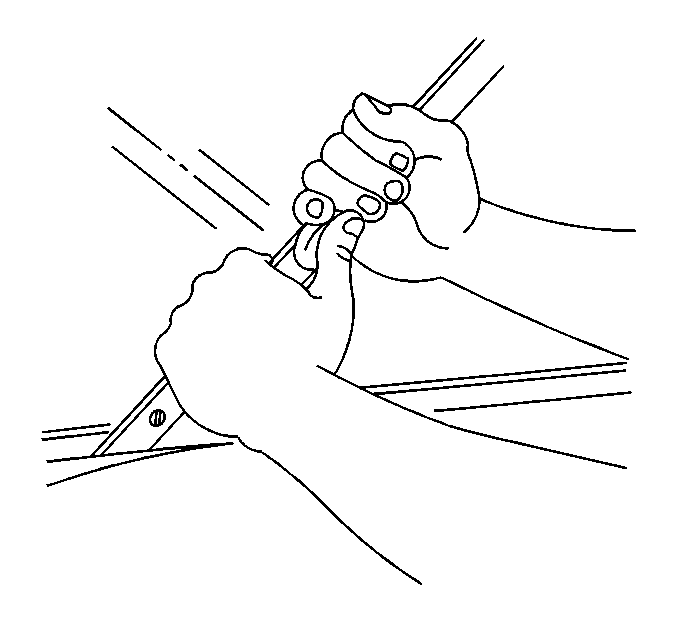
- Use the J 24402-A
or theJ 39040
in order to remove the window from the vehicle.
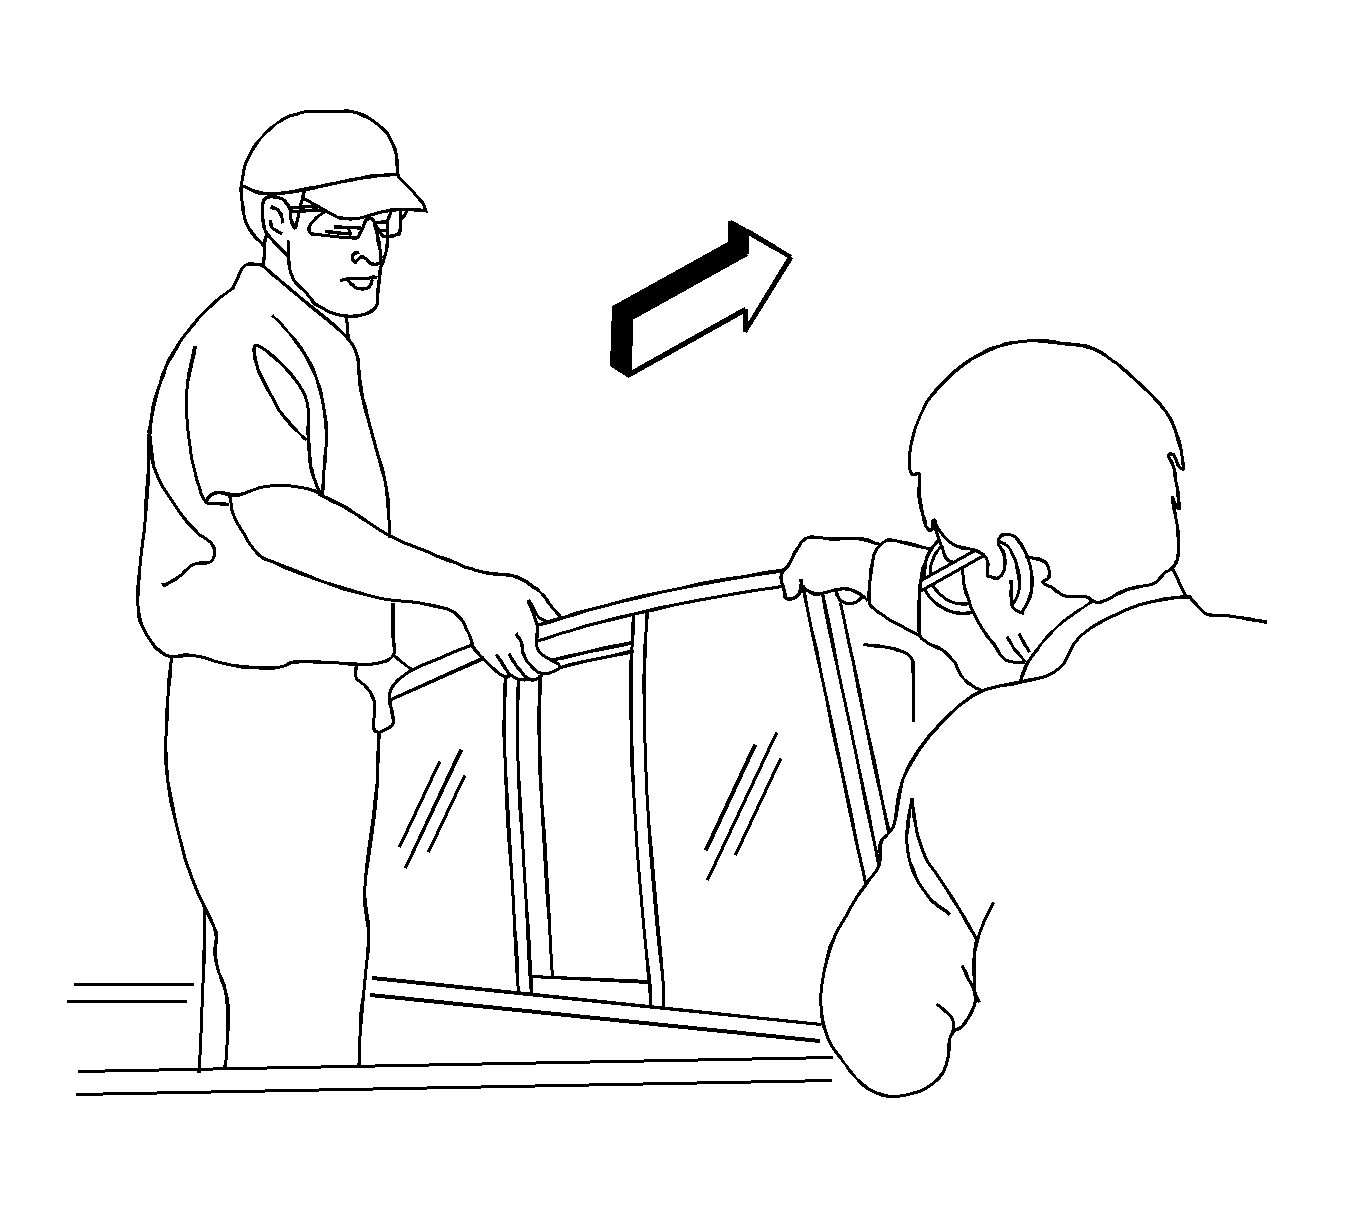
- With an assistant standing
outside of the vehicle, push the window out from the vehicle.
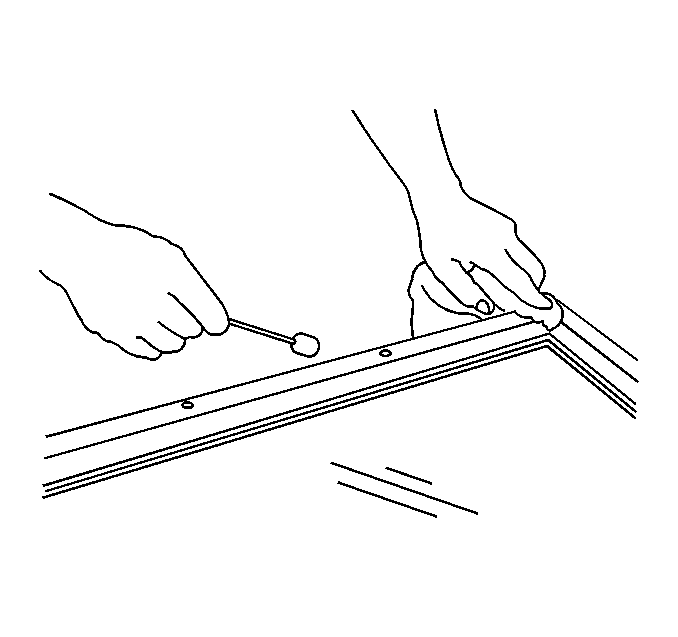
- Inspect the urethane adhesive and the pinchweld flange in order
to determine if the short method or the extended method is required. Refer
to
Short Method Description
Extended Method Description
.
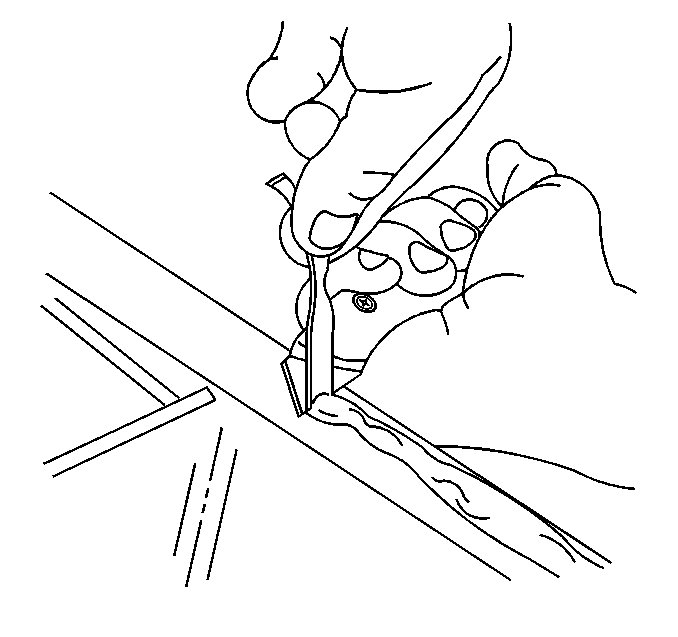
- If you are performing the short method, use a utility knife or
equivalent tool in order to trim the remaining adhesive to a uniform thickness.
- If you are performing the extended method, use a utility knife
or equivalent tool in order to remove all of the urethane adhesive from the
pinchweld flange.
- Clean any loose material from the window opening.
- If you are reusing the
glass, remove the remaining urethane adhesive from the glass.
- Clean the sealing surface with GM window cleaner P/N 1050427 or
the equivalent.
Installation Procedure
Important: If you are using the short method, do not apply primer over the existing
urethane adhesive.
- If you are performing
the extended method, apply primer to the pinchweld flange.
| • | Use pinchweld primer #3 or the equivalent from GM P/N 12346284. |
| • | Allow the primer to dry for 10 minutes. |
- Apply glass prep primer
(clear, number 1) to the sealing surface. No drying time is needed.
- Wipe any excess primer off immediately.
- Apply glass prep primer (black, number 2) to the sealing surface
of the glass.
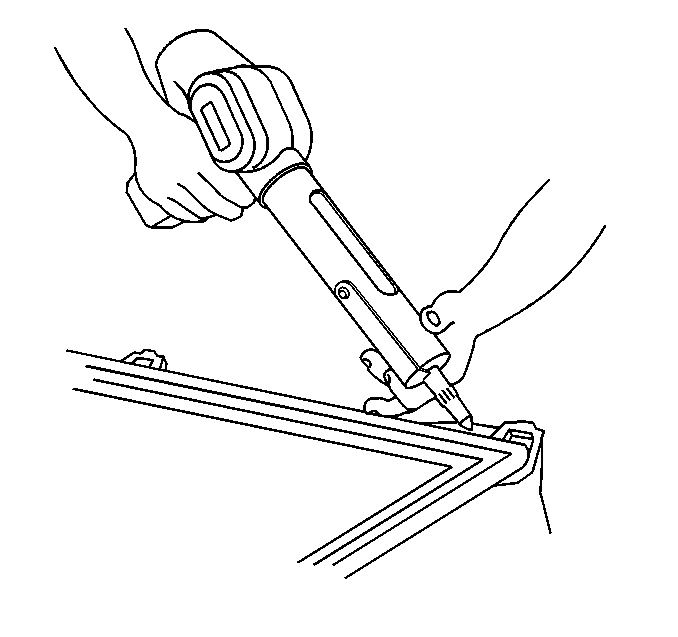
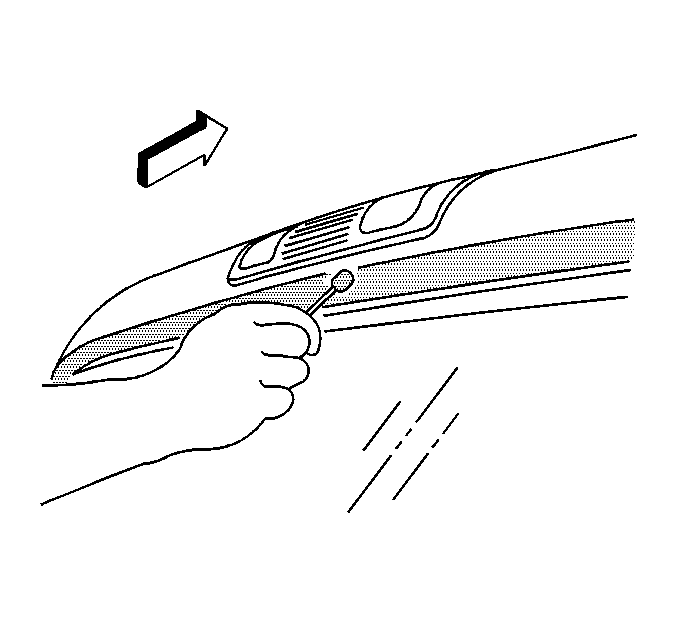
- If you are using the extended
method, apply a continuous 8 mm (0.32 in) wide by 11 mm (0.43 in) high
bead of urethane to the glass sealing surface.
- If you are performing the short method, apply a continuous 6 mm
(0.25 in) bead of urethane to the existing urethane.
- Place the glass into the
opening.
- Firmly press on the outer edges of the glass in order to seat
the urethane adhesive. Avoid excessive urethane adhesive squeeze-out.
- Using a soft spray of water, immediately test the effectiveness
of the urethane sealant.
| 9.1. | Softly spray warm or hot water around the outside edges of the
glass. |
| 9.2. | If any water leaks are present inside the vehicle, apply additional
urethane sealant to the leak area using a flat blade tool. |
| 9.3. | Dry the glass and the body. |
- Partially roll down a door window in order to prevent excess pressure
in the passenger compartment when closing the doors.
- Connect the defogger clips on each side of the window on the inside
of the body connectors, if equipped.
- Install all trim panels which were removed in order to gain access
for rear window removal. Refer to
Rear Window Lower Garnish Molding Replacement
in Interior Trim.
- Install the headrests. Refer to
Rear Seat Head Restraint Replacement
.
