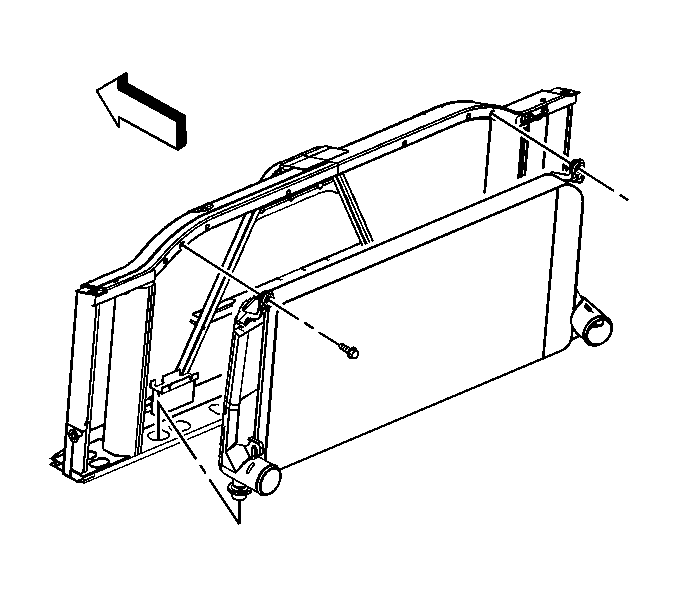
Removal Procedure

- Remove the charged air cooler hoses/pipes. Refer to
Charged Air Cooler Hoses/Pipes Replacement
.
- Remove the radiator. Refer to
Radiator Replacement
.
- Remove the charged air cooler bolts.
Important: Do not damage the charged air cooler fins while removing.
- Remove the charged air cooler.
| 4.1. | Disengage the bottom mounts from the radiator support. |
| 4.2. | Remove the left side from the radiator support. |
| 4.3. | Angle up the right side and rotate in order to remove. |
- Clean the charged air cooler by flushing with mild soap and water. Do not use stream pressure to clean.
- Inspect the charged air cooler for the following damage:
| • | Cracked or distorted hose connections |
| • | Leaks in the core or the tank connections |
- Replace the charged air cooler if damage is found.
- Inspect the charged air cooler mounting insulators and replace if required.
Installation Procedure

- Install the charged air cooler.
| 1.1. | Angle in the left side. |
| 1.3. | Move in the right side. |
Notice: Refer to Fastener Notice in the Preface section.
| 1.4. | Position bottom insulators in the radiator support. |
- Install the charged air cooler bolts.
Tighten
Tighten the bolts to 21 N·m (15 lb ft).
- Install the radiator. Refer to
Radiator Replacement
.
- Install the charged air cooler hoses/pipes. Refer to
Charged Air Cooler Hoses/Pipes Replacement
.


