For 1990-2009 cars only
Tools Required
J 37228 Seal Cutter
Removal Procedure
- Raise and suitably support the vehicle. Refer to Lifting and Jacking the Vehicle .
- Place a suitable container under the engine in order to drain the oil.
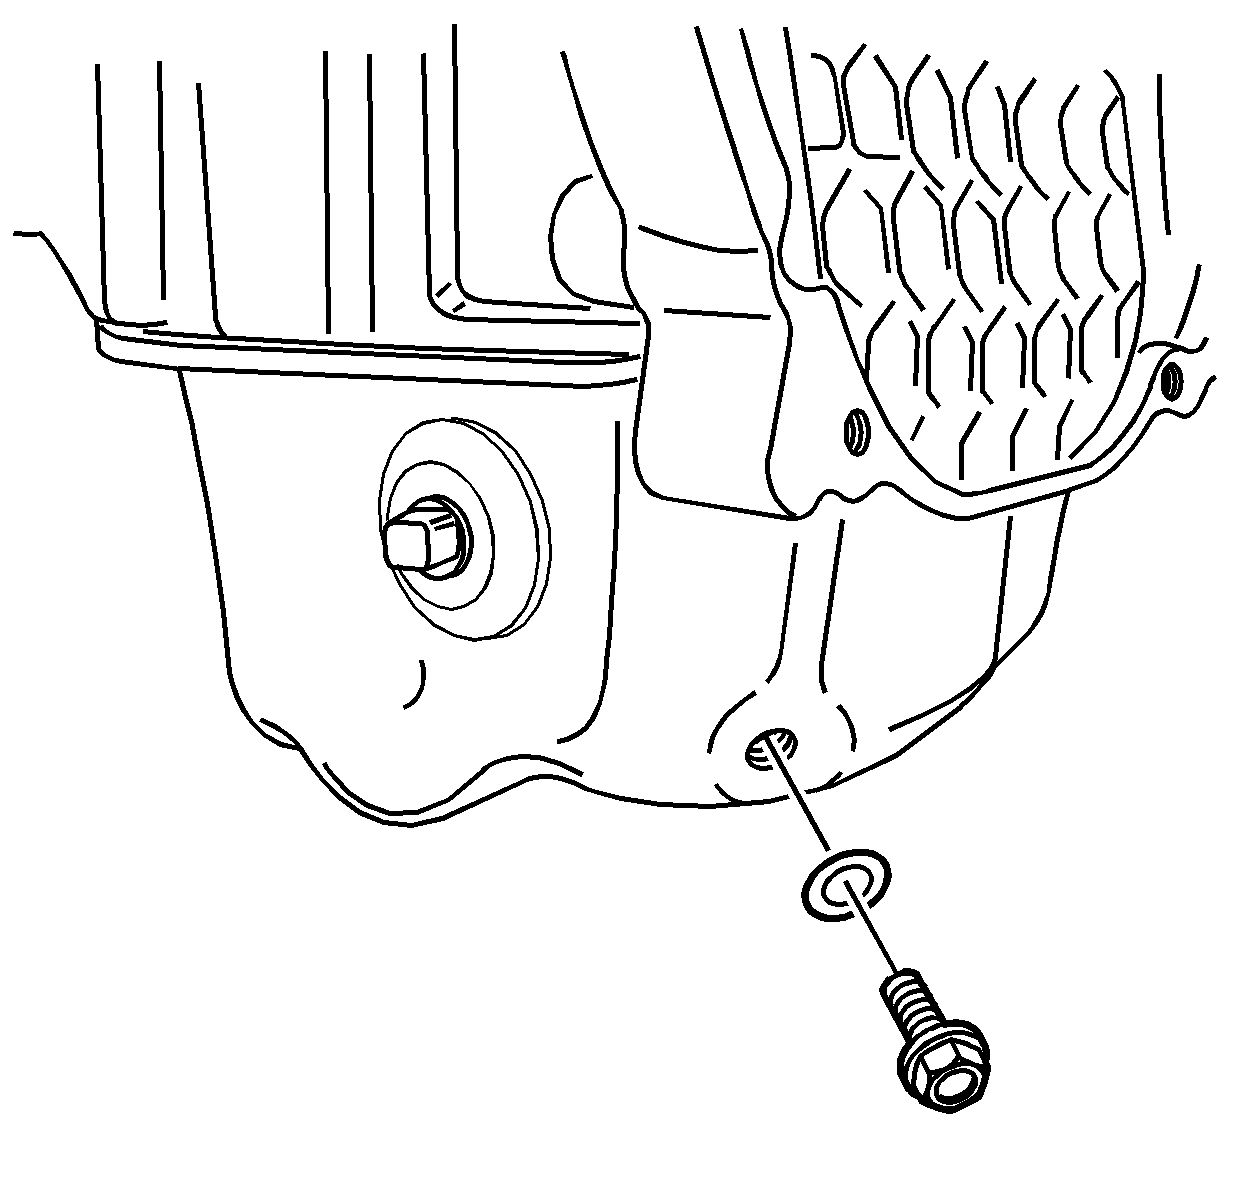
- Remove the oil drain plug.
- Drain the engine oil.
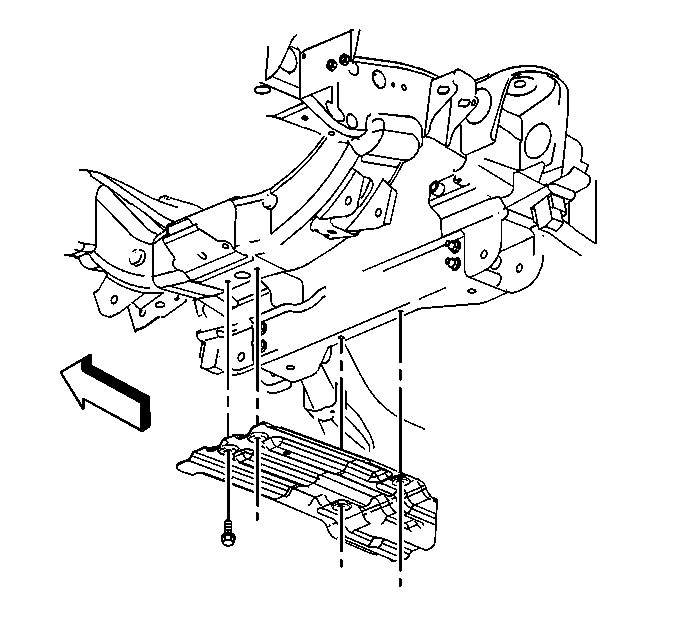
- Remove the oil pan skid plate bolts and plate, if equipped.
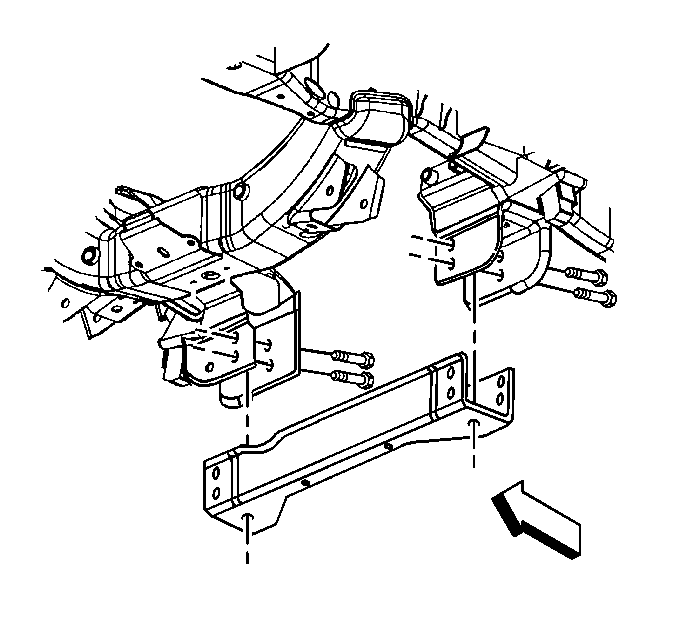
- If equipped with a 2-wheel drive (2WD) vehicle, remove the crossmember bolts and crossmember.
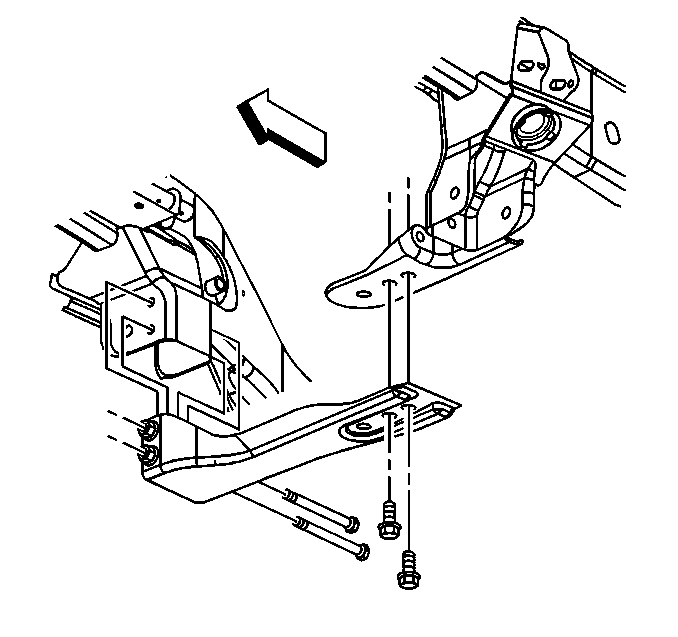
- If equipped with a 4-wheel drive (4WD) vehicle, remove the crossmember bolts and crossmember.
- Disconnect the oil level sensor electrical connector.
- Remove the lower oil pan bolts/nuts.
- Separate the lower oil pan from the upper oil pan using J 37228 .
- Remove the lower oil pan.
- If necessary, clean and inspect the lower oil pan. Refer to Lower Oil Pan Cleaning and Inspection .
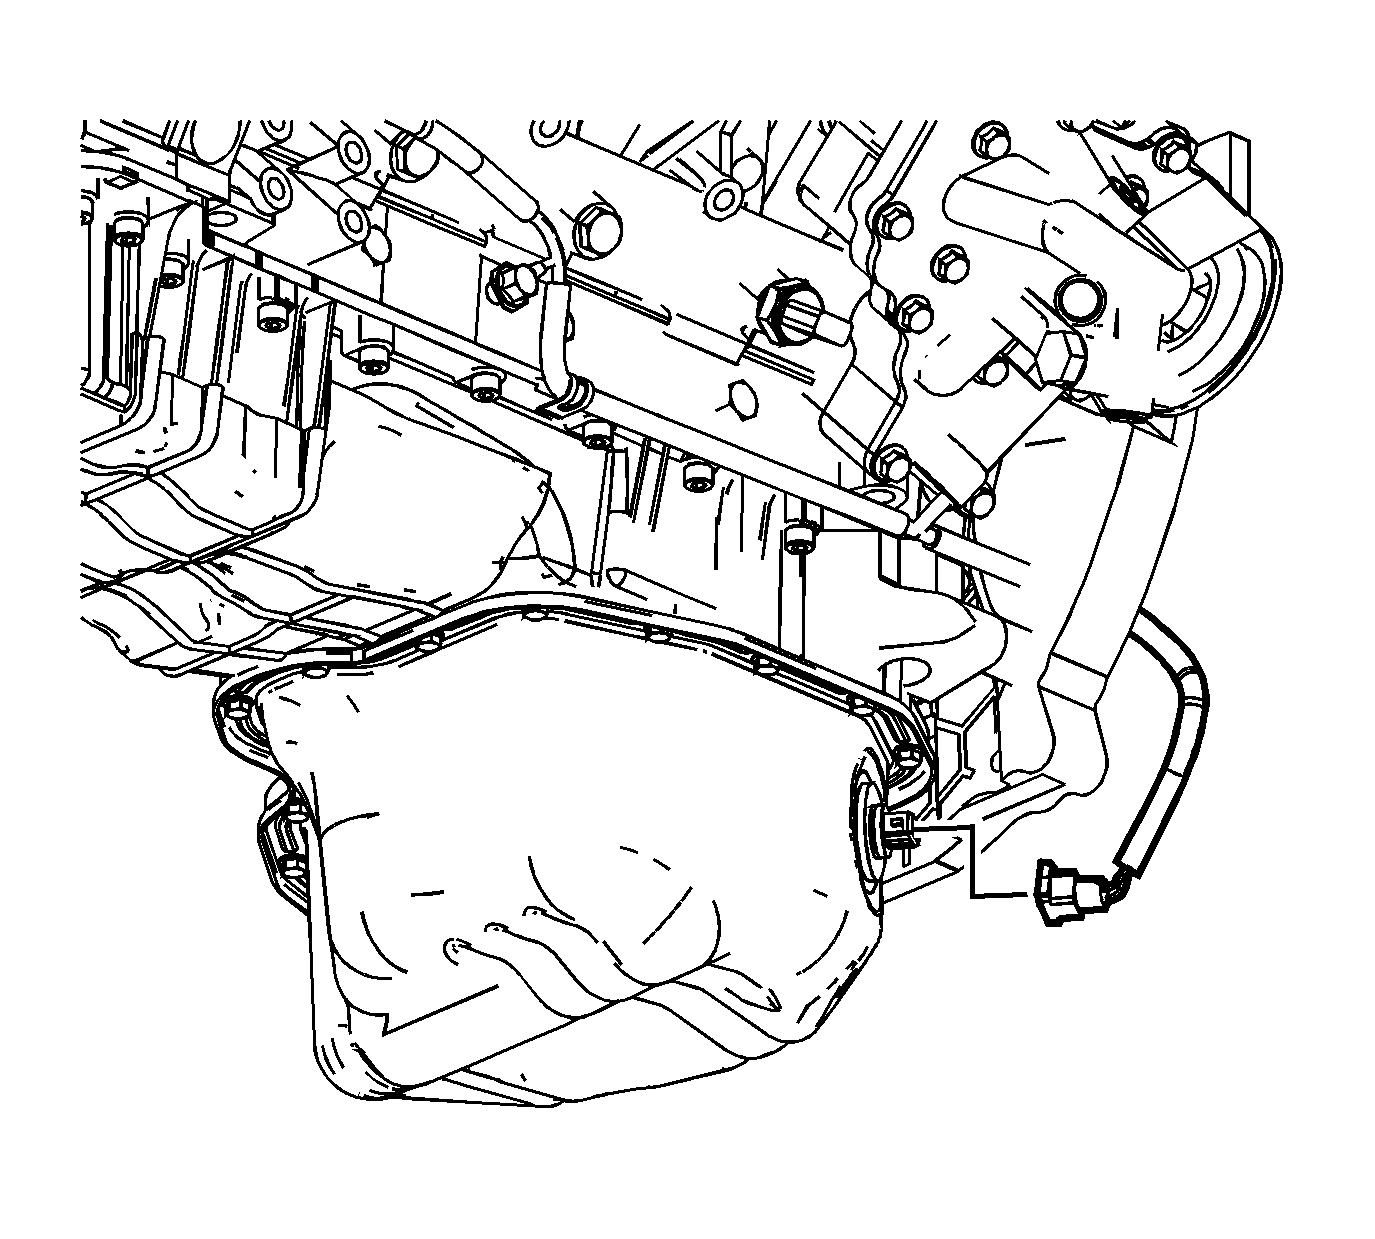
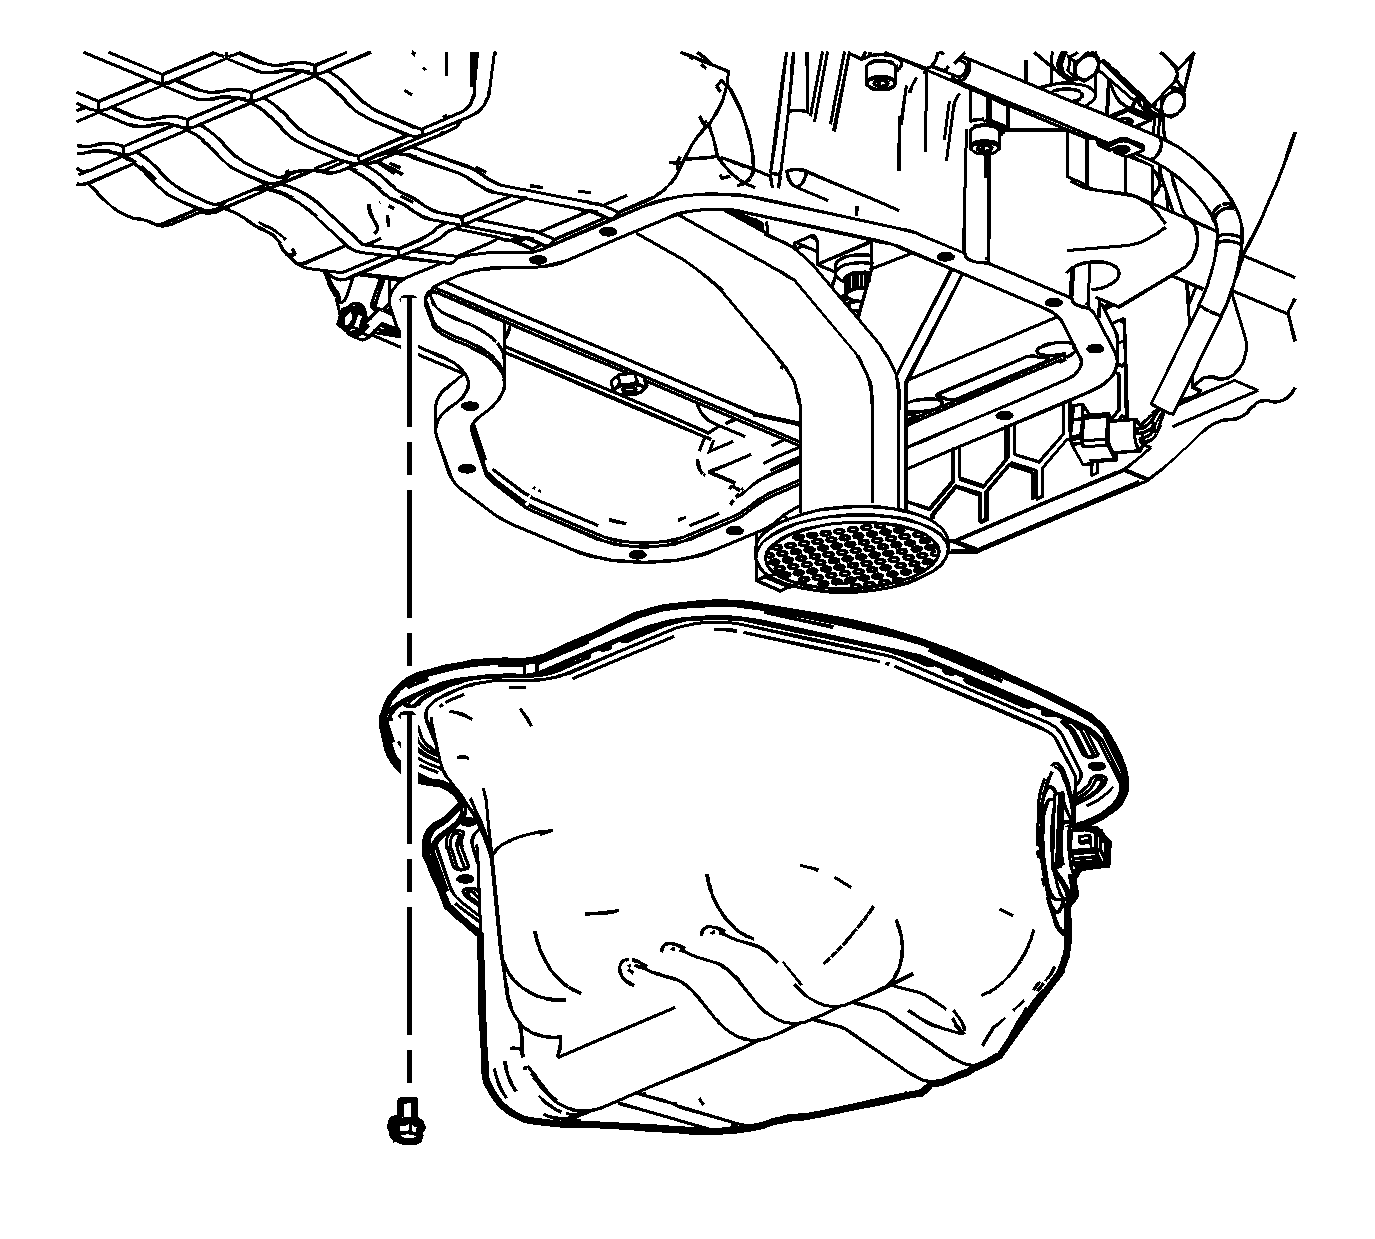
Important: DO NOT damage the sealing surfaces when separating the lower oil pan from the upper oil pan.
Installation Procedure
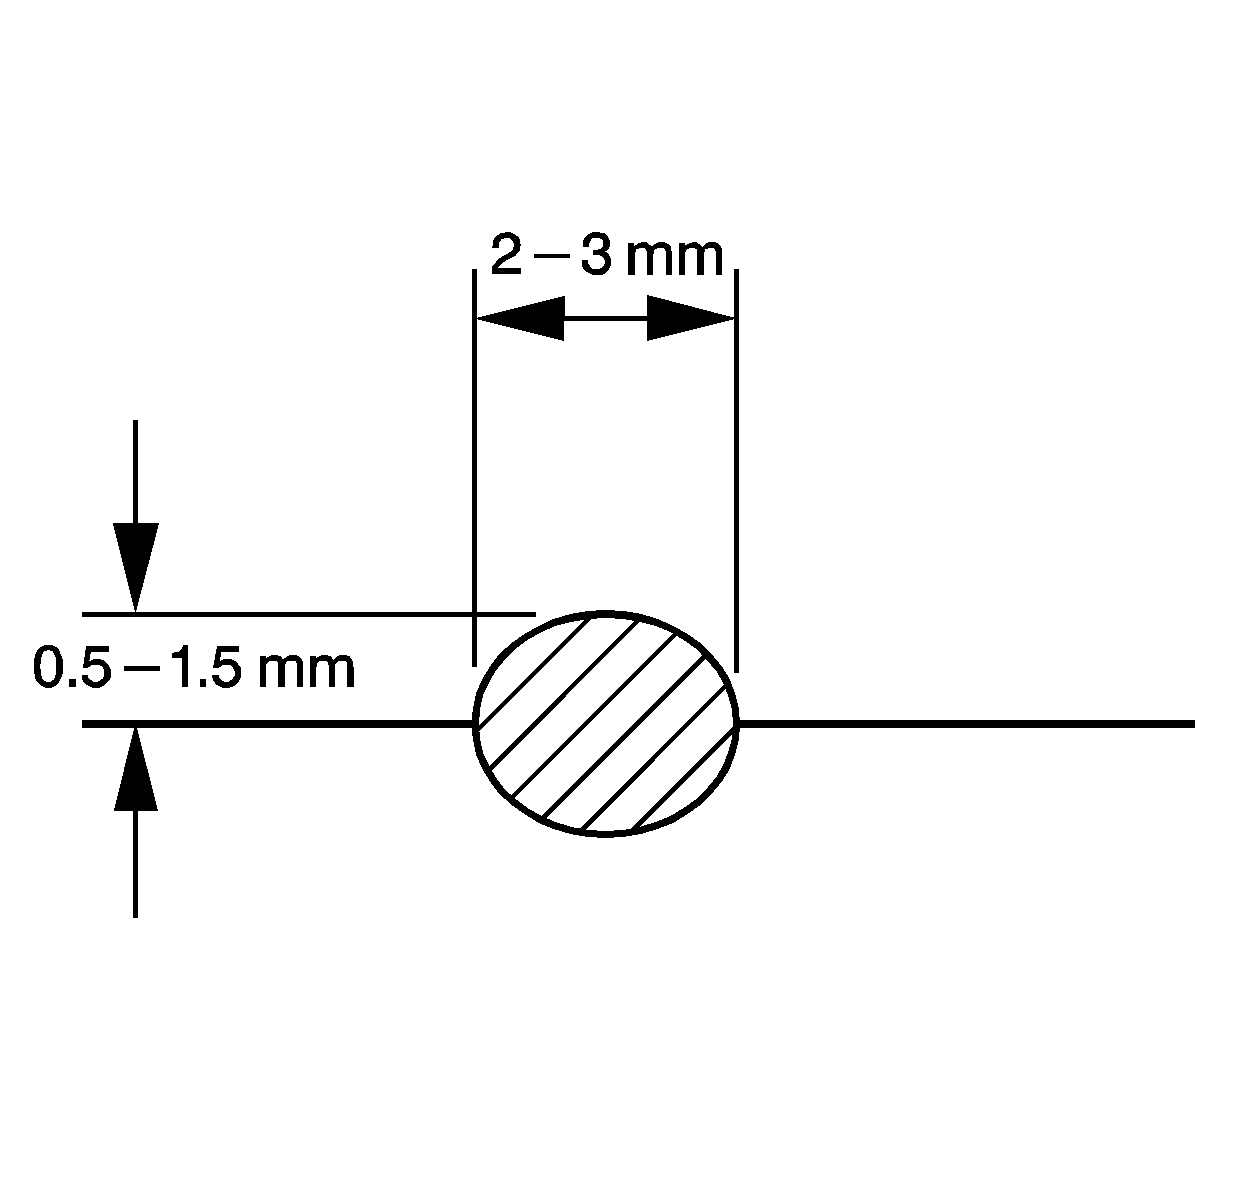
- Apply a 2-3 mm (0.79-0.118 in) by 0.5-1.5 mm (0.02-0.06 in ) wide bead of sealant to the lower oil pan mating surface. Refer to Adhesives, Fluids, Lubricants, and Sealers for the correct part number.
- Install the lower oil pan.
- Install the lower oil pan bolts/nuts.
- Tighten the oil pan bolts/nuts in the sequence shown.
- Connect the oil level sensor electrical connector.
- If equipped with a 2WD, install the crossmember and bolts.
- If equipped with a 4WD, install the crossmember and bolts.
- Install the oil pan skid plate and bolts, if equipped.
- Install NEW engine oil and a oil filter. Refer to Engine Oil and Oil Filter Replacement .
- Lower the vehicle.

Notice: Refer to Fastener Notice in the Preface section.
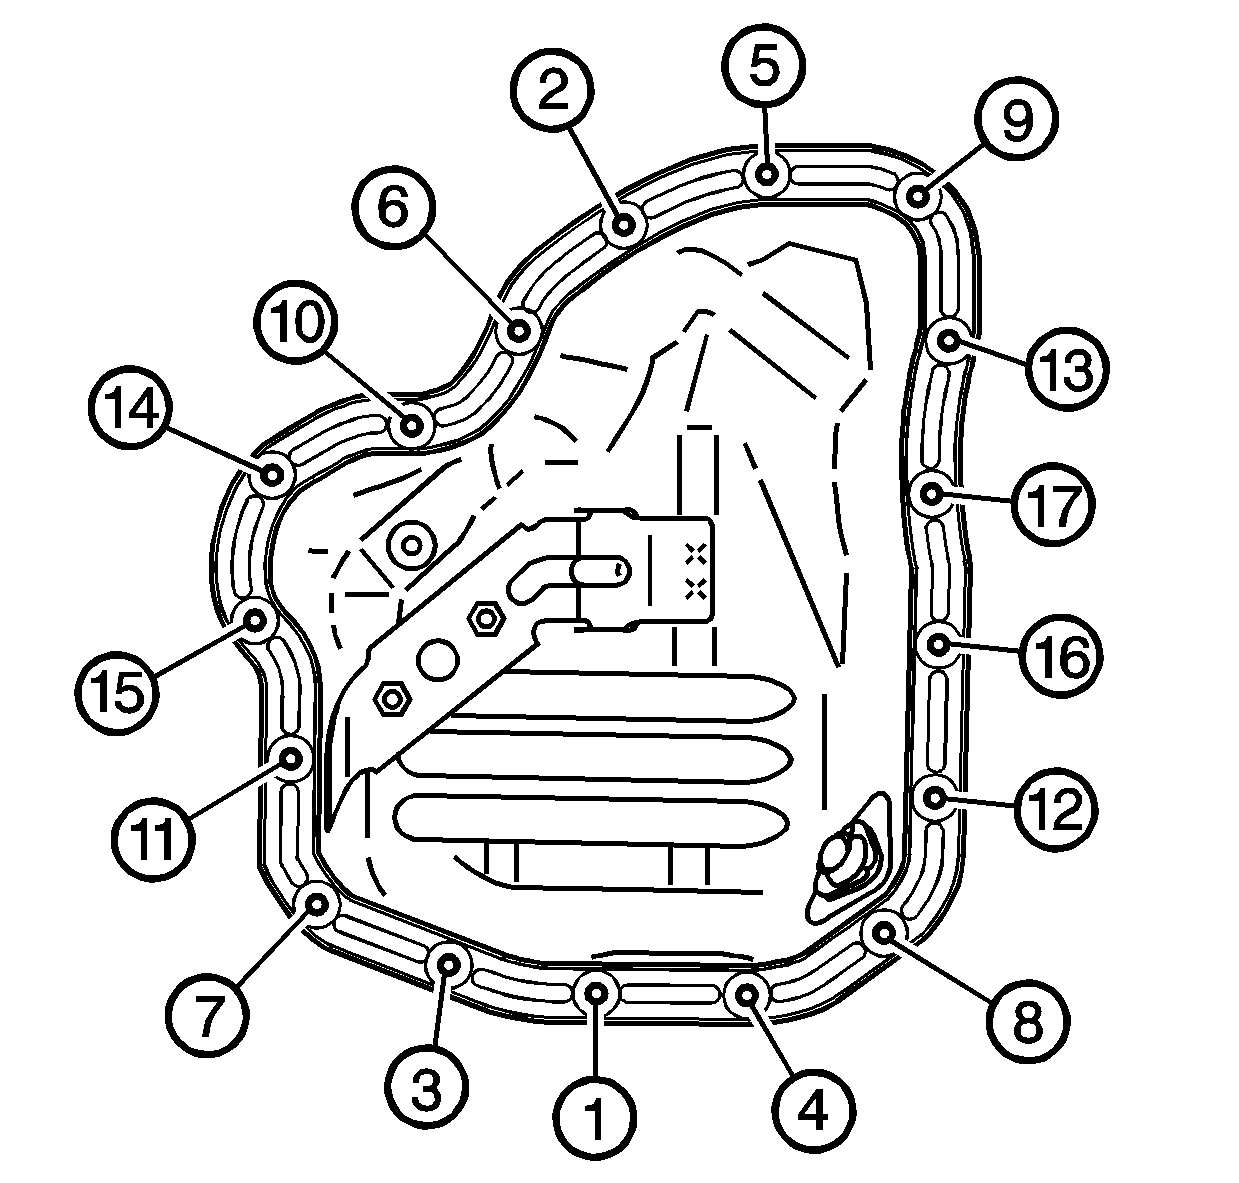
Tighten
Tighten the bolts/nuts to 10 N·m (89 lb in).


Tighten
Tighten the bolts to 100 N·m (74 lb ft).

Tighten
Tighten the bolts to 100 N·m (74 lb ft).

Tighten
Tighten the bolts to 20 N·m (15 lb ft).
