Upper Control Arm Replacement Independent
Removal Procedure
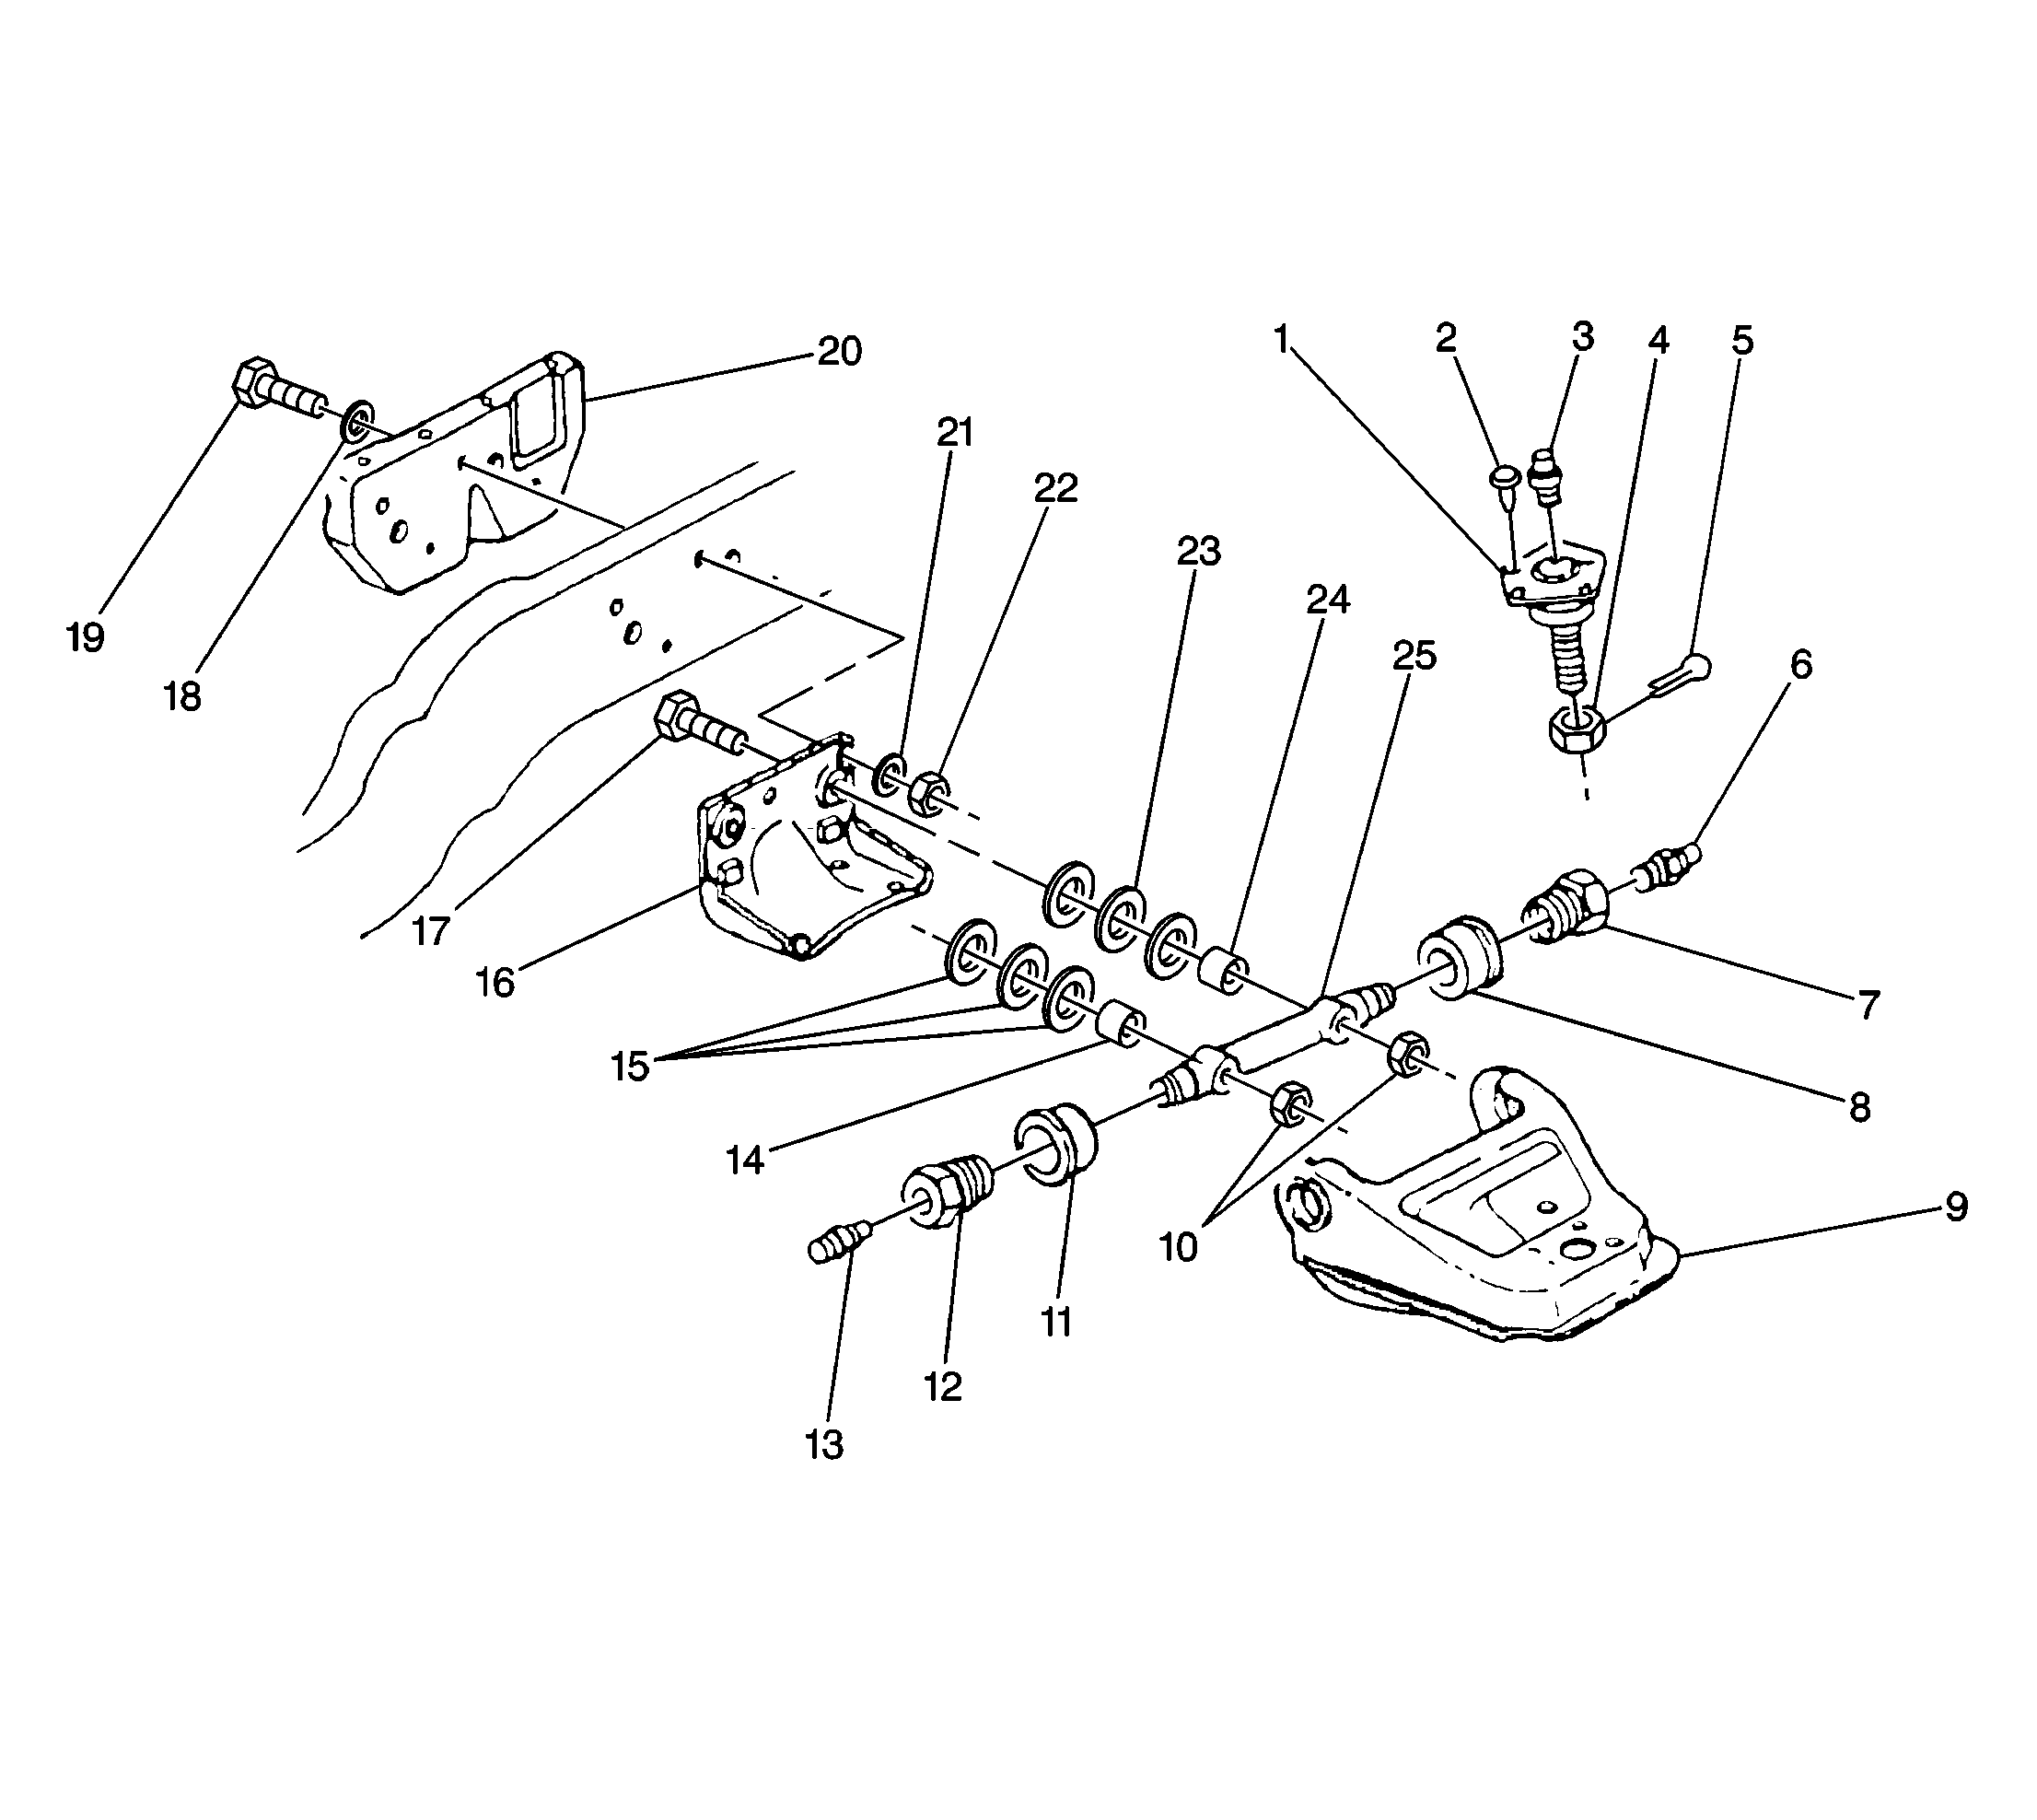
For upper control arm and components, refer to
Upper Control Arm and Components (Independent Suspension)
Tools Required
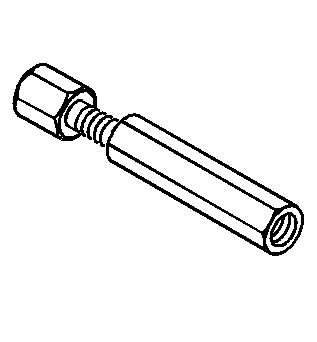
J 23742 Ball Joint Separator
- Raise the vehicle. Support the vehicle with suitable safety stands. Place an adjustable jackstand under the lower control arm for support.
- Remove the tire and wheel assembly. Refer to Tire and Wheel Removal and Installation in Tires and Wheels.
- Remove the caliper. Refer to Brake Caliper Replacement in Disc Brakes.
- Remove the cotter pin.
- Disconnect the upper control arm from the steering knuckle. Refer to Front Wheel Hub, Bearing, and Seal Replacement .
- Remove the nuts.
- Remove the upper control arm from the frame bracket.
Installation Procedure
For upper control arm and components, refer to
Upper Control Arm and Components (Independent Suspension)
- Install the upper control arm to the frame bracket.
- Install the nuts.
- Connect the upper control arm to the steering knuckle. Insert the stud of the upper control arm ball joint into the steering knuckle.
- Install the nut and the cotter pin.
- Install the caliper. Refer to Brake Caliper Replacement in Disc Brakes.
- Install the tire and wheel assembly. Refer to Tire and Wheel Removal and Installation in Tires and Wheels.
- Lower the vehicle.
- Check the front wheel alignment and reset as required. Refer to Wheel Alignment Specifications in Wheel Alignment.
Notice: Use the correct fastener in the correct location. Replacement fasteners must be the correct part number for that application. Fasteners requiring replacement or fasteners requiring the use of thread locking compound or sealant are identified in the service procedure. Do not use paints, lubricants, or corrosion inhibitors on fasteners or fastener joint surfaces unless specified. These coatings affect fastener torque and joint clamping force and may damage the fastener. Use the correct tightening sequence and specifications when installing fasteners in order to avoid damage to parts and systems.
Important:
• A normal shim pack will leave at least two threads of the bolt
exposed beyond the nut. • If two threads cannot be obtained, check for a damaged control
arm or related parts. • The difference between the front and the rear shim packs must
not exceed 7.62 mm (0.30 in). The front shim pack must be at
least 6.09 mm (0.24 in). • Always tighten the thinner shim pack nut first in order to improve
the shaft to frame clamping force and torque retention.
Tighten
Tighten the nuts to 142 N·m (105 lb ft).
Important: Maximum torque needed to align the cotter pin is 175 N·m (130 lb ft).
Tighten
| • | Tighten the nuts to 122 N·m (90 lb ft). |
| • | Tighten the nut if needed to install the cotter pin. |
