Important: Do not remove the excessive material from the cylinder bore. Excessive
removal of material may require cylinder boring to the next oversize.
- Remove the cylinder bore ridge as necessary.
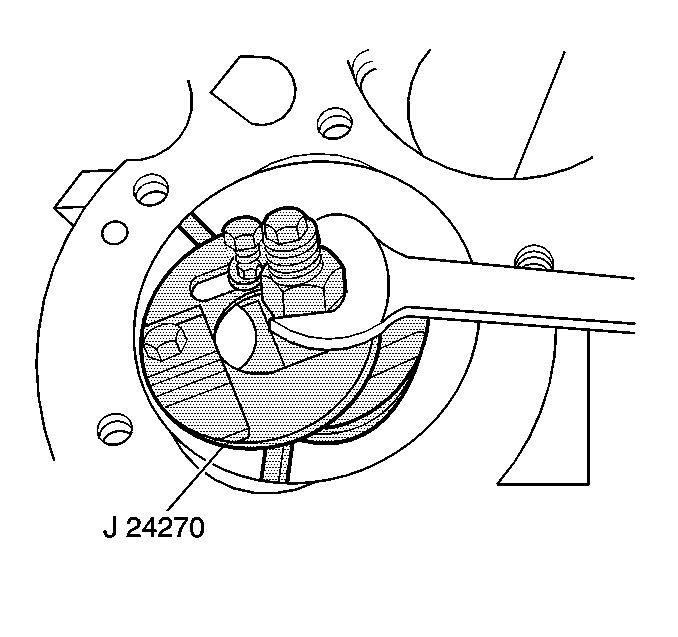
| 1.1. | Rotate the crankshaft until the piston is at the bottom of the
stroke (BDC). |
| 1.2. | Place a cloth on top of the piston. |
| 1.3. | Perform the cutting operation with a J 24270
. Refer to the manufacturer's instructions before using the J 24270
. |
| 1.5. | Rotate the crankshaft until the piston is at top dead center (TDC). |
| 1.6. | Remove the cloth and the cuttings. |
| 1.7. | Repeat the procedure for each piston. |
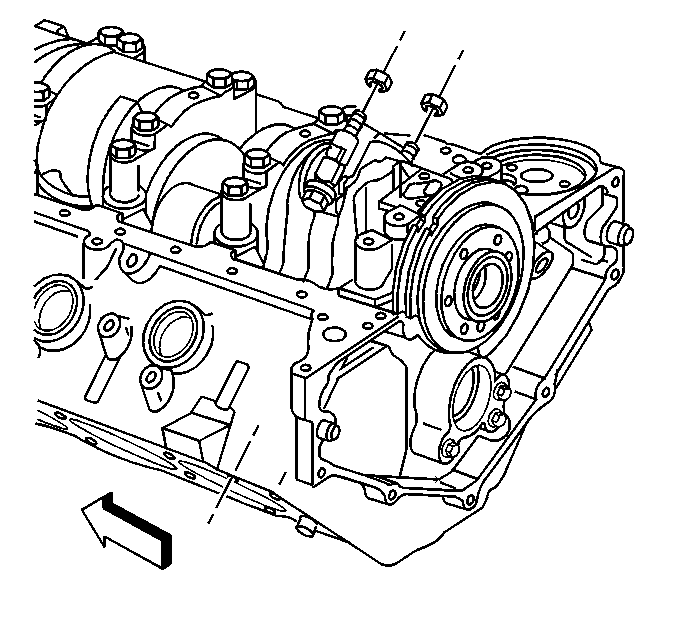
Important: Place the matching marks or numbers on the connecting rods and the connecting
rod caps. The connecting rod caps must be assembled to their original connecting
rods.
- Remove the connecting rod nuts.
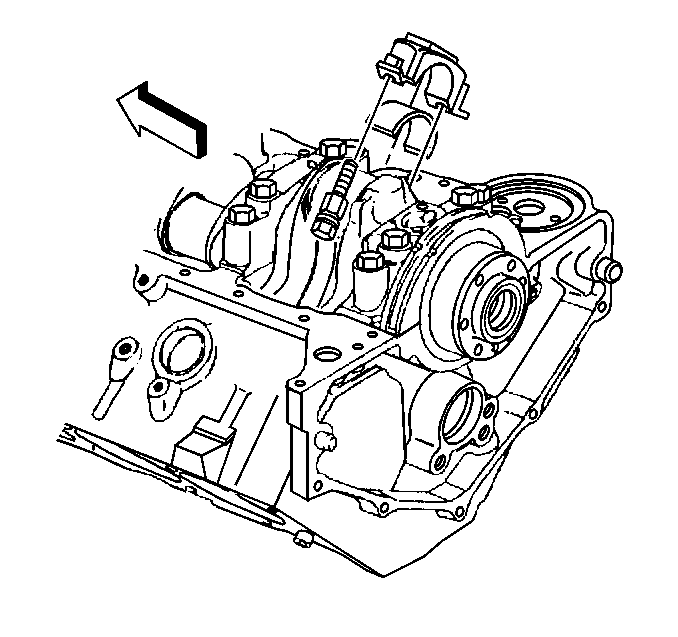
Notice: Do not shim, scrape, or file bearing inserts. Do not touch the bearing
surface of the insert with bare fingers. Skin oil and acids will etch the
bearing surface.
Important: If reusing bearings, keep the bearings with their original connecting
rod and connecting rod cap.
- Remove the connecting rod cap and the lower connecting rod bearing.
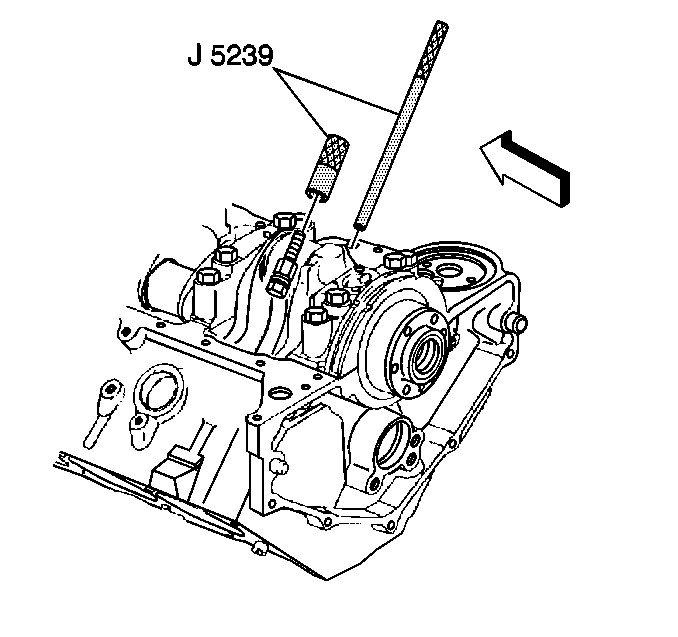
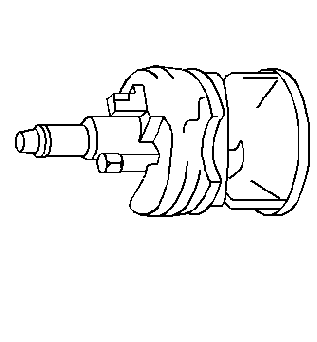
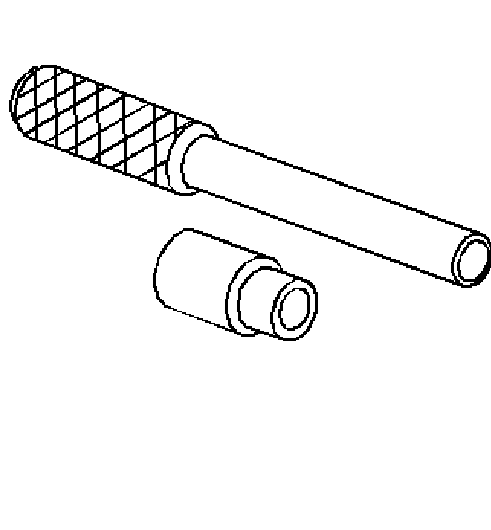
- Install the J 5239
on the connecting rod bolts.

- Remove the piston, connecting
rod and upper connecting rod bearing out of the top of the engine block using
the J 5239
.
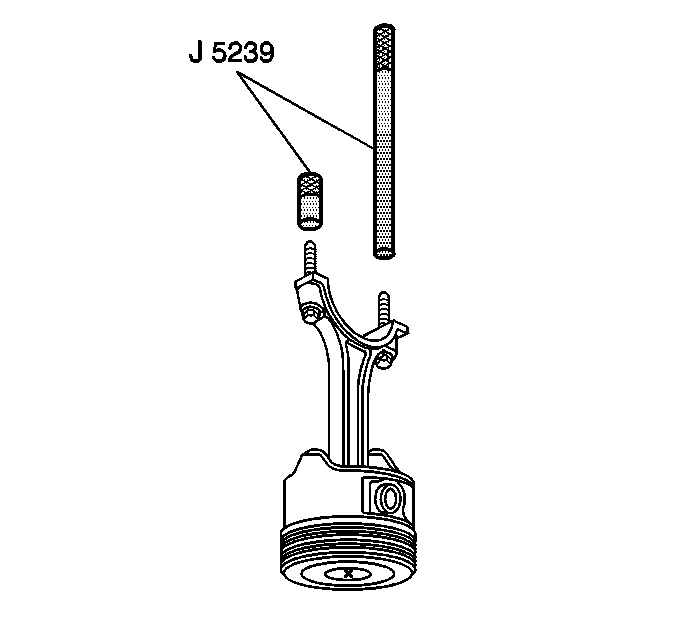
- Remove the J 5239
from the connecting rod bolts.
- Remove the remaining piston and the connecting rod assemblies.
- Wipe the oil from the bearings and the crankpins.
