For 1990-2009 cars only
- Coat the valve rocker arm and valve rocker arm ball bearing surfaces with prelube GM P/N 1052367 or equivalent.
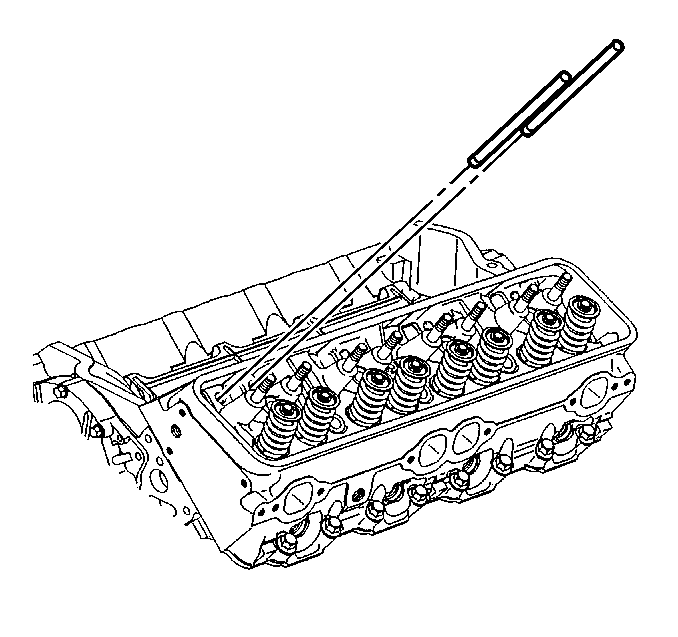
- Install the valve pushrods.
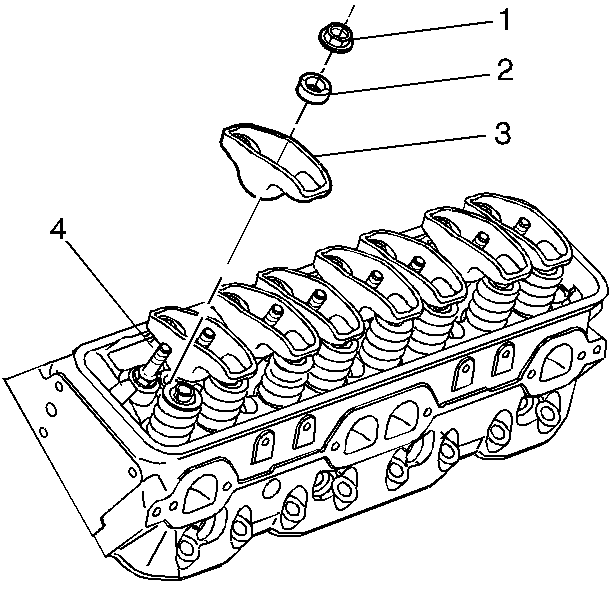
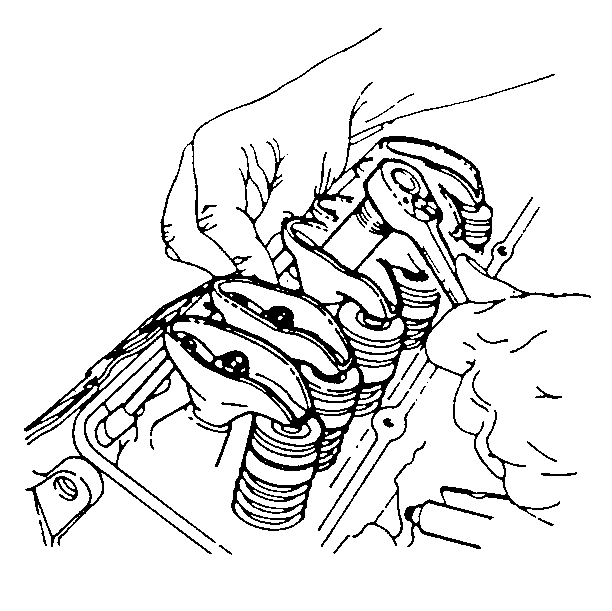
- Install the following parts:
- Adjust the valve rocker arm nuts until all of the lash is gone.
Important: Be sure to keep parts in order. Parts must be put back from where they were removed.
Important: Be sure that the valve pushrods seat in the valve lifter sockets.


| • | The valve rocker arms |
| • | The valve rocker arm balls |
| • | The valve rocker arm nuts |

| 4.1. | Turn the crankshaft until the cast arrow on the crankshaft balancer hub is at 12 o'clock and the number 1 cylinder is in the firing position (top dead center). |
| 4.2. | Watch the number 1 cylinder valves as the crankshaft balancer hub approaches 12 o'clock. If a valve moves as the arrow moves into position, the engine is in the number 6 firing position. If this happens, turn the crankshaft one more revolution in order to reach the number 1 cylinder firing position. |
| 4.3. | With the engine in the number 1 firing position, adjust the exhaust valves 1,3,4,8 and the intake valves 1,2,5,7. |
| • | Back off the valve rocker arm nut until the lash is felt in the valve pushrod. |
| • | Tighten the valve rocker arm nut until all the lash is removed. |
| • | Zero lash can be felt by moving the valve pushrod up and down between your thumb and forefinger until there is no more movement. |
| • | When all free play is gone, tighten the valve rocker arm nut 1 additional turn (360 degrees). |
| 4.4. | Turn the crankshaft 1 revolution until the hub arrow is at 12 o'clock. This is the number 6 firing position. |
| 4.5. | Adjust the exhaust valves 2,5,6,7 and the intake valves 3,4,6,8. |
| • | Back off the valve rocker arm nut until the lash is felt in the valve pushrod. |
| • | Tighten the valve rocker arm nut until all the lash is removed. |
| • | Zero lash can be felt by moving the valve pushrod up and down between your thumb and forefinger until there is no more movement. |
| • | When all free play is gone, tighten the valve rocker arm nut 1 additional turn (360 degrees). |
