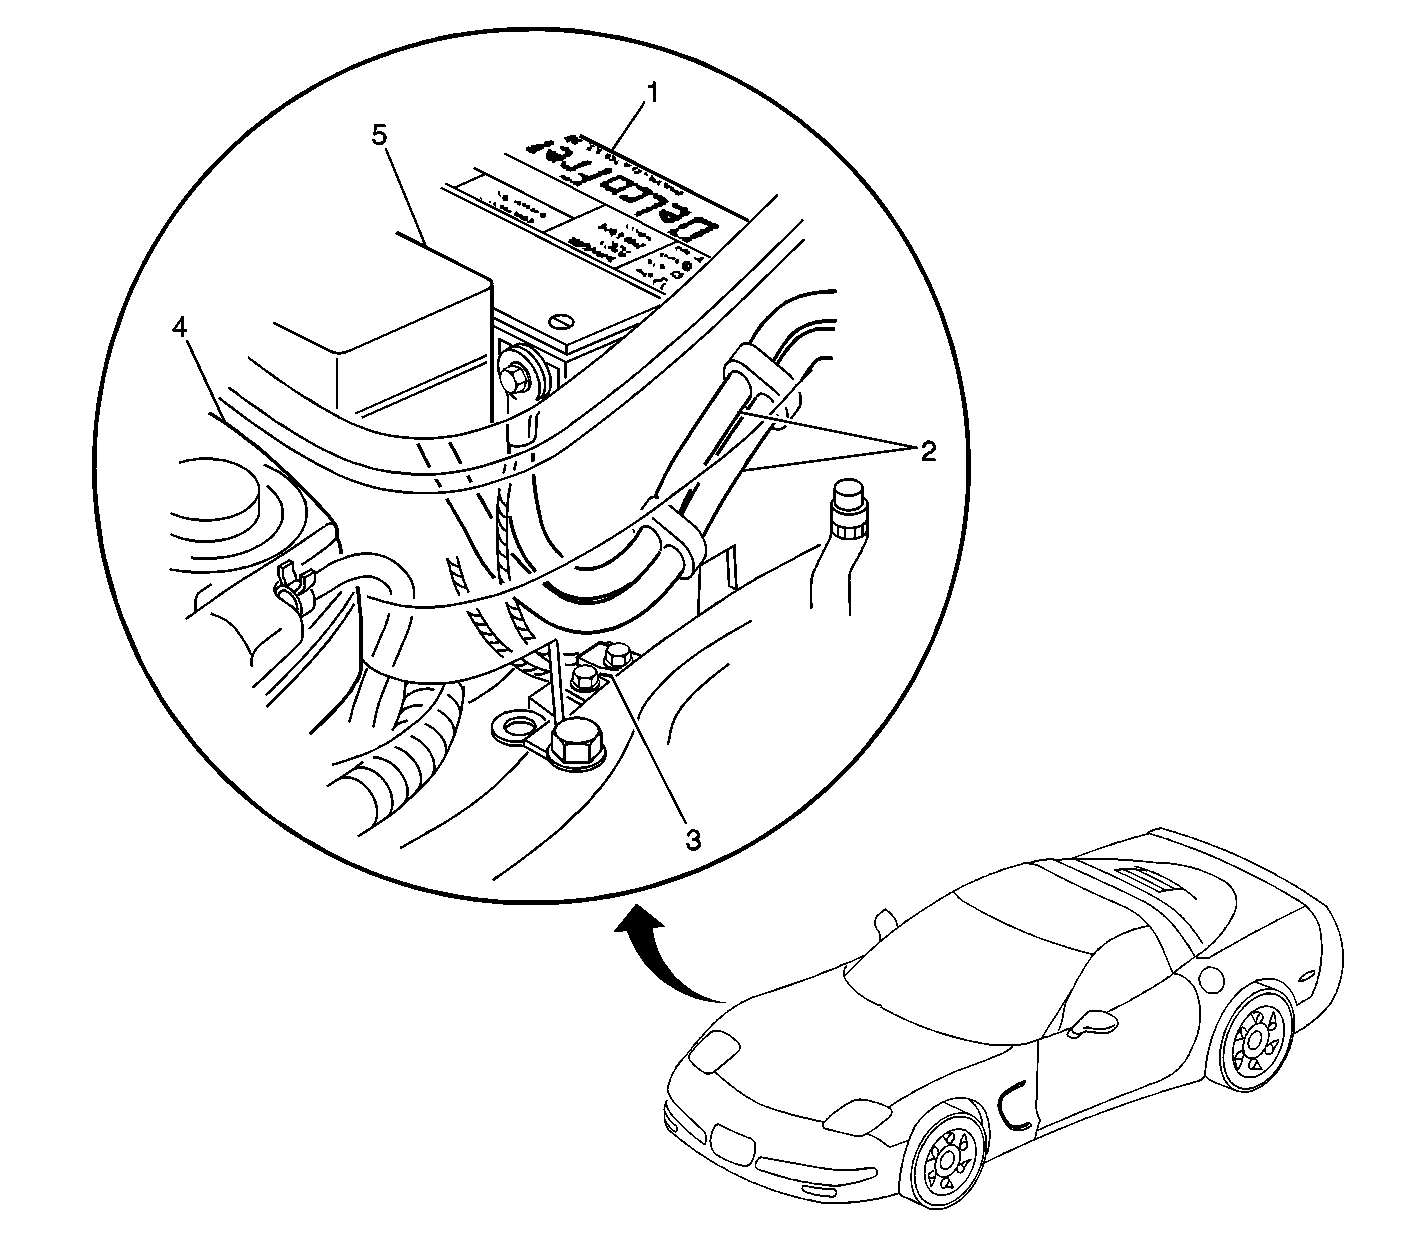
| Figure 1: |
Engine Compartment Under the Battery
|
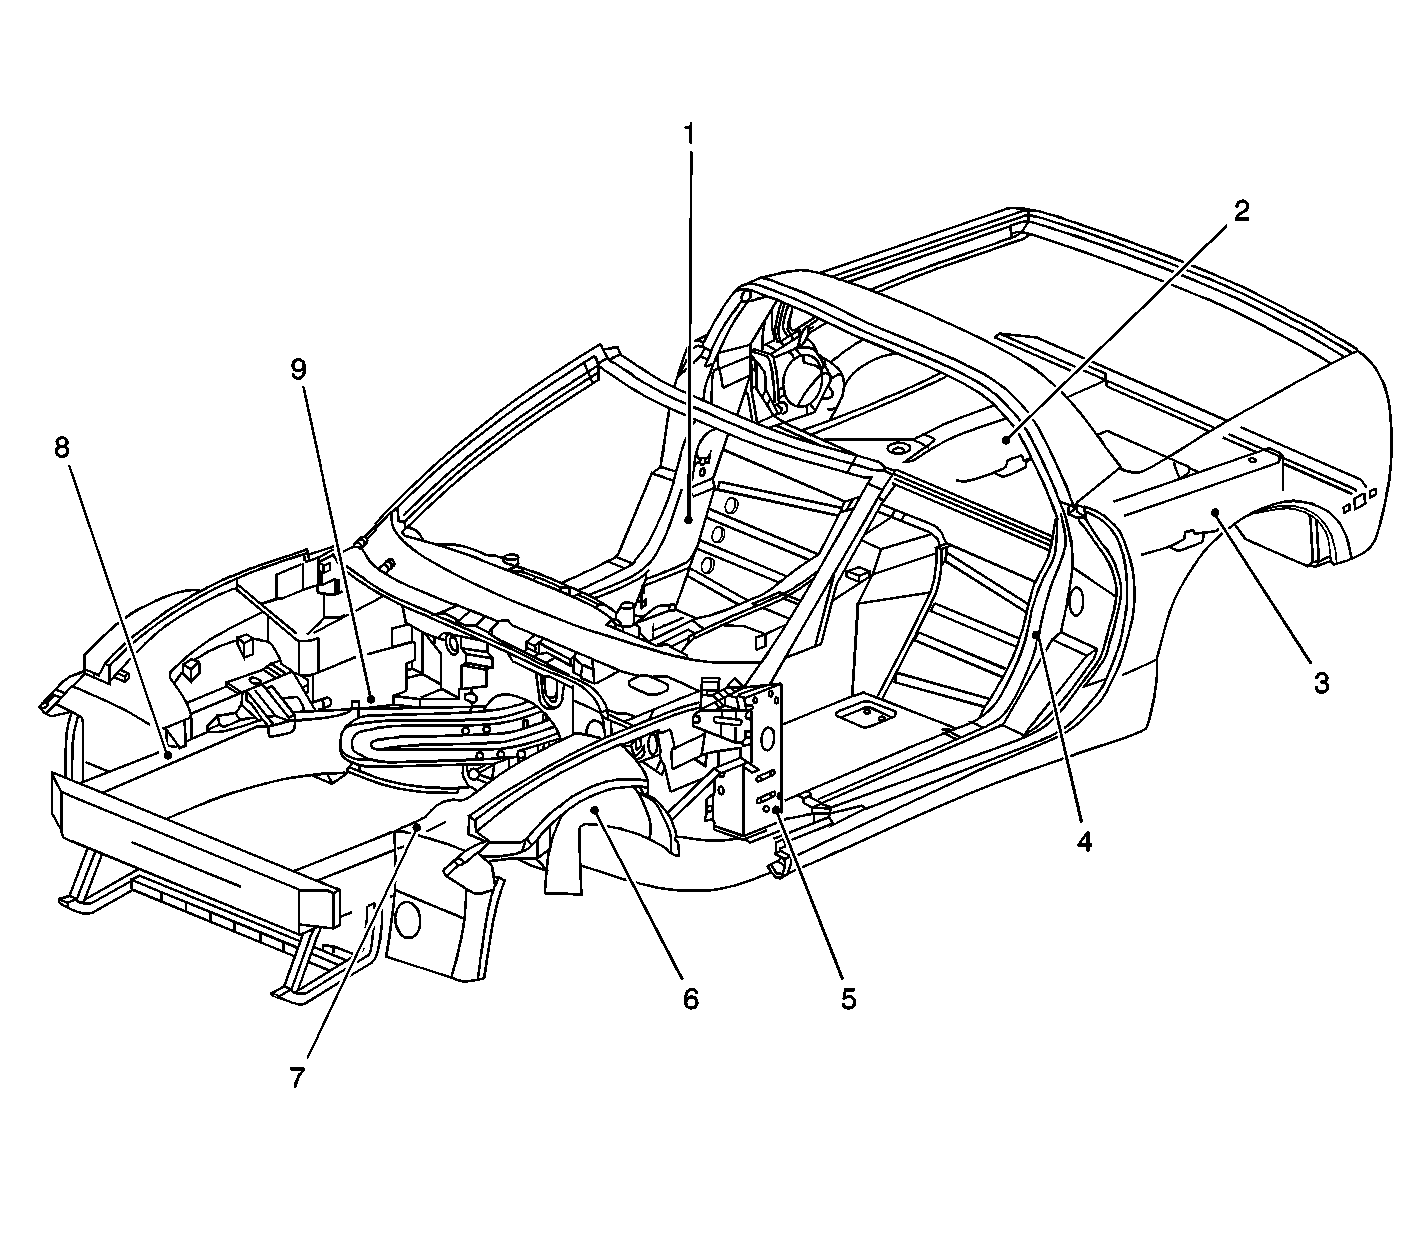
| Figure 2: |
View of Vehicle Without Body Panels
|
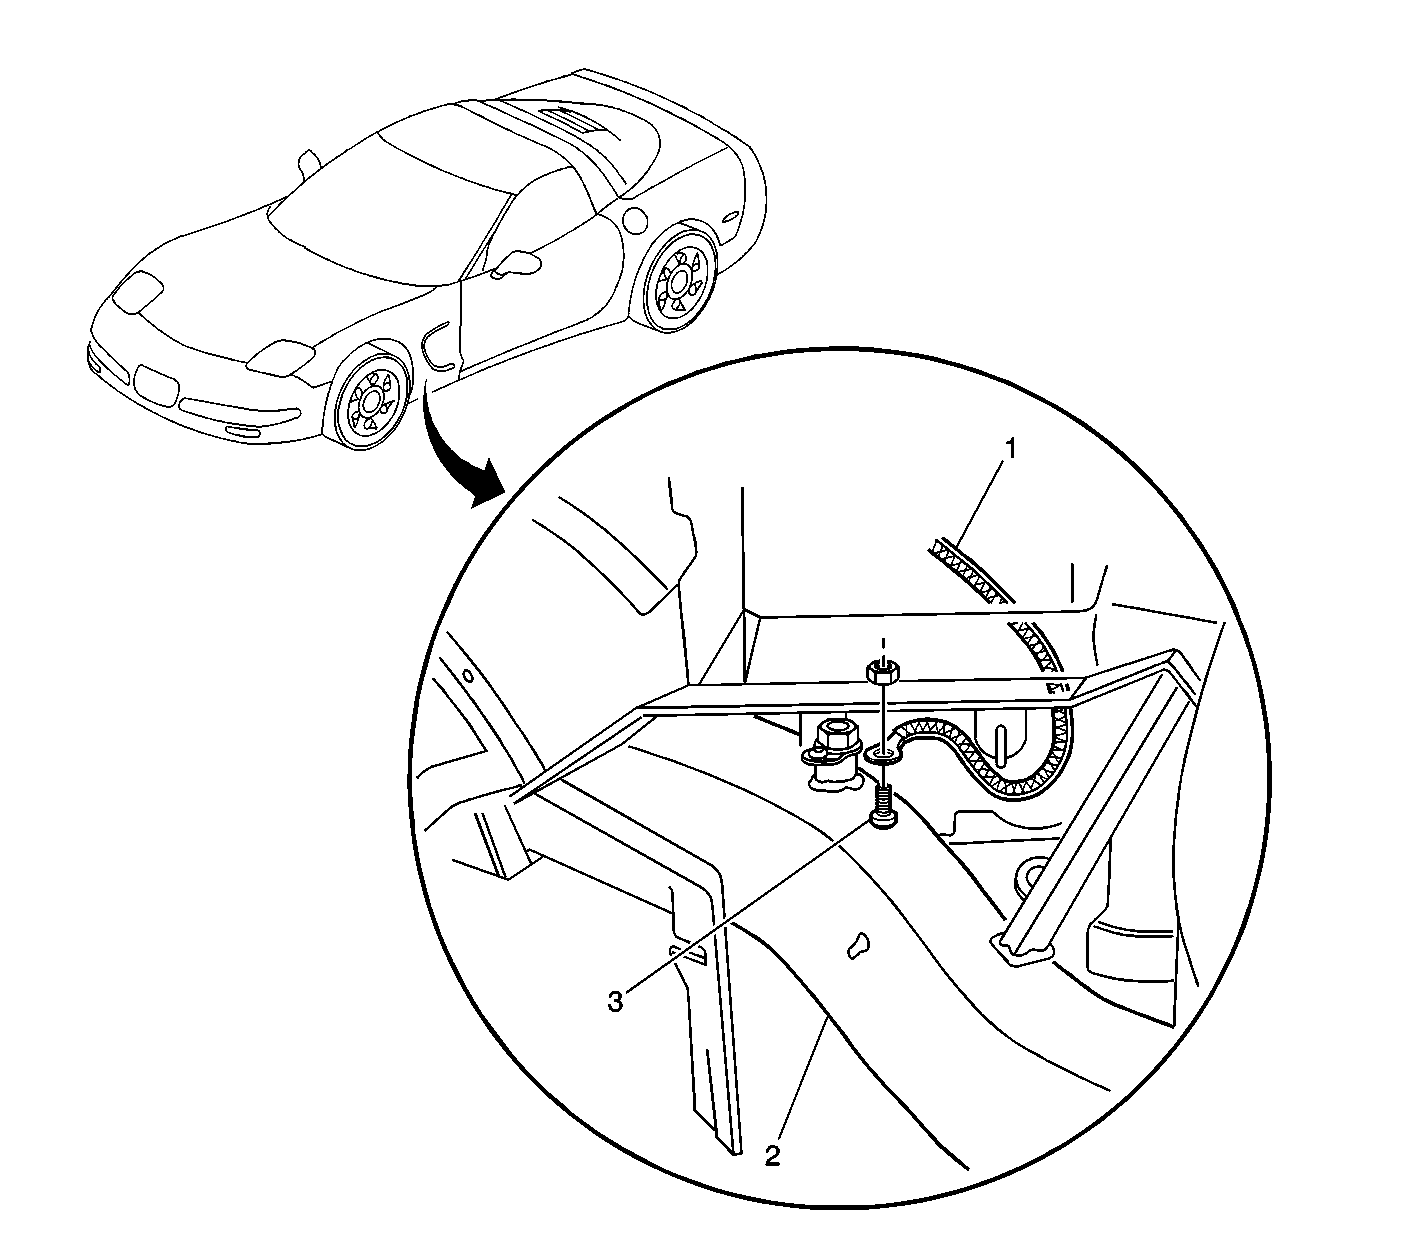
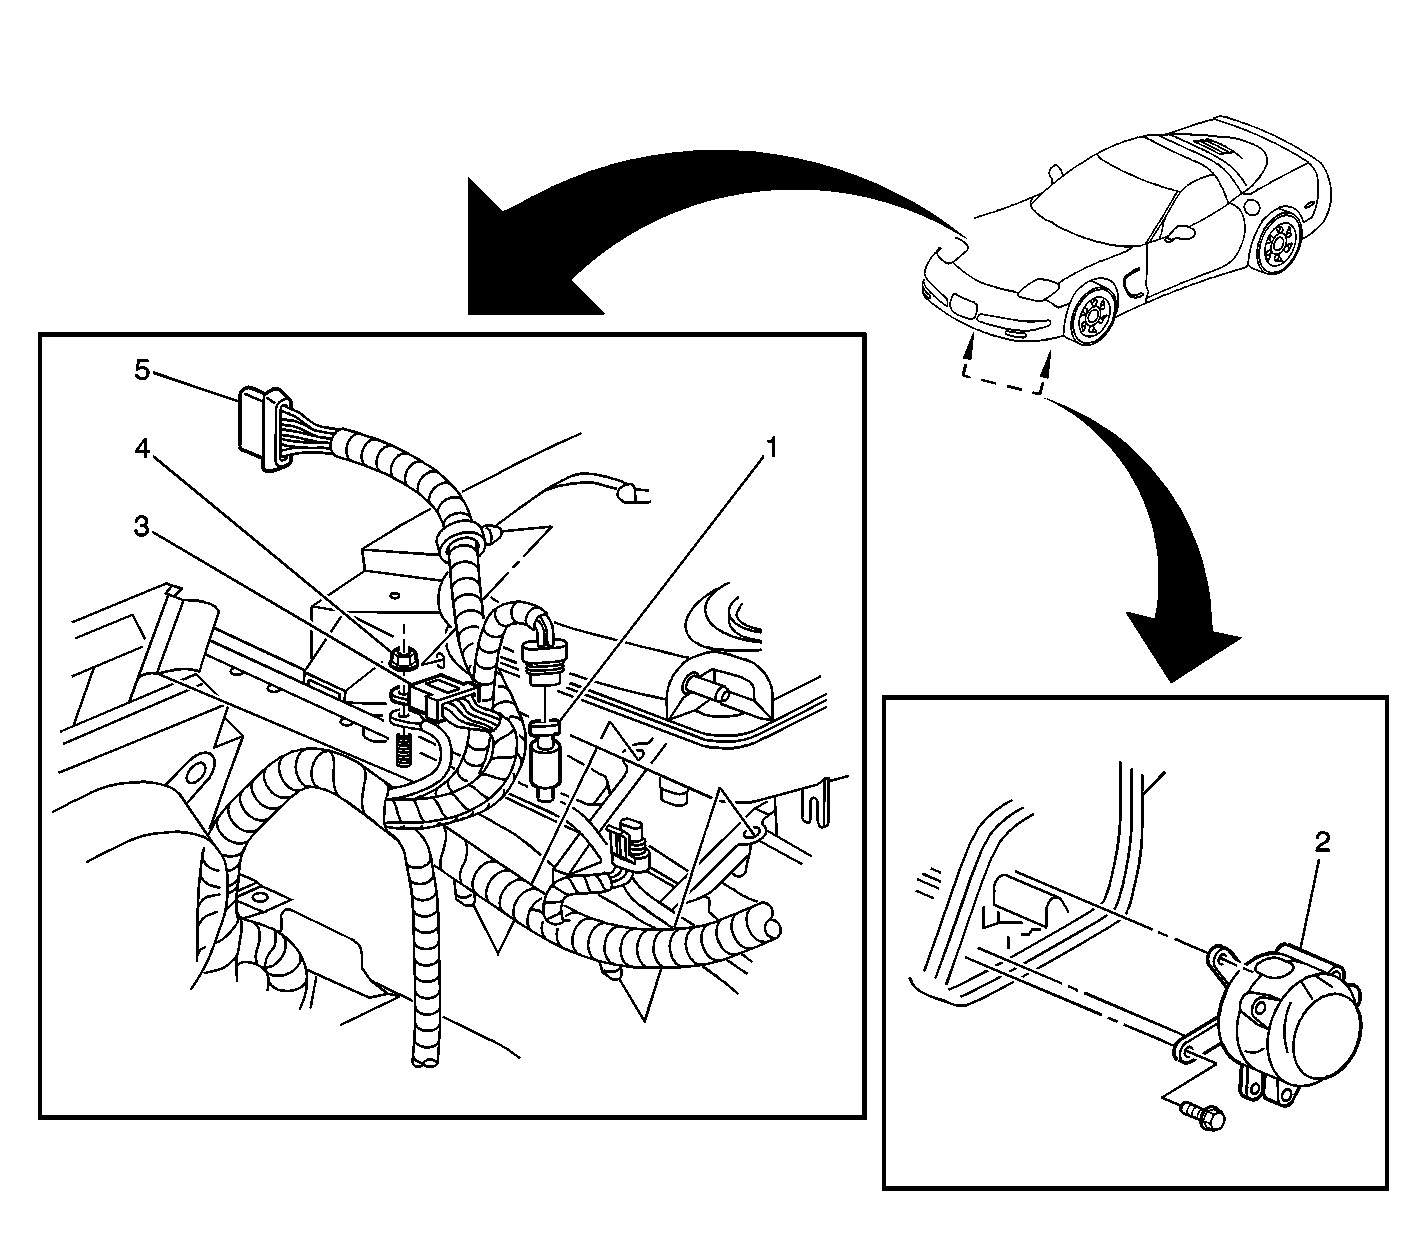
| Figure 3: |
Behind the LF Wheel
|
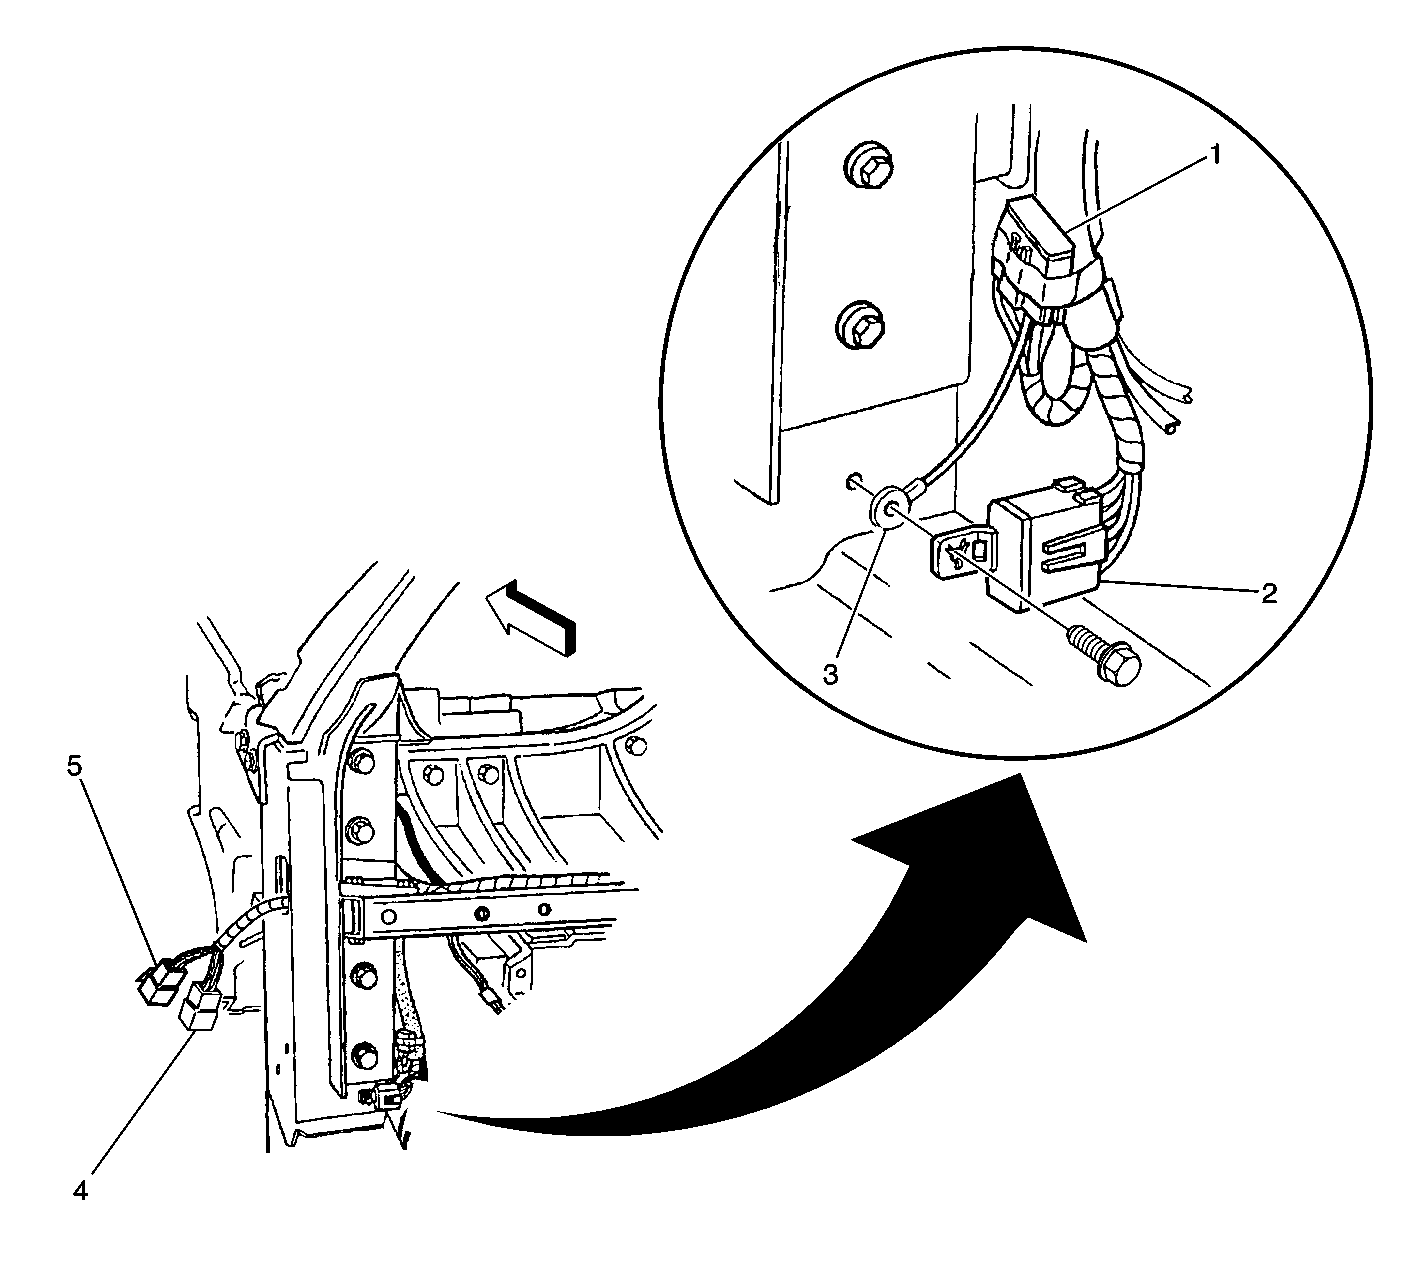
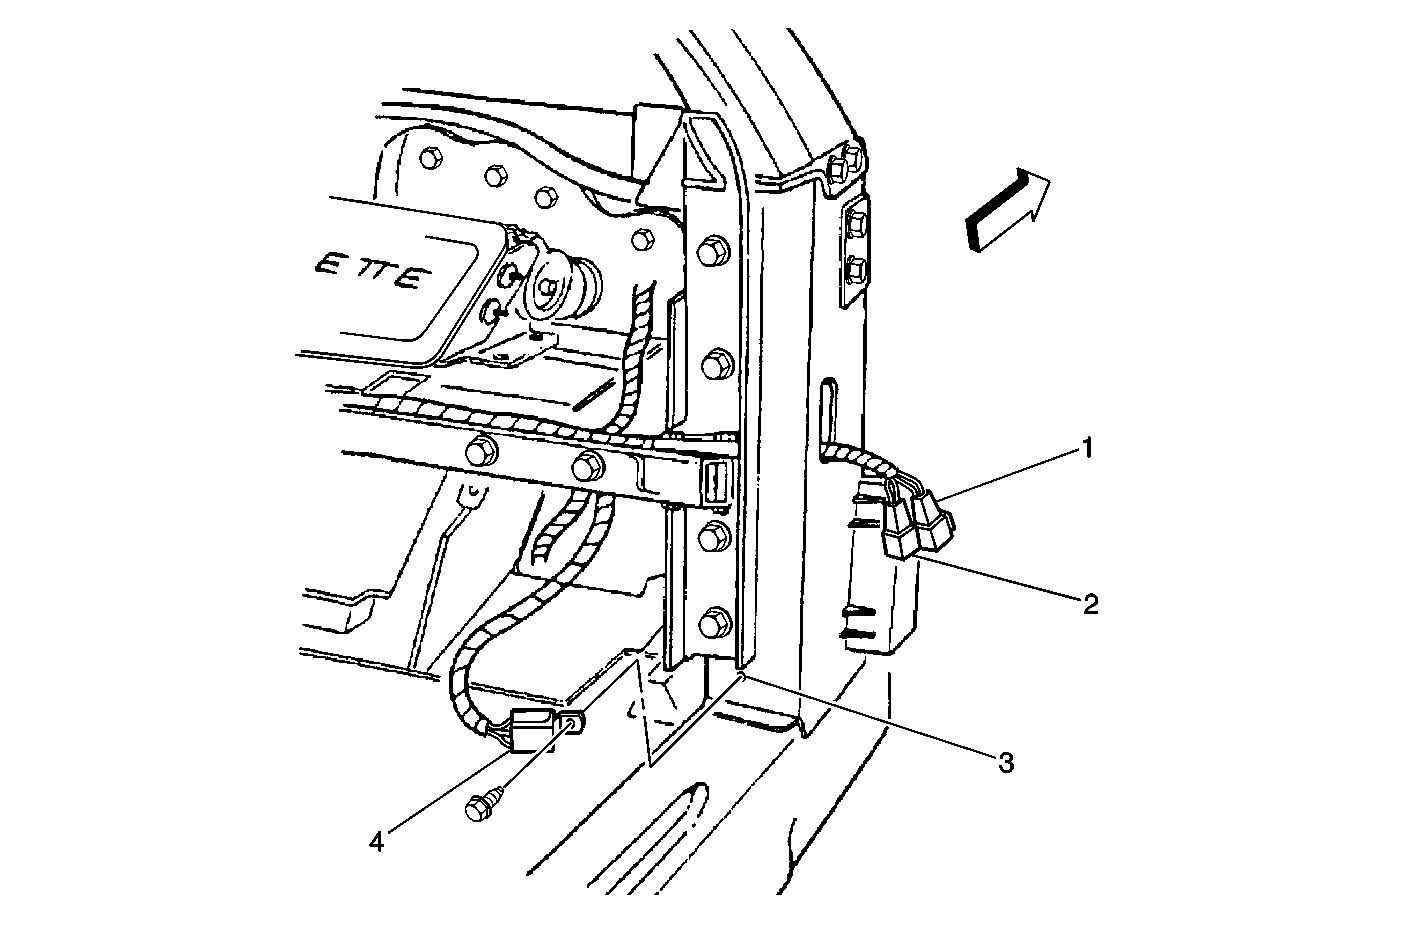
| Figure 4: |
Bottom of the A-Pillar--LF
|
| Figure 5: |
Bottom of the A-Pillar--RF
|
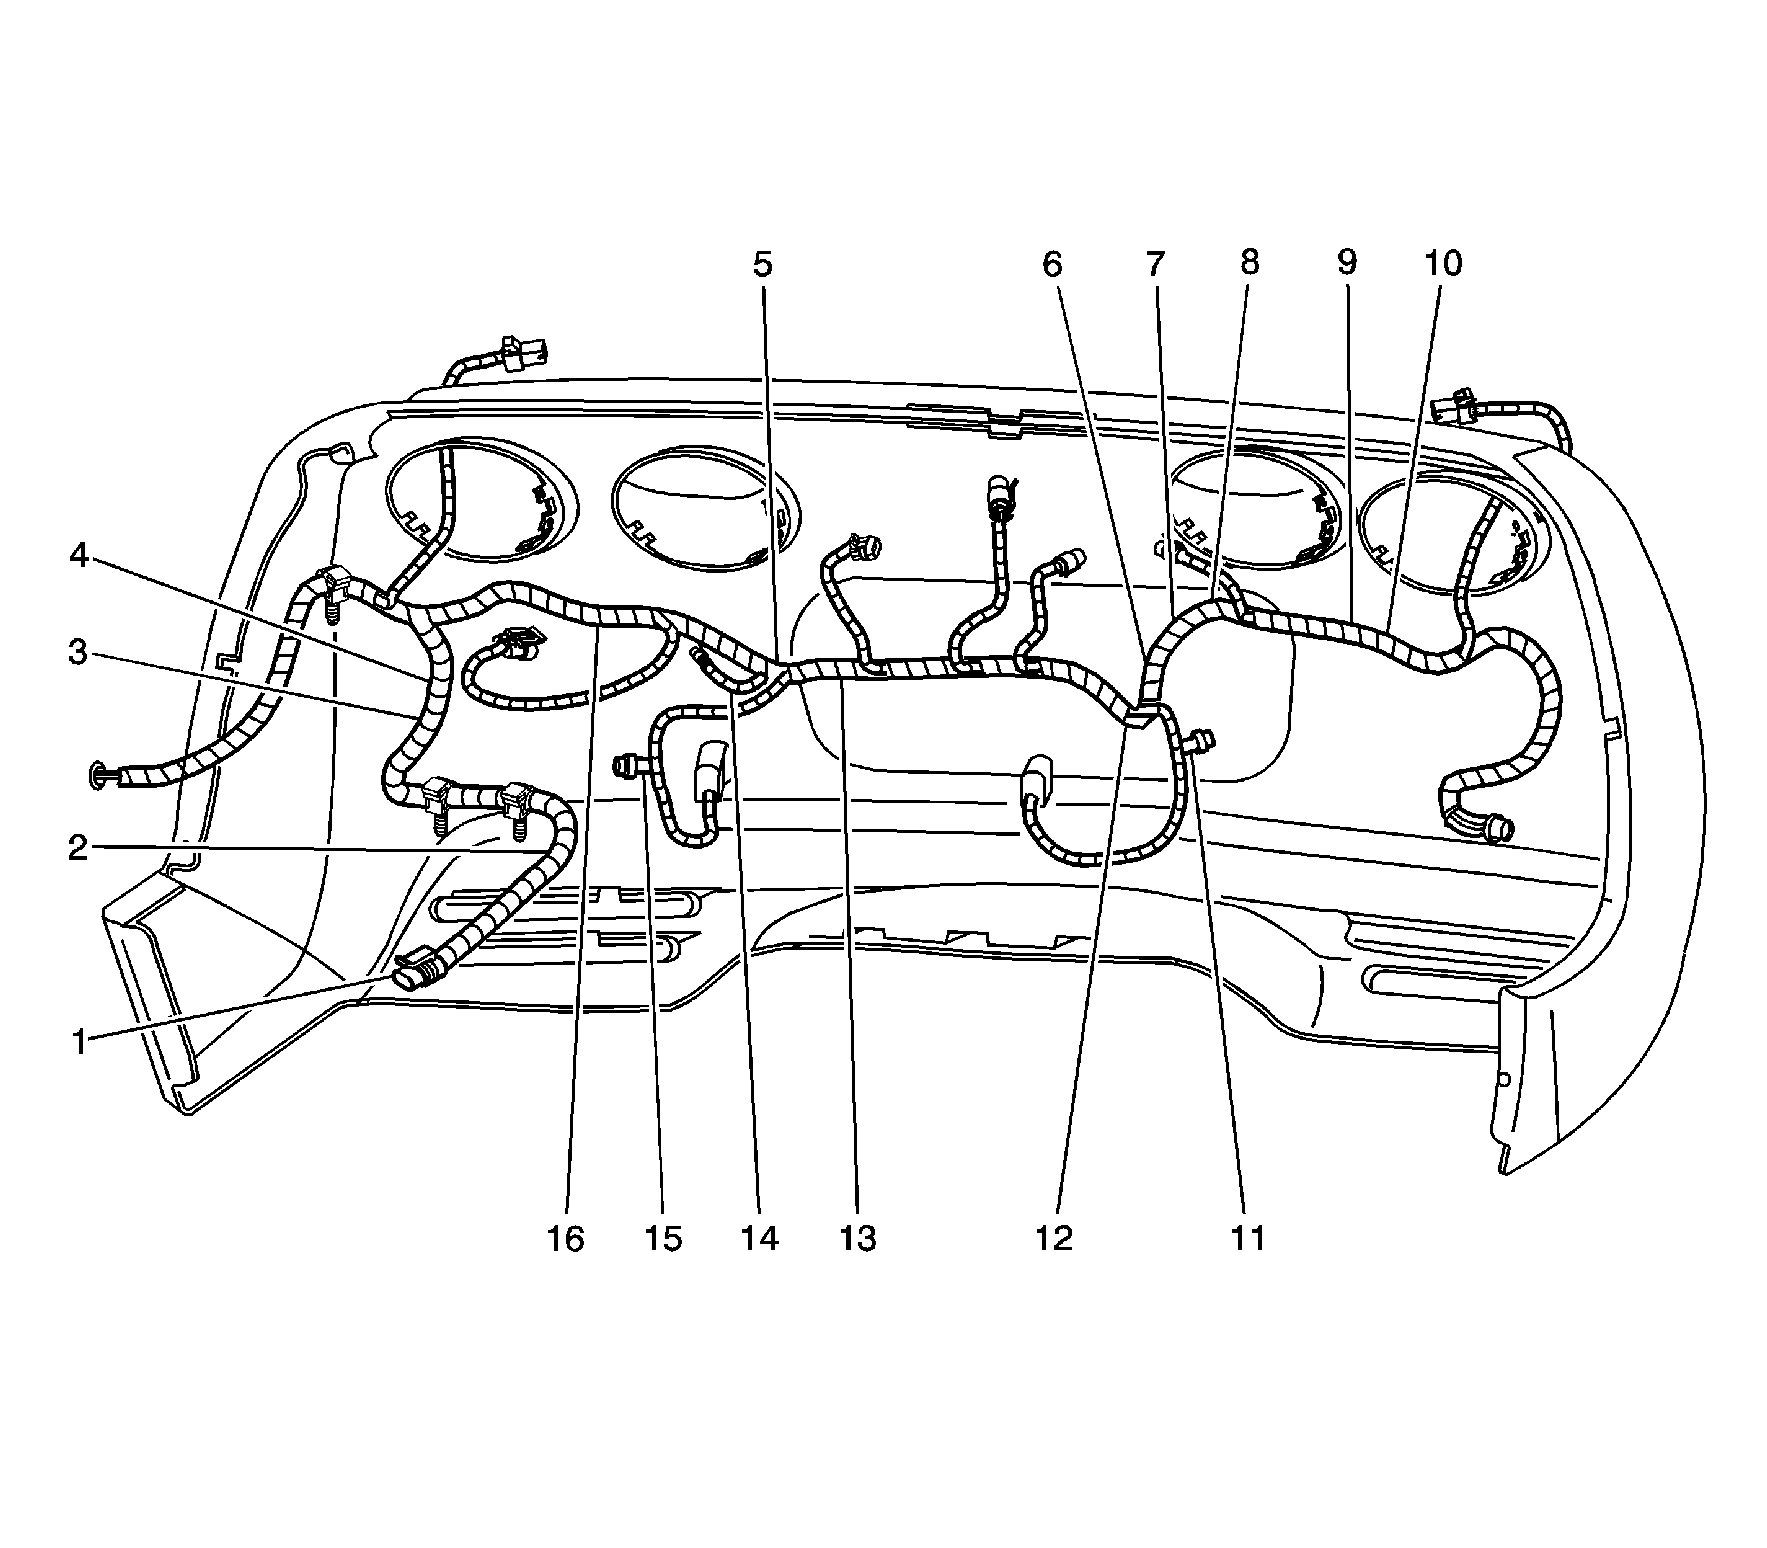
| Figure 6: |
Instrument Panel
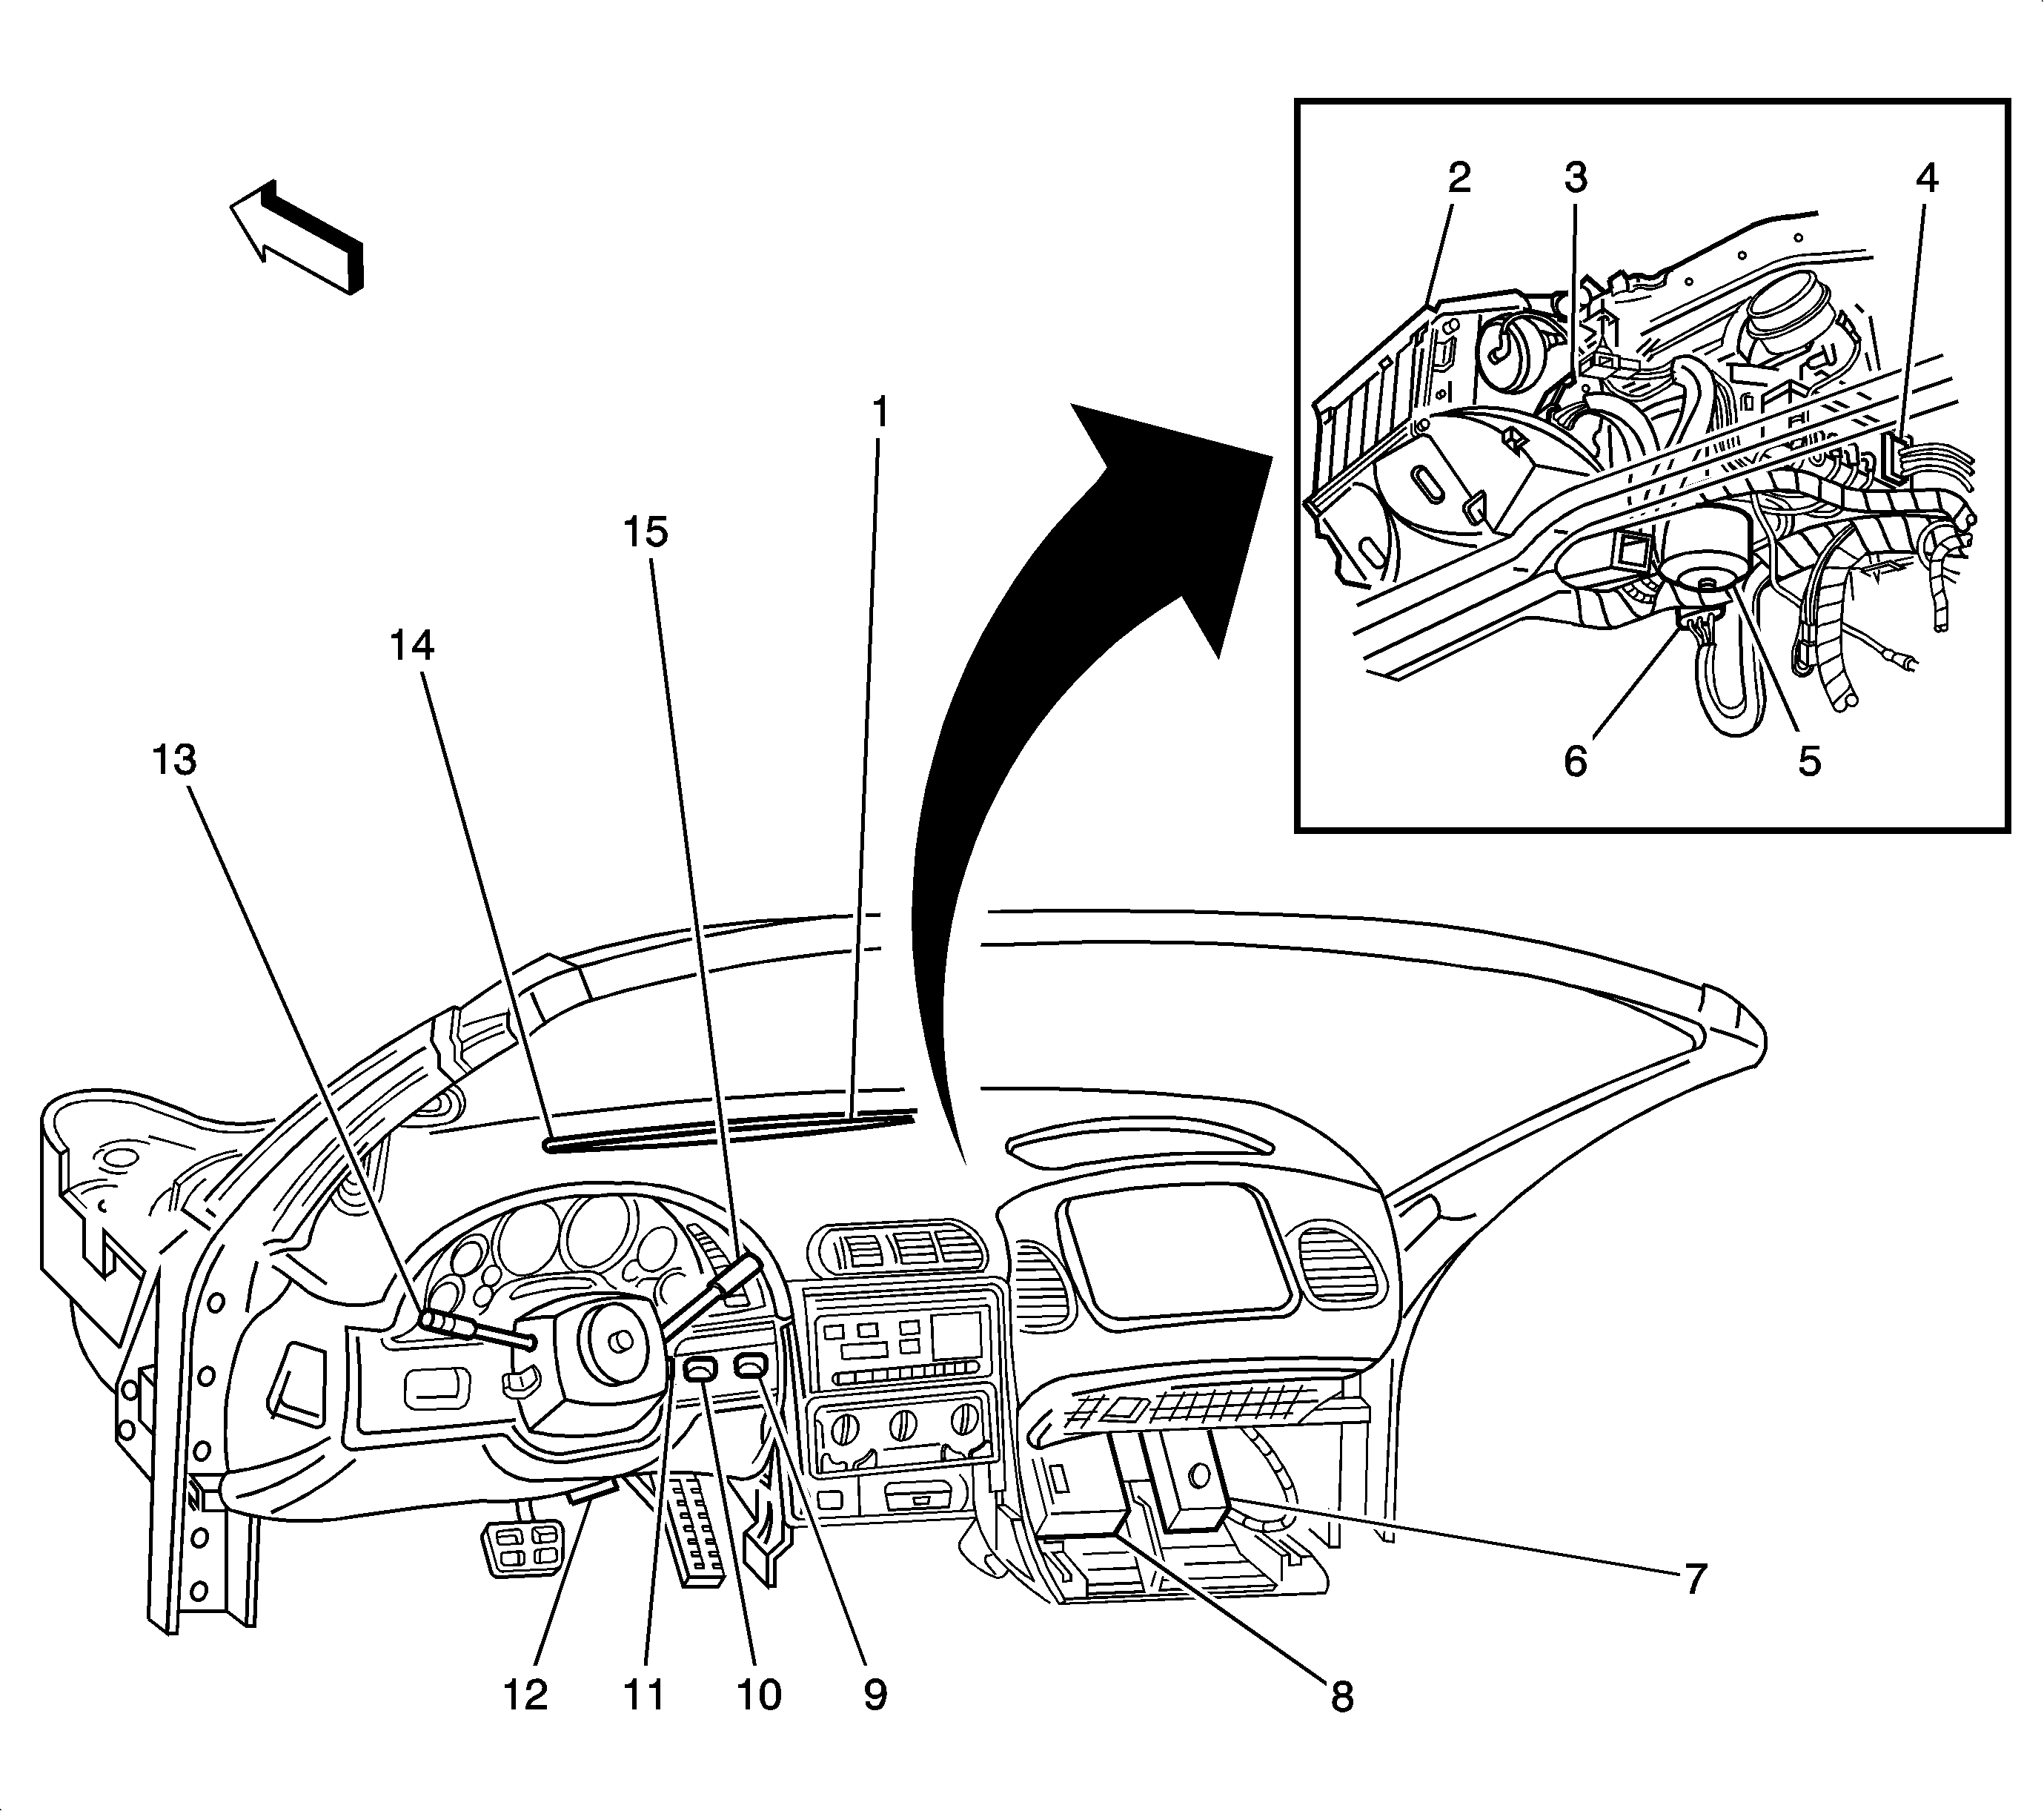
|
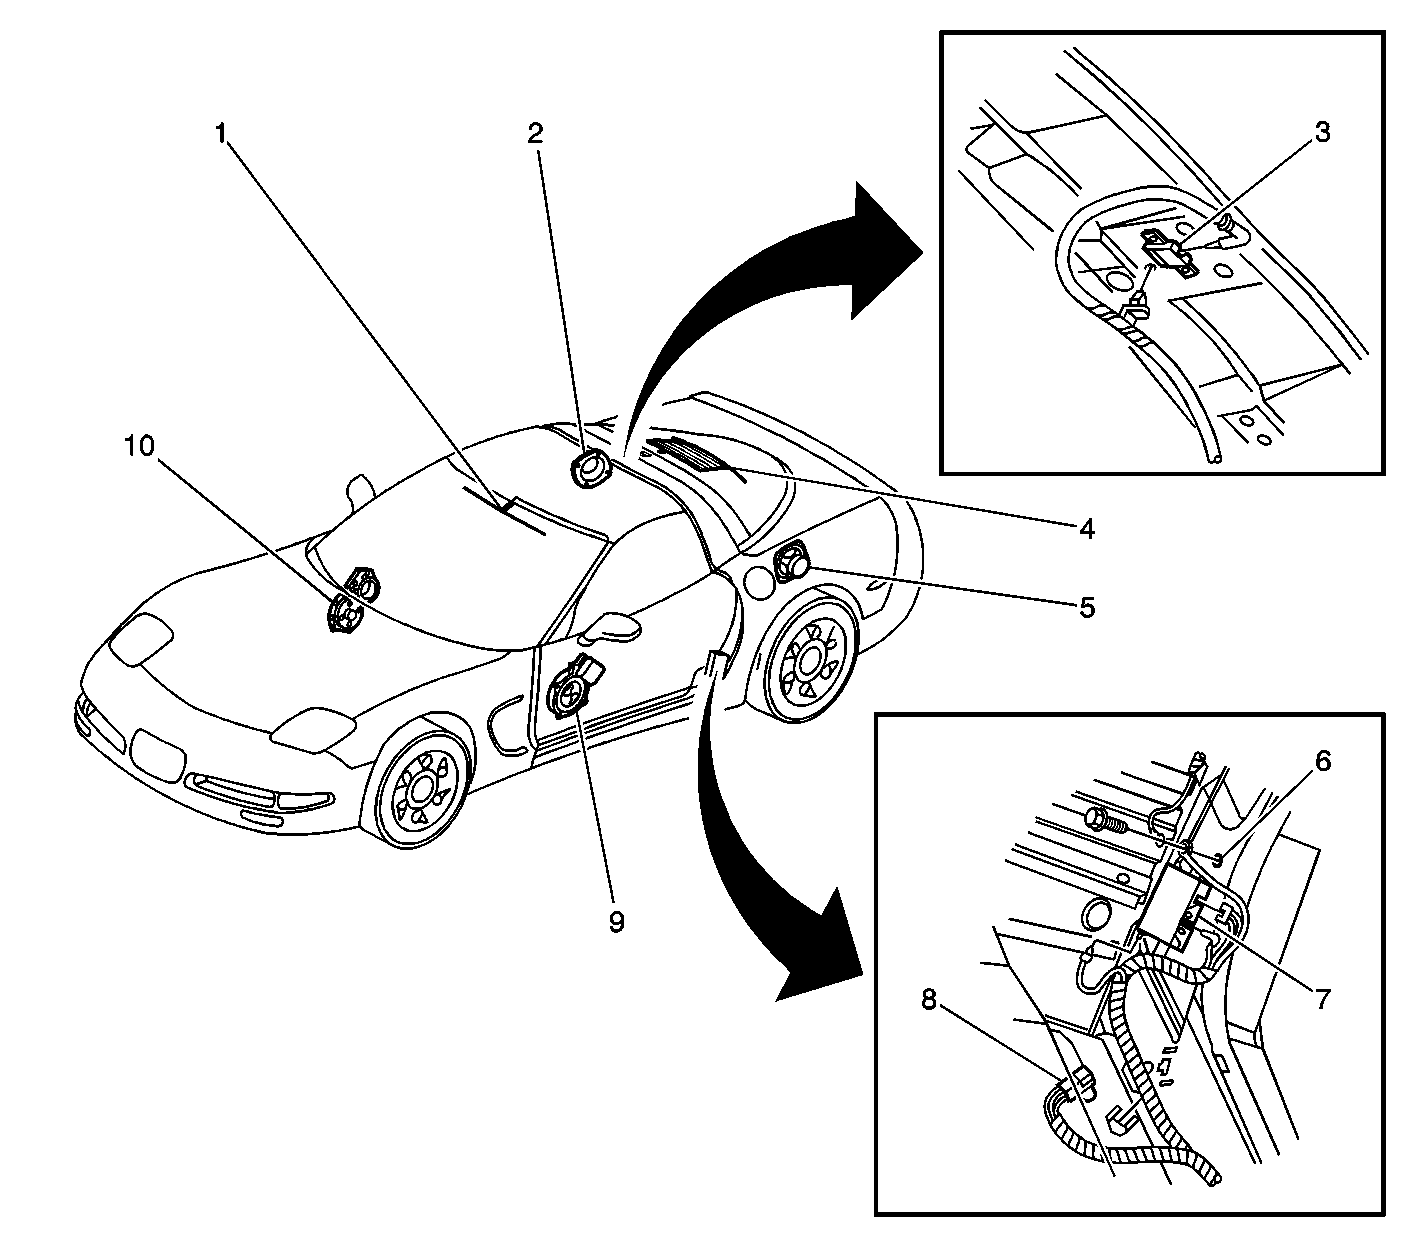
| Figure 7: |
Cockpit View
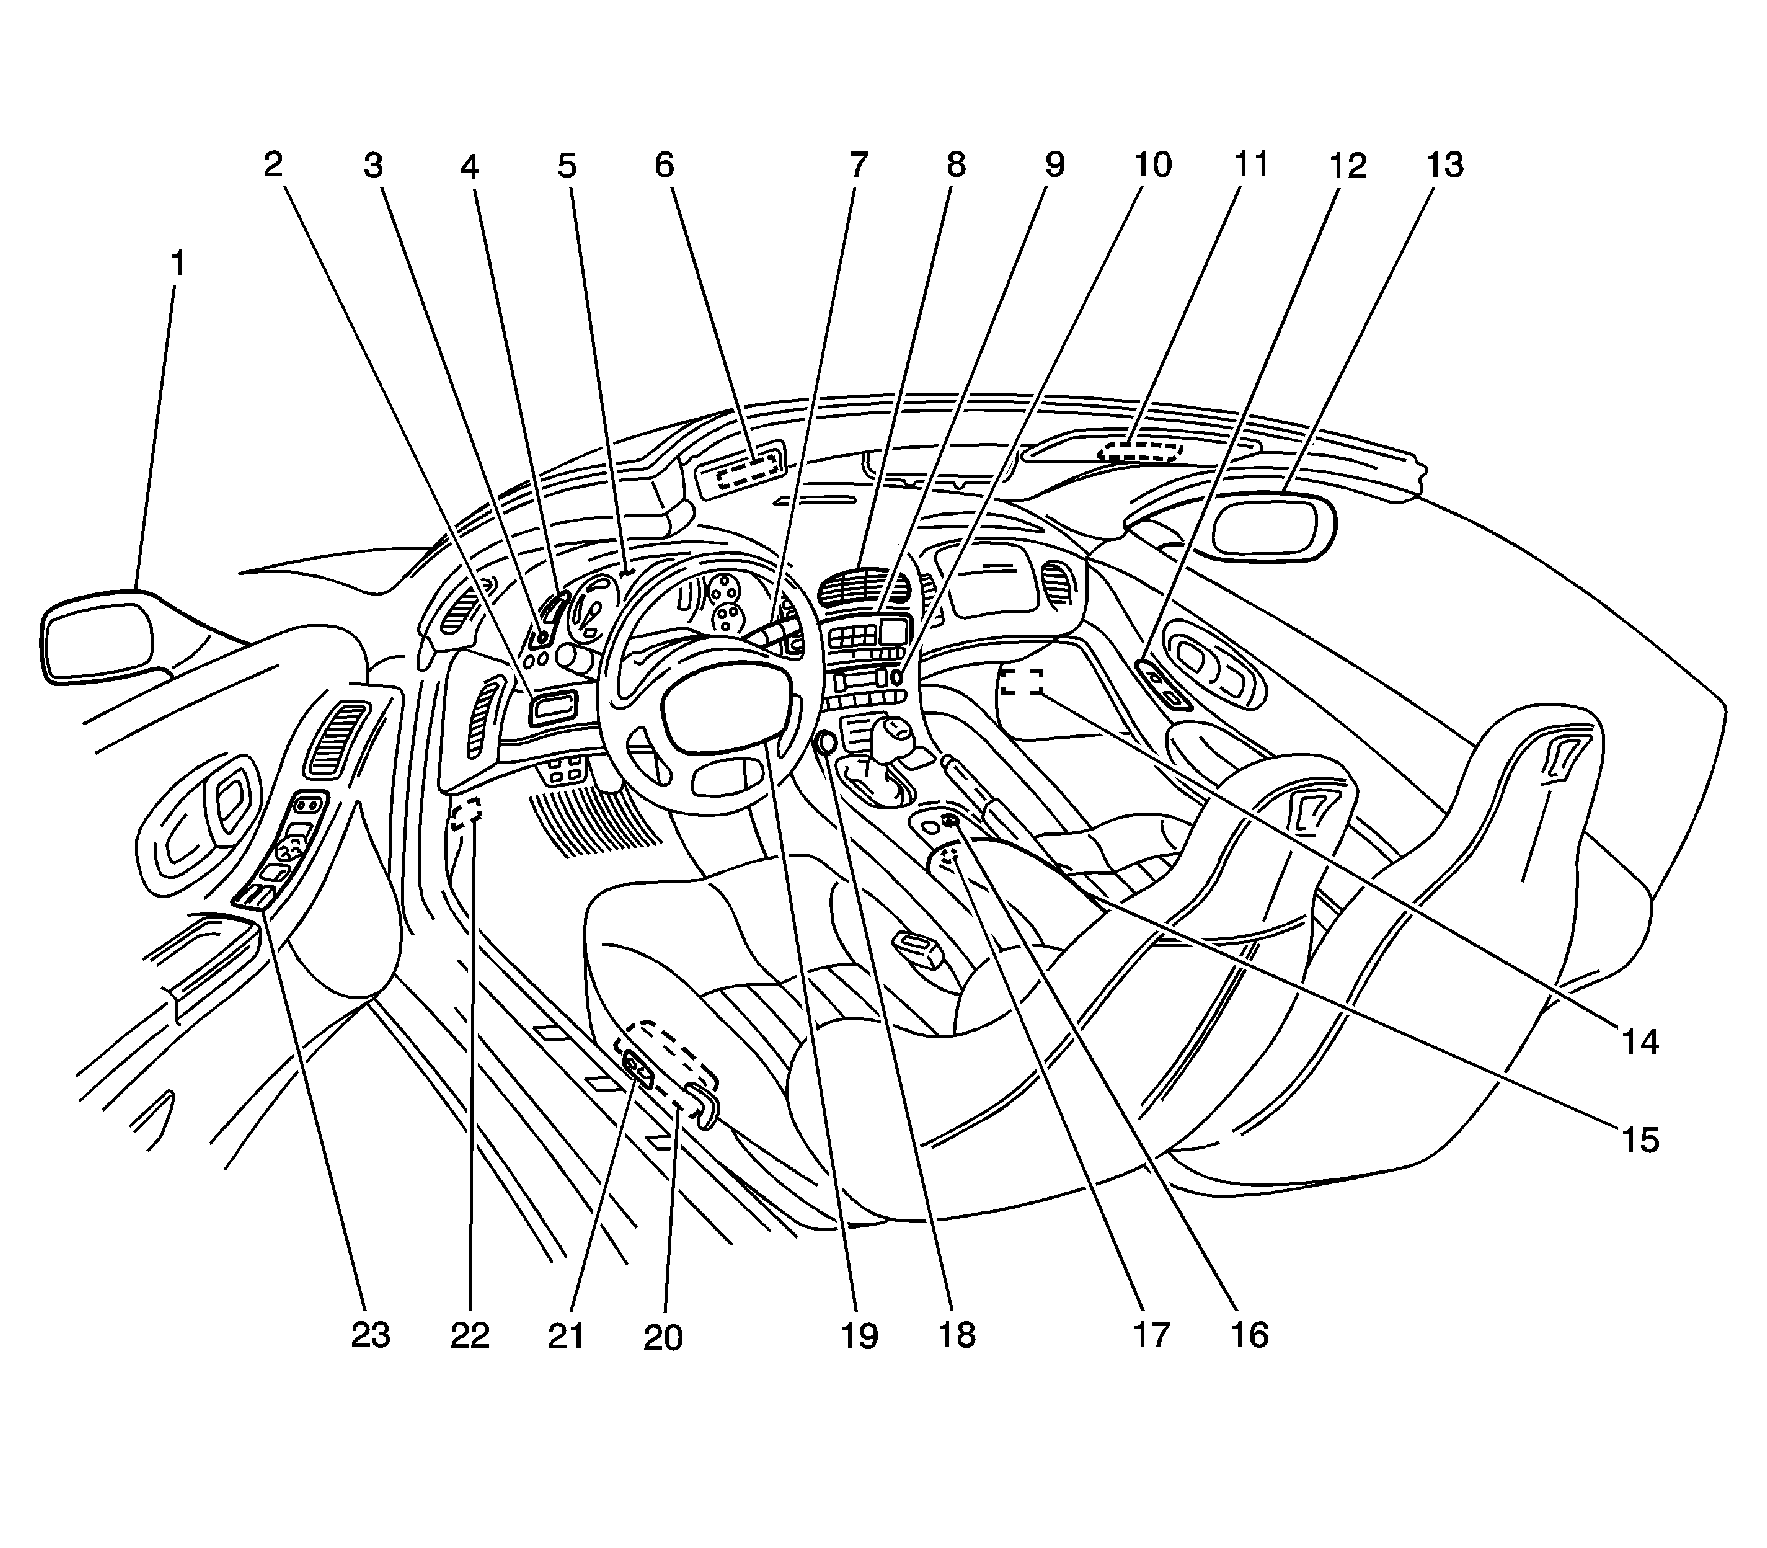
|
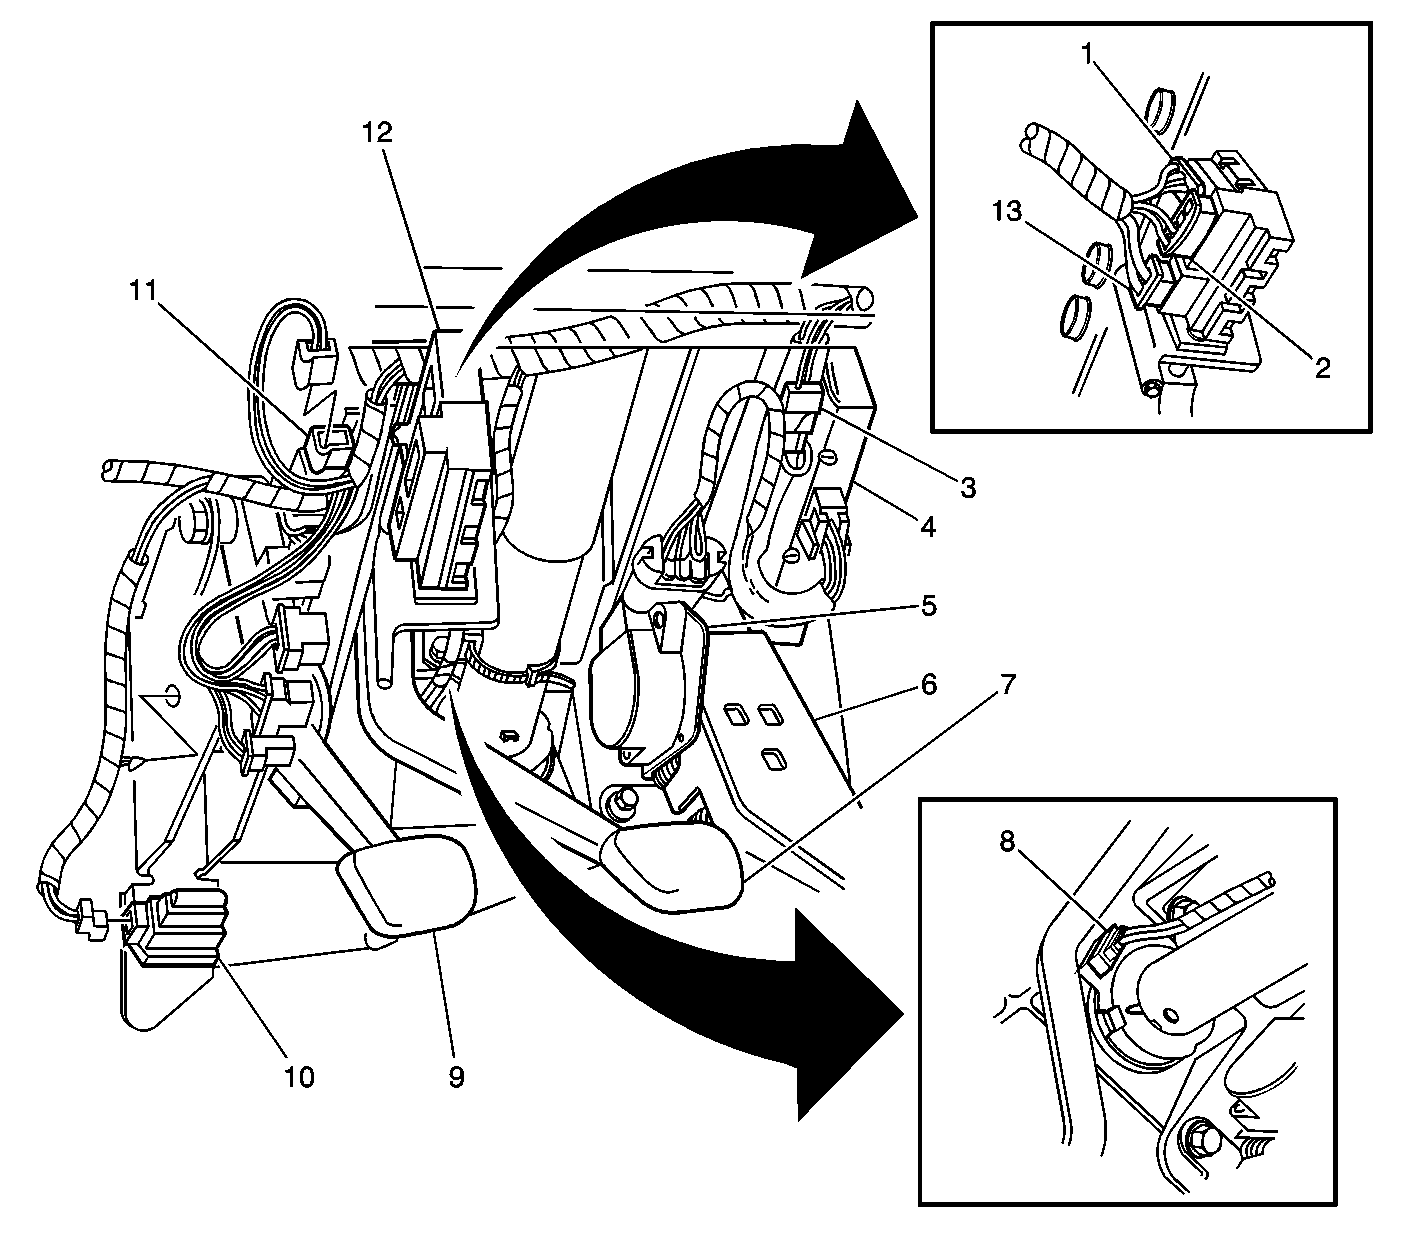
| Figure 8: |
Steering Column
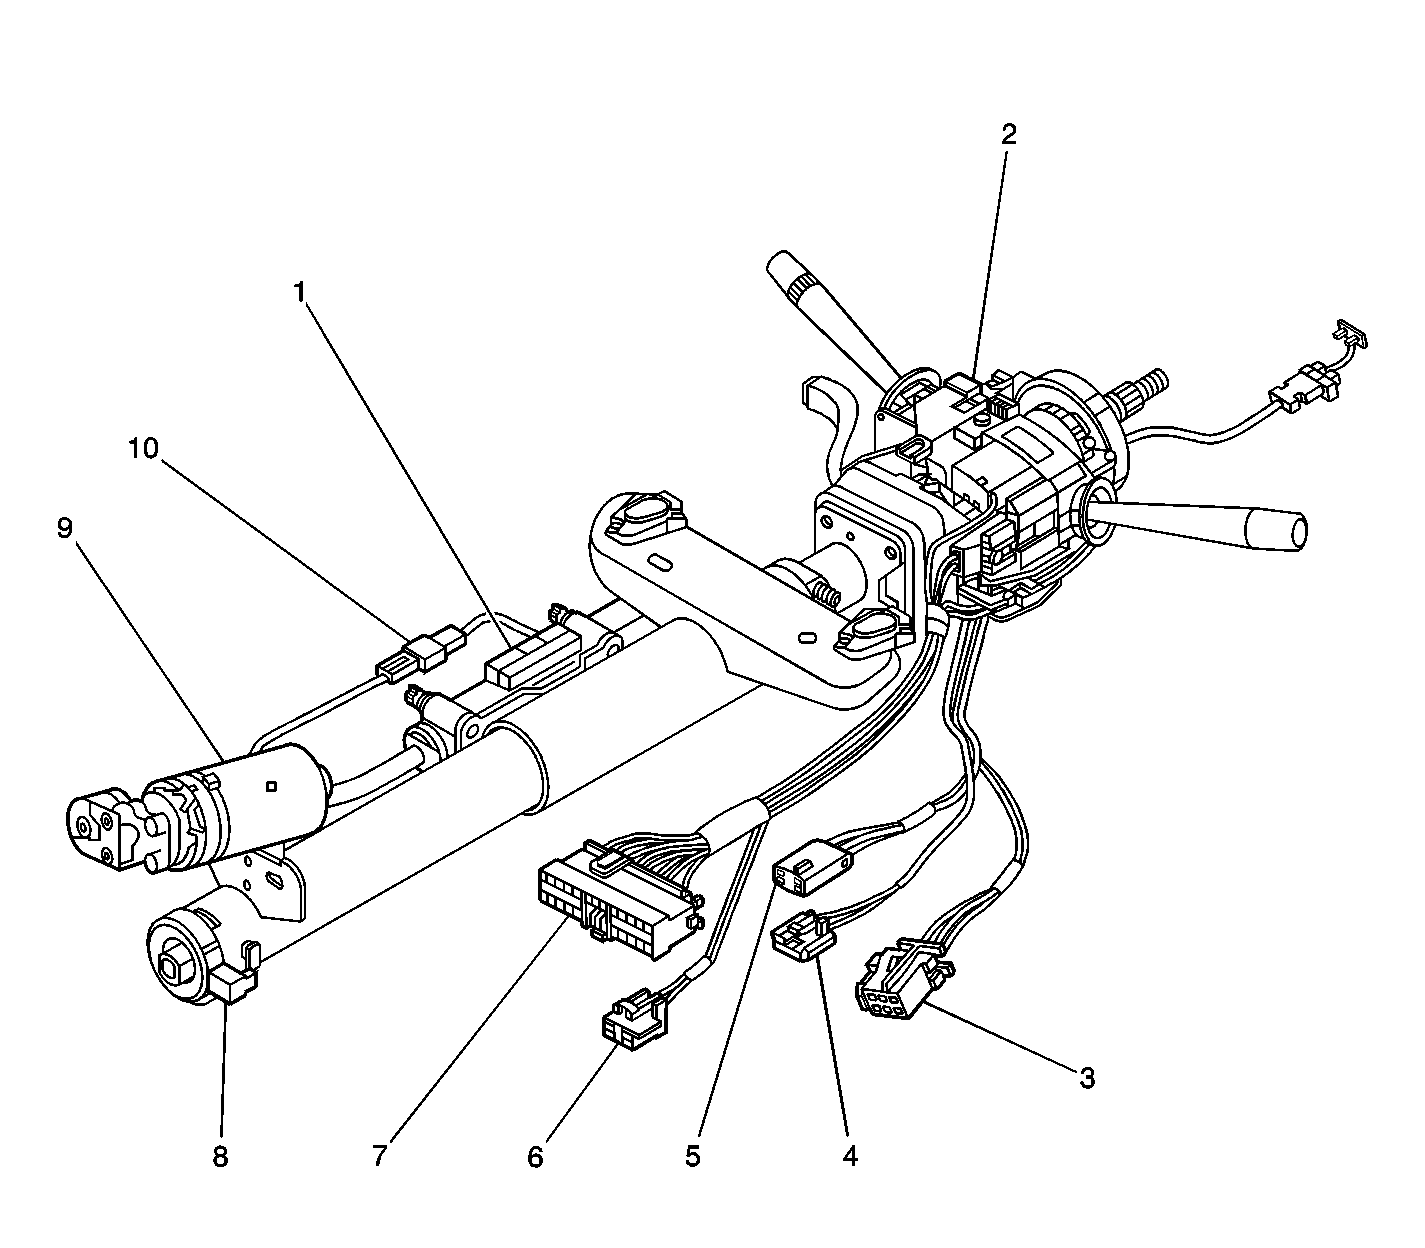
|
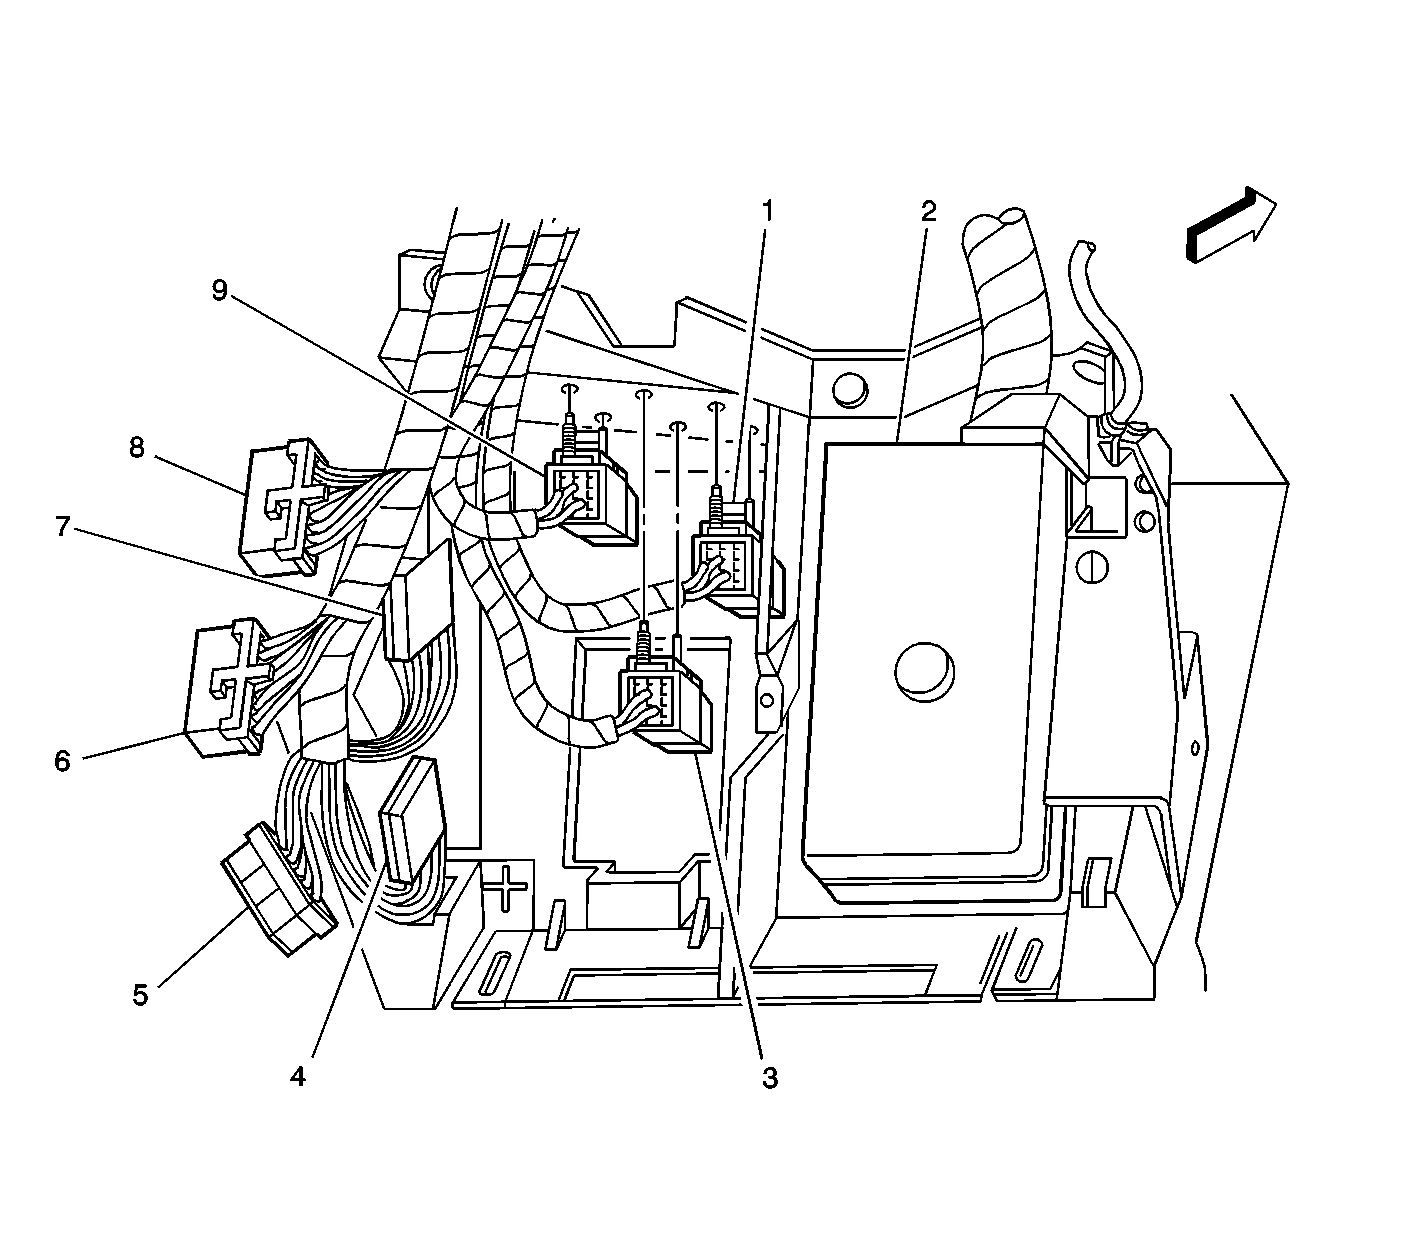
| Figure 9: |
Under RH Side of Dash
|
| Figure 10: |
Under Side of the Dash--Left
|
| Figure 11: |
Speakers and Antennas
|
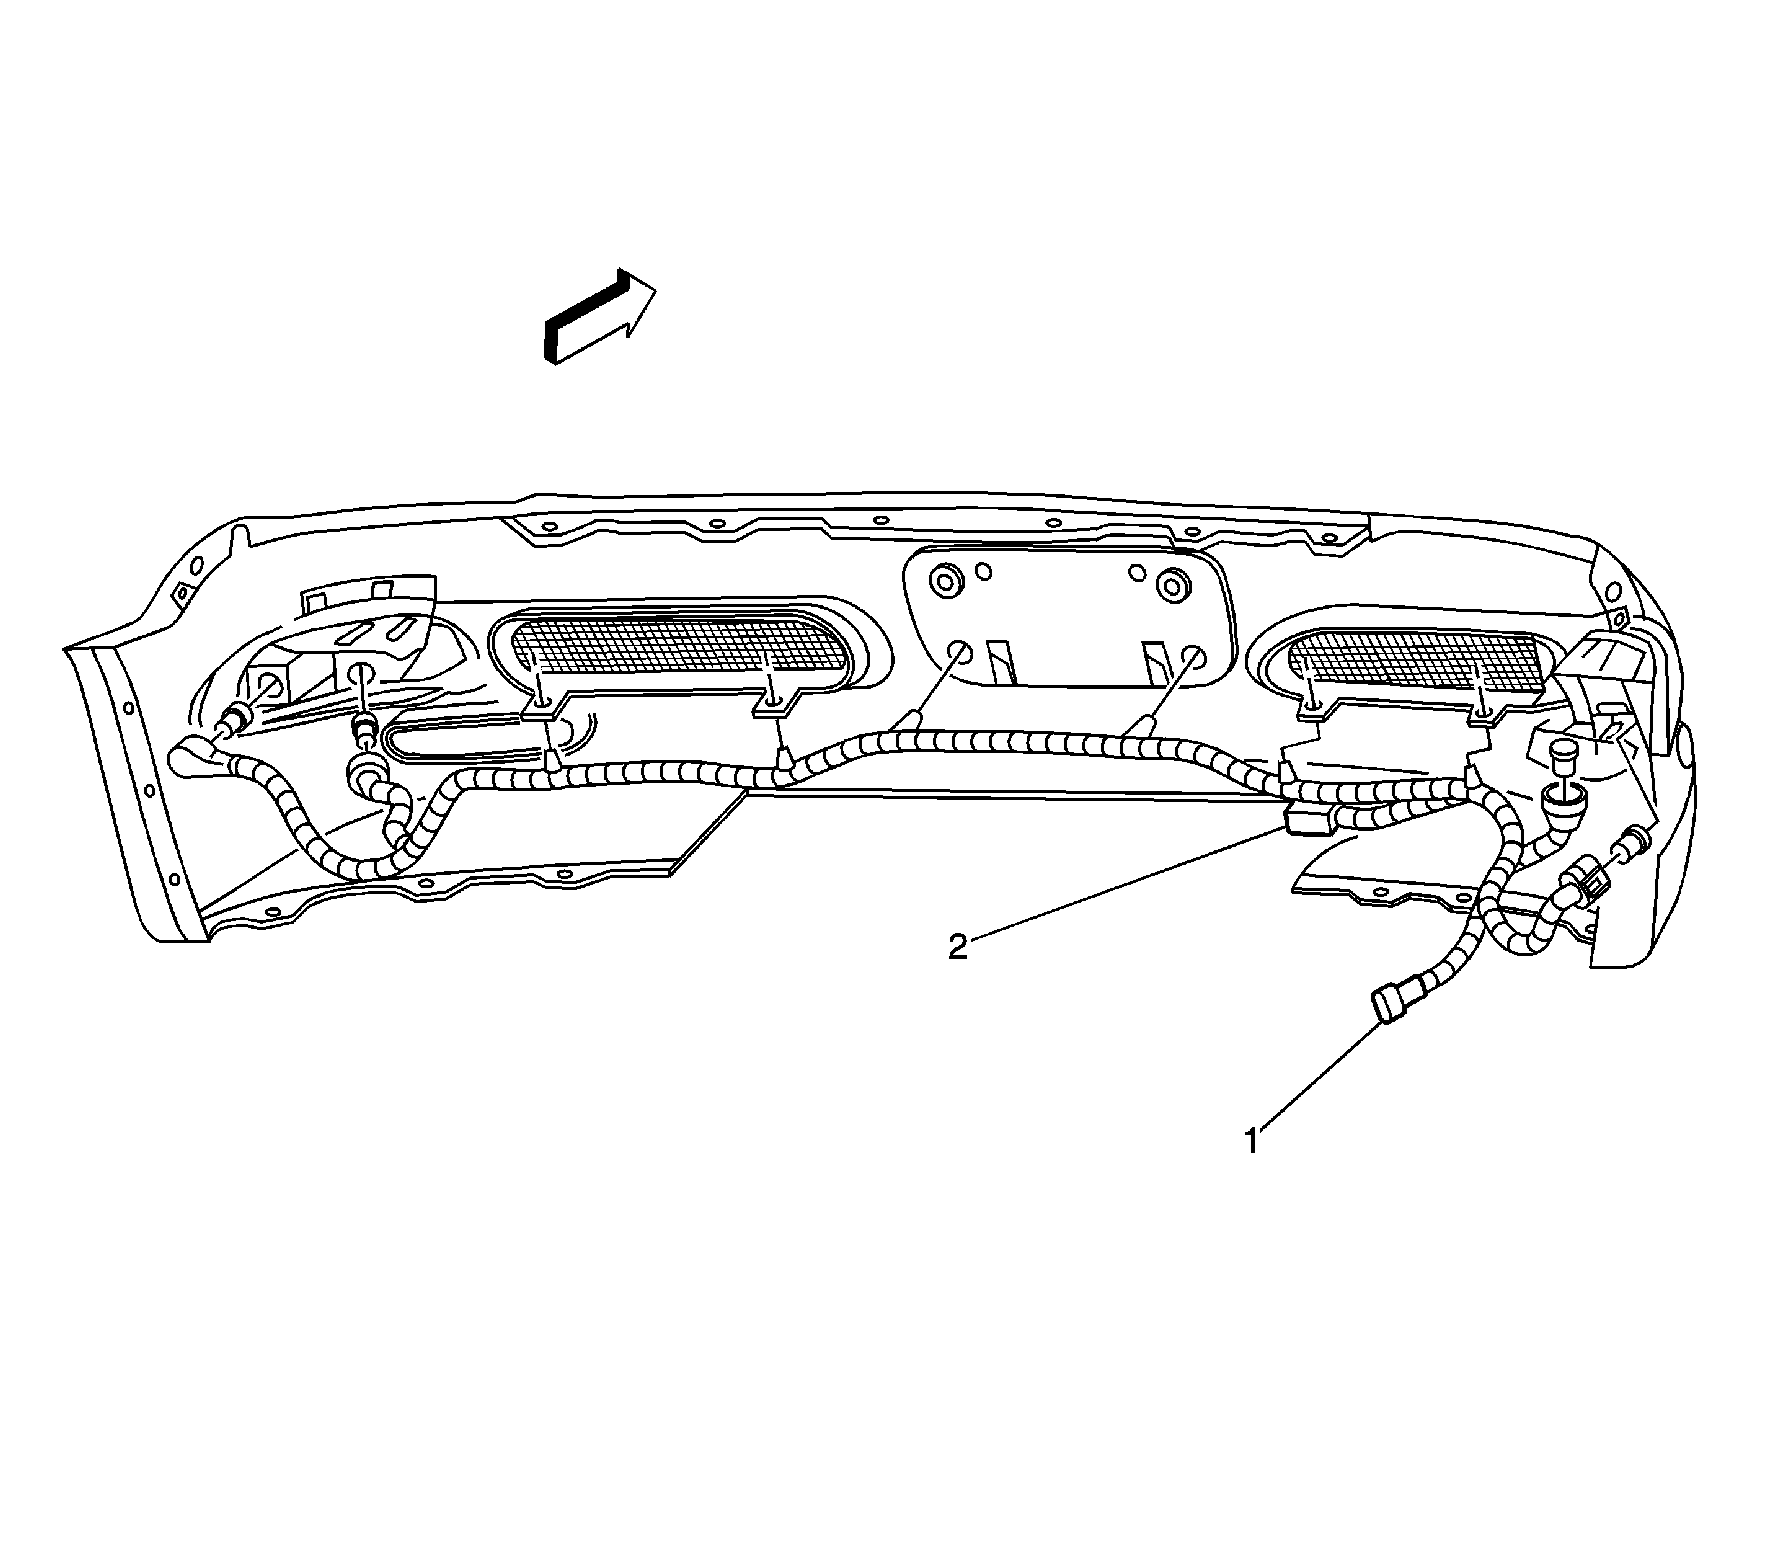
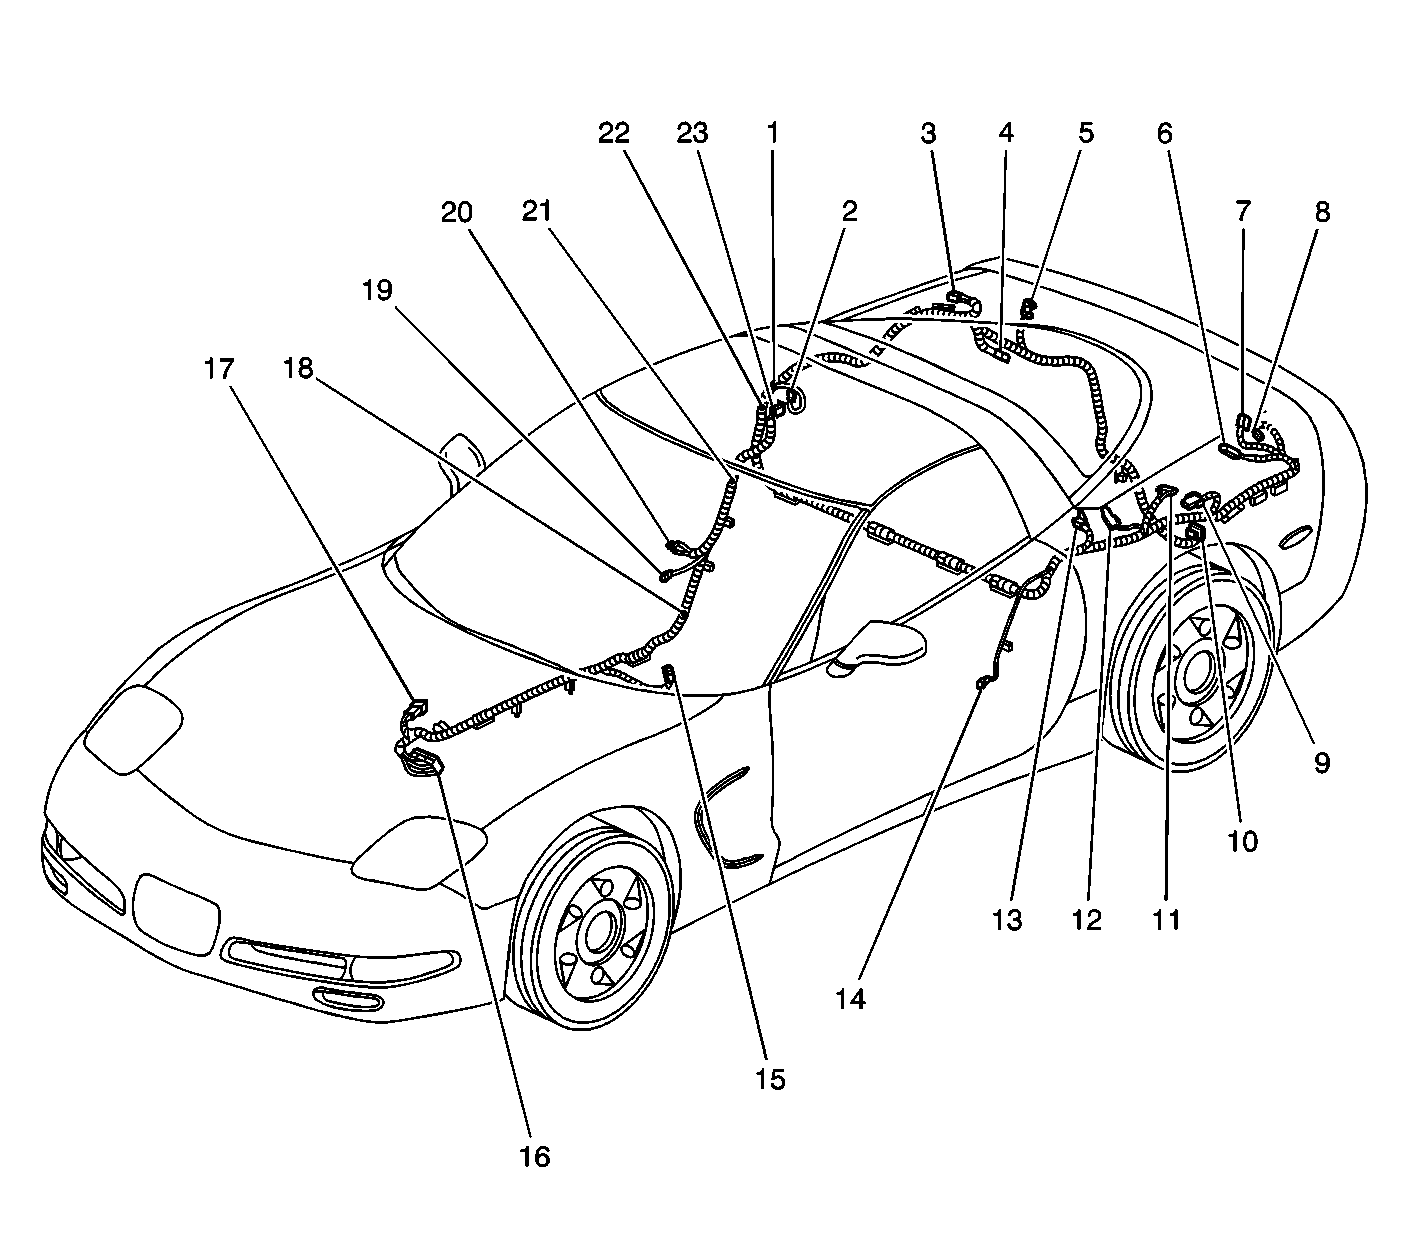
| Figure 12: |
Body Rear End Harness Routing
|
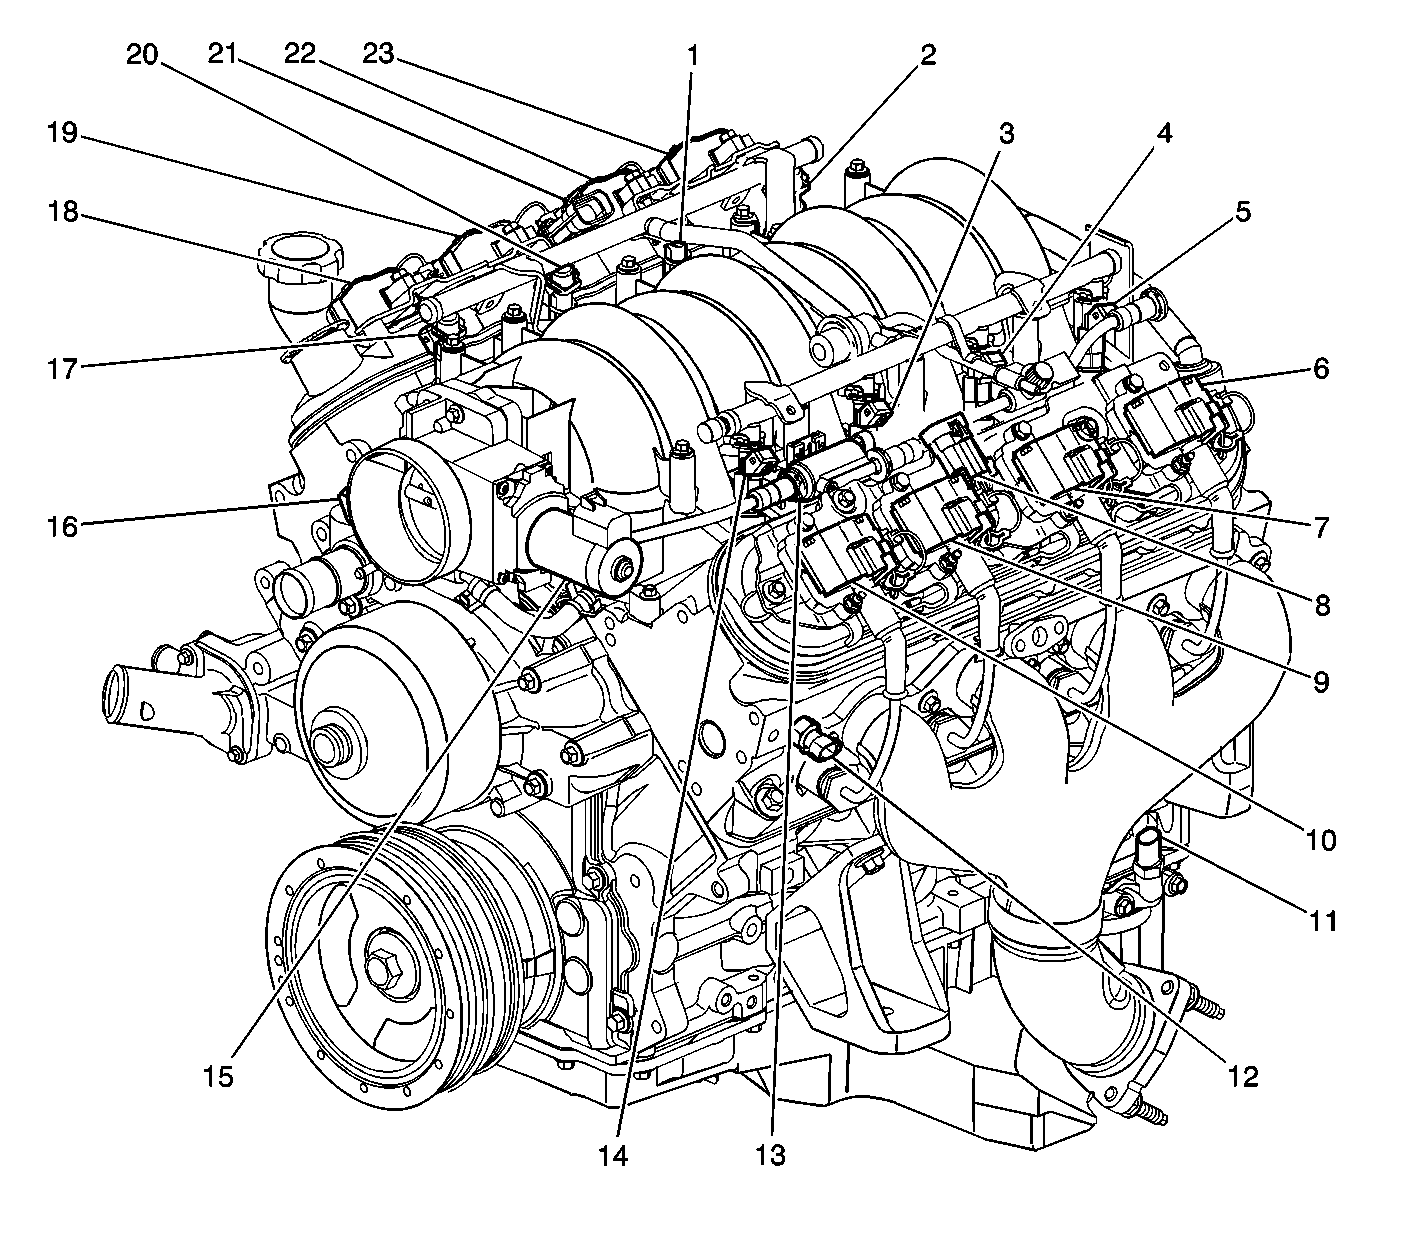
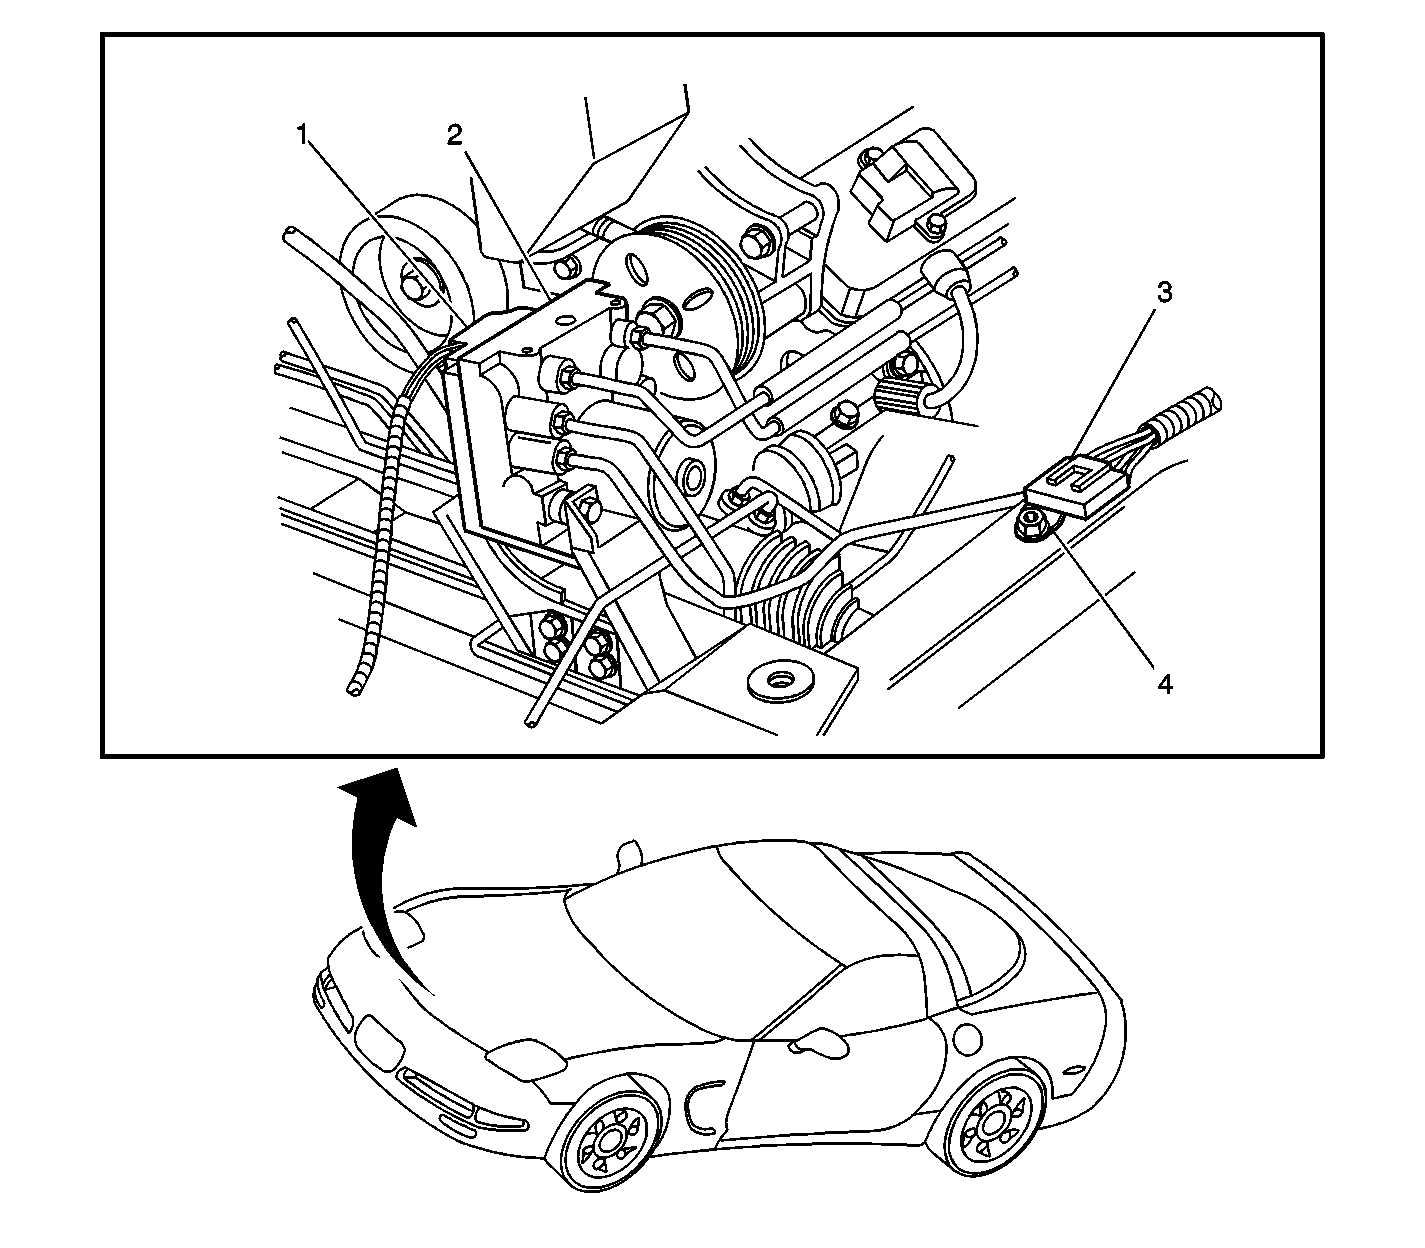
| Figure 13: |
Engine View
|
| Figure 14: |
Forward Lamp Jumper Harness
|
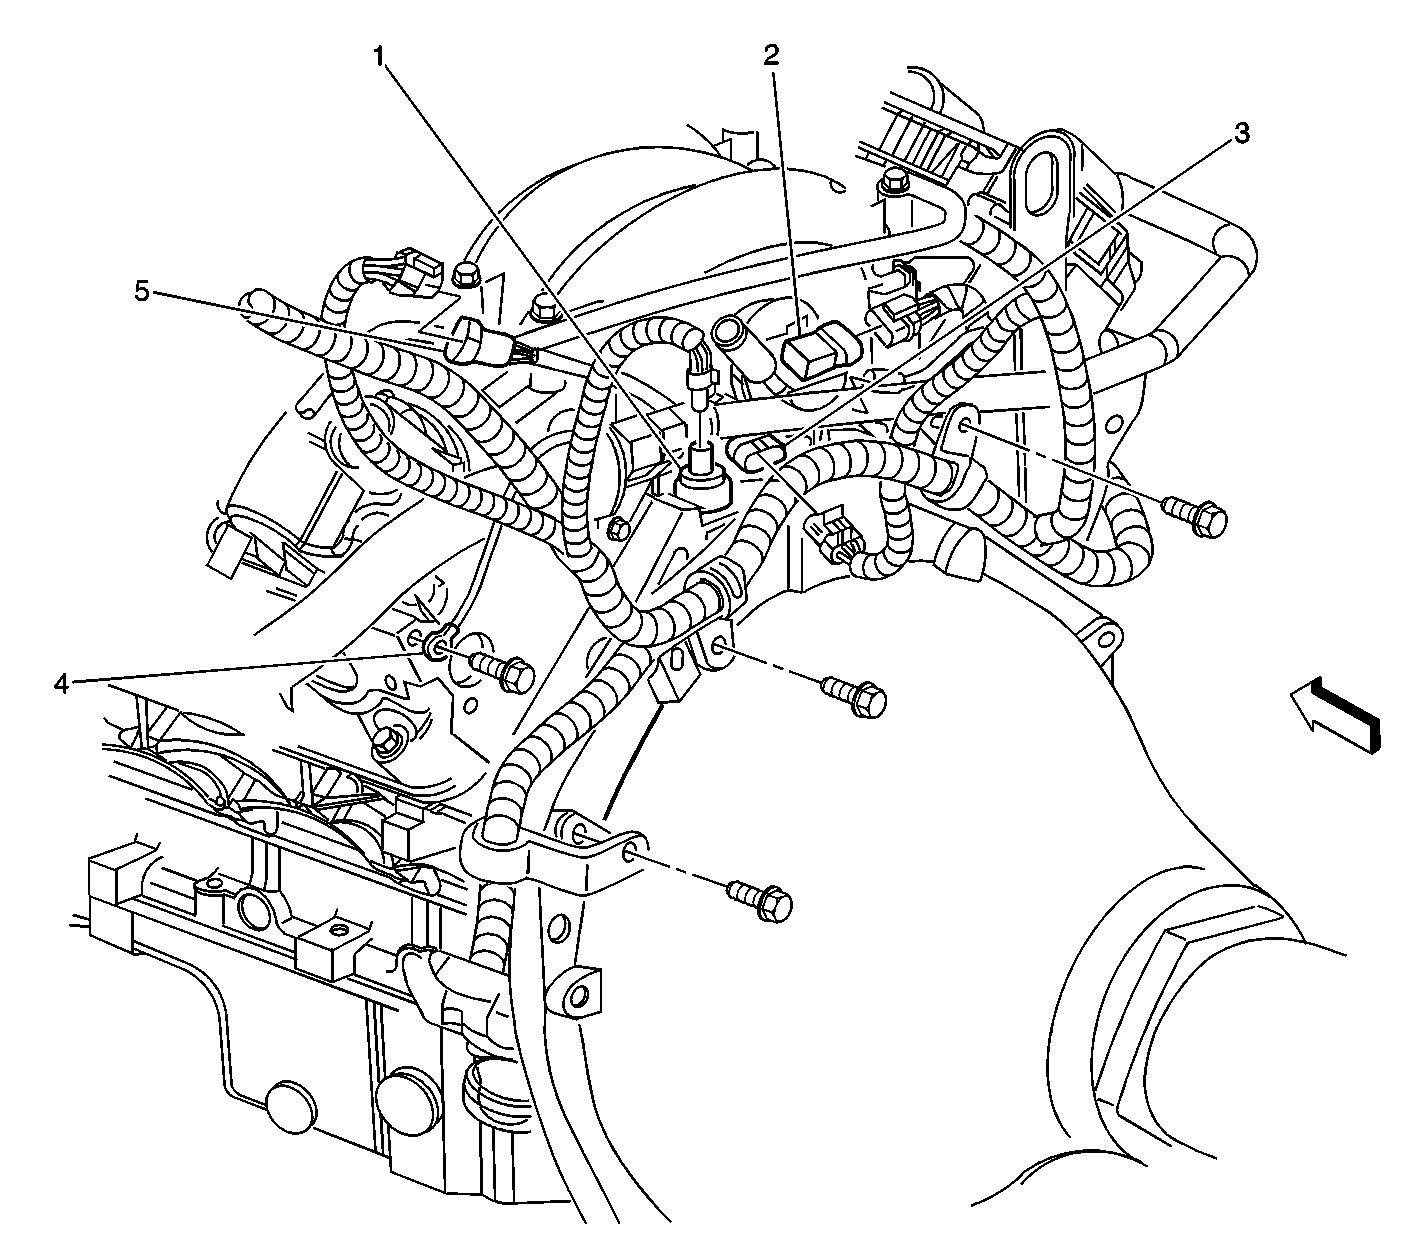
| Figure 15: |
Lower Side of Engine--Left
|
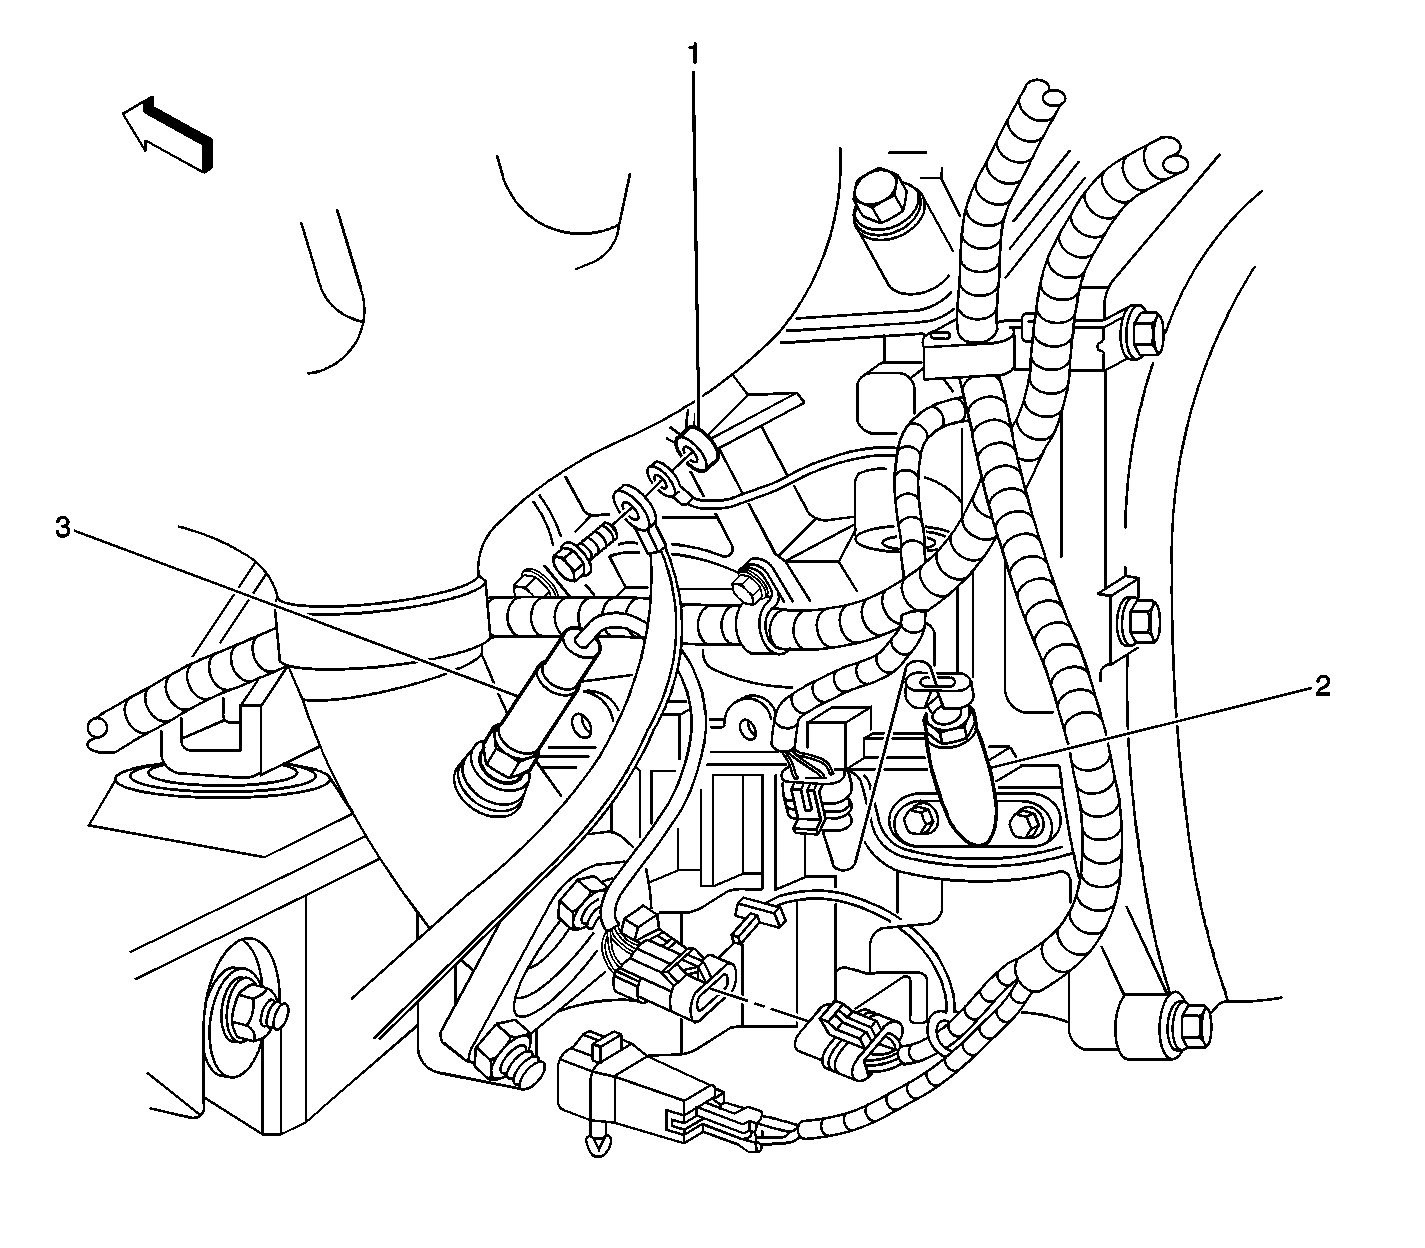
| Figure 16: |
Rear of Engine
|
| Figure 17: |
Front of Engine Compartment
|
| Figure 18: |
Left Front of Engine Compartment
|
| Figure 19: |
Front Body Harness
|
