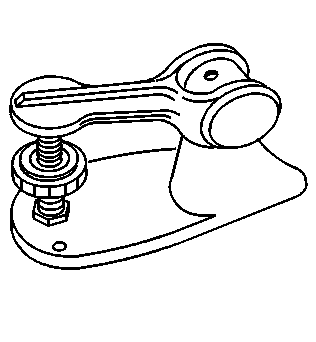
Tools Required
J 9666
Valve Spring
Tester
- Inspect the cylinder head
gasket and the mating surfaces for leaks, corrosion, and blowby.
- If the gasket failed, determine the cause. Gasket failure is caused
by the following conditions:
| • | A loose or warped cylinder head |
- Clean the cylinder head of all foreign material. Do not use a
motorized wire brush on any gasket sealing surface.
- Clean the threaded holes.
- Inspect the cylinder head for cracks typically between the valve
seats and inside of the exhaust ports.
Important: Do not attempt to weld the cylinder head. If the cylinder head is damaged,
replace the cylinder head.
- Inspect the cylinder head deck for corrosion.
- Inspect the following
locations for flatness:
| • | The intake manifold mating surface |
| • | The exhaust manifold mating surface |
- Recondition the surfaces by parallel grinding. Replace the cylinder
head if more than 0.254 mm (0.010 in) is removed.
- Measure the height from
the deck surface to the cast pads. Do this to determine if the cylinder
head has sufficient deck surface thickness to resurface.
New cylinder heads measure from 1.372-1.676 mm (0.054-0.066 in).
If the cylinder head does not meet the minimum thickness after resurfacing,
replace the cylinder head.
- Inspect all of the threaded holes for damage. Repair the threaded
holes, if necessary.
- Inspect the valve seating surfaces.
- Inspect the cooling jacket plugs.
- Inspect the valve guides for wear. Clean the valve guides.
- Inspect the valve seats for excessive wear and hot spots.
- Inspect the valve springs
for squareness.
- Inspect the valve spring ends. If the valve spring ends are not
parallel, the valve spring is bent. Replace the bent valve spring.
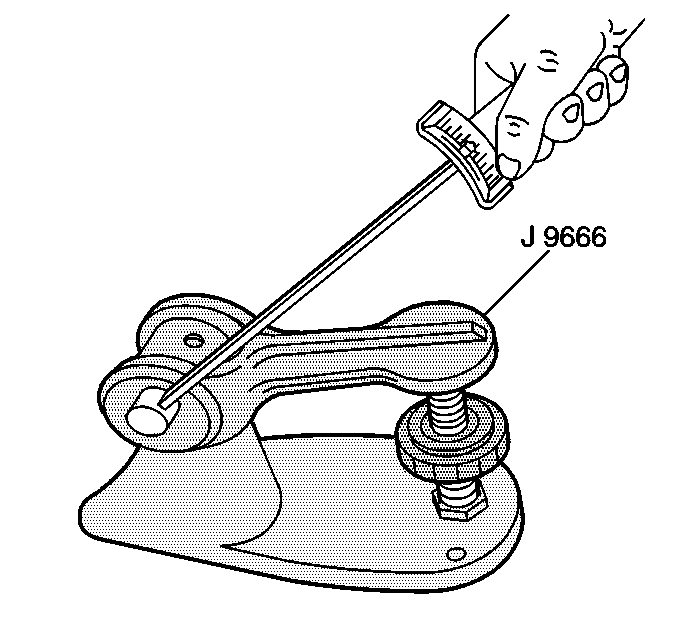
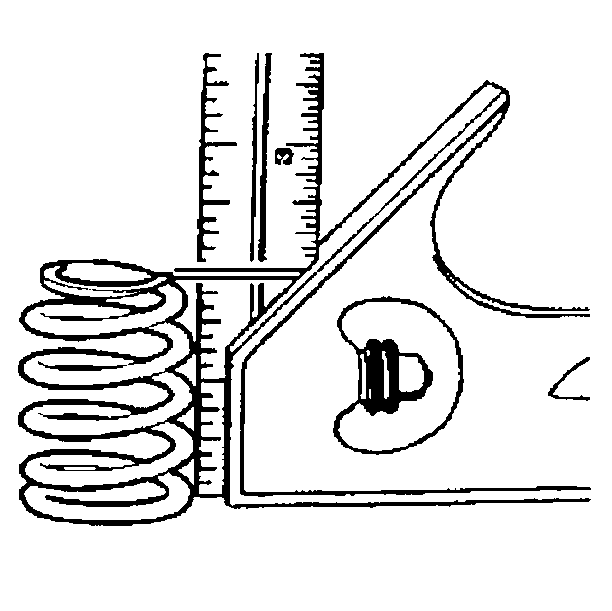
- Using the
J 9666
test the valve spring load. Replace
the spring if the valve spring load is less than 334 N·m at 43.69 mm
(75 lb at 1.72 in).
- Inspect the valve spring seating surface of the valve spring retainers
for wear or gouging. If the seating surface is damaged, replace the valve
spring retainers.
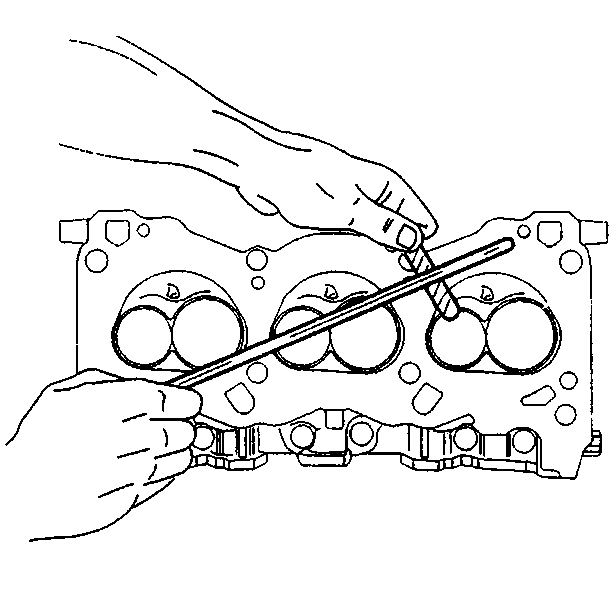
- Use the following procedure to measure the valve seat concentricity:
| 19.1. | Lift the valve off its seat. |
| 19.2. | Apply a dab of blue dye to the valve face. |
| 19.3. | Seat and rotate the valve. |
The blue dye traces transferred
to the valve seat are an indication of concentricity of the valve seat.
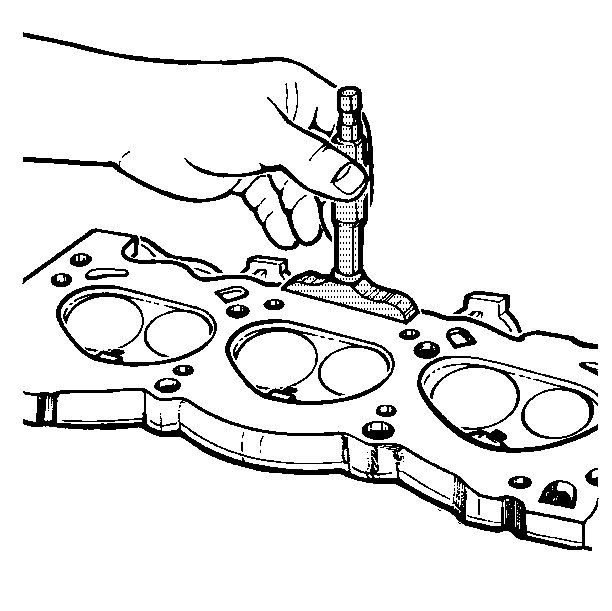
- Use the following procedure to measure the valve runout:
| 20.1. | Clean off the blue dye. |
| 20.2. | Apply blue dye to the valve seat. |
| 20.3. | Seat and rotate the valve. |
The traces of blue dye
transferred to the valve indicates valve runout.
| 20.4. | Recondition the valve seat or valve face, if needed. |
