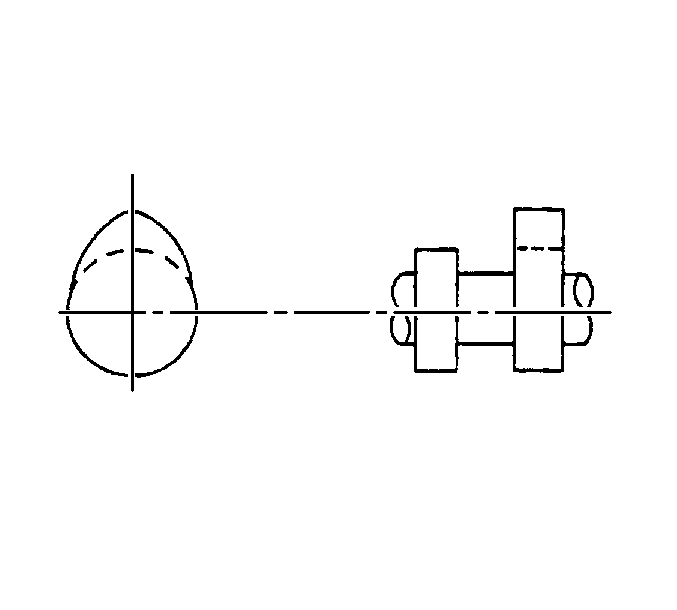
Inspection Procedure
- Inspect the camshaft lobes and bearing journals for pitting, abnormal wear, or excessive wear.
- Inspect the camshaft gear for chipped or broken teeth.
Measurement Procedure

- Measure the camshaft journals at 2 different points.
Specifications
| • | Production diameter: 39.950-39.975 mm (1.5728-1.5738 in) |
| • | Service limit: 39.85 mm (1.569 in) |
- Measure the camshaft bearing inside diameter. The correct measurement is 40.0-40.04 mm (1.575-1.576 in).
- Measure the camshaft journal to camshaft bearing clearance.
Specifications
| • | Subtract the camshaft bearing journal diameter, from the camshaft inside diameter. |
| • | Production clearance: 0.025-0.070 mm (0.001-0.0028 in) |
| • | Service limit: 0.15 mm (0.006 in) |

- Measure the camshaft lobe height.
| • | Camshaft lobe height should be 52.851 mm (2.0807 in) for intake and 54.91 mm (2.1618 in) for exhaust. |
| • | Replace the camshaft if the measurement height is below 52.017 mm (2.0500 in) for intake, 53.771 mm (2.1146 in) for exhaust. |

- Measure the camshaft for runout.
- If the measurement is greater than 0.05 mm (0.0020 in), replace the camshaft.


