Tools Required
| • | J 39054
Reverse
Clutch Seal Protector |
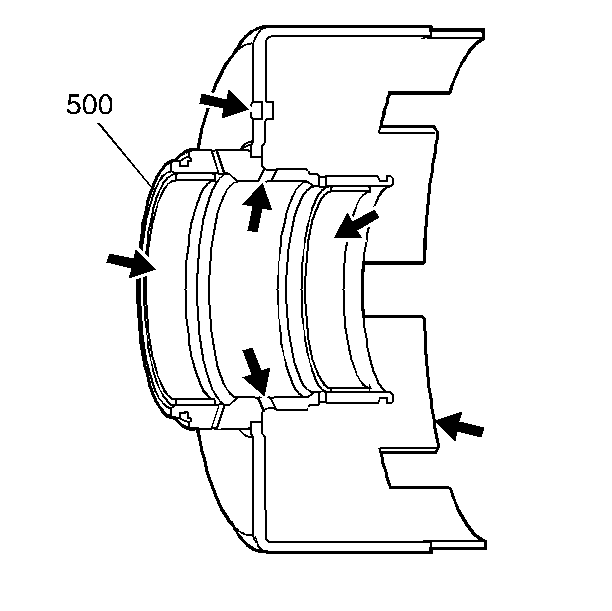
- Inspect the reverse clutch
housing (500) for the following:
| • | Snap ring for overexpansion |
| • | Outer surface for scoring or burning |
| • | Reverse clutch housing checkball for damage, the checkball should
move freely in the capsule. |
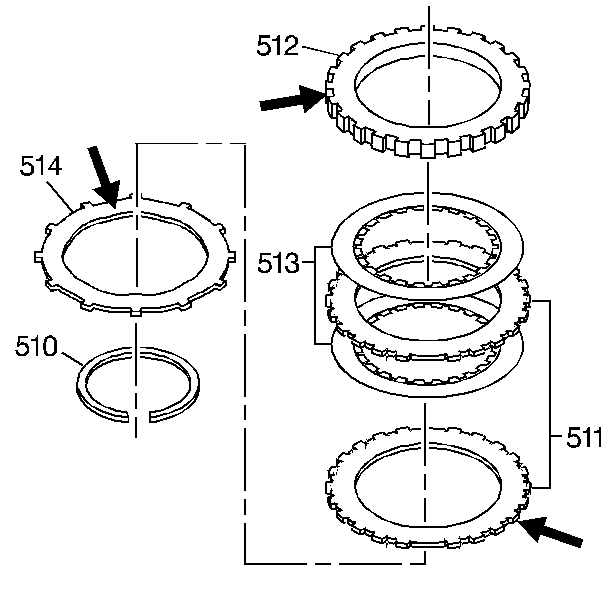
- Inspect the reverse clutch
steel plates (511), the backing plate (512) and the waved plate (514) for
scoring or burning.
- Inspect the snap ring (510) for overexpansion.
- Replace all of the fiber clutch plate assemblies (513).
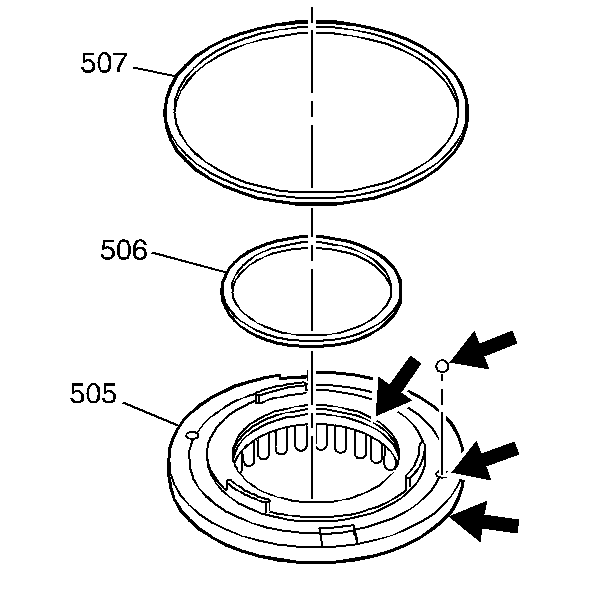
- Inspect the reverse clutch
piston inner seal (506) and outer seal (507) for damage.
- Inspect the checkball orifices on the reverse clutch piston assembly
(505) for damage caused by peening. The checkball should move freely in the
piston capsule.
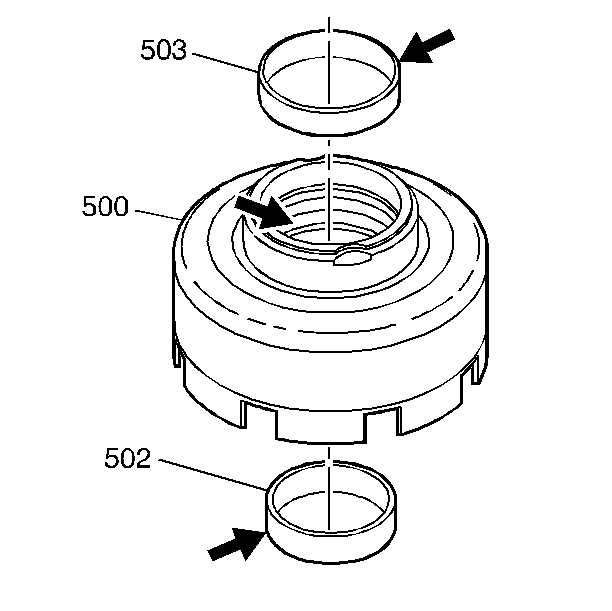
- Inspect the reverse clutch
housing bushings (502, 503) for damage.
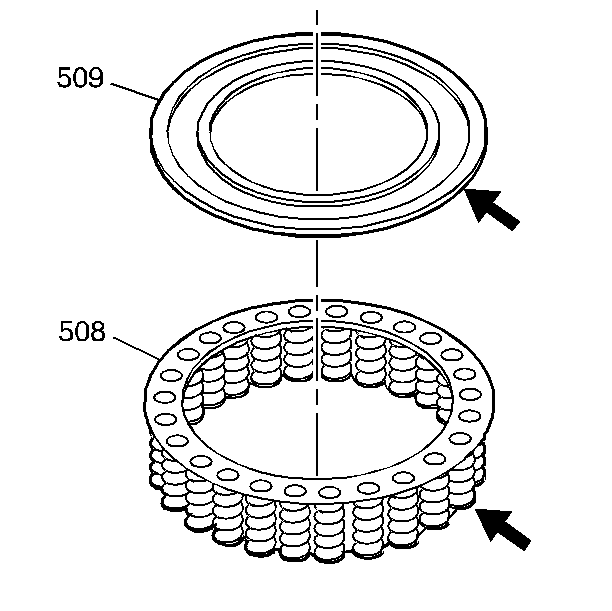
- Inspect the spring and
retainer assembly (508) for damaged or missing springs.
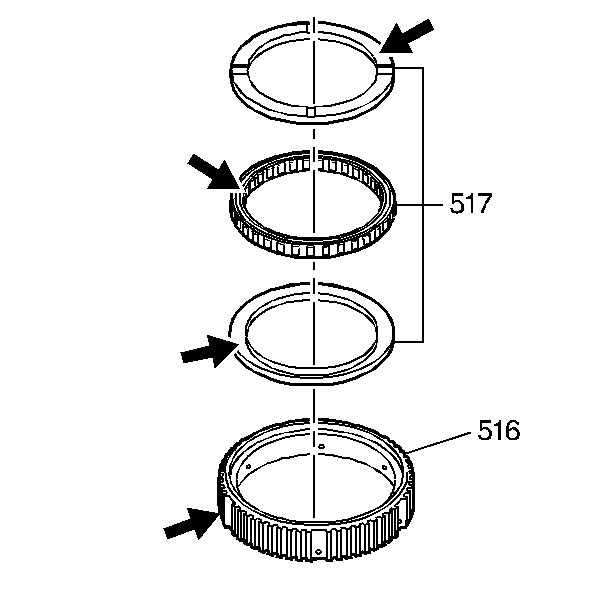
- Inspect the second sprag
(517) for flipped or damaged sprags. Inspect both of the second sprag races
for damage.
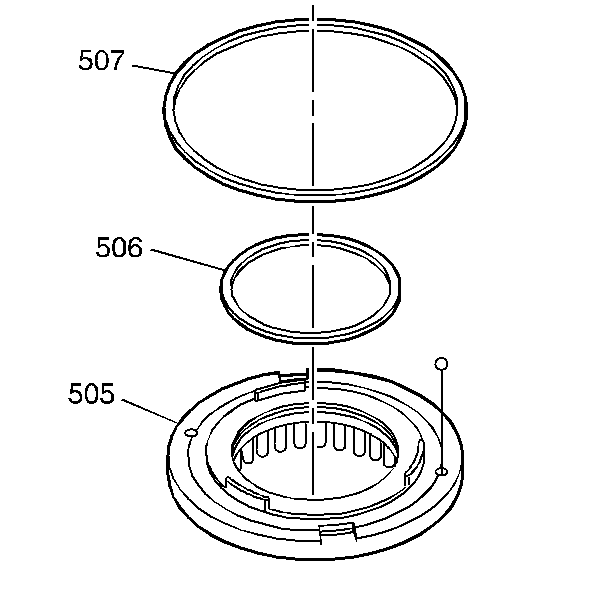
- Install new seals (506,
507) on the reverse piston (505).
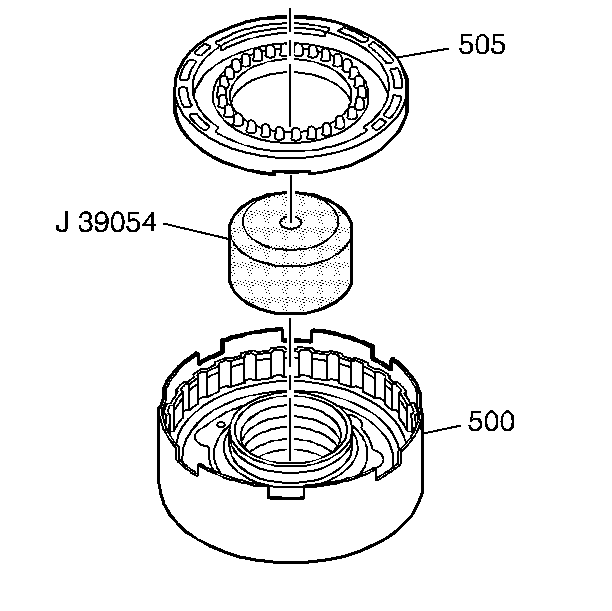
- Install the reverse clutch
piston (505) into the reverse clutch housing. Install the
J 39054
in order to protect the inner seal.
Make sure that the outer seal does not roll backwards. Apply a light coating
of Transjel™ so that the seal will slide easily.
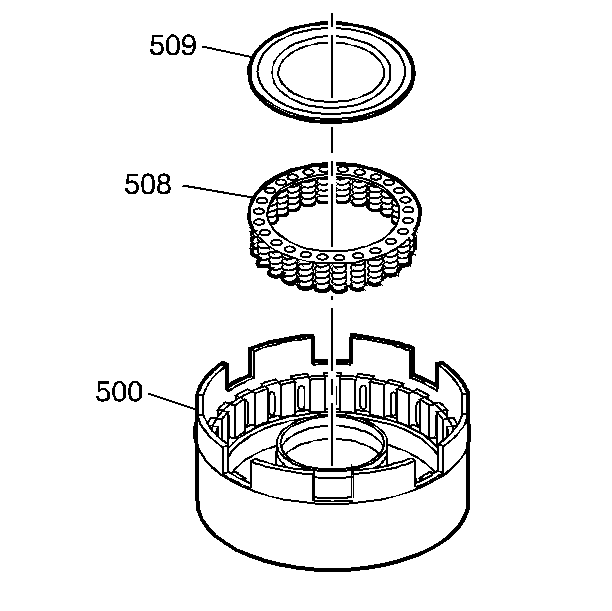
- Install the spring and
retainer assembly (508, 509) into the reverse clutch housing (500).
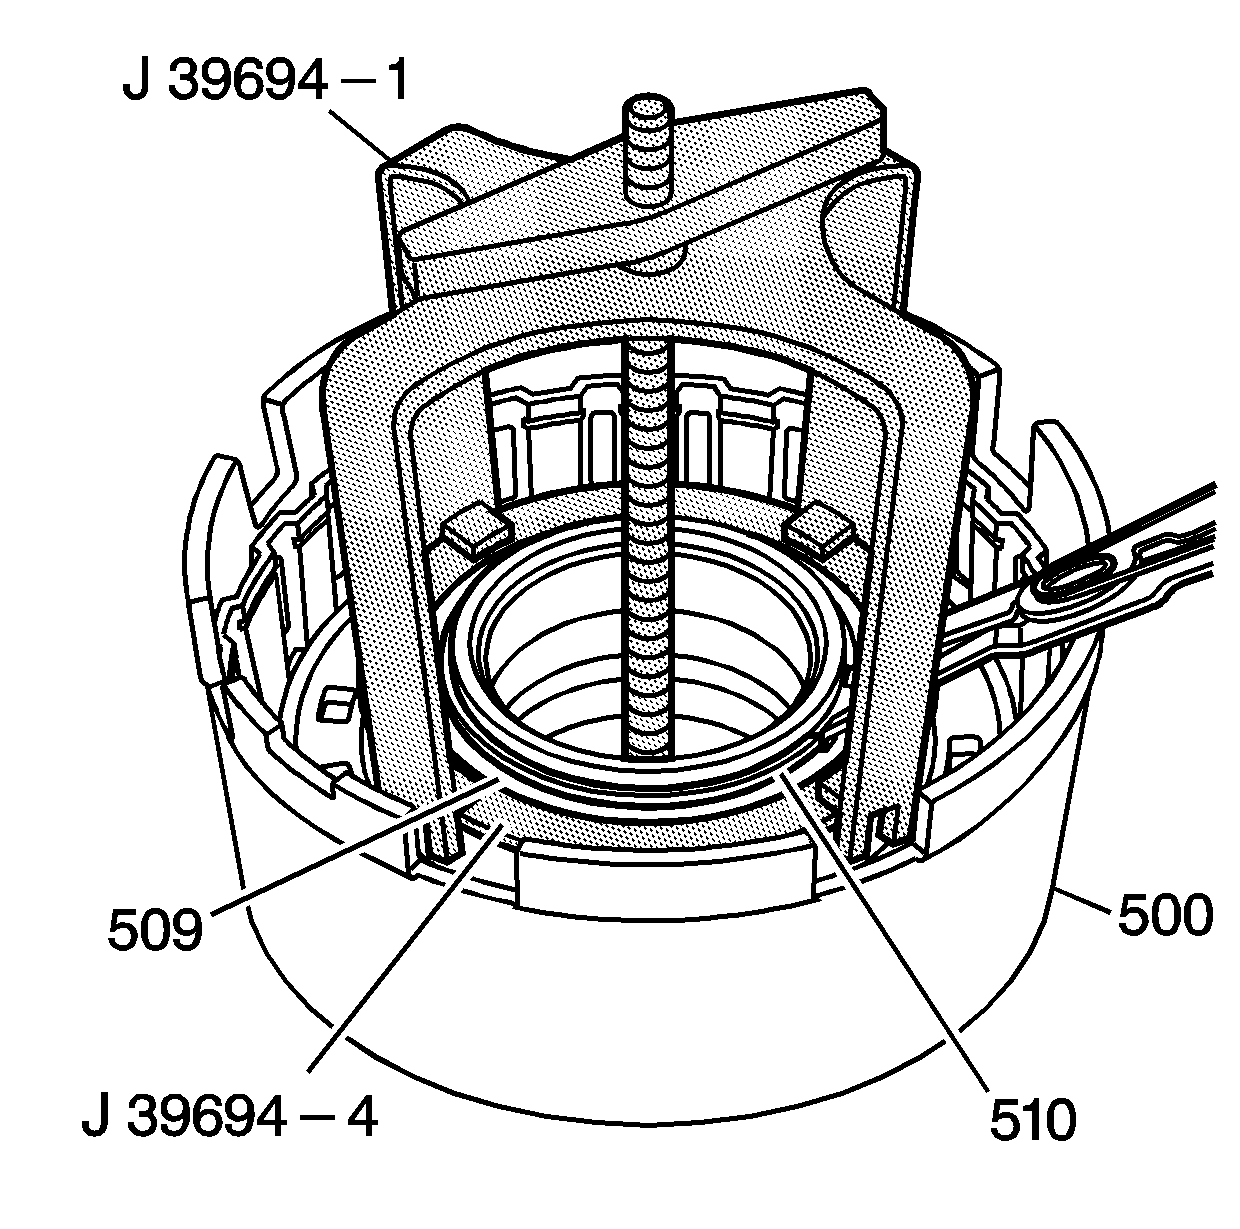
- Use the
J 39694
spring compressor to compress the spring
and install the snap ring (510). Remove the compressor tool.
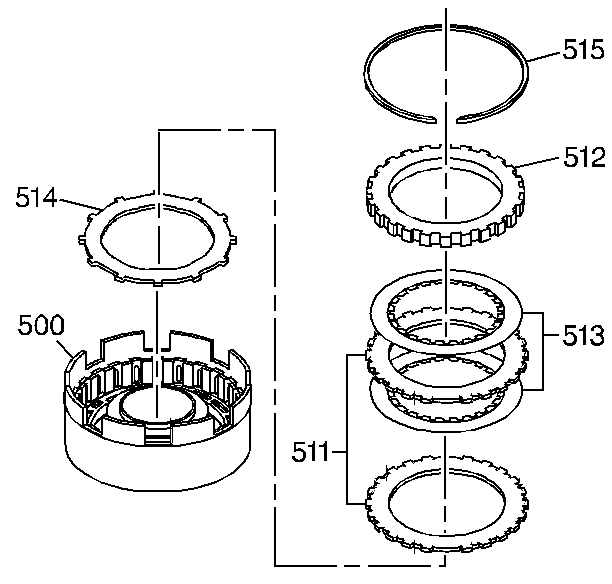
- Install the following
parts:
| 14.1. | The waved plate (514). Align the waved plate tangs with the inserts
in the reverse clutch piston. |
| 14.2. | The two steel (511) and the two fiber (513) clutch plates, starting
with steel and alternating with fiber |
| 14.3. | The apply plate (512) with the stepped side up |
| 14.4. | The snap ring (515) |
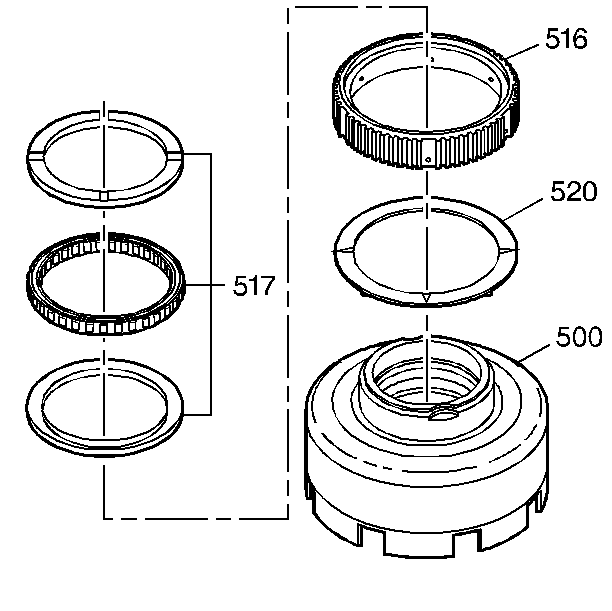
- Install the following
parts:
| 15.1. | The 2nd clutch outer race thrust washer (520) |
| 15.2. | The 2nd sprag clutch assembly (517) into the 2nd sprag outer race
(516) |
| 15.3. | The 2nd sprag race and clutch assembly onto the reverse clutch
housing (500) |
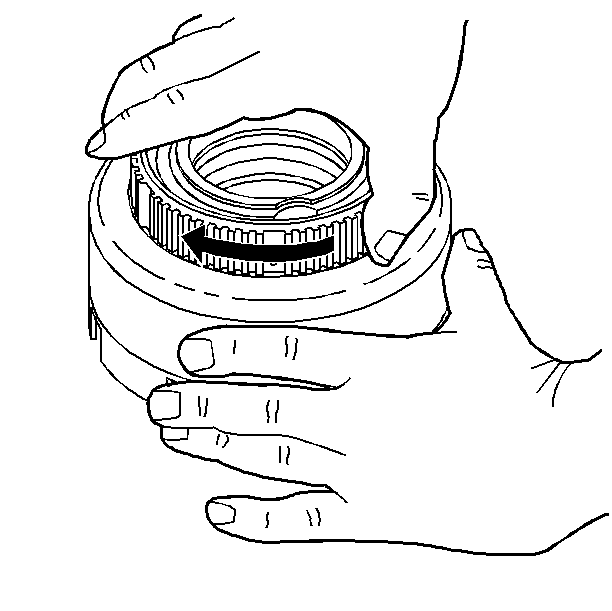
- Verify that the second
sprag freewheels only in a clockwise direction.
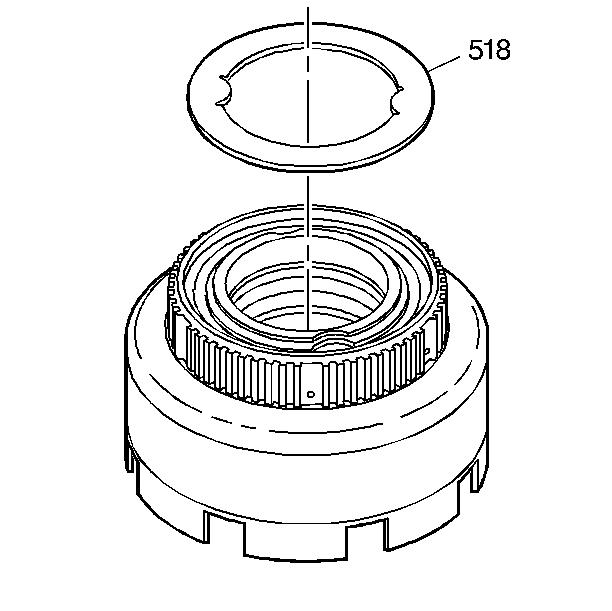
- Install the sprag clutch
retainer (518).
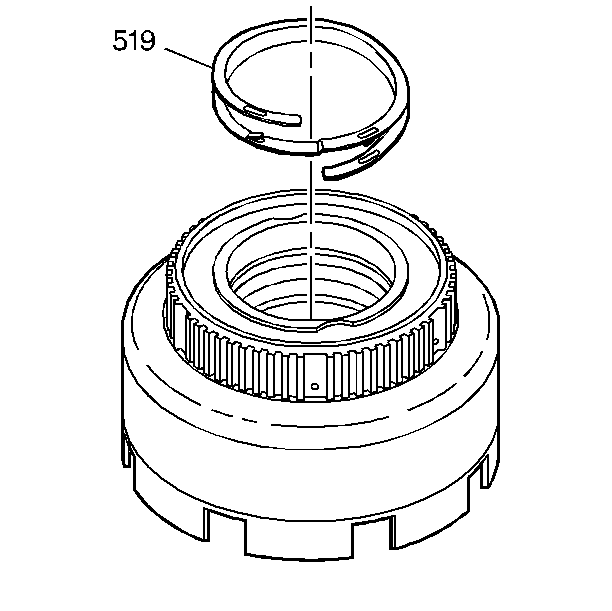
- Install the new spiral
snap ring (519). Verify that the spiral snap ring tabs lock into place and
that the snap ring is properly seated.


