Removal Procedure

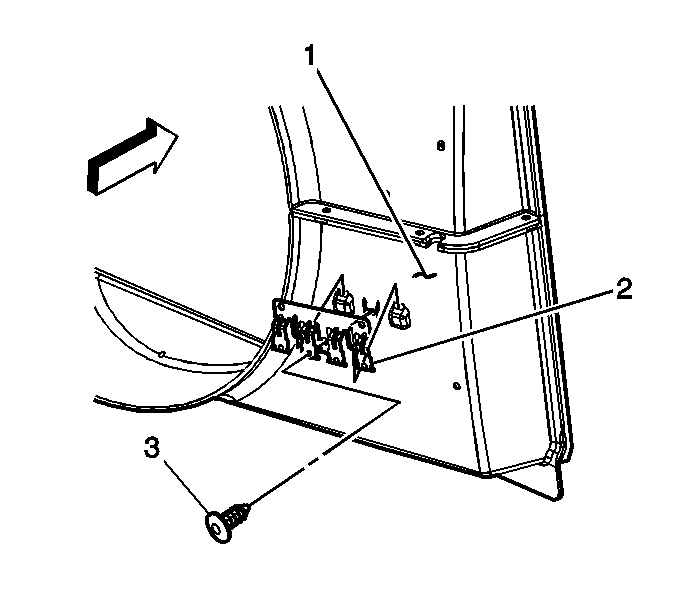
- Remove the relay or retaining bracket (3) and screws (2), if equipped.

- Disconnect the wiring harness from the fan shroud.
- Discharge the air conditioning (A/C) and remove the lines from the compressor.
The lines lay across the top of the fan shroud.
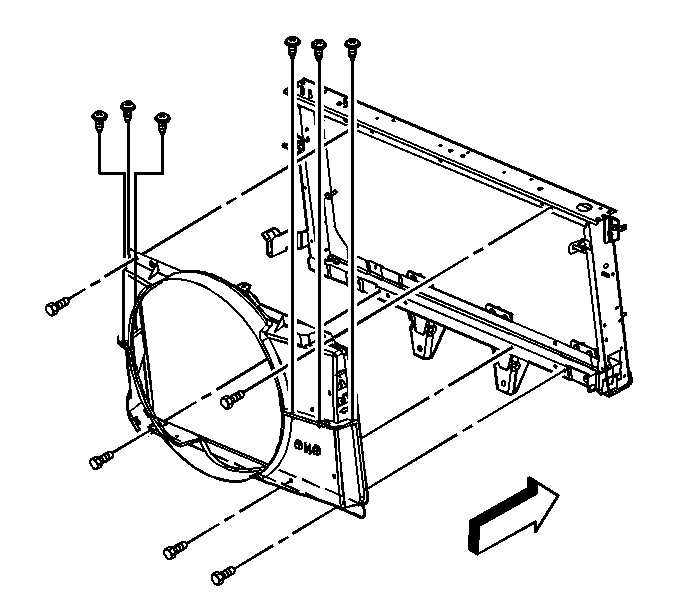
- Remove the fan shroud bolts, upper half.
- Remove the fan shroud, upper half.
- The vehicle is equipped with an electronic viscous clutch with an additional fan shroud surrounding the fan. The following are required for the removal:
| 6.1. | Remove the 3 bolts holding the shroud that surrounds the fan assembly. |
| 6.2. | Remove the fan clutch from the cooling fan pulley. |
| 6.3. | Remove the fan and shroud as an assembly and then separate. |
| 6.4. | Remove the lower fan shroud bolts and lower fan shroud from the vehicle. |
Installation Procedure
- The vehicle is equipped with an electronic viscous clutch with an additional fan shroud surrounding the fan. The following are required for installation:
| 1.1. | Install the lower fan shroud and lower fan shroud bolts to the vehicle. |
| 1.2. | Install the fan/shroud assembly . |
| 1.3. | Install the fan clutch to the cooling fan pulley. |
| 1.4. | Install the 3 bolts holding the shroud that surrounds the fan assembly. |

- Install the fan shroud.
Notice: Refer to Fastener Notice in the Preface section.
- Install the fan shroud bolts.
Tighten
Tighten the bolts to 6 N·m (53 lb in).

- Install the relay or retaining bracket (3) and screws (2), if equipped.
Tighten
Tighten the screws to 5 N·m (44 lb in).
- Install the coolant reservoir return hose to the fan shroud.
- Install the wiring harness to the fan shroud.


