For 1990-2009 cars only
Engine Coolant Thermostat Replacement Caterpillar
Refer to the Caterpillar® Service Manual.
Engine Coolant Thermostat Replacement 6.6L LMM
Removal Procedure
- Remove the air cleaner. Refer to Air Cleaner Assembly Replacement.
- Remove the water outlet. Refer to Water Outlet Tube Replacement.
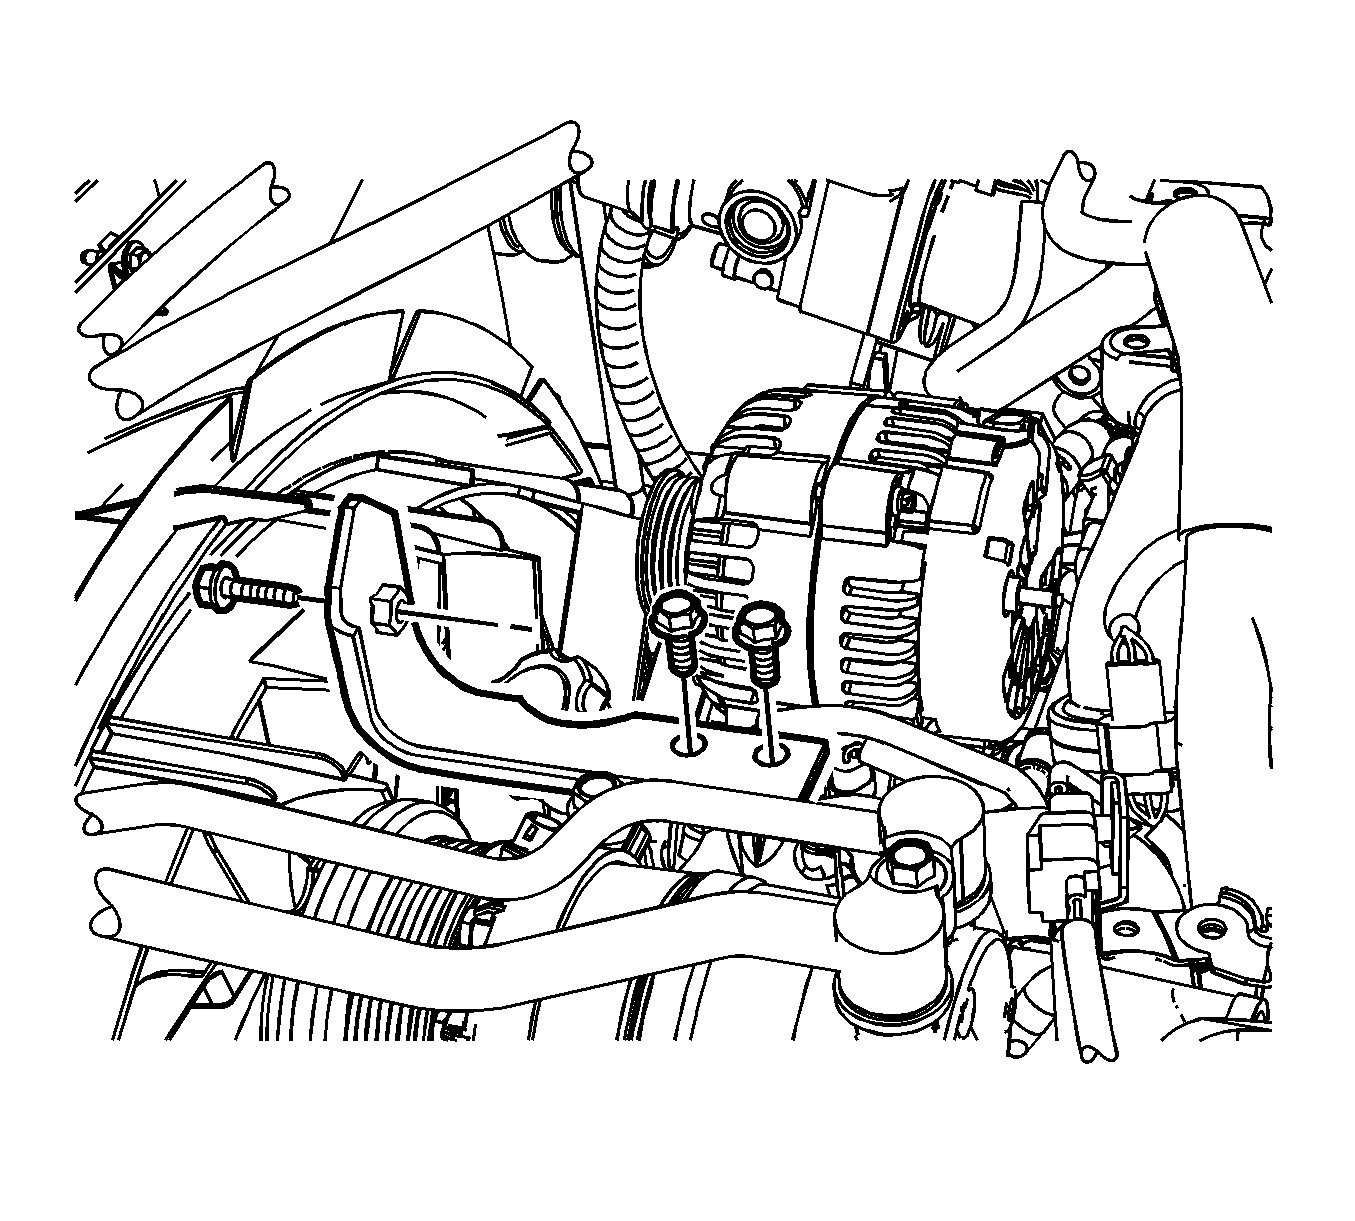
- Remove the cooling fan shroud top bracket bolts.
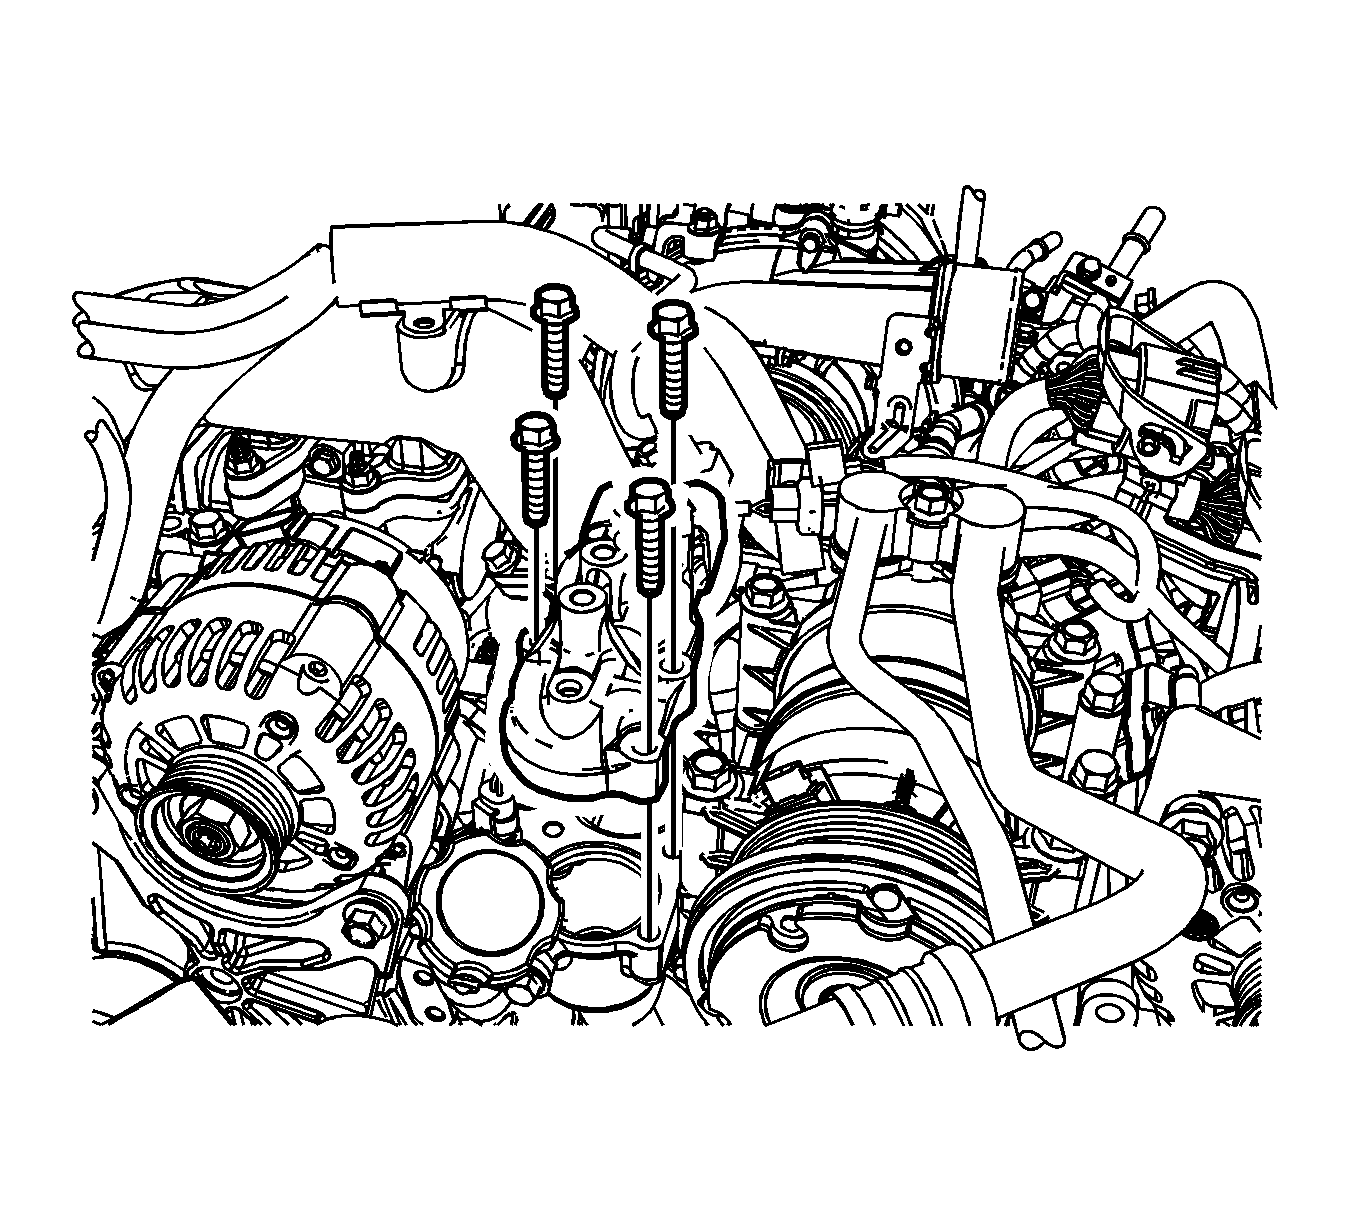
- Remove the thermostat housing cover bolts.
- Remove the thermostats and seals.
Inspection Procedure
- Inspect the thermostats for sticking, cracks, and/or leakage of wax. Refer to Thermostat Diagnosis.
- Replace the thermostats if damage is found.
- Clean the thermostat housing and thermostat housing cover sealing surfaces.
Installation Procedure
- Install the thermostats and seals to the thermostat housing.
- Install the thermostat housing cover.
- Install the thermostat housing cover bolts.
- Install the cooling fan shroud top bracket bolts.
- Install the water outlet. Refer to Water Outlet Tube Replacement.
- Install the air cleaner. Refer to Air Cleaner Assembly Replacement.
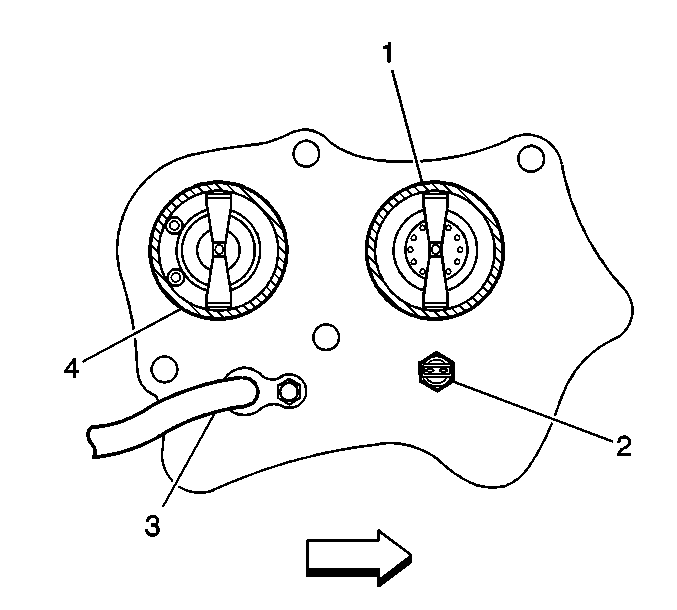
The rear thermostat (4) has 2 vent valves. Install with the vent valves towards the rear of engine.

Caution: Refer to Fastener Caution in the Preface section.
Tighten
Tighten the bolts to 21 N·m (15 lb ft).

Tighten
Tighten the bolts to 21 N·m (15 lb ft).
Engine Coolant Thermostat Replacement LG4
Removal Procedure
- Drain the coolant. Refer to Cooling System Draining and Filling.
- Remove the upper radiator hose from the coolant outlet.
- Remove the coolant outlet bolts.
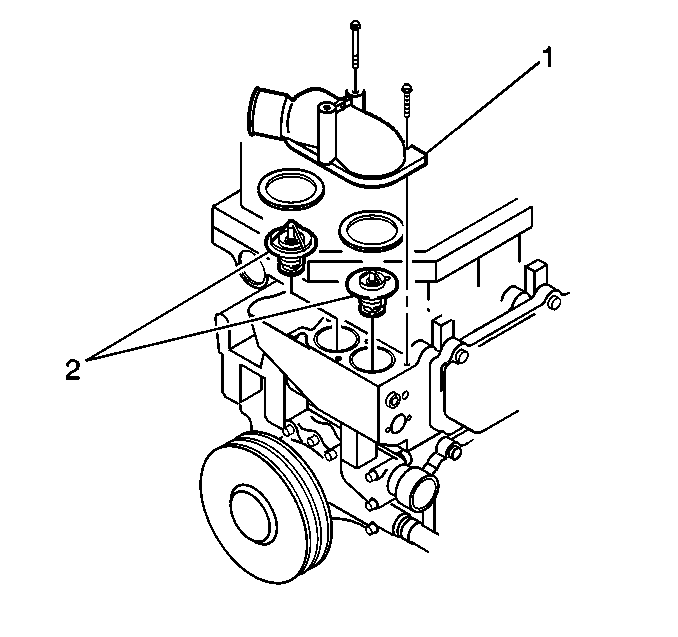
- Remove the coolant outlet (1).
- Remove the thermostats (2).
- Clean the following surfaces:
- Inspect the coolant outlet for the following conditions:
| • | The inlet manifold |
| • | The coolant outlet |
| • | Flat mating surfaces |
| • | Pits |
| • | Cracks |
| • | Other damage |
Installation Procedure
- Install the thermostats.
- Install the coolant outlet (1).
- Install the coolant outlet bolts.
- Install the upper radiator hose to the coolant outlet.
- Fill the cooling system. Refer to Cooling System Draining and Filling.
- Inspect the system for leaks.
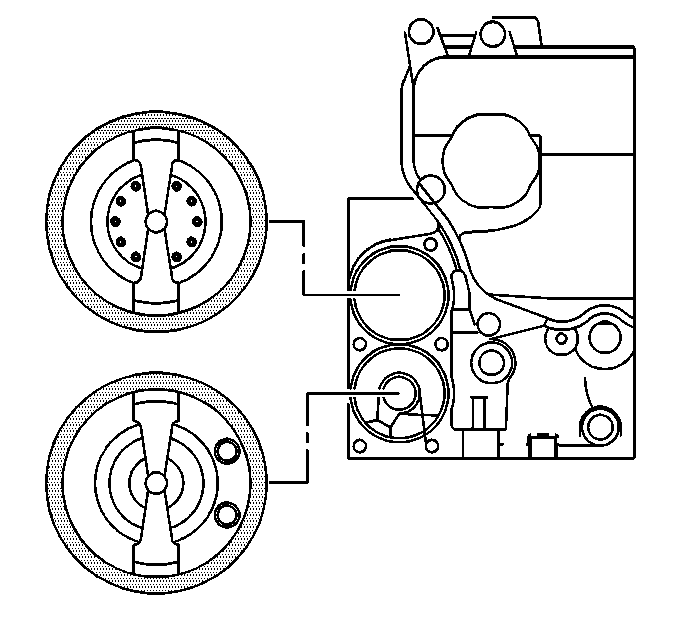
Note: Place the thermostat with the jiggle valves on the left side.

Caution: Refer to Fastener Caution in the Preface section.
Tighten
Tighten the coolant outlet bolts to 19 N·m (14 lb ft).
Tighten
Tighten the clamp to 5 N·m (44 lb in).
Engine Coolant Thermostat Replacement 8.1L Engine
Removal Procedure
- Drain the cooling system. Refer to Cooling System Draining and Filling.
- Reposition the inlet hose clamp at the water outlet.
- Remove the inlet hose from the water outlet.
- Remove the water outlet bolts (2).
- Remove the water outlet (1).
- Remove the thermostat (3).
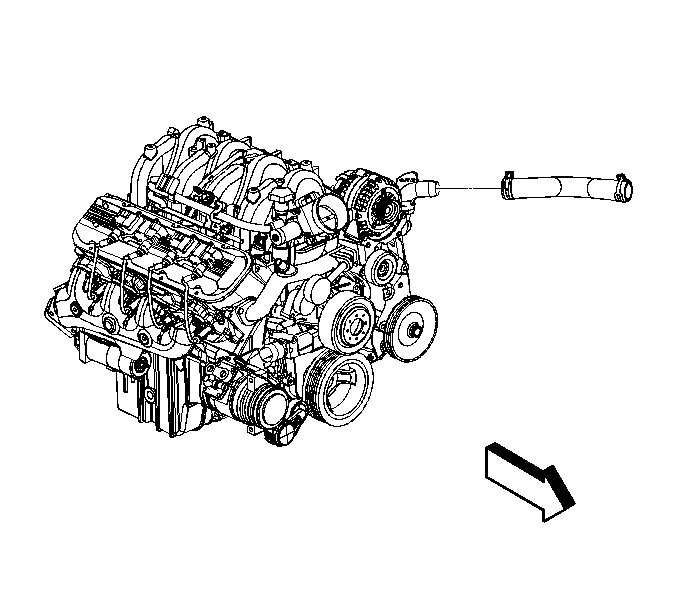

Installation Procedure
- Install the thermostat (3).
- Install the water outlet (1).
- Install the water outlet bolts (2).
- Install the inlet hose to the water outlet.
- Position the inlet hose clamp at the water outlet.
- Fill the cooling system. Refer to Cooling System Draining and Filling.

Caution: Refer to Fastener Caution in the Preface section.
Tighten
Tighten the bolts to 30 N·m (22 lb ft).

