For 1990-2009 cars only
Removal Procedure
- Disconnect the negative battery cable.
- Remove the instrument panel. Refer to Instrument Panel Assembly Replacement in Instrument Panel, Gages and Console.
- Recover the refrigerant.
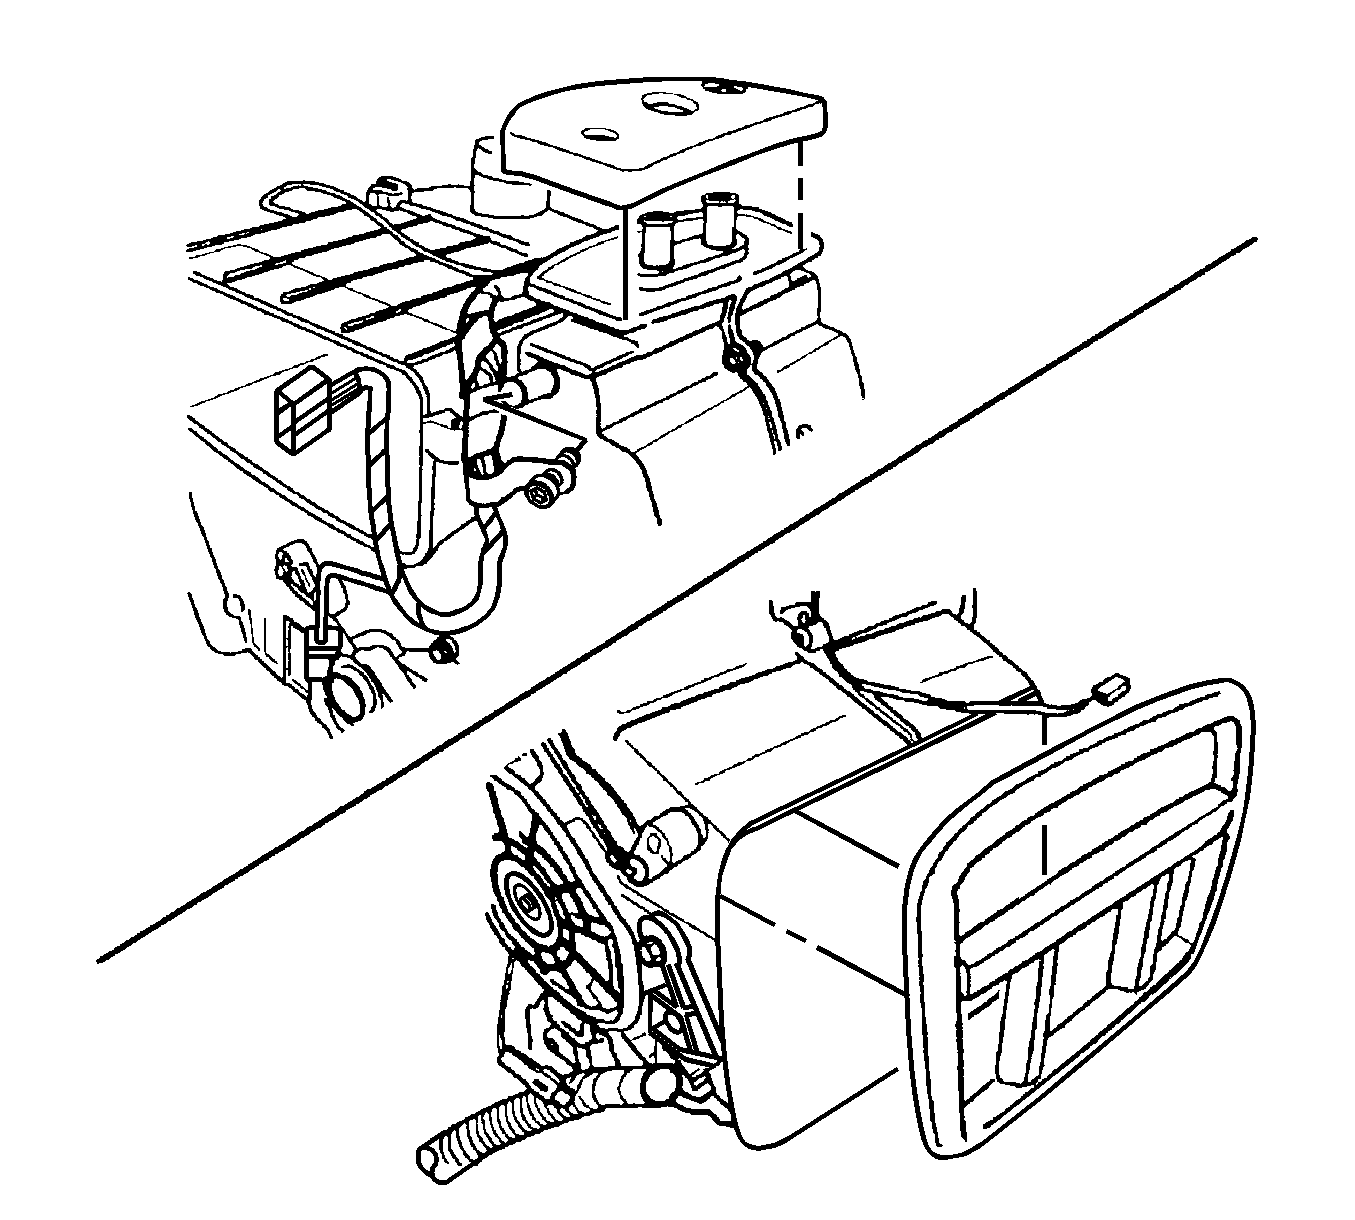
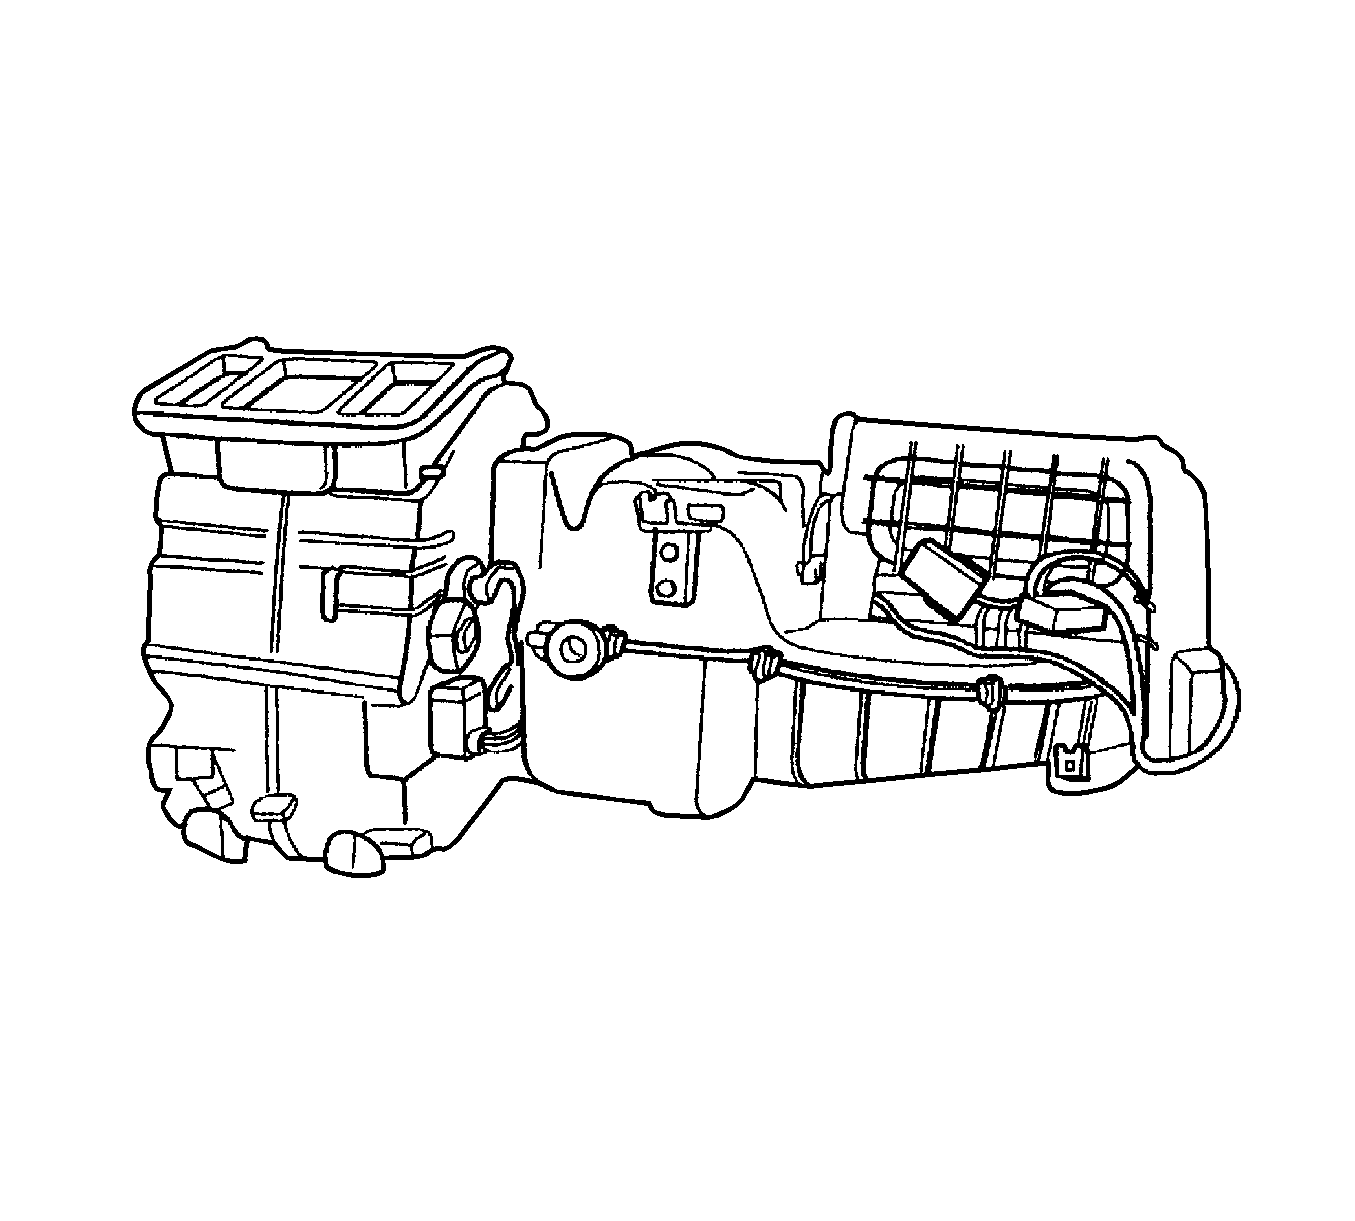
- Remove the heater/air distributor case assembly. Refer to HVAC Module Assembly Replacement .
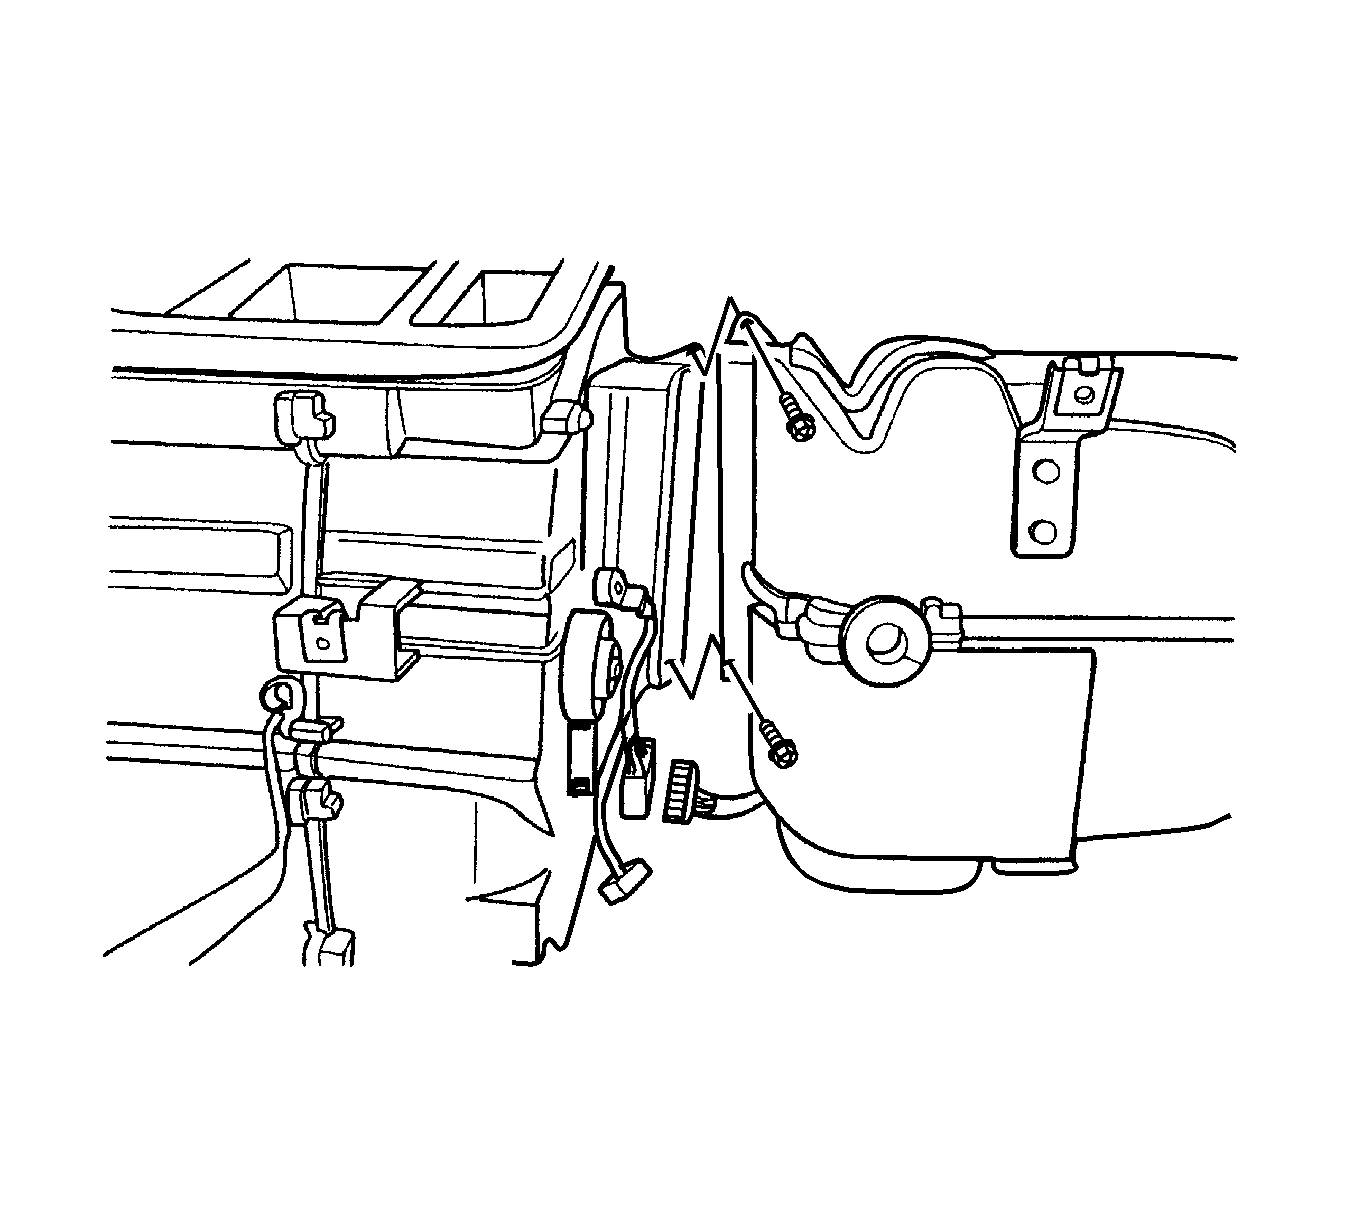
- Remove the wiring harness and electrical connectors from the heater/air distributor case assembly.
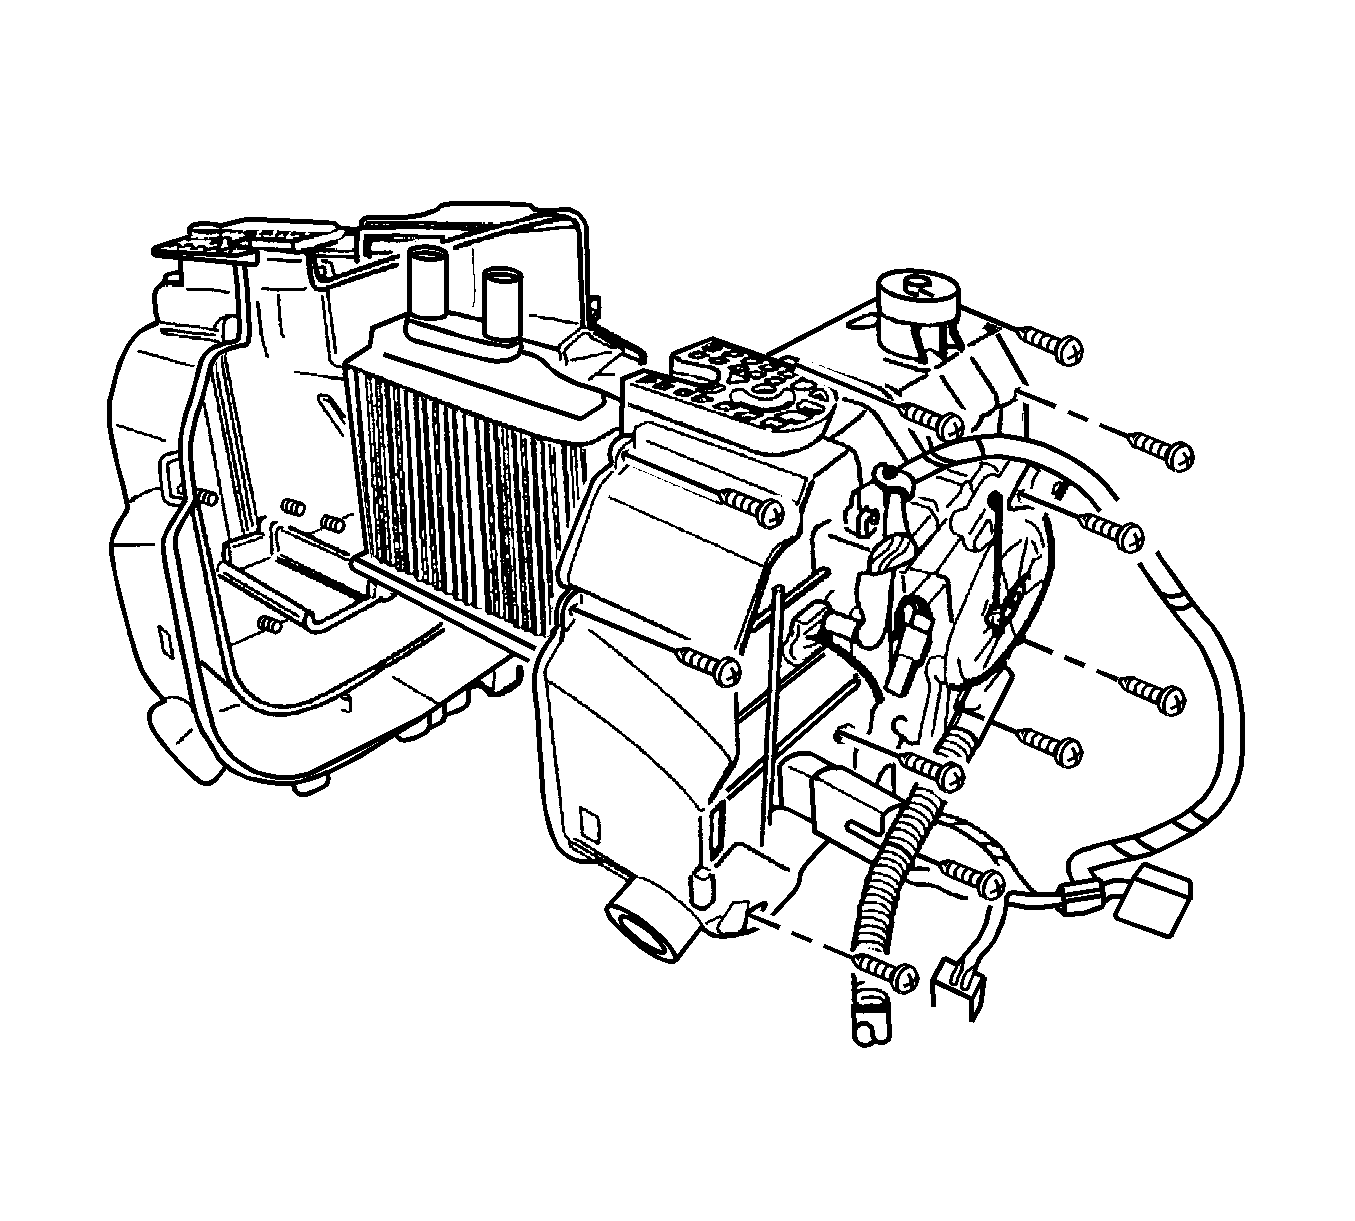
- Remove the screws that connect the heater core housing and the evaporator housing.
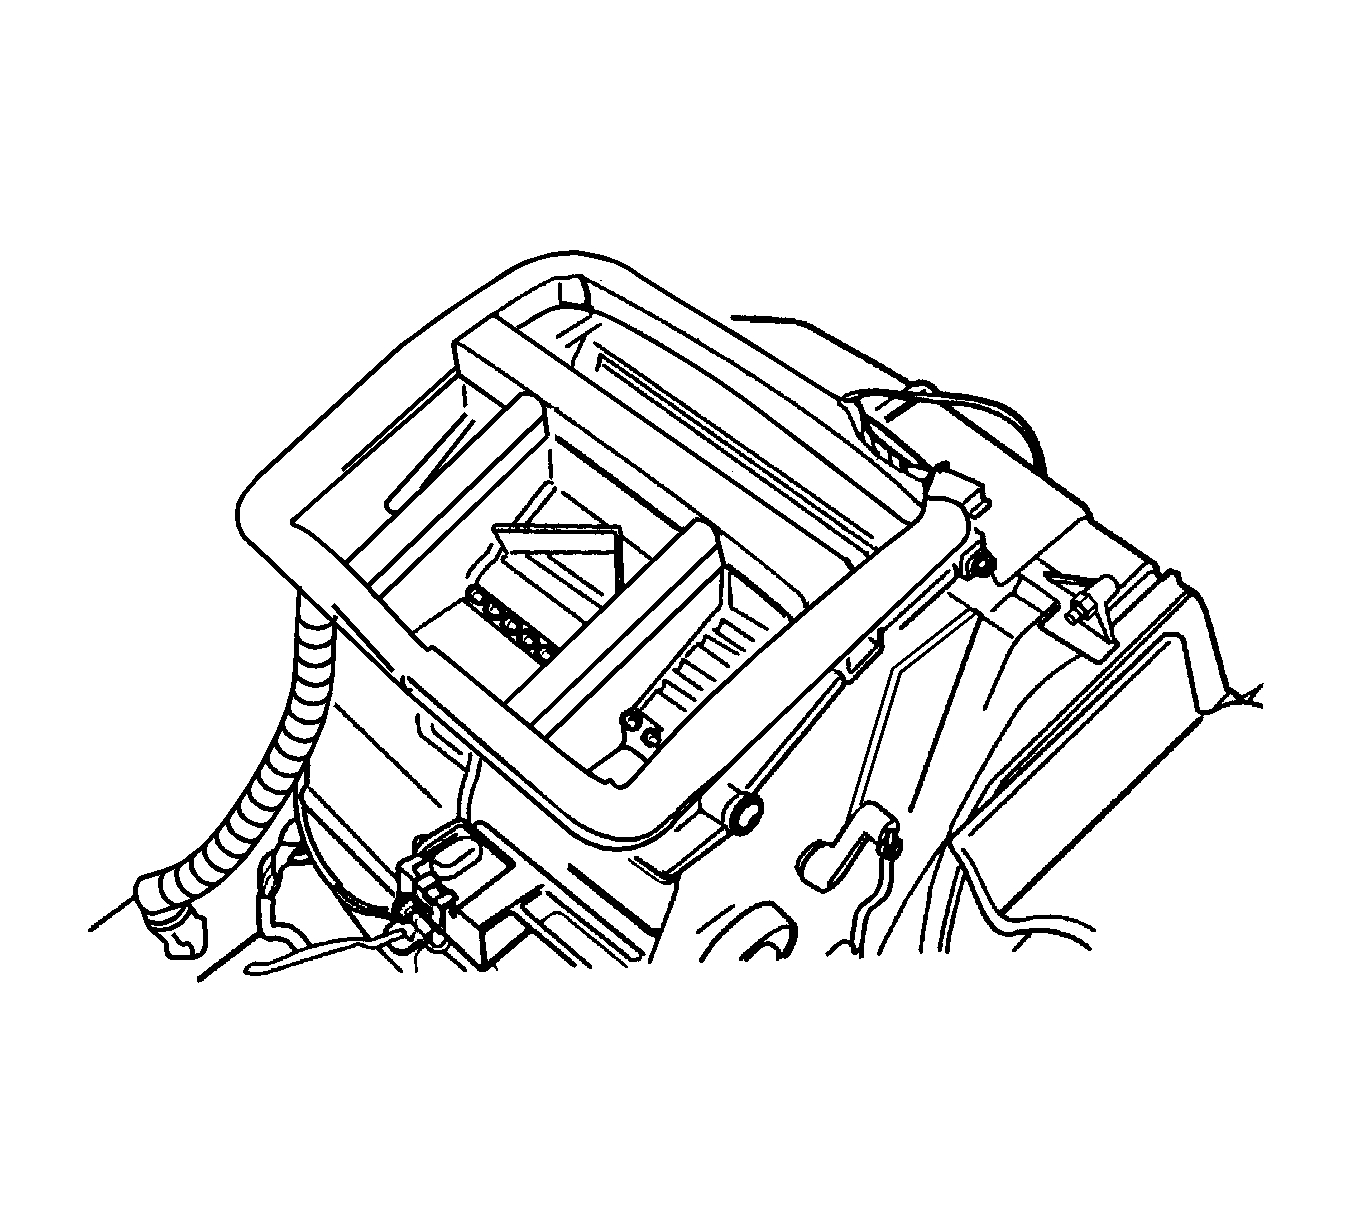
- Separate the sponge from heater/air distributor case assembly.
- Remove the heater core cover screws from the heater core housing.
- Remove the heater core.
Caution: Refer to Battery Disconnect Caution in the Preface section.
Installation Procedure
- Install the heater core into the case.
- Install the screws on the heater core housing.
- Install the sponge onto the heater/air distributor case assembly.
- Install the screws that connect the heater core housing and the evaporator housing.
- Connect the wiring harness and electrical connectors.
- Install the heater/air distributor case assembly. Refer to HVAC Module Assembly Replacement .
- Install the instrument panel. Refer to Instrument Panel Assembly Replacement in Instrument Panel, Gages and Console.
- Fill the cooling system. Refer to Cooling System Draining and Filling in Engine Cooling.
- Evacuate and recharge the refrigerant. Refer to Refrigerant Recovery and Recharging .
- Connect the negative battery cable.
Notice: Refer to Fastener Notice in the Preface section.
Tighten
Tighten the heater core cover screws to 1.2 N·m
(11 lb in).
Tighten
Tighten the screws to 1.2 N·m (11 lb in).
