Body Side Window Replacement Utility
Removal Procedure
Caution: When working with any type of glass or sheet metal with exposed or rough edges, wear approved safety glasses and gloves in order to reduce the chance of personal injury.
Notice: If a window is cracked but still intact, crisscross the window with masking tape in order to reduce the risk of damage to the vehicle. If a crack extends to the edge of the window, use chalk in order to mark the point where the crack meets the body of the vehicle.
Tools Required
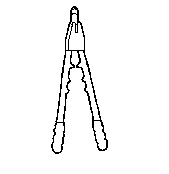
| • | J 24402-A Glass Sealant Remover (Cold Knife) |
| • | J 39032 Stationary Glass Removal Tool |
Window assemblies are installed from the outside of the body using a self-curing adhesive. Replacing a window assembly installed with urethane adhesive requires either partial or complete replacement of the adhesive. Partial replacement of the adhesive is known as the short method. Complete replacement of the adhesive is known as the extended method.
Window assembly removal is the same for both the short and extended installation methods with one exception. Use more care with the short method while cutting in order to be certain that an even bead of adhesive remains on the window opening in order to serve as a base for the new window assembly.
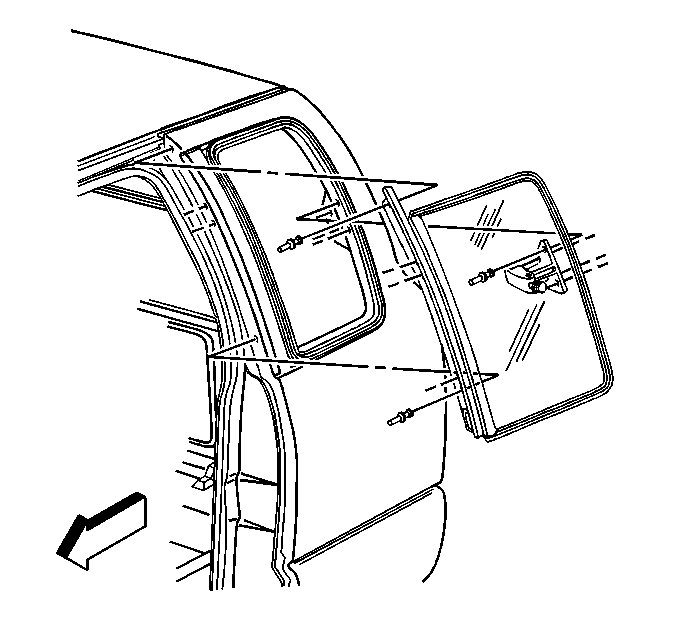
- Remove the body side trim panels. Refer to Body Side Trim Panel Replacement in Interior Trim.
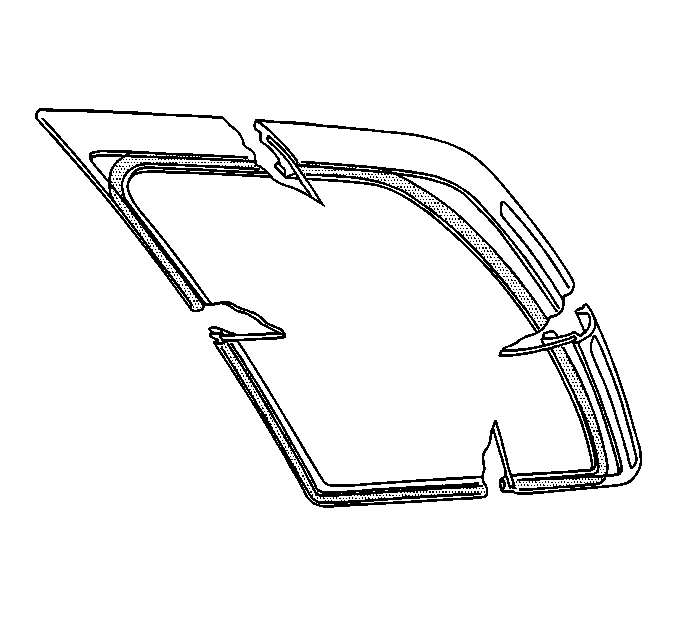
- Remove the window molding. Refer to Windshield Side Reveal Molding Replacement .
- Remove the anchor bolt securing the rear seat belt assembly to the roof (2-door utility only).
- Cut the 2 rivets securing the glass assembly (2-door utility only).
- Use the J 24402-A , theJ 39032 or the equivalent in order to cut the glass assembly from the window frame. Perform the following procedure:
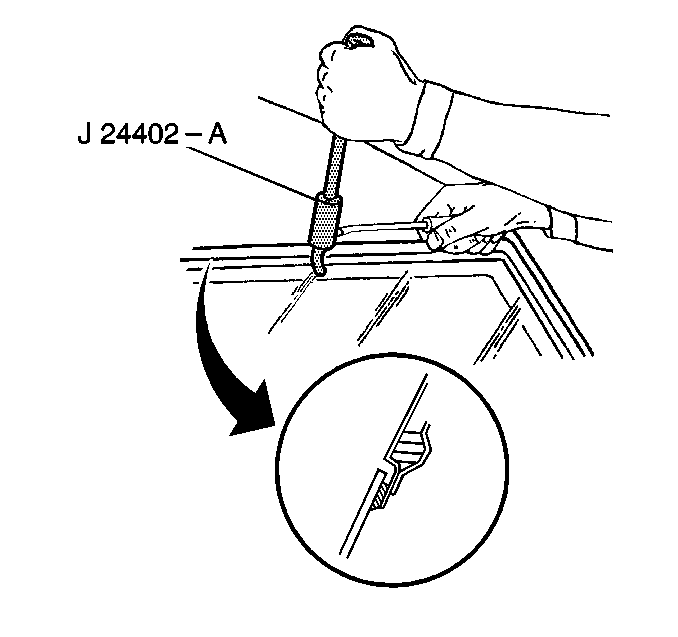
| 5.1. | Use tape in order to hold the window while cutting. |
| 5.2. | From inside the window, cut the window from the urethane adhesive. |
| 5.3. | With a helper standing outside the vehicle, push out the window from the inside. |
Installation Procedure
- Apply the glass adhesive. Refer to Windshield Replacement .
- Install the window to the vehicle.
- Install 2 new rivets in order to secure the glass assembly to the sheet metal.
- Install the rear seat belt anchor bolt to the roof.
- Install the window molding (if equipped). Refer to Windshield Side Reveal Molding Replacement .
- Install the body side trim panels. Refer to Body Side Trim Panel Replacement or Body Side Trim Panel Replacement in Interior Trim.
- Ensure that the vehicle remains at normal room temperature for 6 hours in order to complete the proper cure of the adhesive. Partially lower a door window in order to prevent pressure buildup when closing the doors prior to urethane adhesive cure.
Body Side Window Replacement Pickup
Removal Procedure
Tools Required
J 34940 Rivet Gun
- Carefully spread the handle retainer outward in order to release the latch pin from the latch.
- Remove the latch pin from the latch.
- Remove the seat belt retractor. Refer to Front Seat Belt Replacement in Seat Belts.
- Open the door in order to access the rivets.
- Drill out the rivets retaining the window assembly.
- Thoroughly clean all metal particles that may have lodged inside the body panel.
- Remove the window assembly from the vehicle.
Installation Procedure
- Install the window assembly to the vehicle.
- Using the J 34940 (or equivalent), install the rivets in order to retain the window assembly to the vehicle.
- Install the seat belt retractor. Refer to Front Seat Belt Replacement in Seat Belts.
- Install the latch pin.
Using a punch, carefully drive the pin into the latch.
