For 1990-2009 cars only
Removal Procedure
- Remove the front folding panel. Refer to Folding Top Front Panel Replacement .
- Remove the screws (1) from each upper rear corner of the panel.
- Open the folding top. Locate the screw in the underside.
- Remove the weatherstrip from the side retainers.
- Remove the weatherstrip from rear flange.
- Remove all of the adhesive and remaining tape from the panel.
Important: Place the front folding panel on a protective cover to prevent scratching.
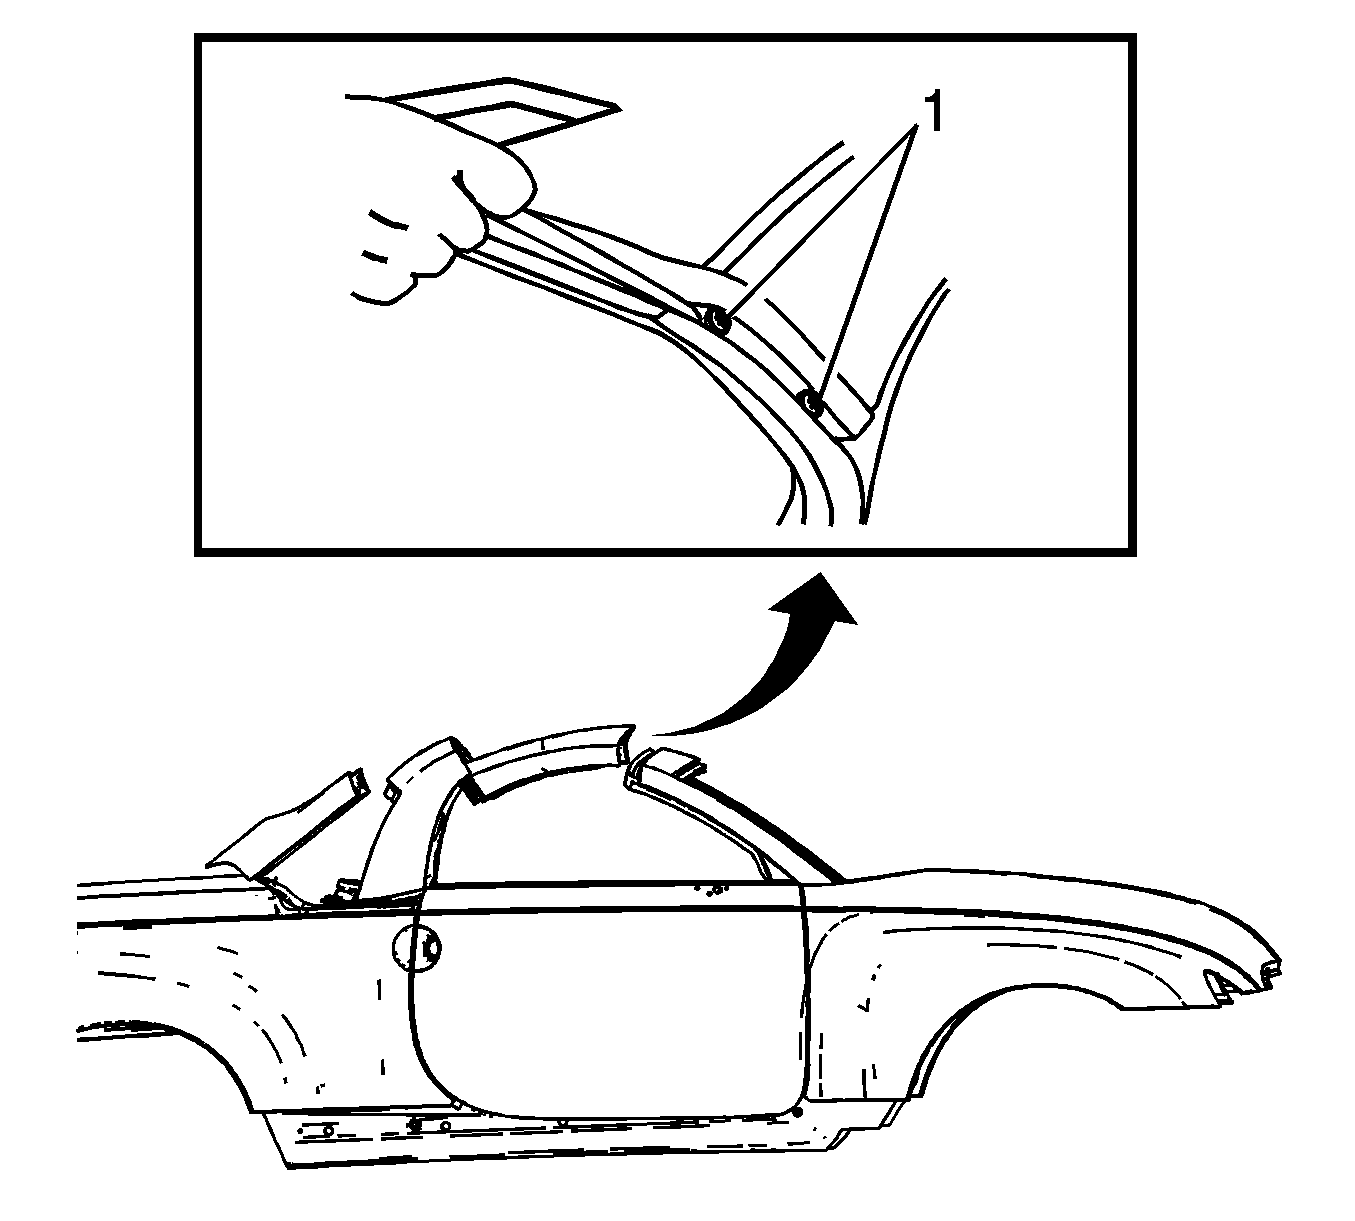
There is 2 screws in each corner of the panel that attach the weatherstrip.
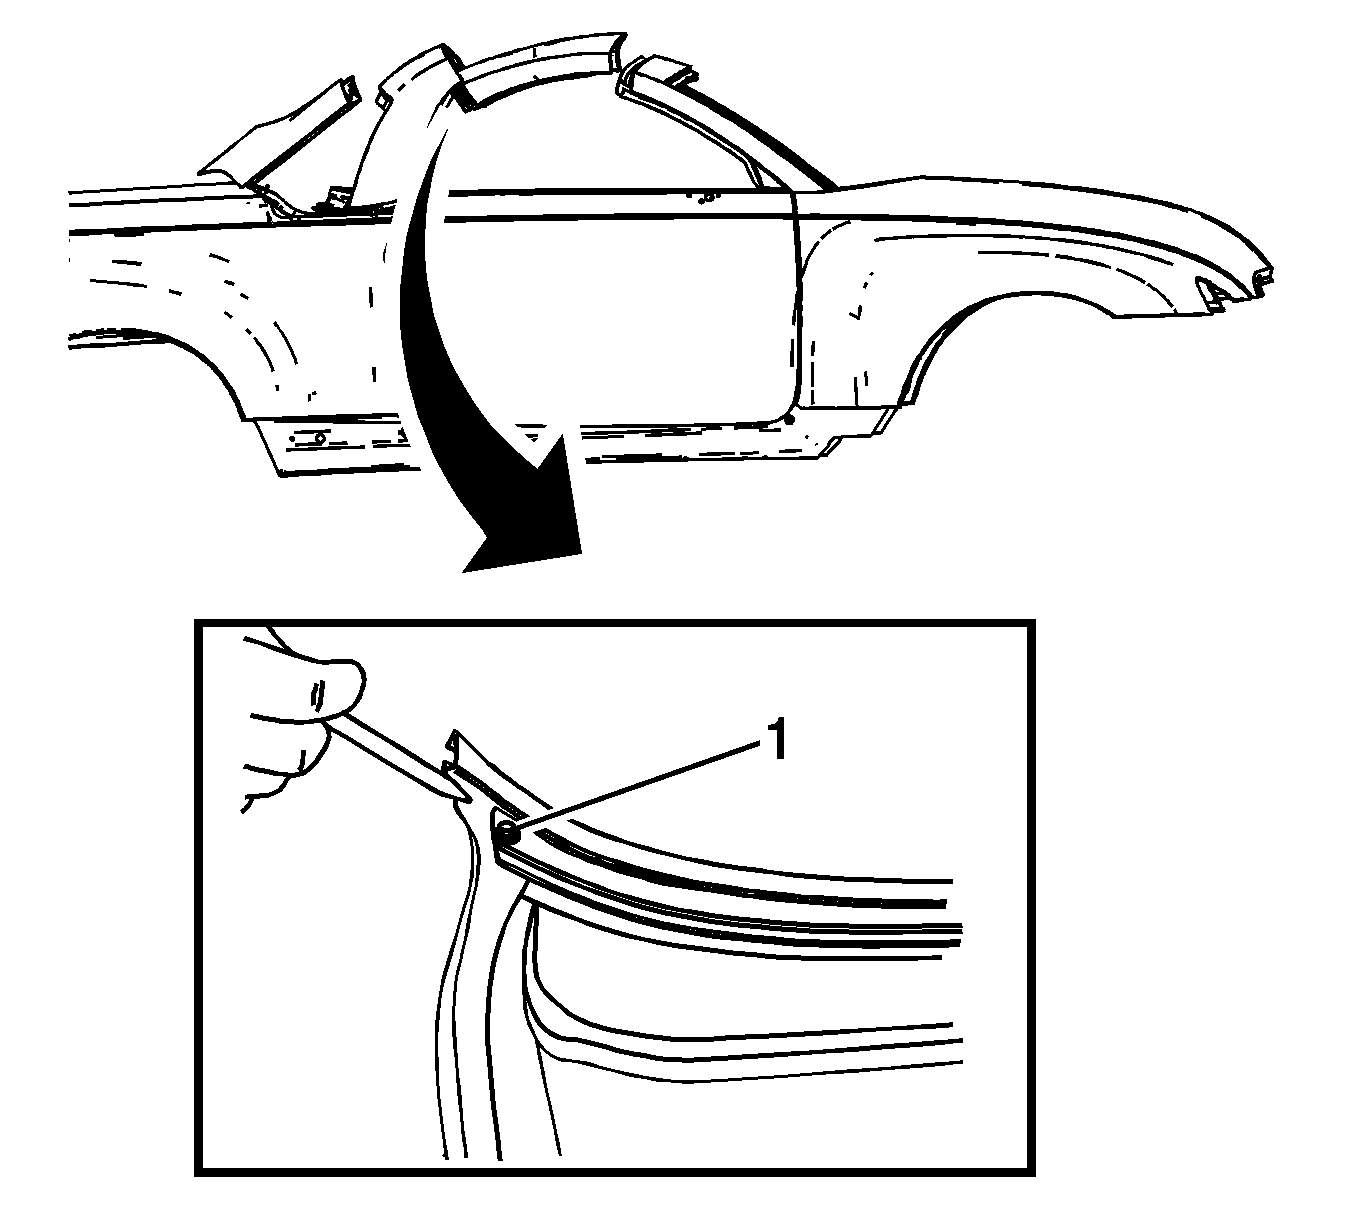
Remove the screw (1) that attaches the weatherstrip to the side retainer.
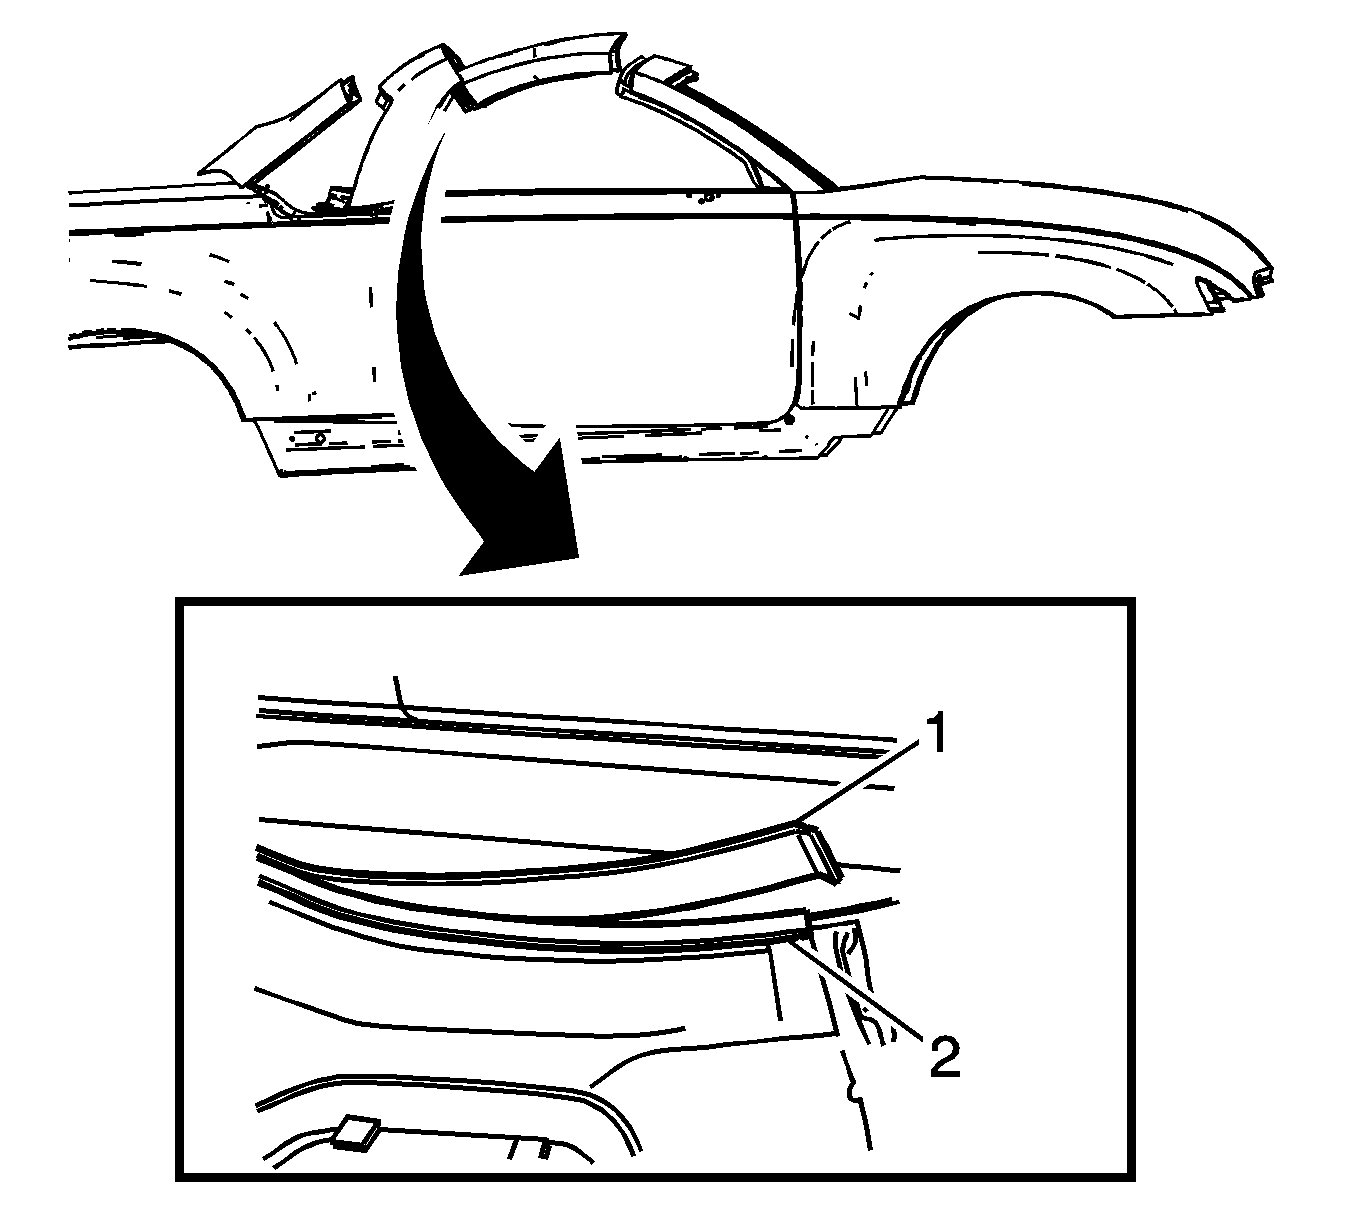
Grasp the weatherstrip at the corner, pull the weatherstrip upward to release it from the retainer.
Varnish Makers and painters (VMP) Naptha™ or GM approved 3M® adhesive remover on a dampened lint free cloth.
Installation Procedure
- Install the weatherstrip to the panel.
- Apply a pumpable sealer (Kent Products® P10552 or GM equivalent), approximately a 6mm (0.236 in.) bead to the area (2), in the molded corners of the weatherstrip.
- Wet-out the adhesive tape by applying steady pressure with hand or trim stick.
- Install the weatherstrip to the retainers, use a trim stick or a suitable tool to ensure that the weatherstrip is completely seated in the retainer.
- Open the folding top. Locate the screw in the underside of the panel.
- Install the screws (1) to each upper rear corner of the panel.
- Install the front folding panel. Refer to Folding Top Front Panel Replacement .
- Cycle the folding top closed.
- Water test the vehicle.
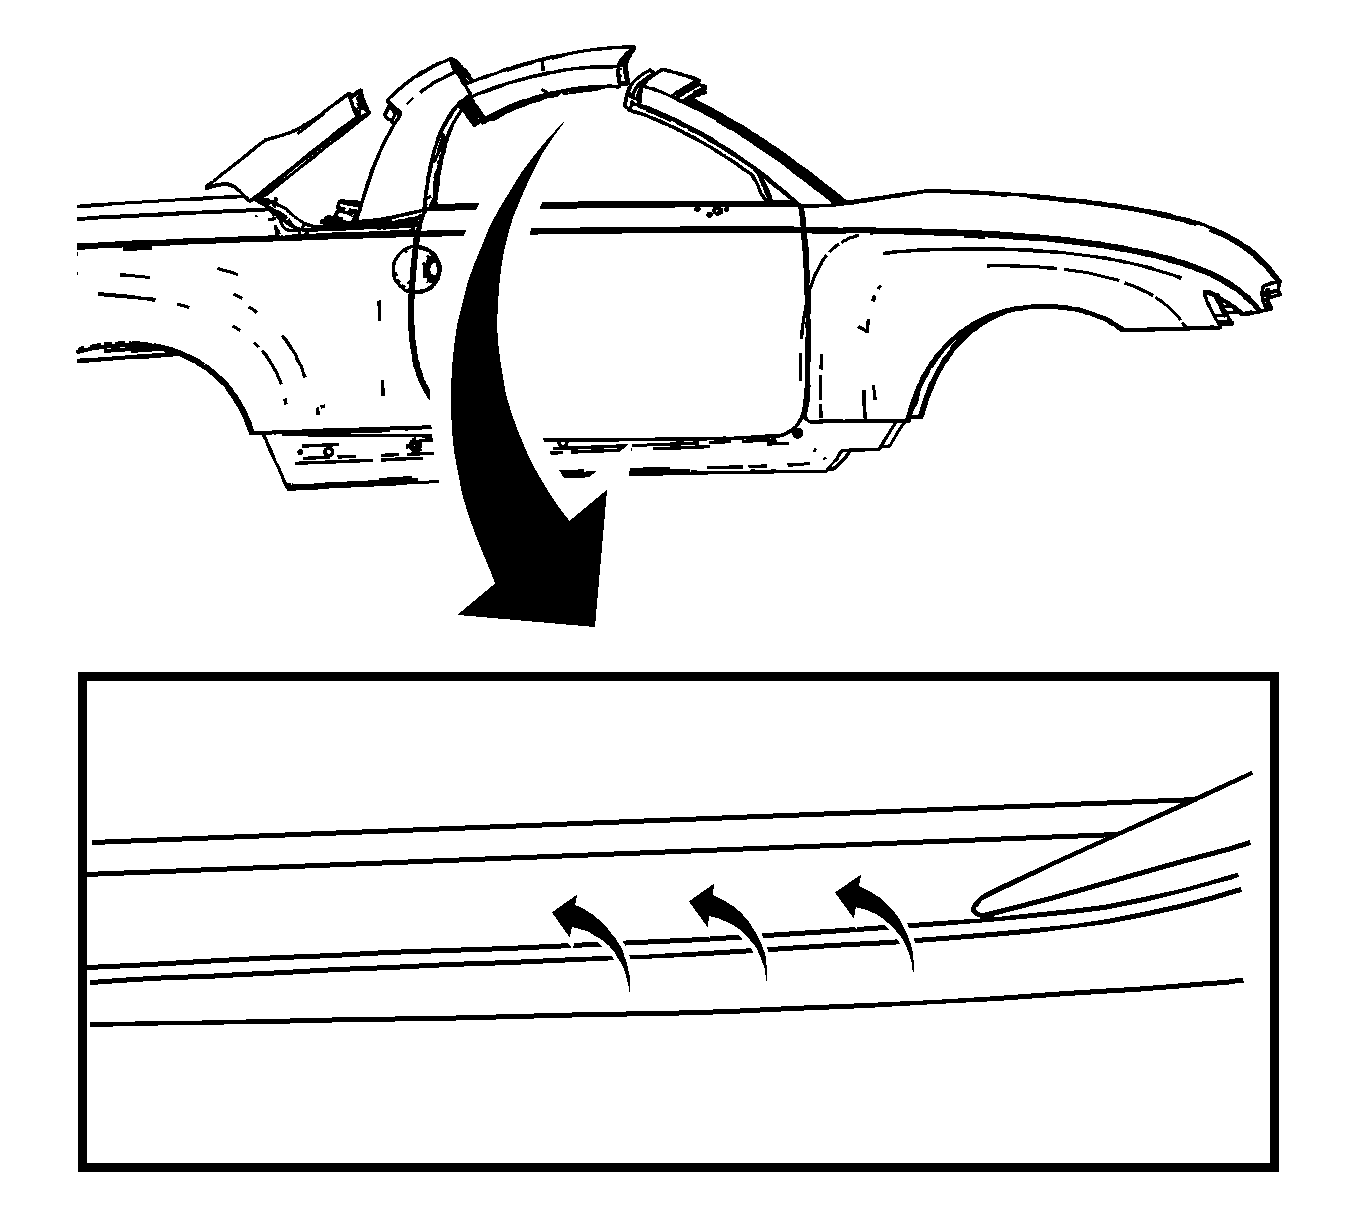
| 1.1. | Align the weatherstrip to the flange on the panel. |
| 1.2. | Remove adhesive tape backing from the adhesive tape, by pulling on the pull-tab, While the seal remains mounted to the flange. |
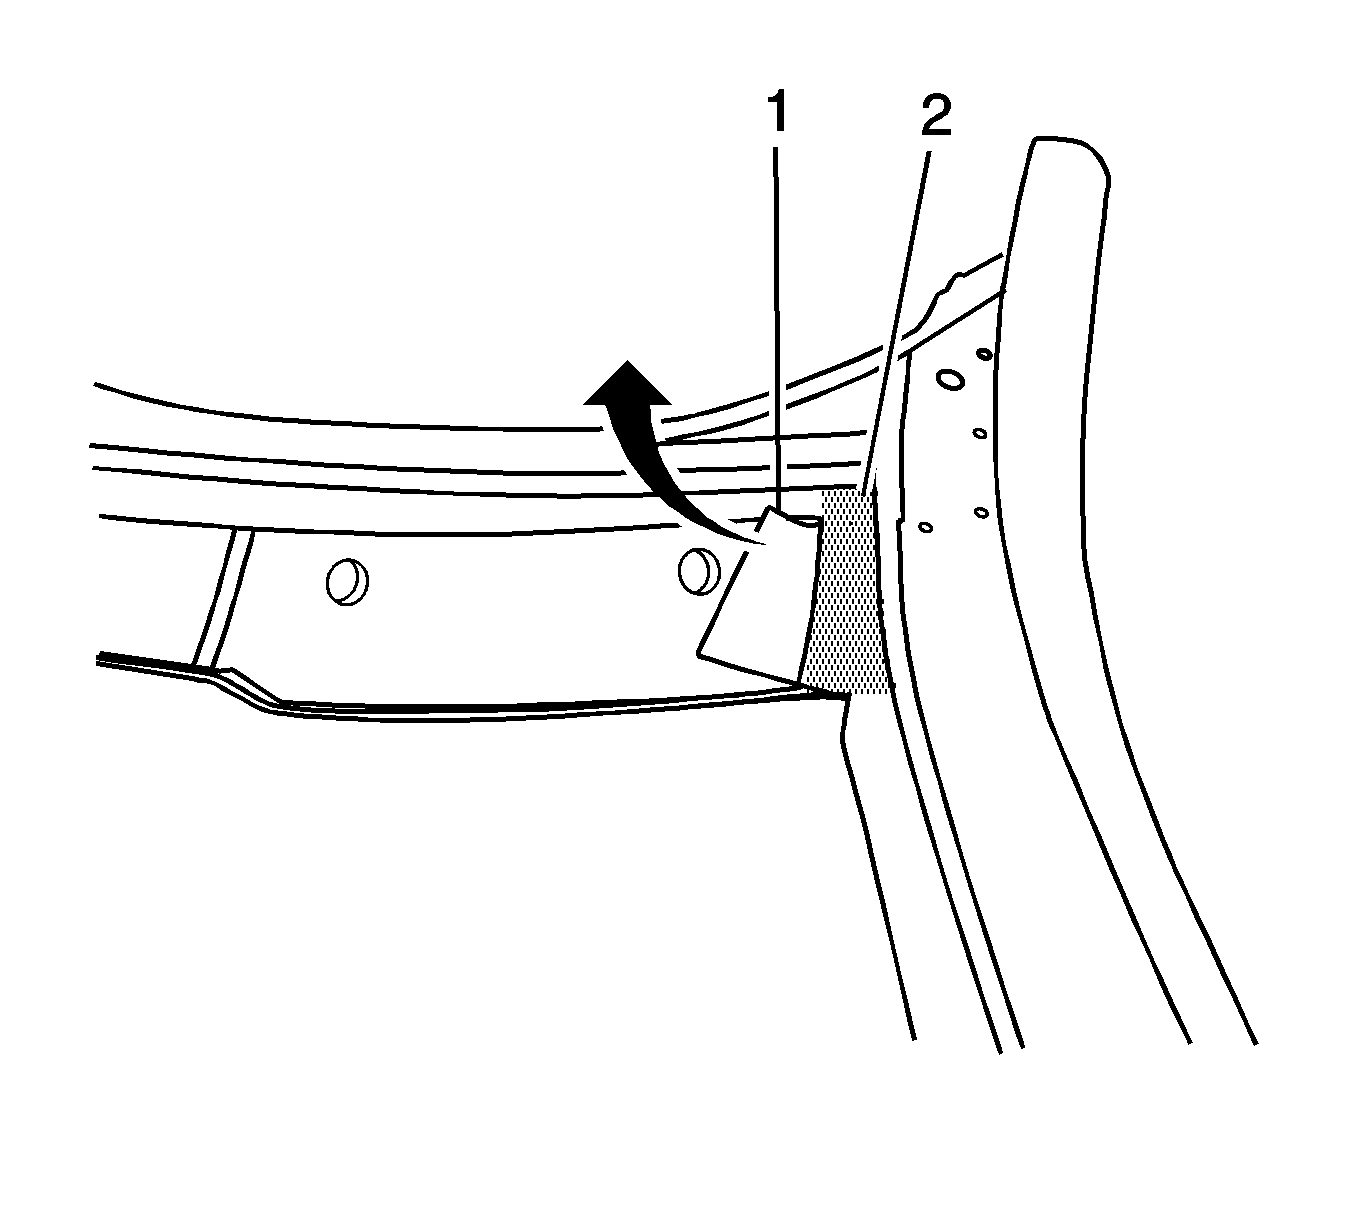

Install the screw (1) that attaches the weatherstrip to the side retainer.

There is 2 screws in each corner of the panel that attach the weatherstrip.
| 9.1. | Ensure that the weatherstrip is properly seated. |
| 9.2. | Inspect for leaks, more sealer may be necessary. |
