Removal Procedure
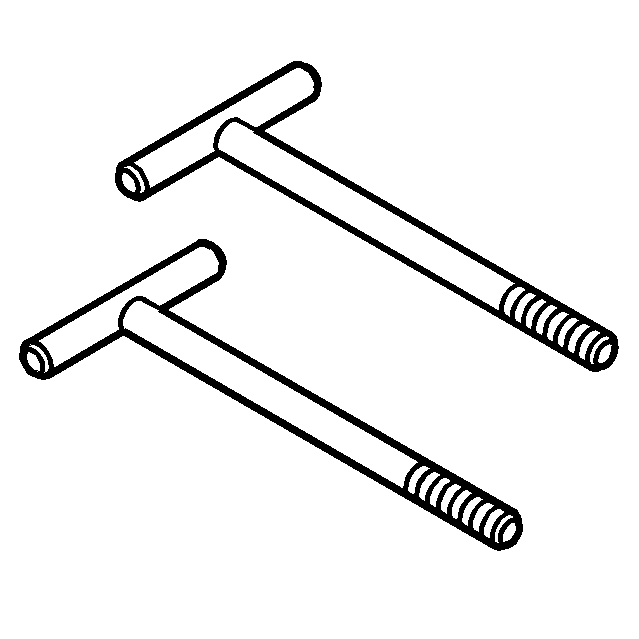
Tools Required
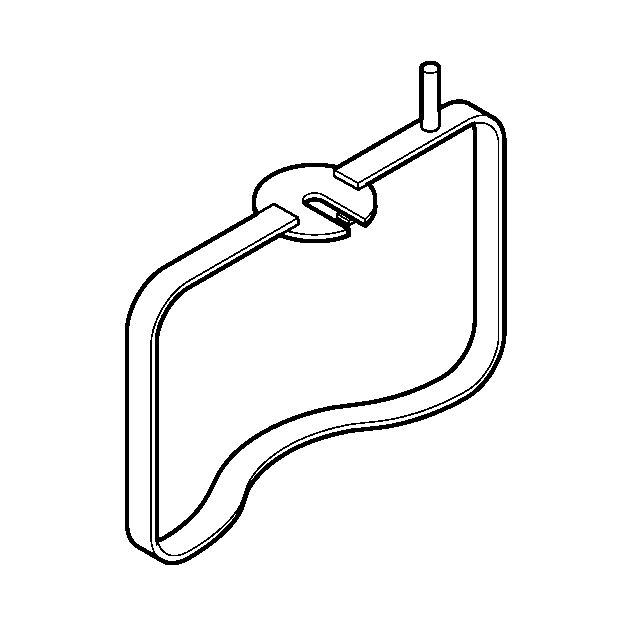
J 46409 Torque Converter
Lifting Handles
Caution: The torque converter dry weight is approximately 29
kg (63 lb). To help avoid personal injury and/or property damage:
| • | Use caution when installing, removing, or moving the torque converter. |
| • | Get help when lifting the torque converter. Assistance from a hoist or
another person is required. |
| • | Make sure J 46409 T-handles are installed securely and that any lifting
equipment used can properly support the torque converter. |
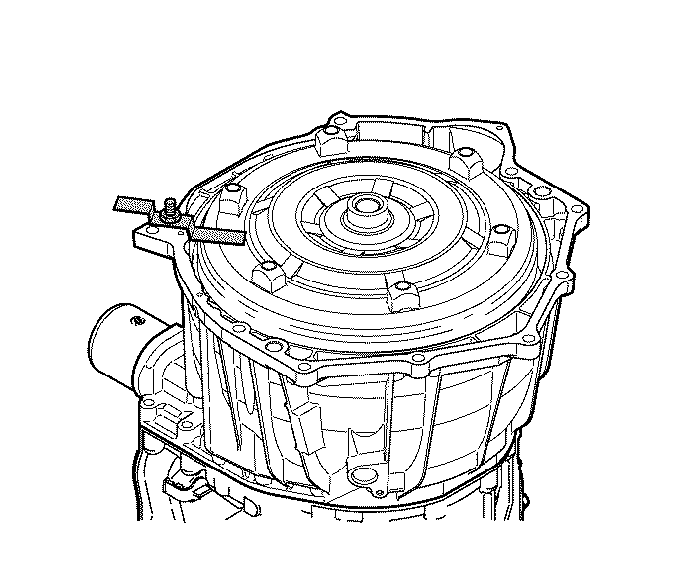
- Position the transmission so that the front of the torque converter is facing
up.
- If used, remove four bolts and two shipping brackets, or remove other
torque converter restraining device.

- Install a J 46409
T-handle into a boss on the front of torque converter (1).
- Install the other J 46409
T-handle into a boss on the front of torque converter (1) 180 degrees
away from the first T-handle.
Caution: Avoid personal injury or property damage when removing or installing the torque
converter by seeking an assistant to help lift the torque converter.
- Remove torque converter from converter housing.
- Place torque converter on the work table.
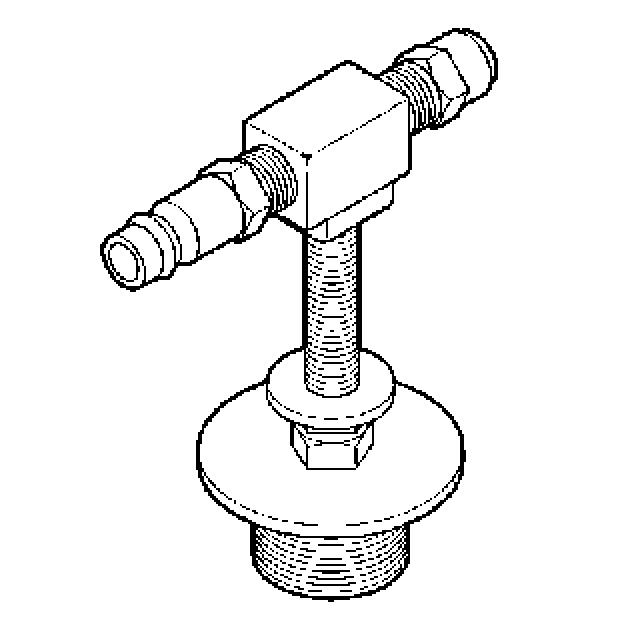
Torque Converter Leak Test
Tools Required
| • | J 43763 Torque Converter
Leak Test Plug |
| • | J 21369-F Torque
Converter Leak Test Fixture |
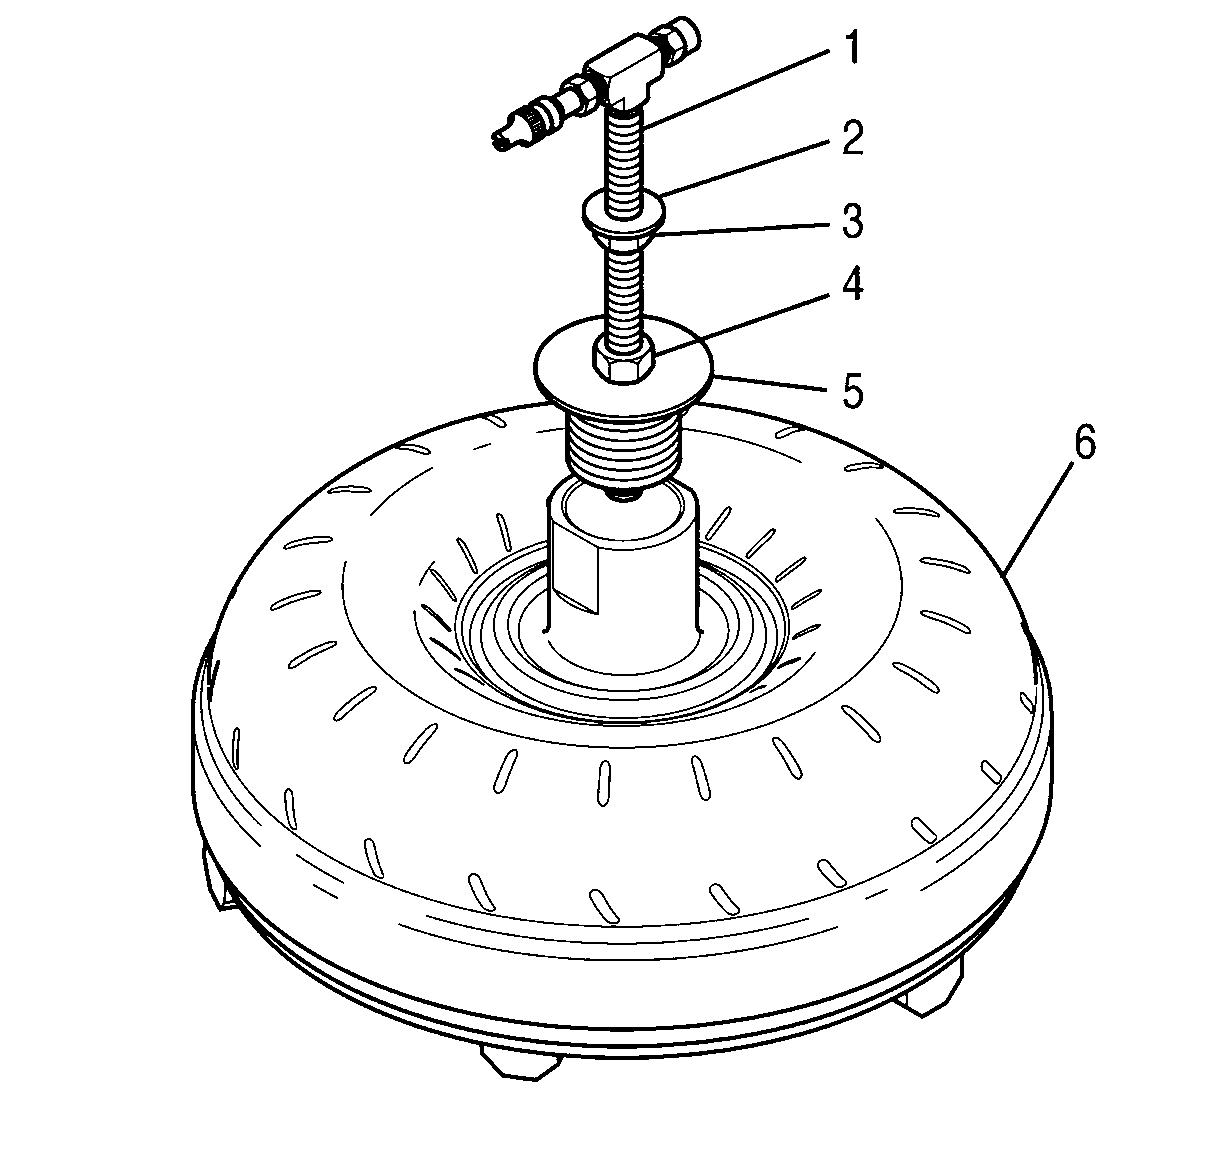
Important: The torque converter leak test requires a
large container of water in order to submerge the torque converter.
- Position torque converter (6) on the work table so that the pump hub
is facing up.
- Move nut (3) to the middle of the center body (1) of J 43763
.
- Install J 43763
into the torque converter hub.
- Install J 21369-F
(3) onto torque converter (8) and onto J 43763
(4).
- Firmly tighten nut (6) in order to seal J 43763 into the
torque converter.
- Firmly tighten nut (5) in order to securely attach the torque converter
to J 21369-F
(3). Connect
an air hose to air fitting (1) of J 43763
.
- Pressurize the converter to 517 kPa (75 psi) maximum.
- Disconnect the air hose. Submerge the torque converter in water.
- Closely observe the torque converter for bubbles that indicate leakage.
If the torque converter leaks, replace the torque converter.
Caution: All pressure from the torque converter must be exhausted before loosening the
test fixture nut. Failure to relieve the pressure could cause personal injury and/or
property damage.
- Push on pressure relief valve (2) of J 43763
and release the air from the torque converter.
- Remove the J tools from the torque converter.
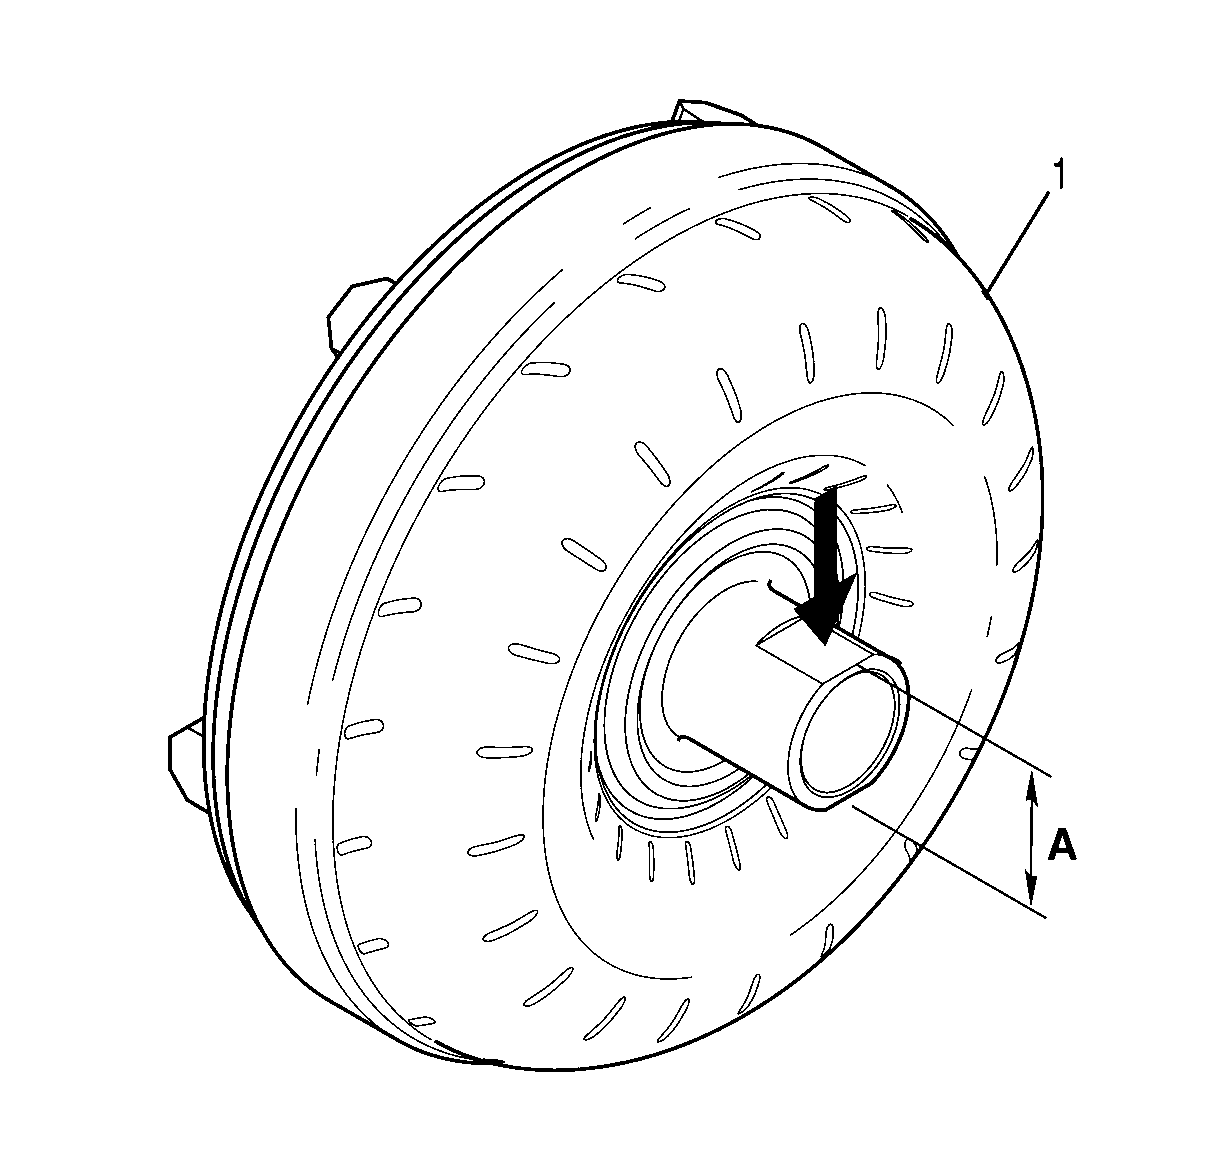
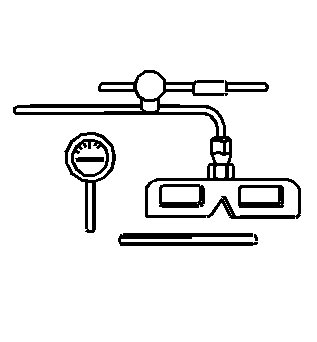
Torque Converter Inspection
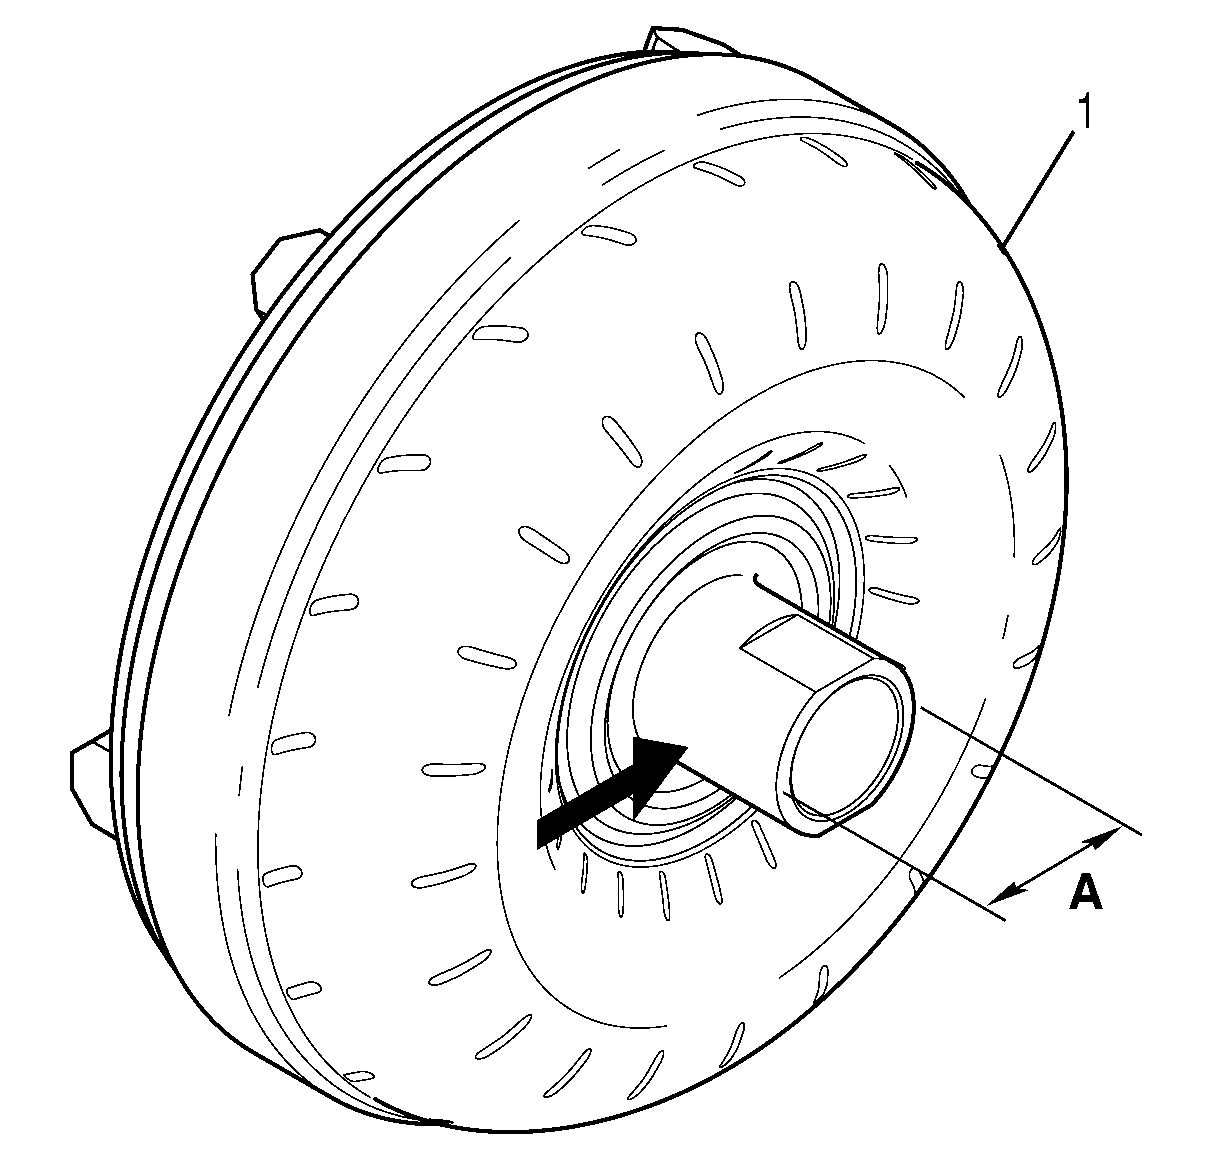
Important: Replace the torque converter if it does not
meet specifications.
- Measure the OD of torque converter hub (1) at dimension A, the bushing
wear area.
Torque Converter Hub OD
Dimension A must equal or exceed
58.250 mm (2.293 in)
- Measure the distance between the flats of
the torque converter hub at dimension A.
Torque Converter Hub Flats
Dimension A must equal or exceed
51.816 mm (2.040 in).
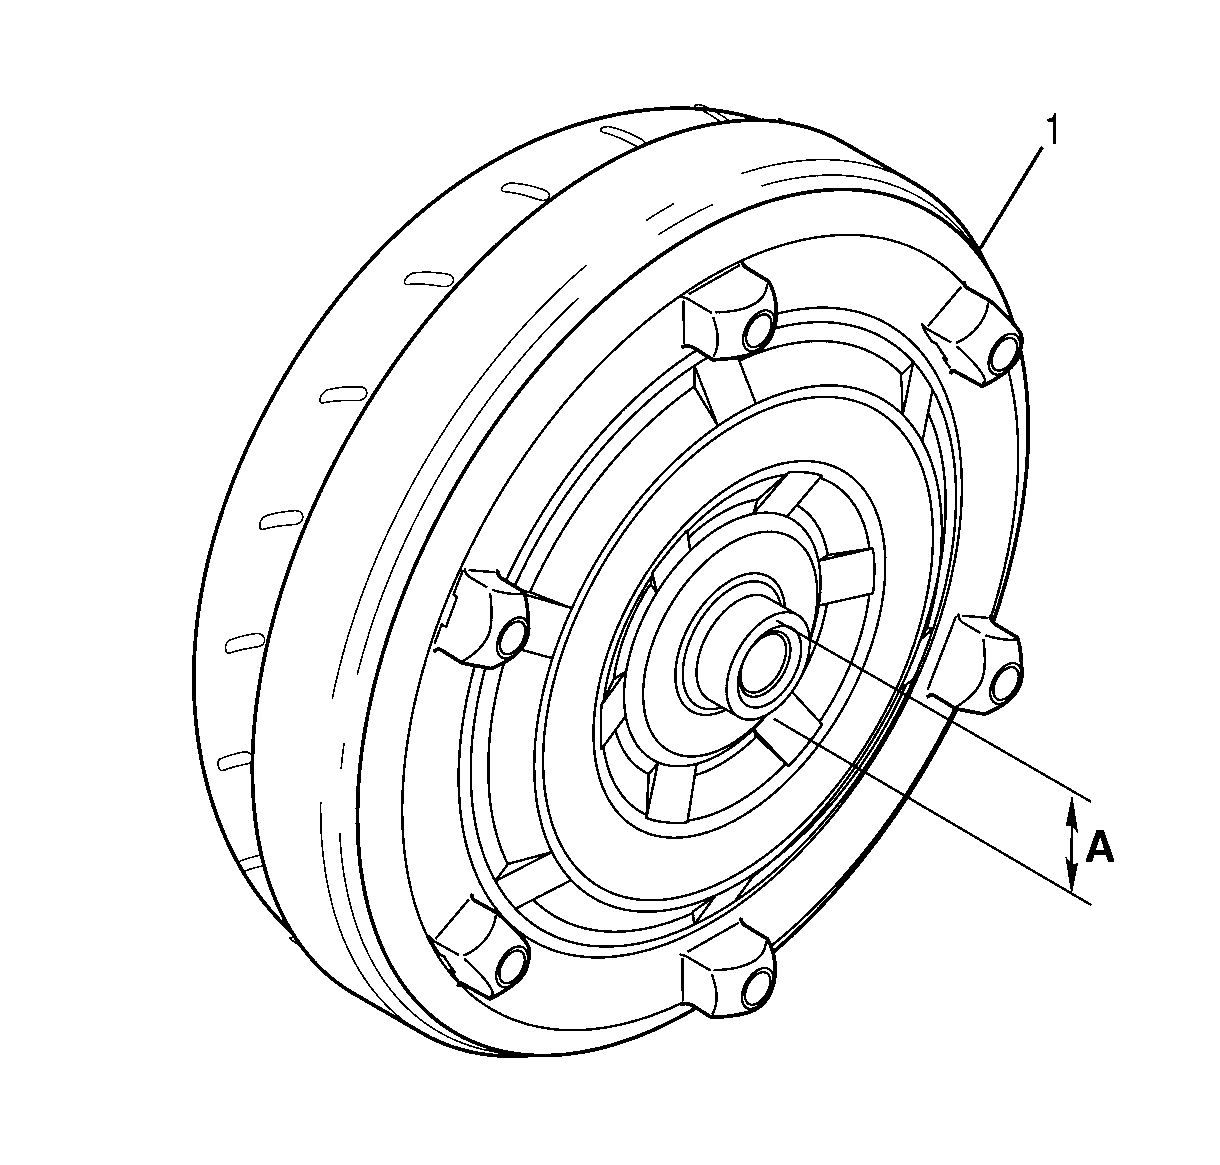
- Measure the OD of the torque converter cover
pilot at dimension A.
Torque Converter Pilot
Dimension A must equal or exceed
43.080 mm (1.696 in)
Transmission Fluid Inspection

- Remove
the transmission fluid from torque converter (1).
- Examine the transmission fluid for the following.
| • | Evidence of foreign matter |
- If the torque converter is damaged, replace the torque converter.
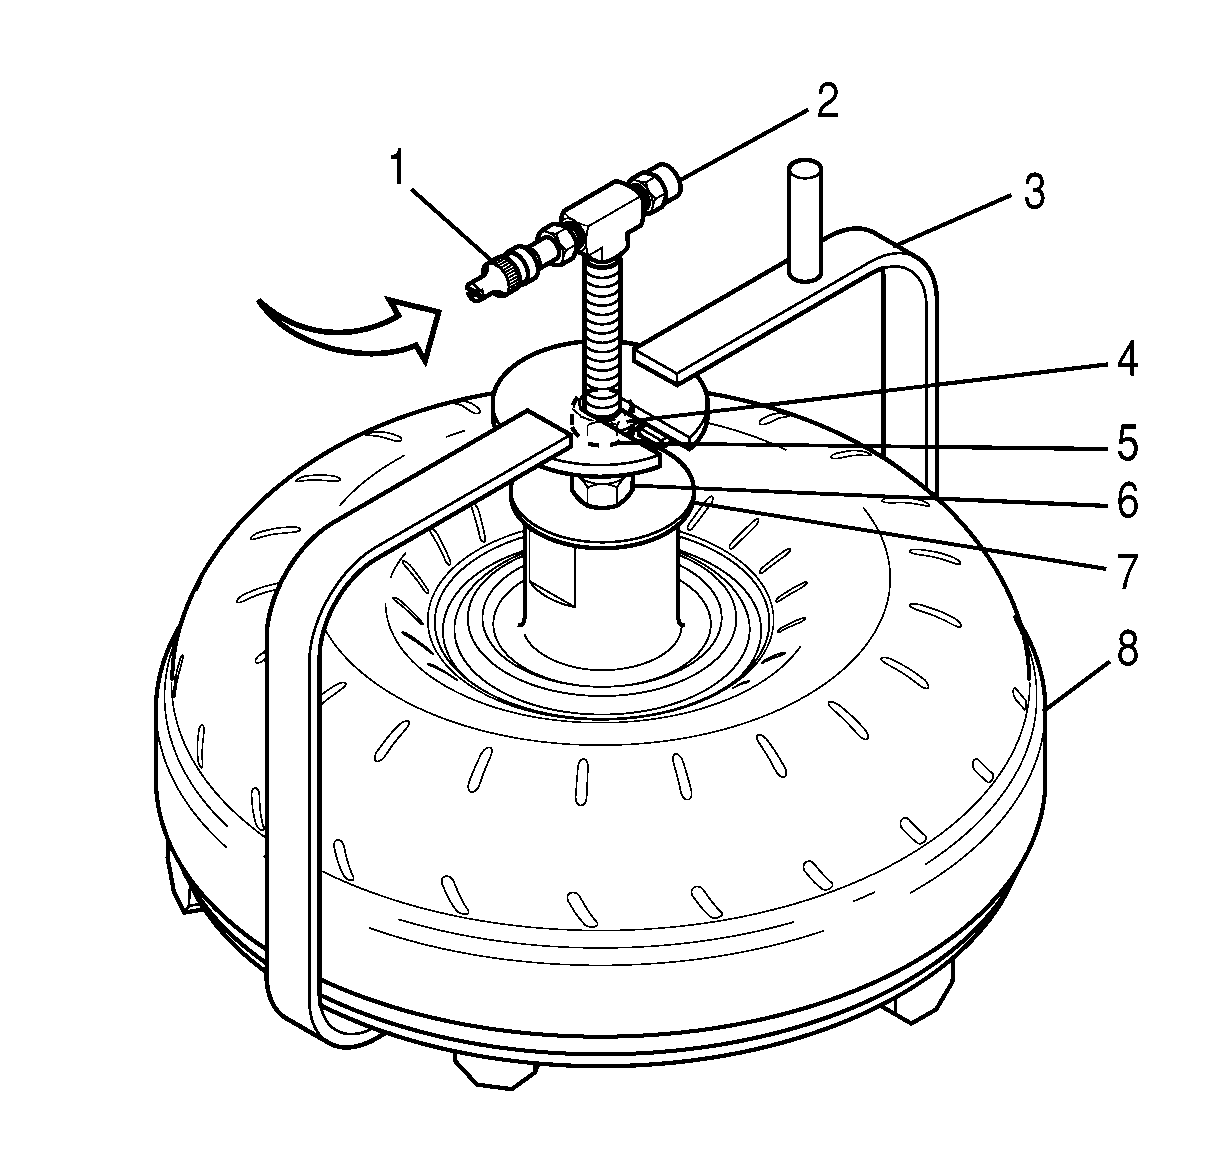
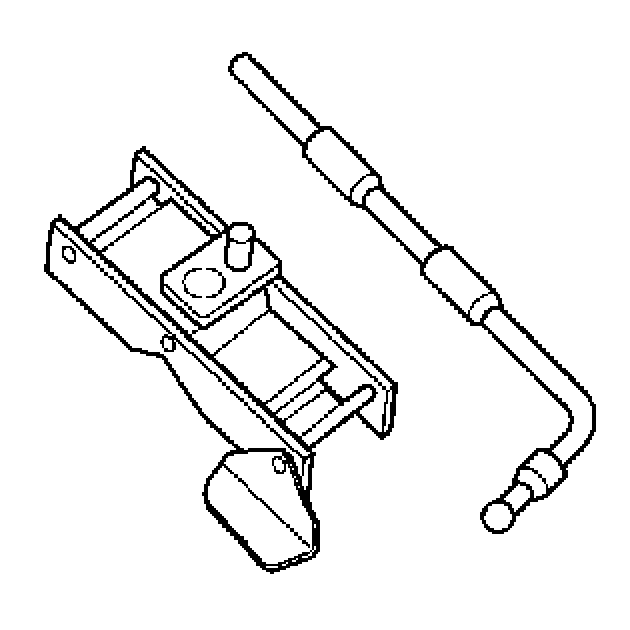
Torque Converter End Play Inspection
Tools Required
| • | J 43764 Torque Converter
End Play Gauge |
| • | J 5959 Rod 1/4 x
101/2 inches |
| • | J 7872 Dial Indicator
Clamp and Adaptor Rod |
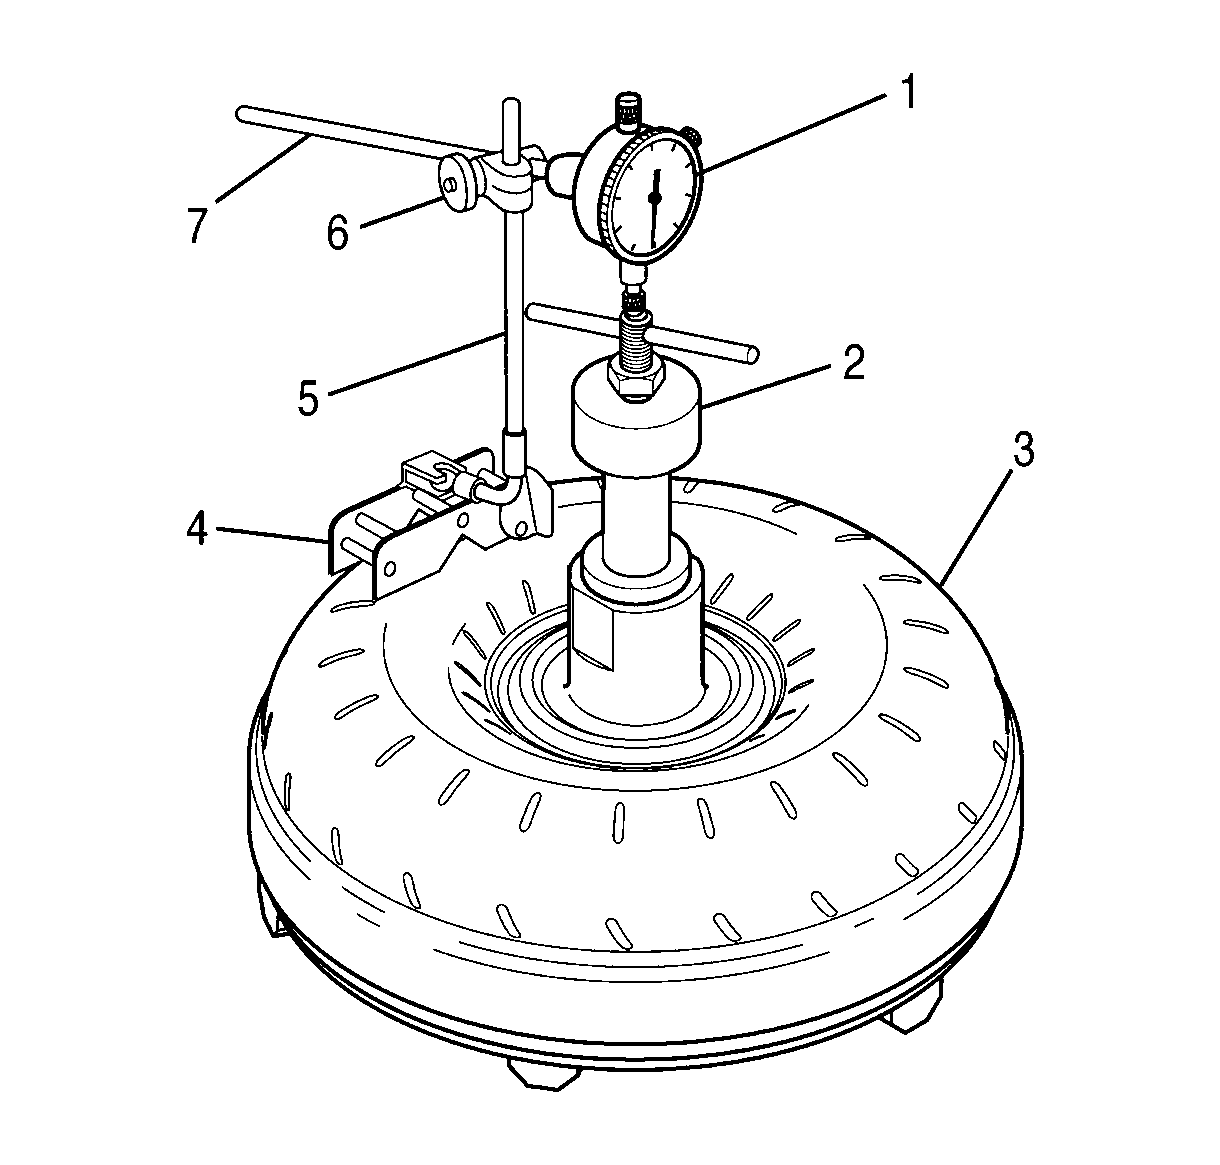
- Position torque converter (3) on
the work table so that the pump hub is facing up.
- Install J 43764
(2)
into the torque converter hub.
- Hold J 43764
(2)
in the converter hub and rotate the center screw until J 43764
is locked into the converter hub. Do not over tighten J 43764
.
- Assemble the following tools and install
the tools onto the torque converter as shown.
- Adjust clamp (6) so that dial indicator (1) firmly contacts
the top of J 43764
(2).
- Set dial indicator (1) to read zero.
- Lift J 43764
(2)
upward as far as possible.
- Read dial indicator (1) to determine torque converter end play.
- Compare the measured end play with the torque converter end play specifications.
Refer to
End Play Specifications
.
- If the measured torque converter end play exceeds the value listed, replace
the torque converter.
- Remove the J tools from the converter housing.
