For 1990-2009 cars only
Rear Brake Caliper Replacement 1500 Series
Removal Procedure
Caution: Refer to Brake Dust Caution in the Preface section.
Caution: Refer to Brake Fluid Irritant Caution in the Preface section.
- Inspect the fluid level in the brake master cylinder reservoir.
- If the brake fluid level is midway between the maximum--full point and the minimum allowable level then no brake fluid needs to be removed from the reservoir before proceeding.
- If the brake fluid level is higher than midway between the maximum-full point and the minimum allowable level then remove brake fluid to the midway point before proceeding.
- Raise and support the vehicle. Refer to Lifting and Jacking the Vehicle in General Information.
- Remove the tire and wheel assembly. Refer to Tire and Wheel Removal and Installation in Tires and Wheels.
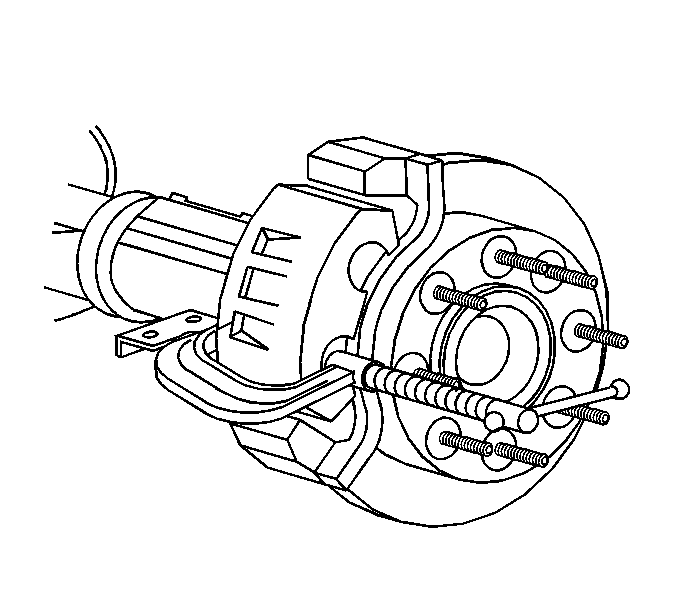
- Compress the brake caliper pistons.
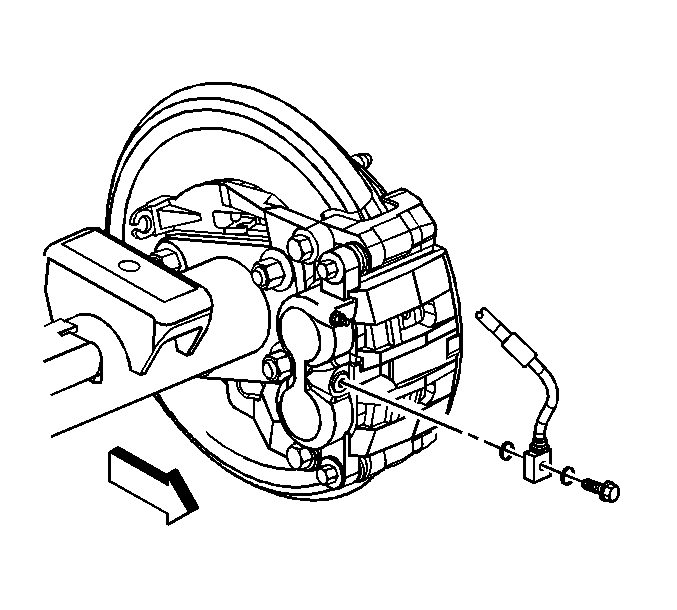
- Clean all dirt and foreign material from the brake hose end.
- Remove the brake hose to caliper bolt from the brake caliper.
- Remove and discard the 2 copper brake hose gaskets. These gaskets may be stuck to the brake caliper housing or the brake hose end.
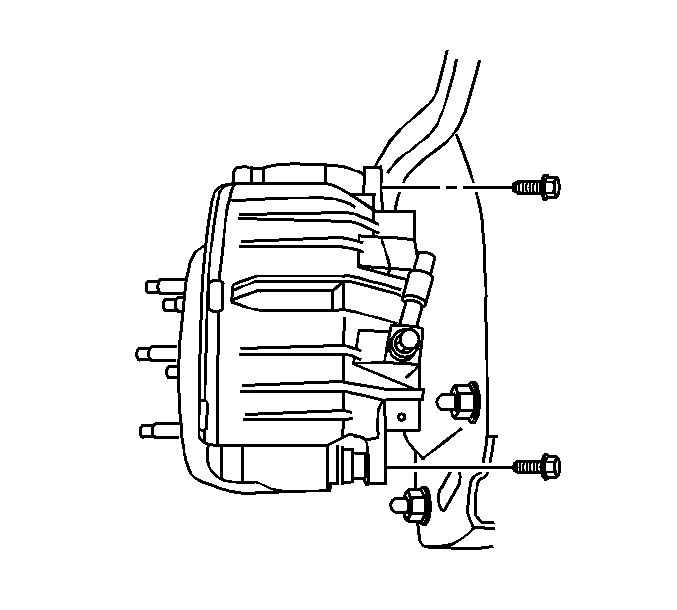
- Remove the caliper guide pin bolts.
- Remove the brake caliper from the vehicle.
- Inspect the caliper assembly. Refer to Brake Caliper Inspection .

| • | Install a large C-clamp over the top of the caliper housing and against the back of the outboard pad. |
| • | Slowly tighten the C-clamp until the pistons are pushed completely into the caliper bores. |
| • | Remove the C-clamp from the caliper. |

Important: Install a rubber cap or plug to the exposed brake pipe fitting end to prevent brake fluid loss and contamination.

Installation Procedure
- If you are installing new brake pads use a C-clamp in order to compress the pistons to the bottom of the caliper bores. Use the old brake pad, a metal plate or a wooden block across the face of the pistons in order to protect the pistons and the caliper boots.
- Ensure that the caliper boots are below the level of the face of both pistons.
- Install the brake caliper to the brake caliper mounting bracket.
- Perform the following procedure before installing the caliper guide pin bolts.
- Install the brake caliper mounting bolts.
- Tighten the brake caliper guide pin bolts.
- Remove the rubber cap or plug from the exposed brake hose fitting end.
- Assemble the 2 New copper brake hose gaskets and the brake hose to caliper bolt to the brake hose.
- Connect the brake hose at the caliper by installing the brake hose to caliper bolt.
- Bleed the hydraulic brake system. Refer to Hydraulic Brake System Bleeding in Antilock Brake System.
- Install the tire and wheel assembly. Refer to Tire and Wheel Removal and Installation in Tires and Wheels.
- Lower the vehicle.
- Fill the master cylinder reservoir to the proper level with clean brake fluid. Refer to Master Cylinder Reservoir Filling in Hydraulic Brakes.
Important: Use denatured alcohol to clean the outside surface of caliper boots before installing new brake pads.

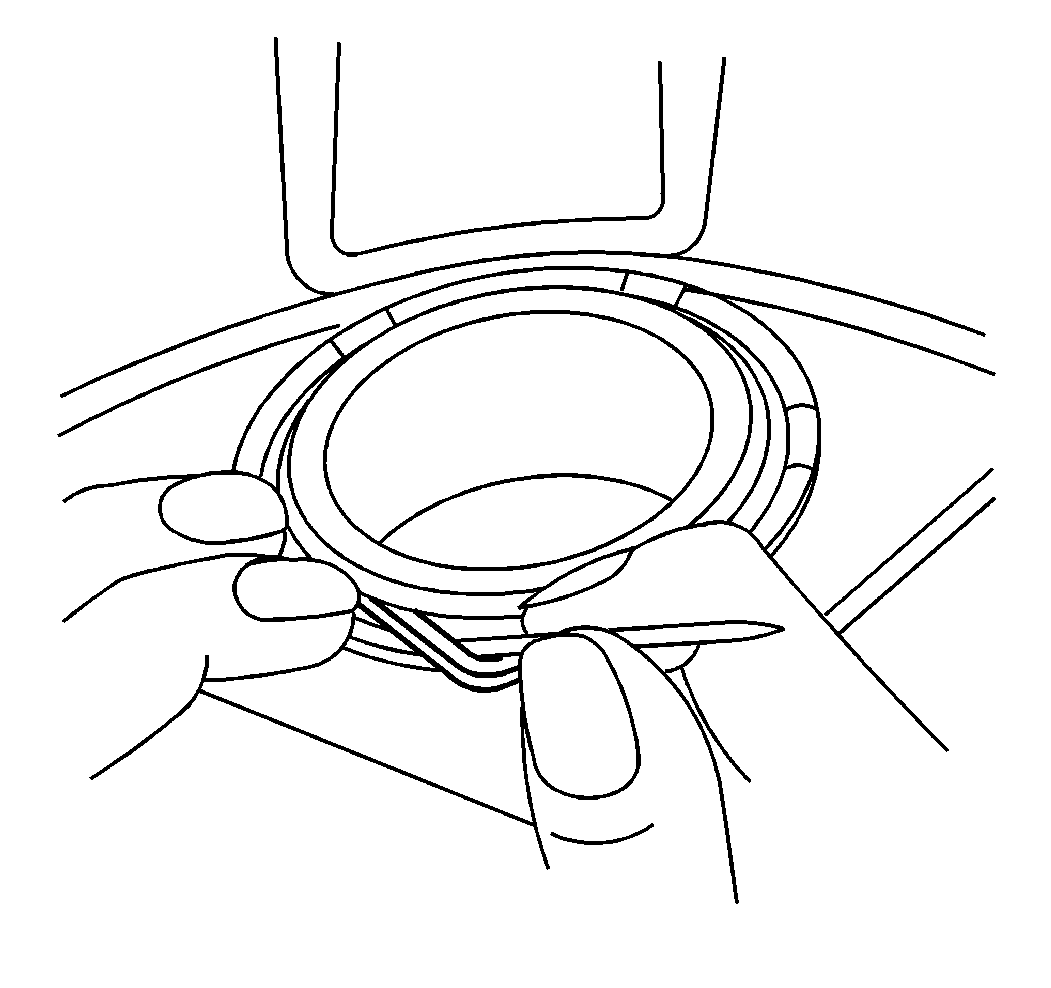
Important: Use a small flat-bladed tool and lift the inner edge of the caliper boots next to both pistons to release any trapped air.
| 4.1. | Remove all traces of the original adhesive patch. |
| 4.2. | Clean the threads of the bolt with brake parts cleaner or the equivalent and allow to dry. |
| 4.3. | Apply Threadlocker GM P/N 12345493 (Canadian P/N 10953488) to the threads of the bolt. |

Notice: Refer to Fastener Notice in the Preface section.
Tighten
Tighten the bolts to 42 N·m (31 lb ft).
Important: Install 2 New copper brake hose gaskets.

Tighten
Tighten the brake hose to caliper bolt to 40 N·m (30 lb ft).
