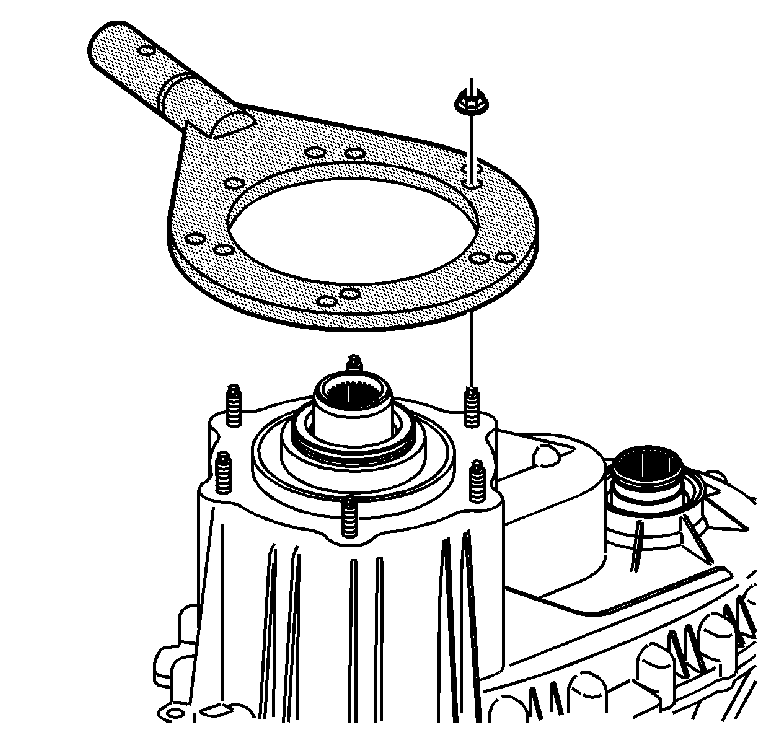
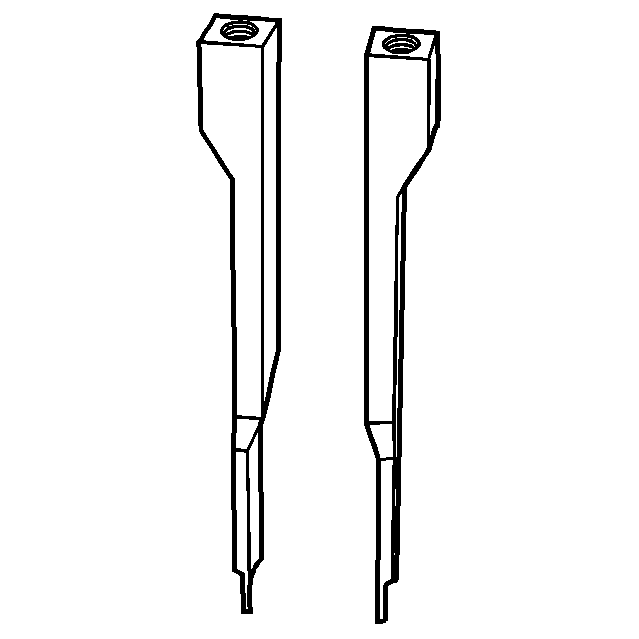
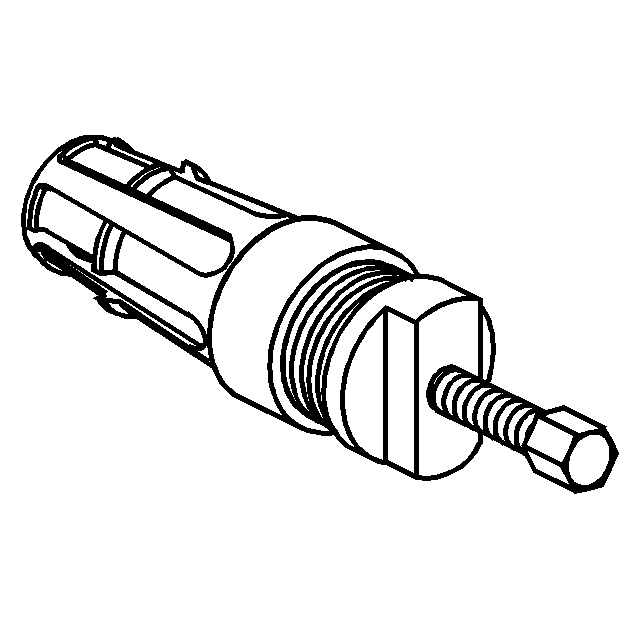
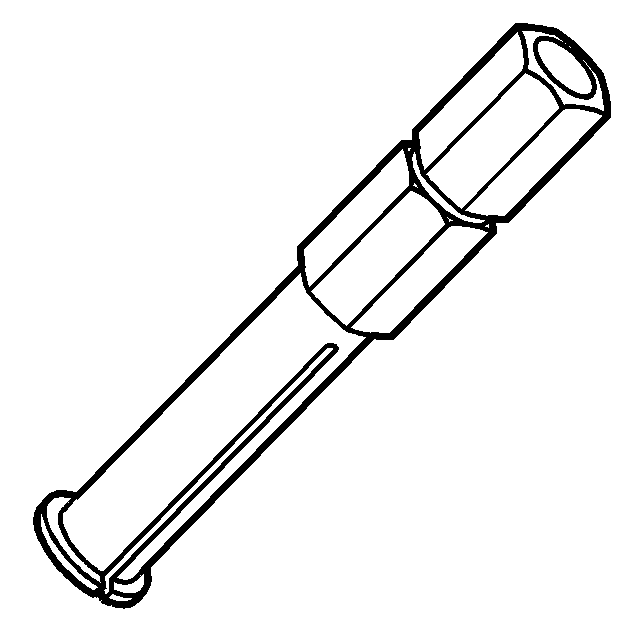
- Attach the
J 45759
to the
transfer case using the adapter studs. All of the transfer case disassembly procedures can be performed with the case mounted to the
J 45759
.
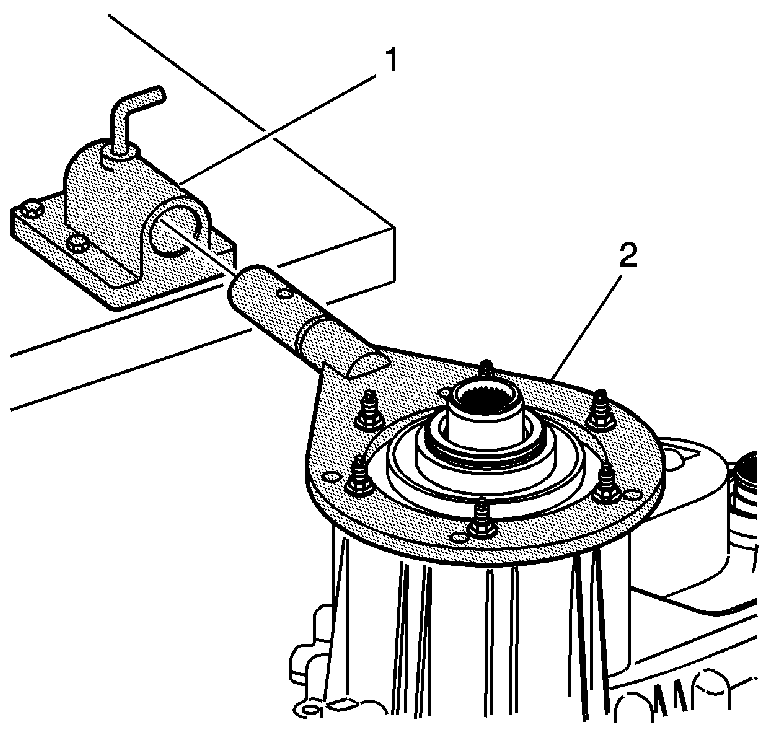
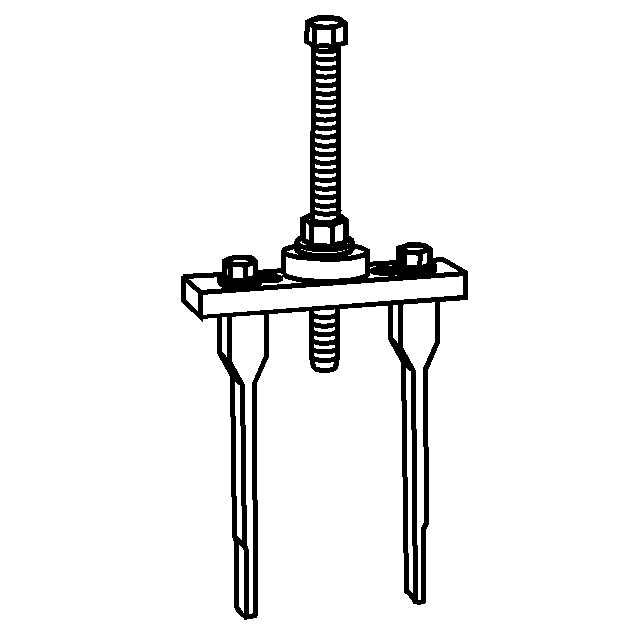
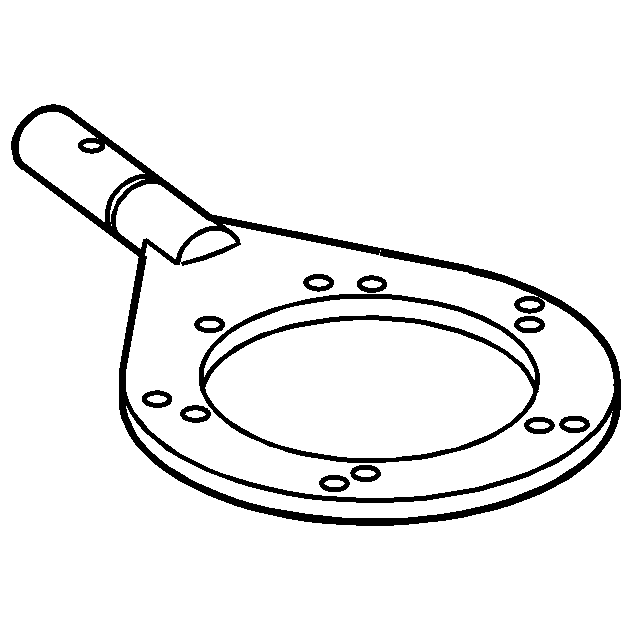
- Mount the
J 3289-20
(1) to a sturdy workbench.
- Install the
J 45759
(2) into
J 3289-20
(1) and secure with pivot pin.
- Remove the drain plug and the fill plug. Ensure all of the transfer case fluid is drained out of the transfer
case.
Notice: Refer to Transfer Case Seal Removal Notice in the Preface section.
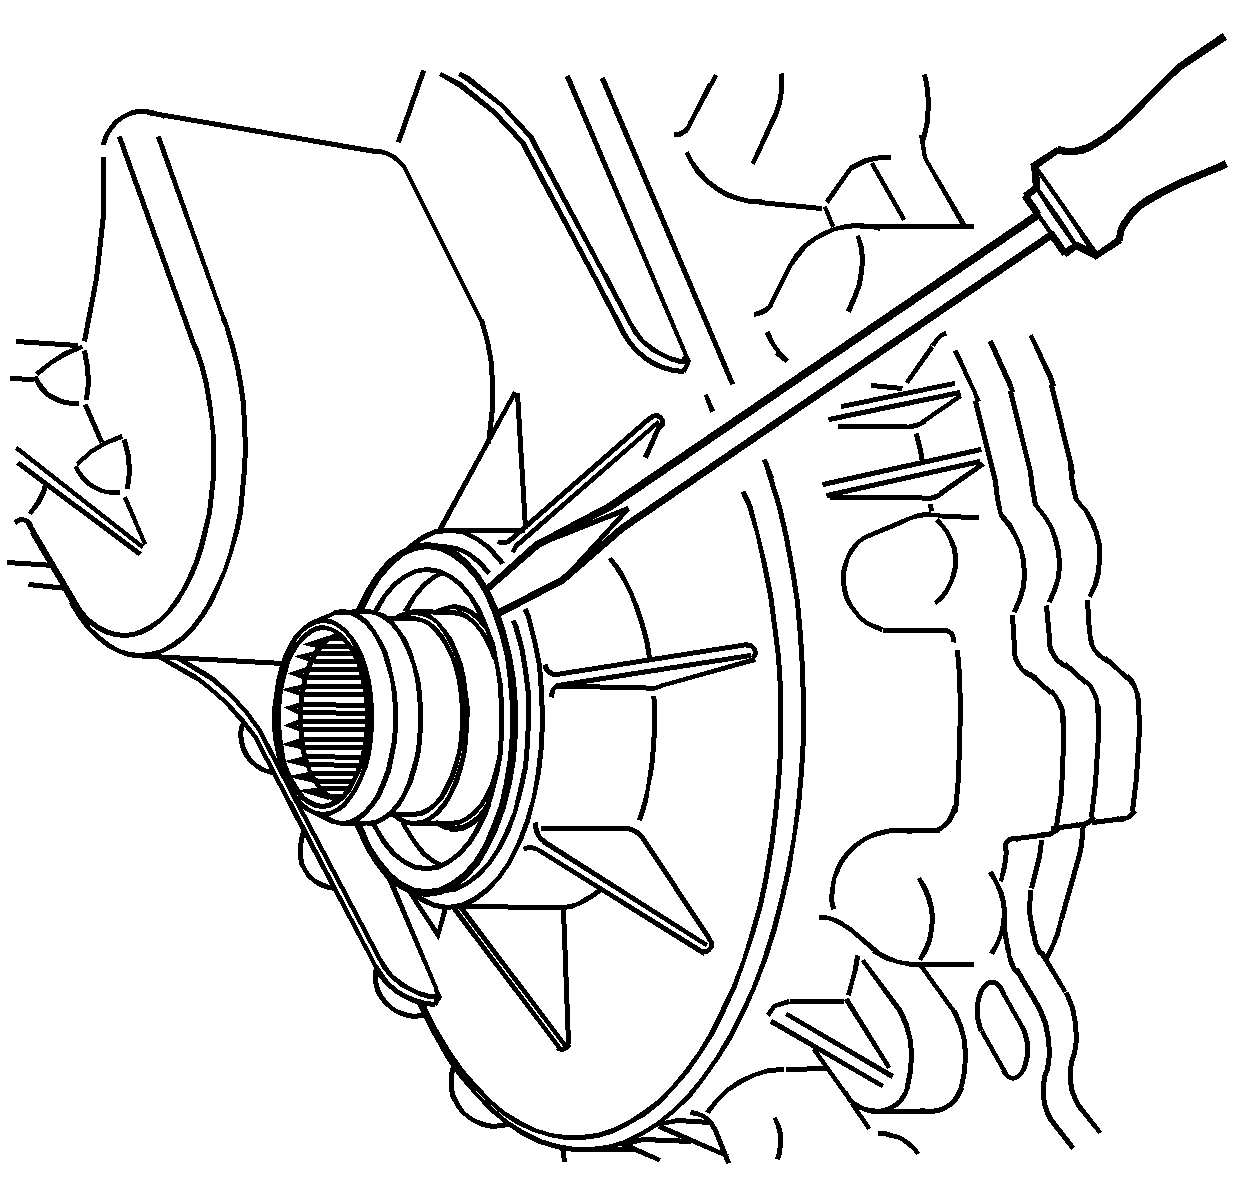
Important: The front output shaft seal is a two piece internal seal. The inner seal race is a force fit on the front output shaft.
- Remove the front output shaft seal by inserting a flat-tip screwdriver behind the inner race of the seal.
- Pry the inner seal race forward.
- Using a small pry bar, move the inner
seal race forward on the front output shaft.
- Remove the inner seal race from the front output shaft.
- Insert a flat-tip screwdriver or a small pry bar between the outer lip
of the front output shaft seal and the transfer case.
- Remove the remaining part of the front output shaft seal from the transfer case.
Notice: Refer to Transfer Case Seal Removal Notice in the Preface section.

- Remove the rear output shaft seal by prying it out with a flat-blade screwdriver.
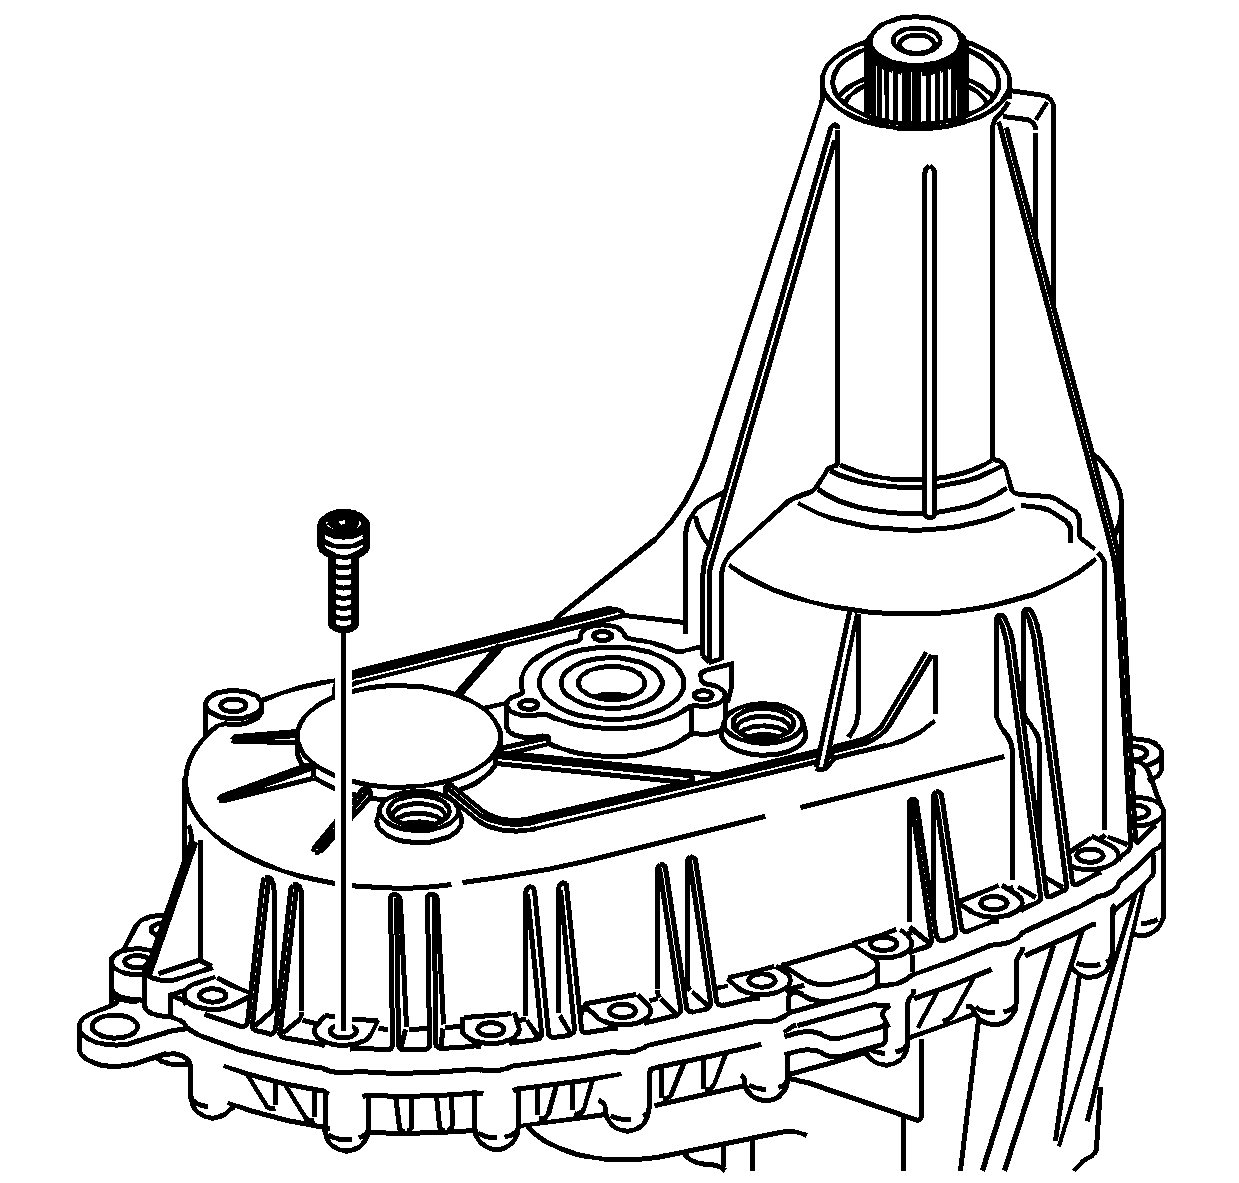
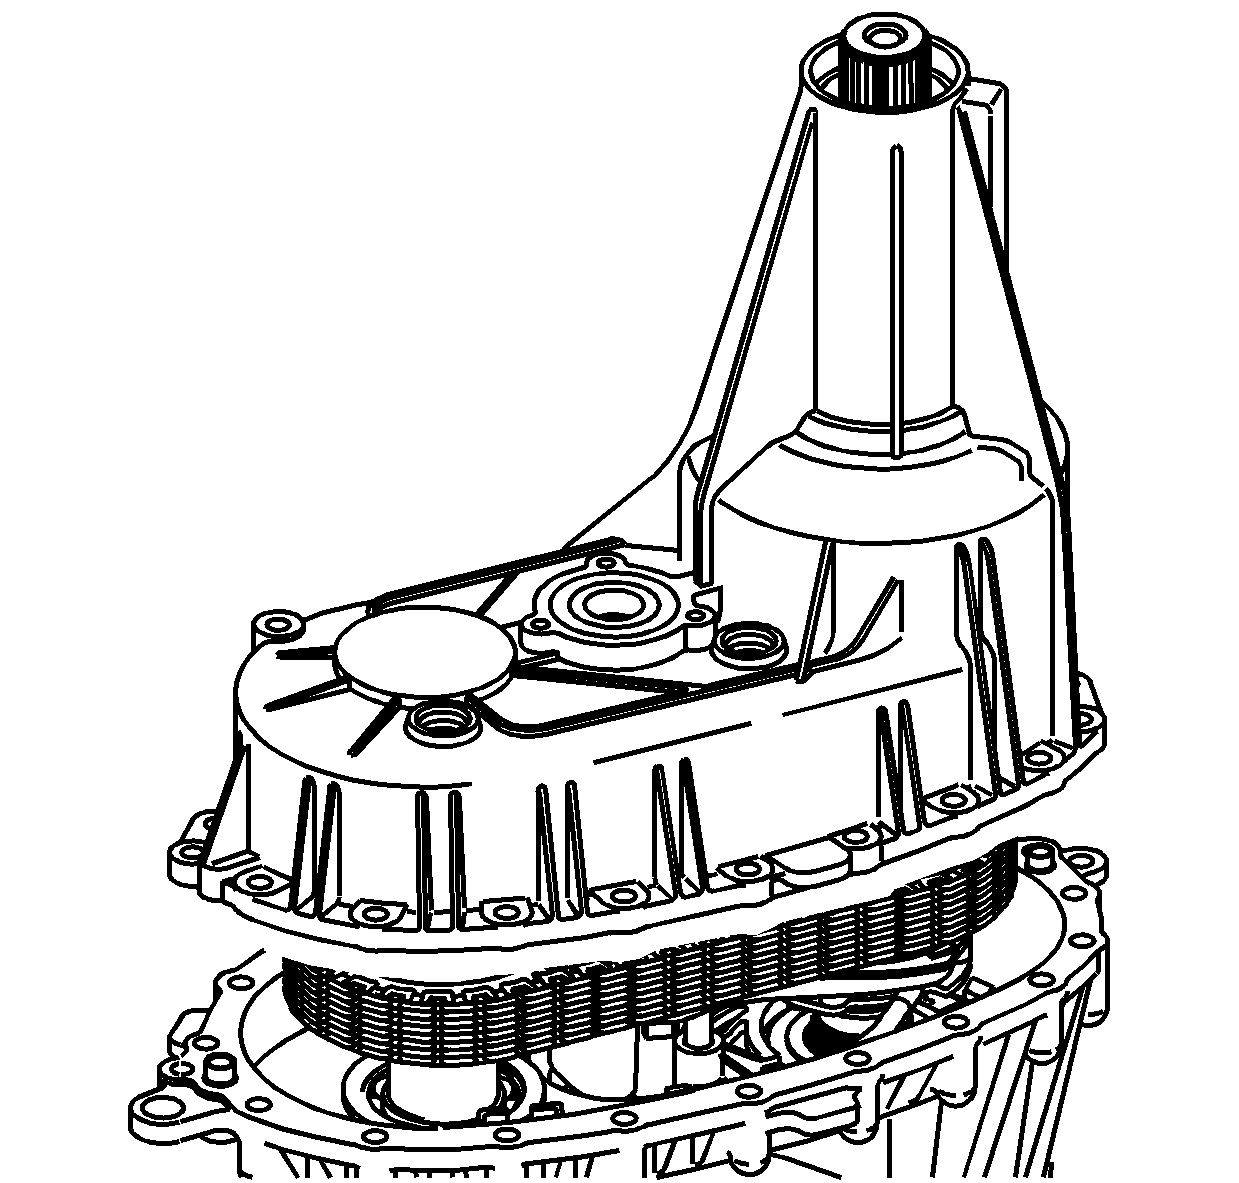
- Remove the transfer case retaining
bolts and washers.
Mark the location of the brackets.
Notice: Refer to Machined Surface Damage Notice in the Preface section.
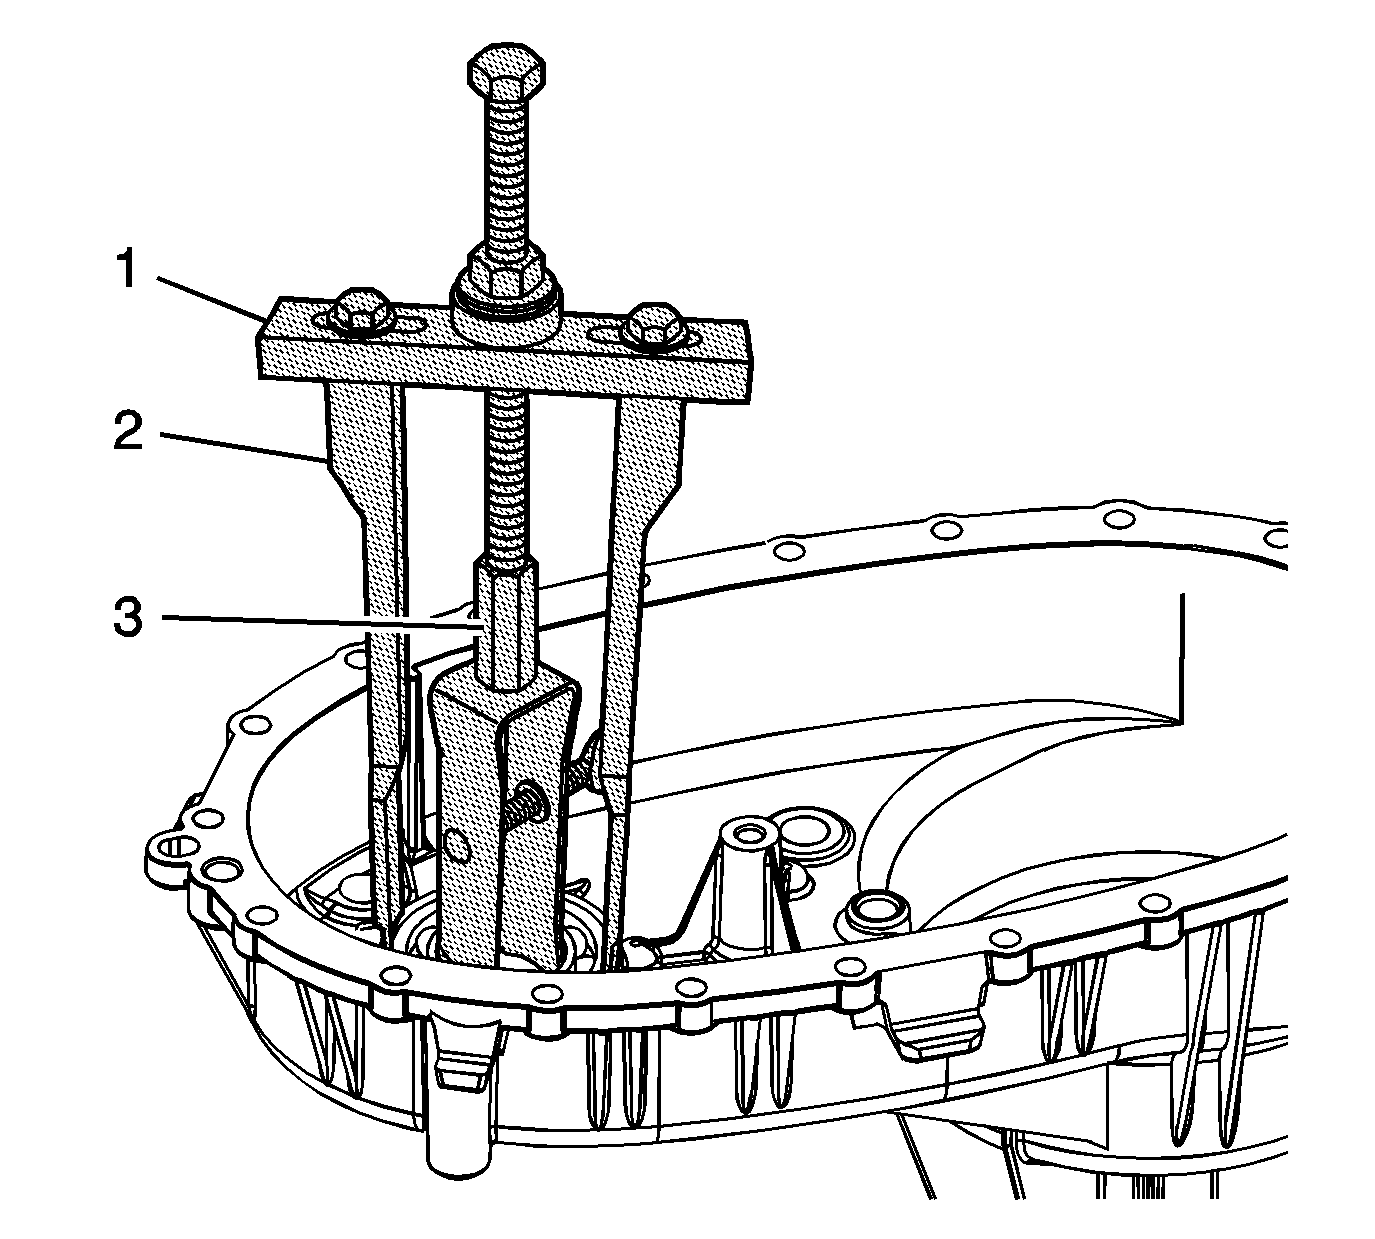
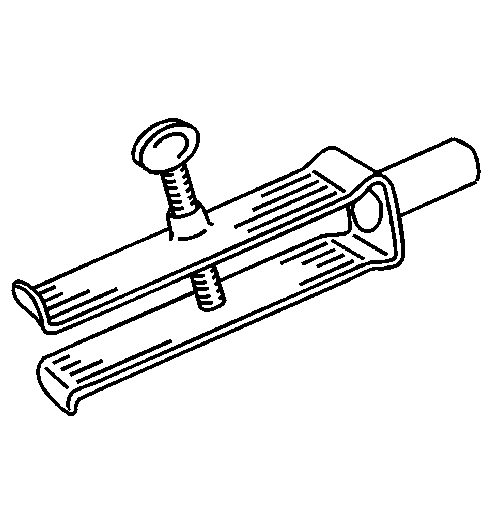
- Using the
J 45358
between the tabs on the case halves, shear the sealer that is holding the case halves together.
- Using pry bars at each side of the case, remove the case from the locating pins.
- Remove the rear case half from the
front case half. The rear output shaft will come with the rear case half.
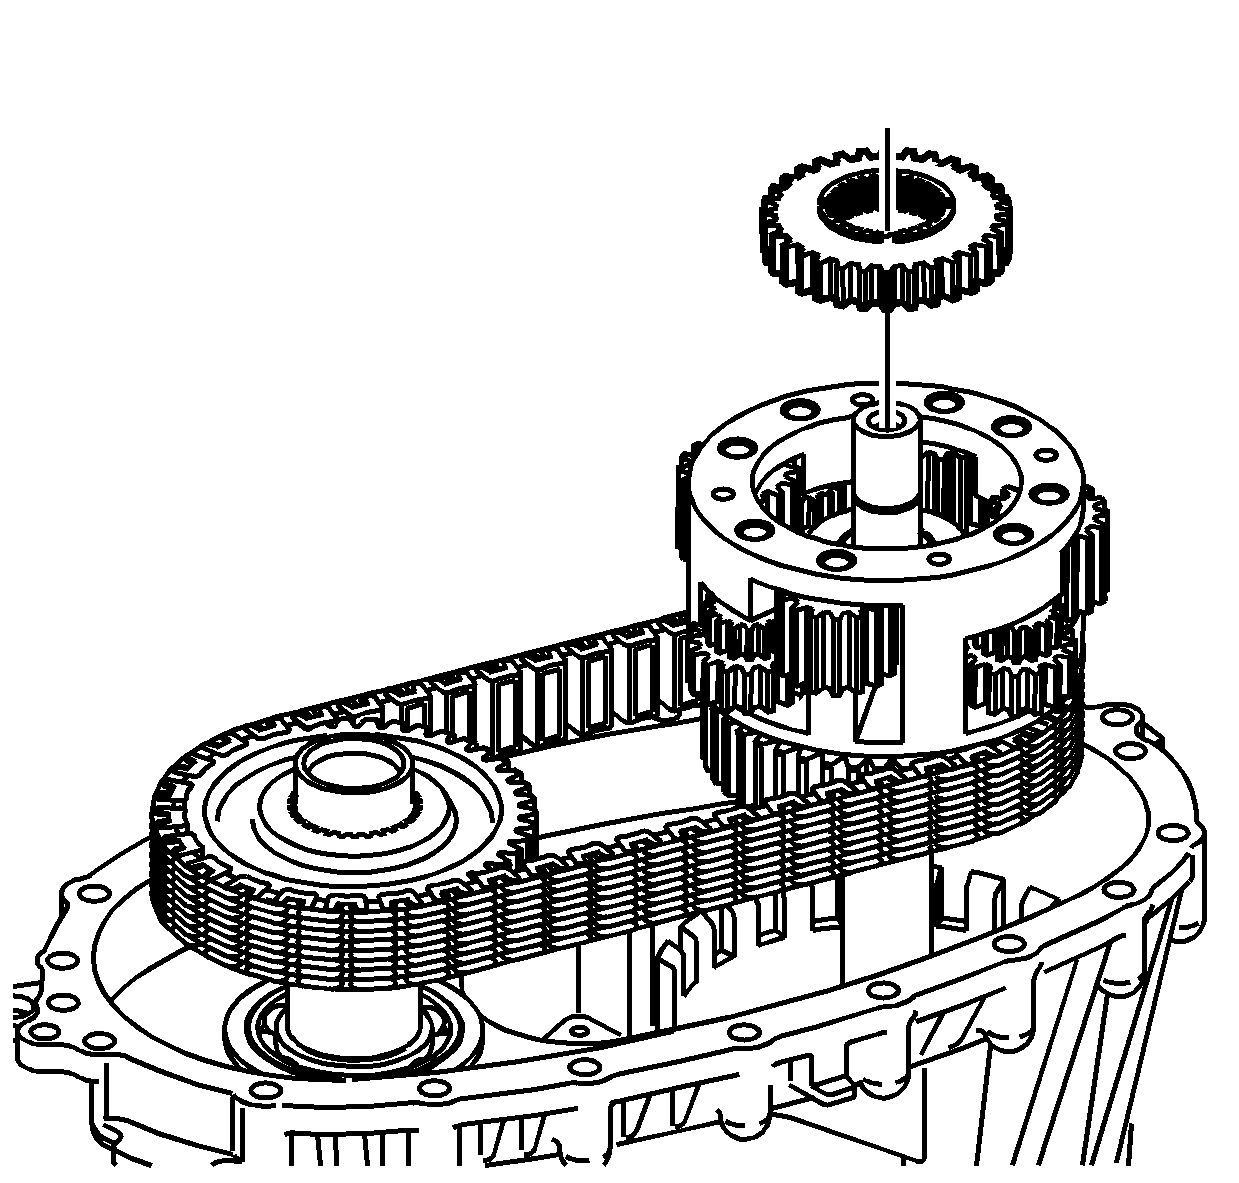
- Remove the rear sun gear.
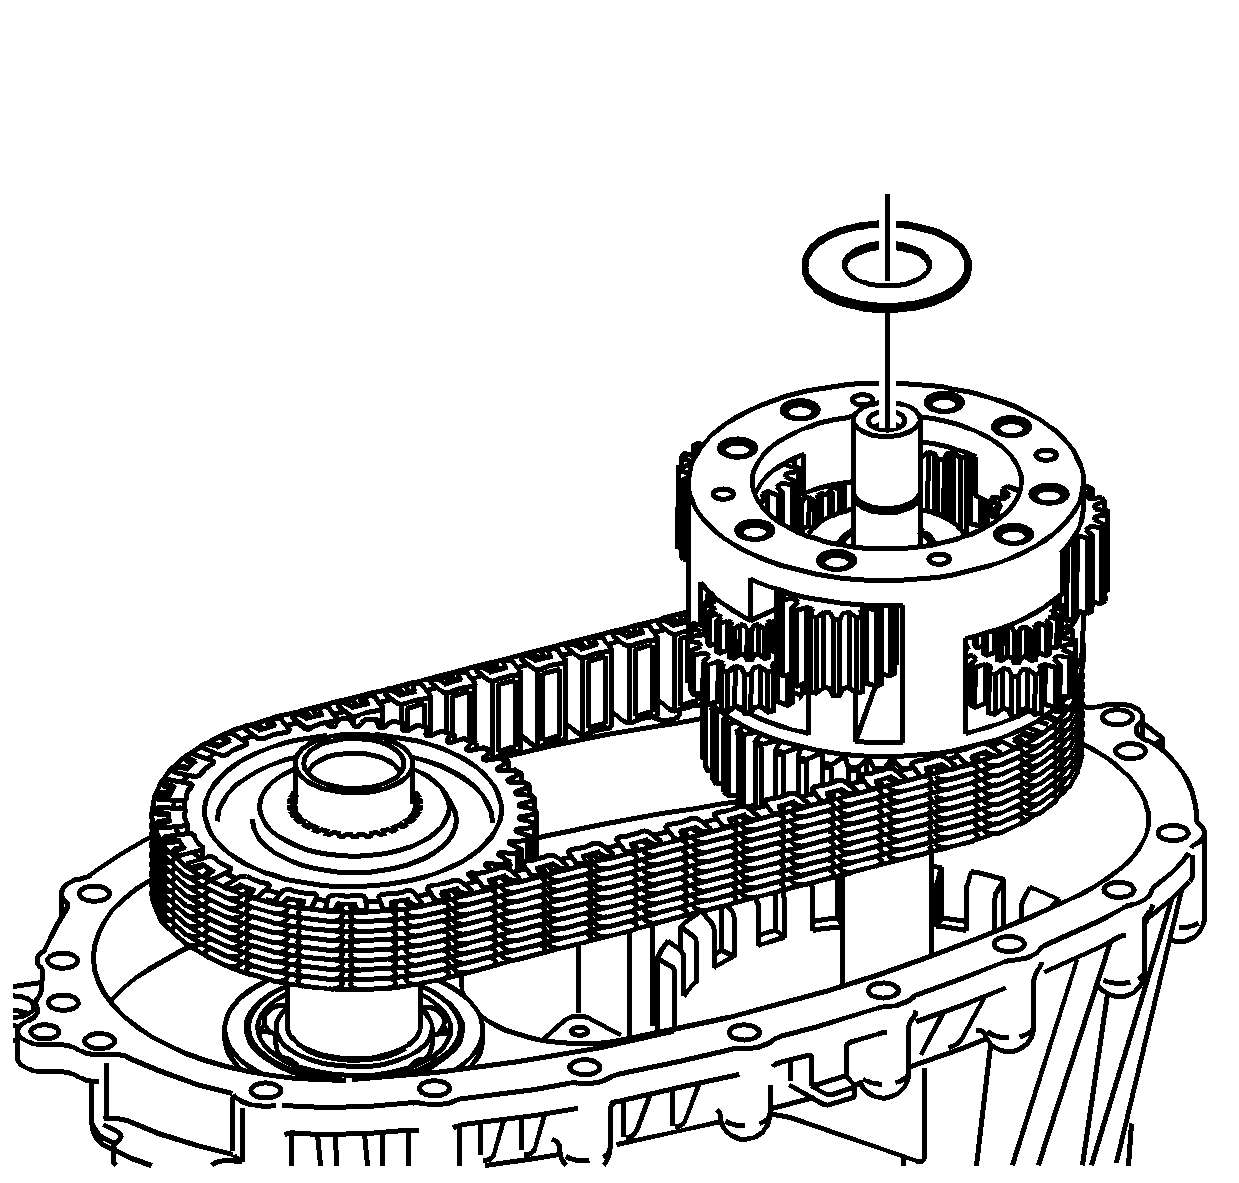
- Remove the sun gear thrust washer.
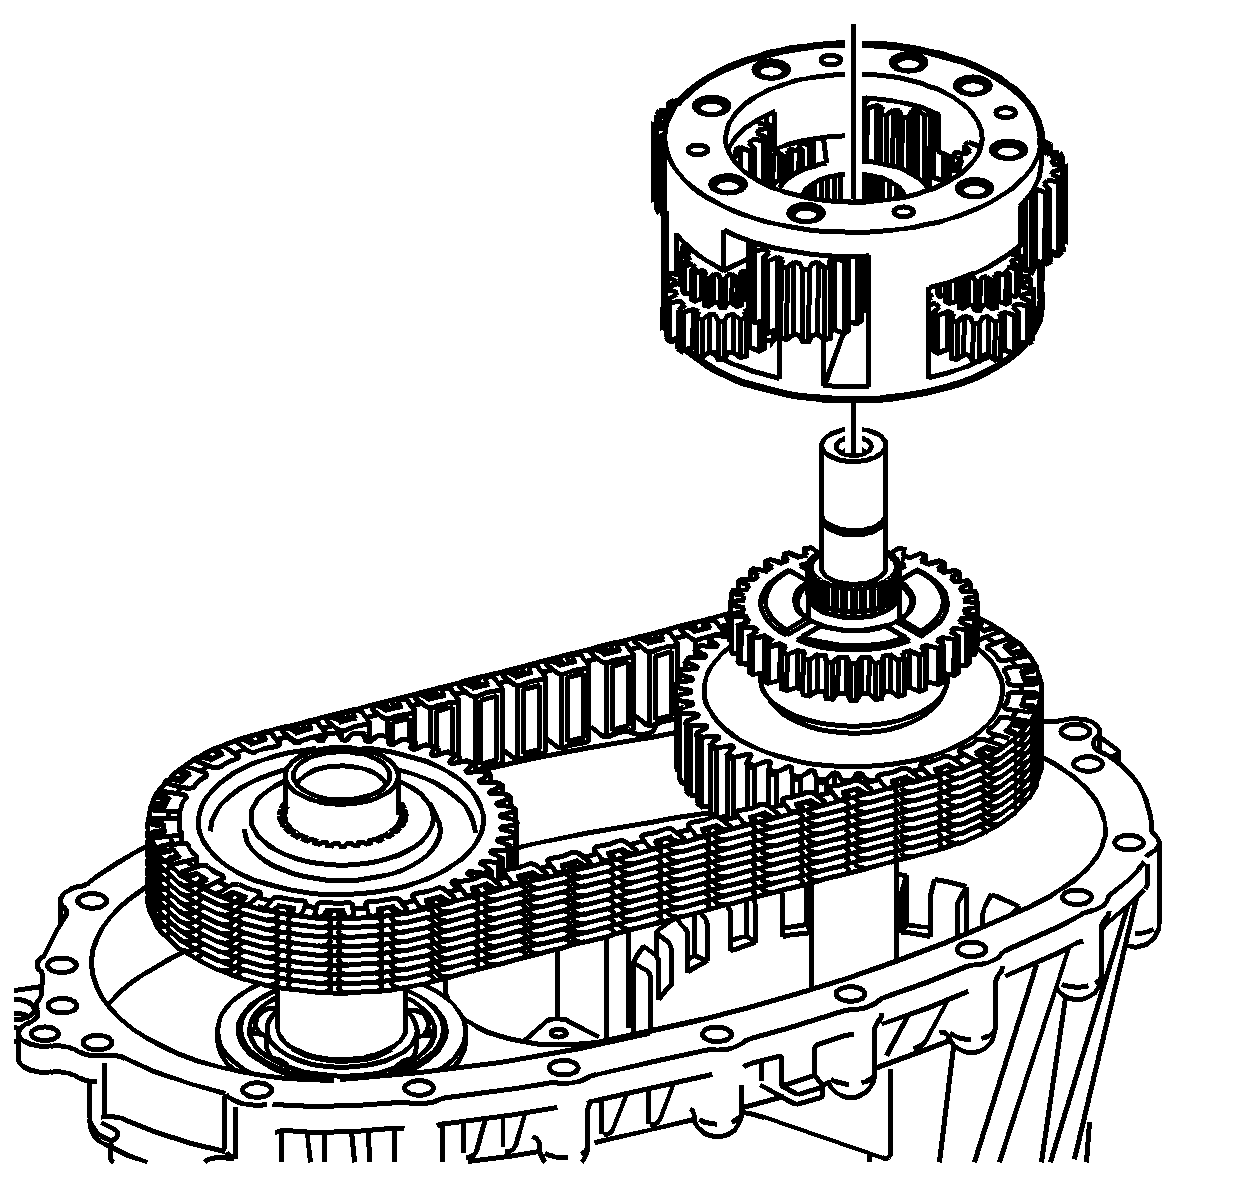
- Remove the planetary differential assembly.
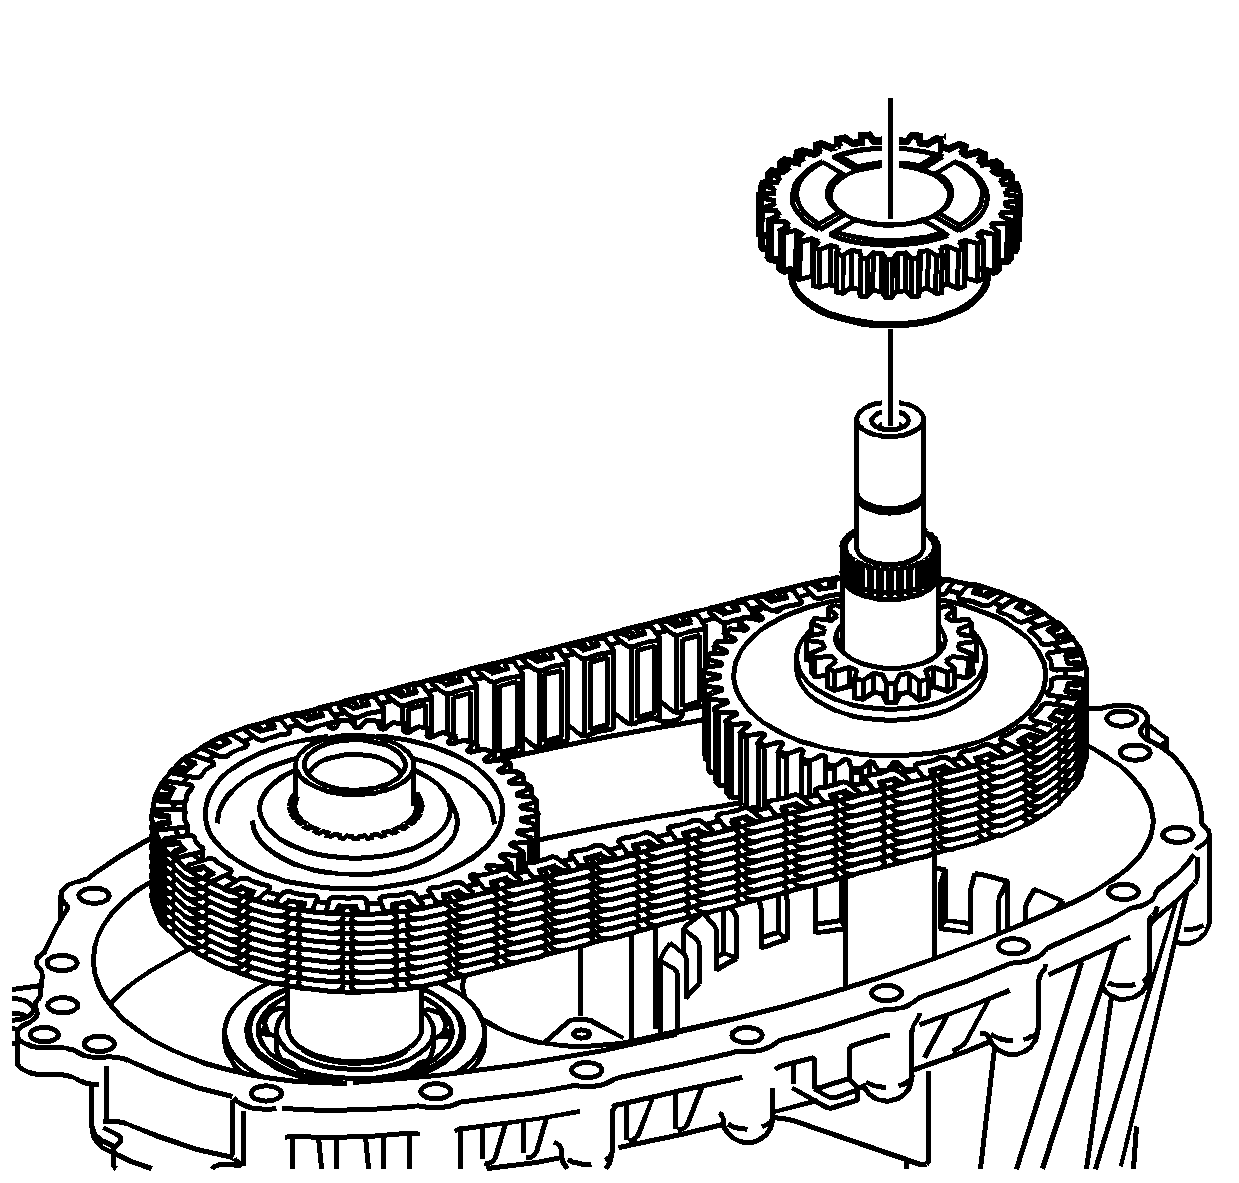
- Remove the front sun gear.
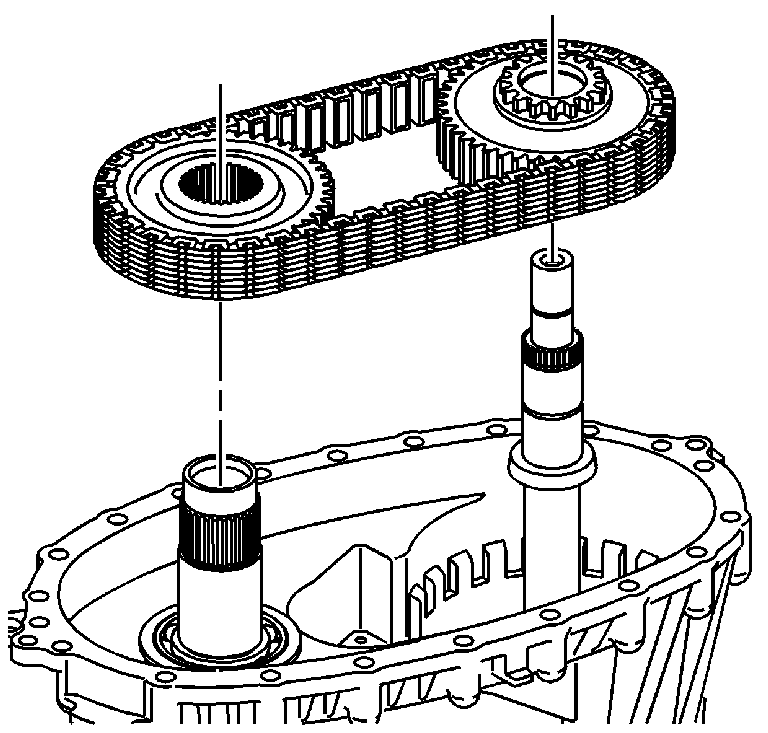
Important: If the chain and sprockets are to be used again, mark the relationship of the chain to the sprockets in order to mark the wear patterns.
- Remove the chain with the drive sprocket and driven sprocket.
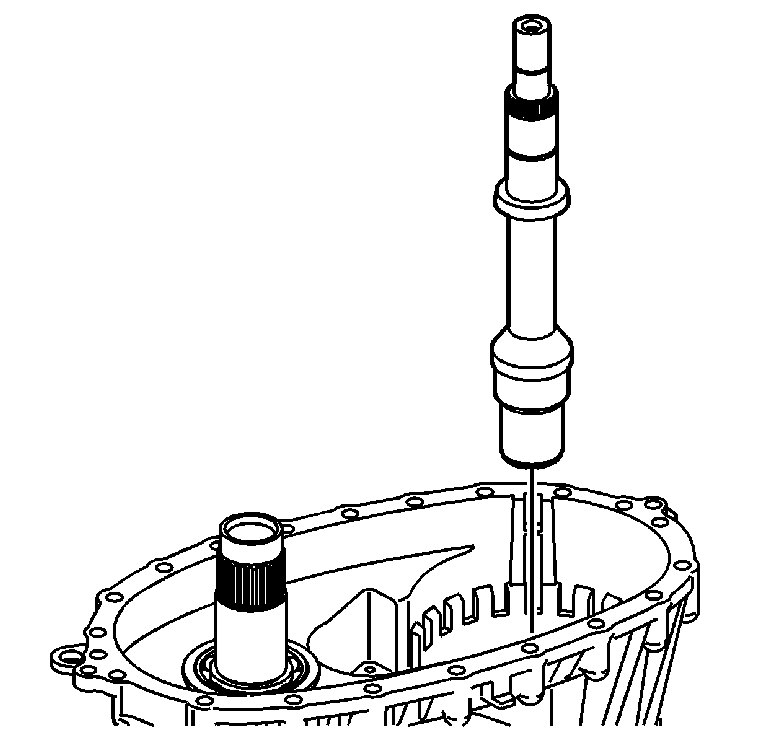
- Remove the input shaft.
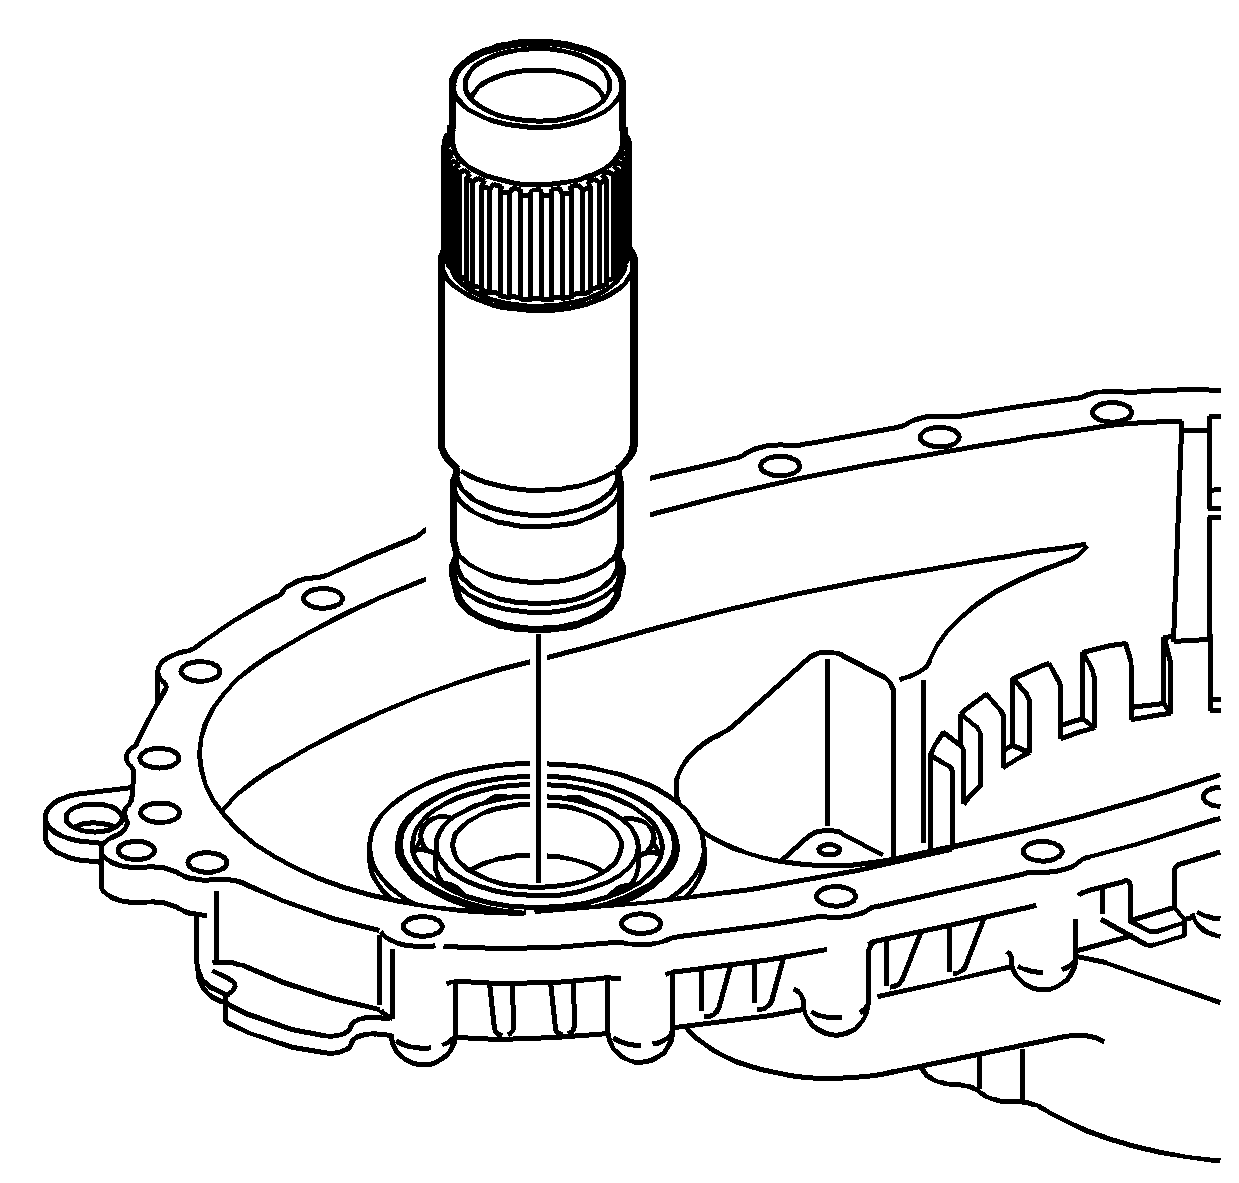
- Remove the front output shaft assembly.

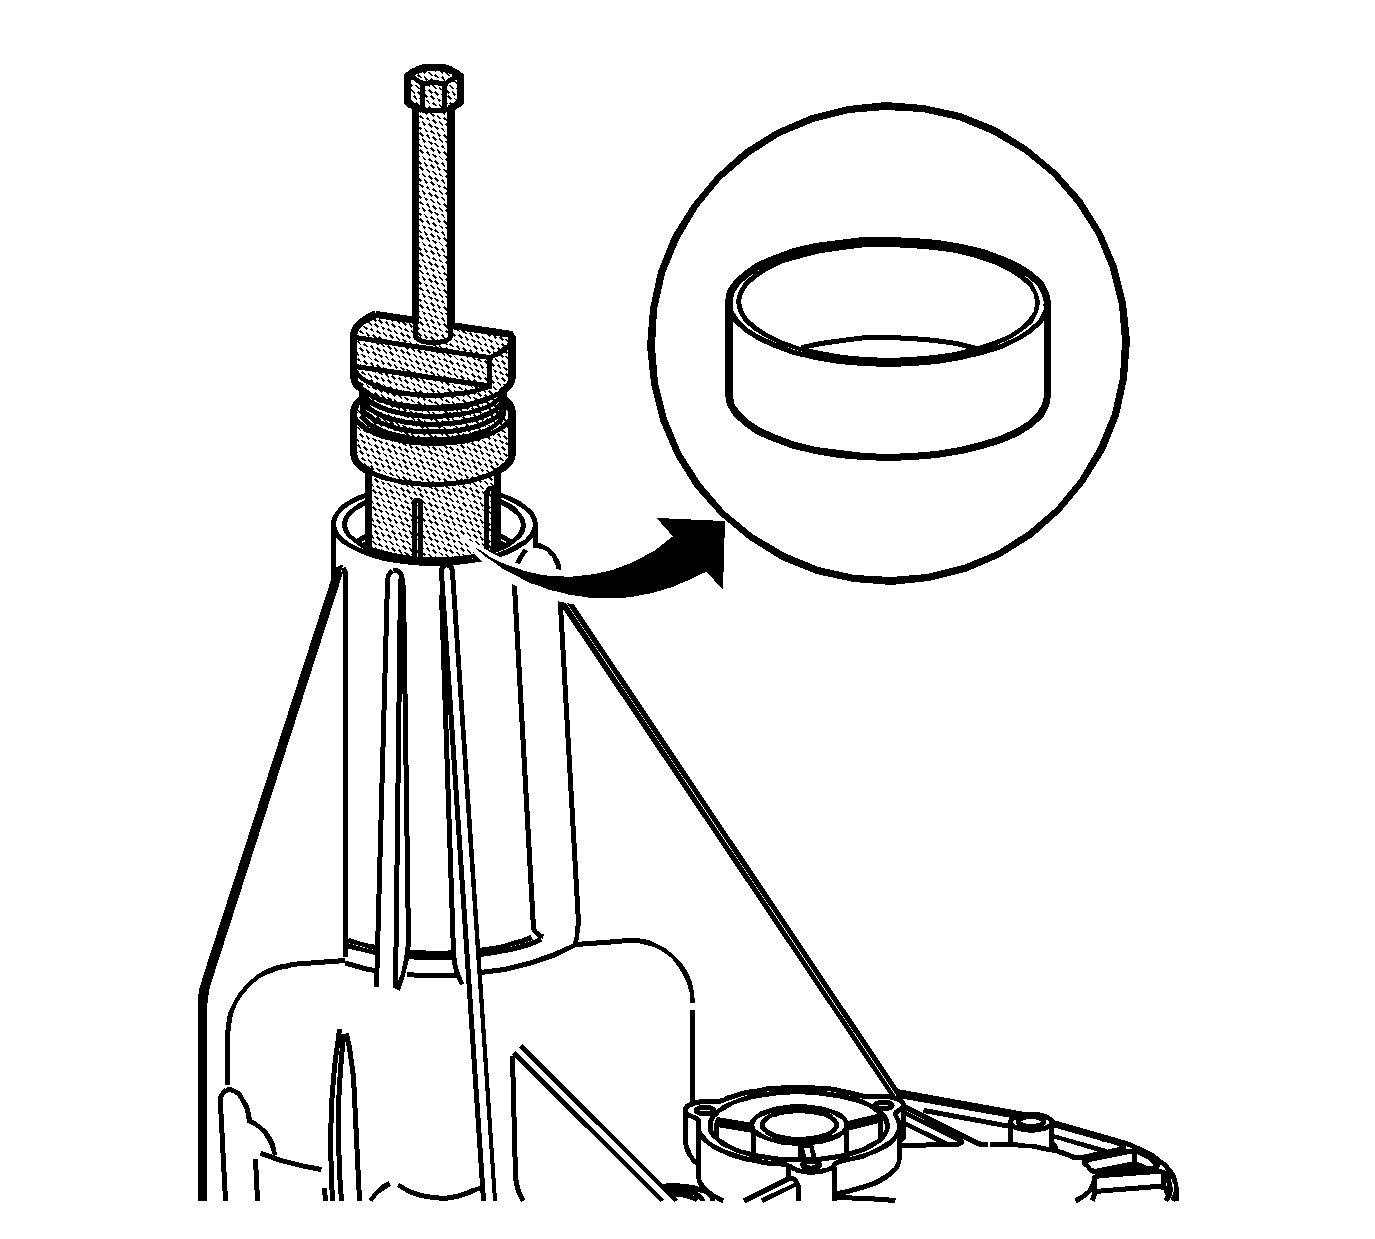
- If the cup plug in the front output shaft is leaking,
remove the plug using a brass drift.
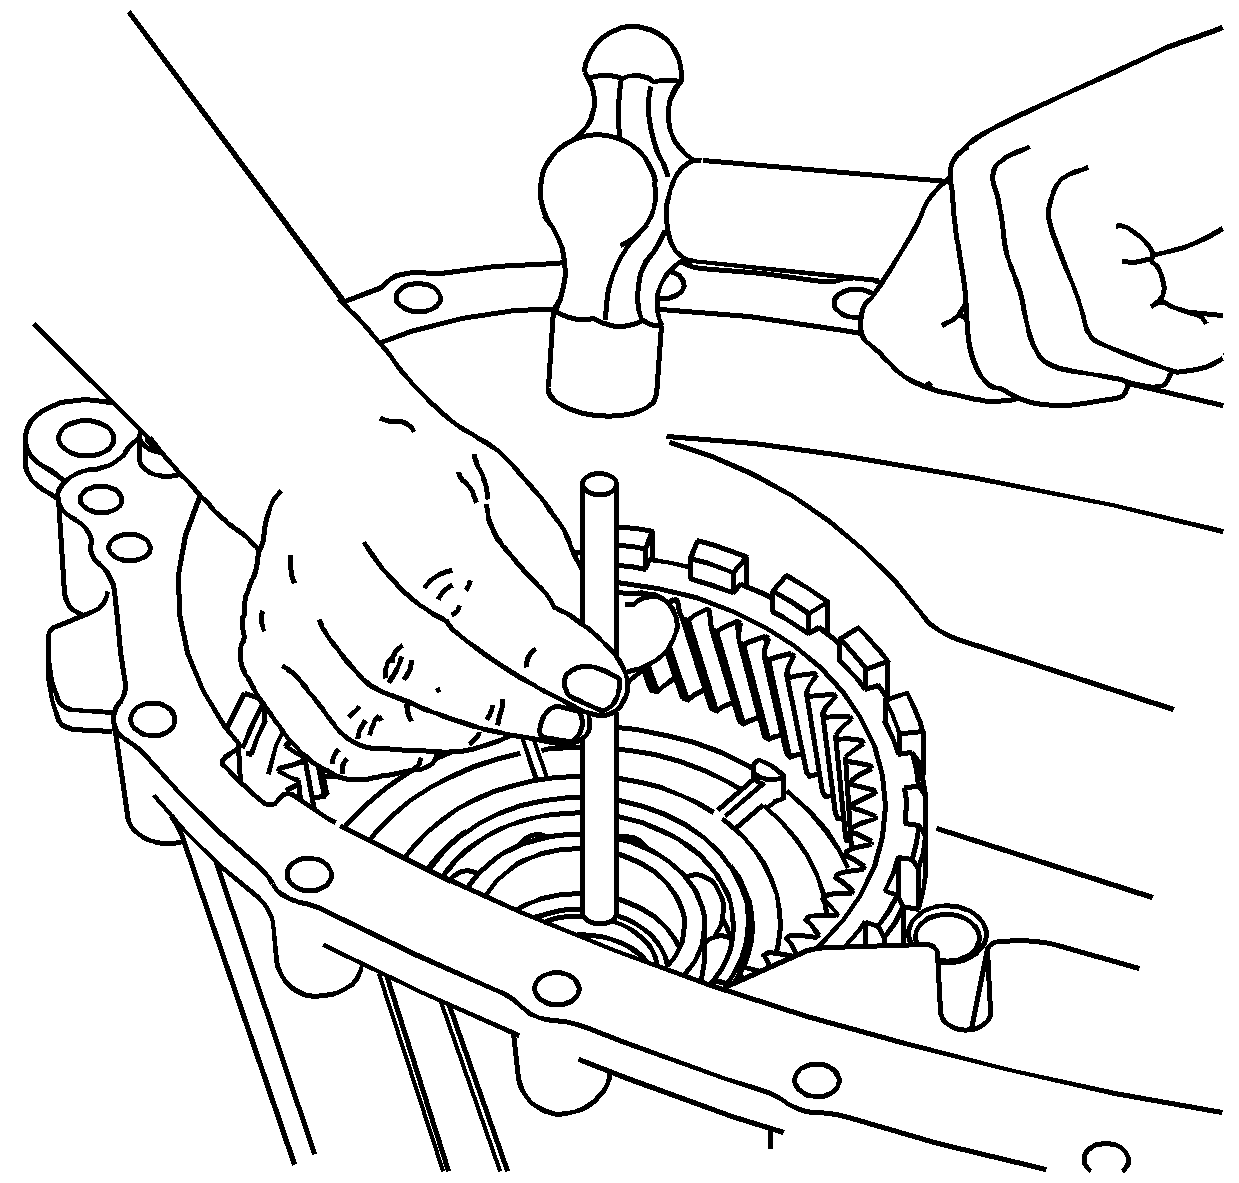
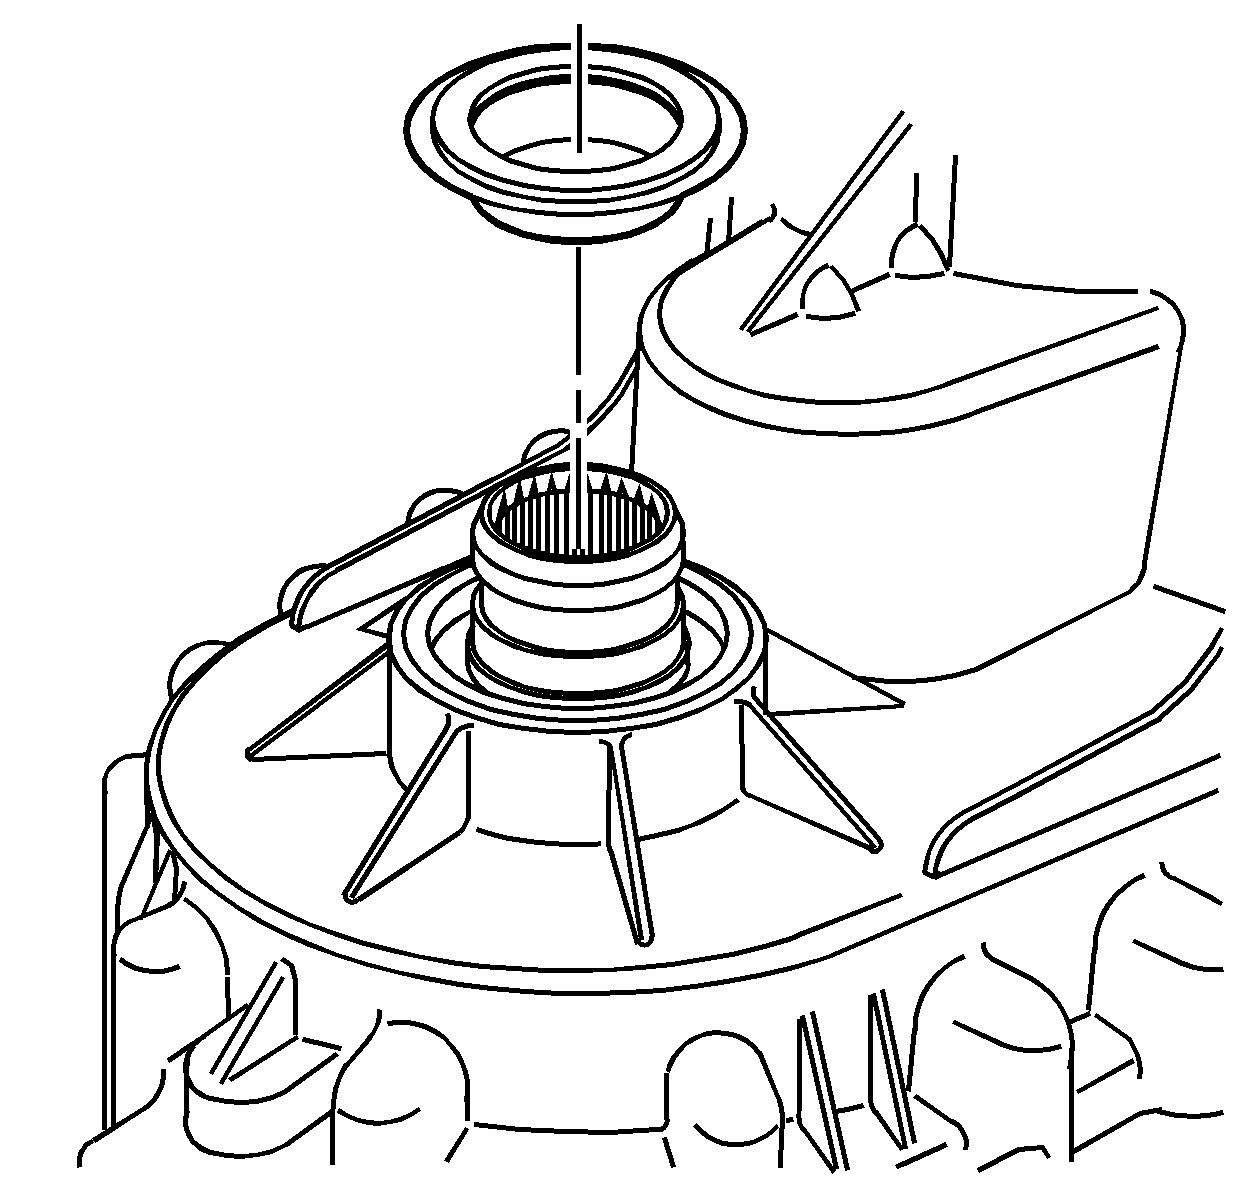
- Using a hammer and a suitable punch, remove the input seal.
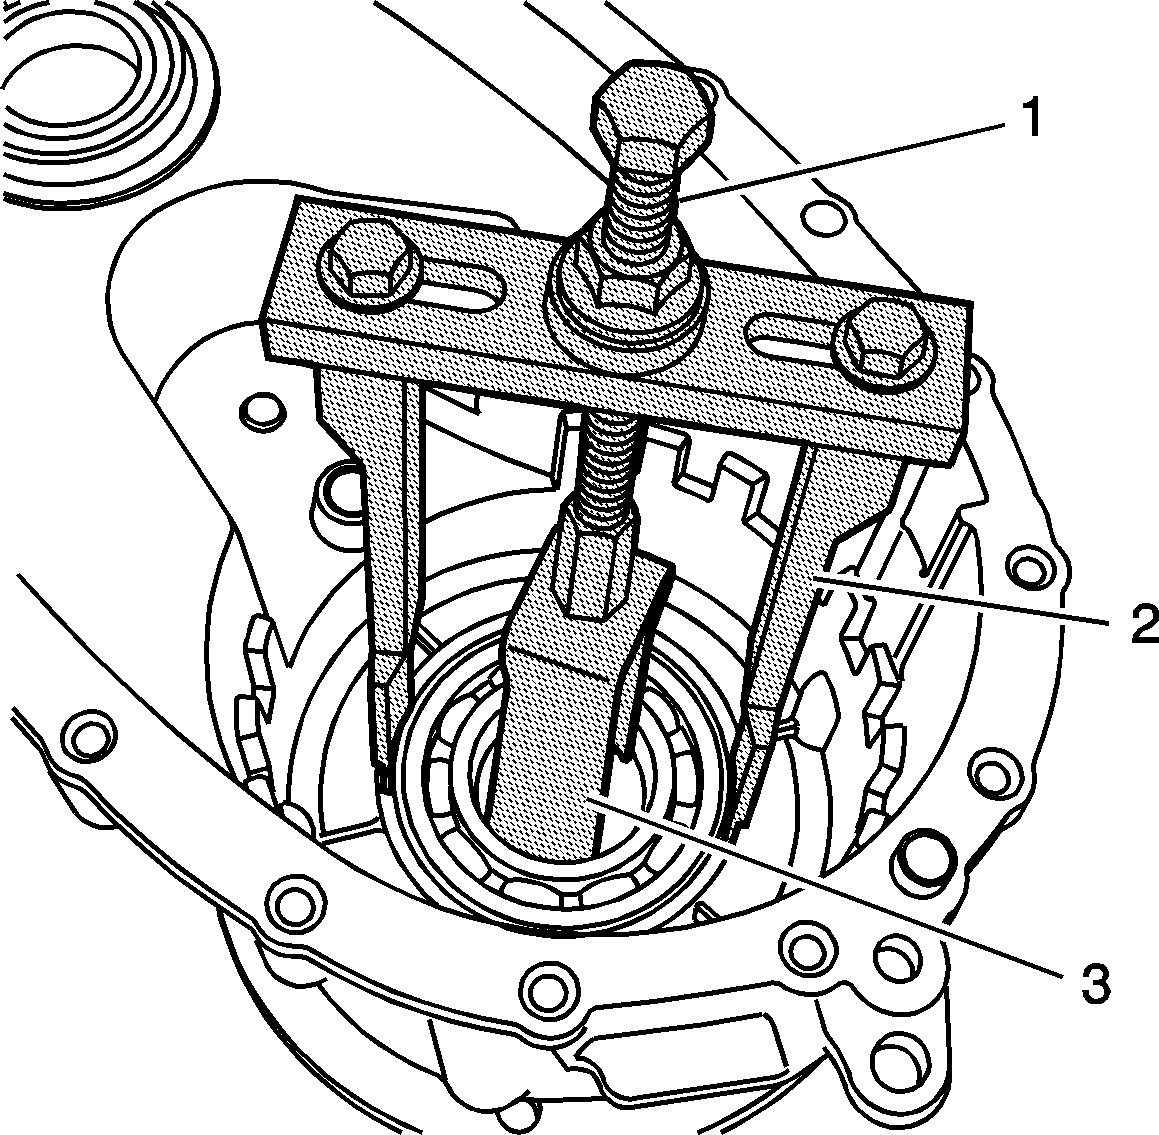
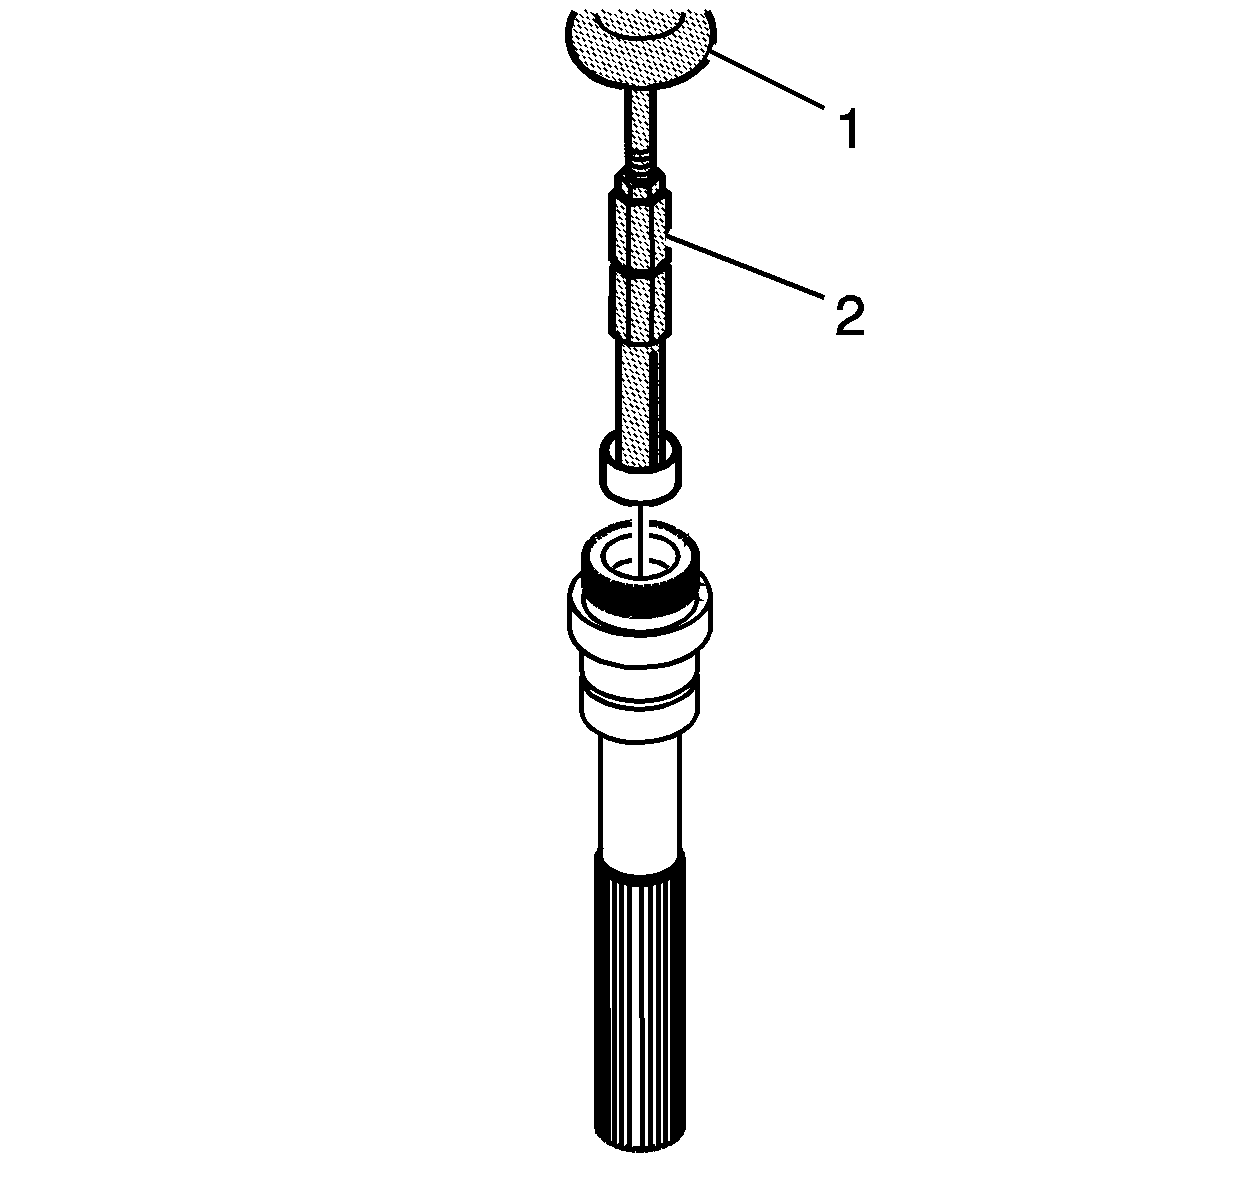
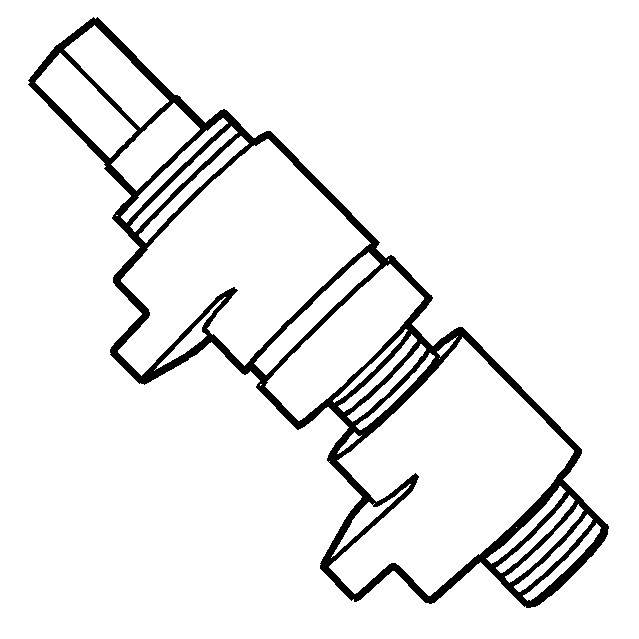
- Using the
J 26941
(3), the
J 45124
(1), and the
J-45124-9
(2), remove the input shaft bearing for the front input shaft from the front
case.
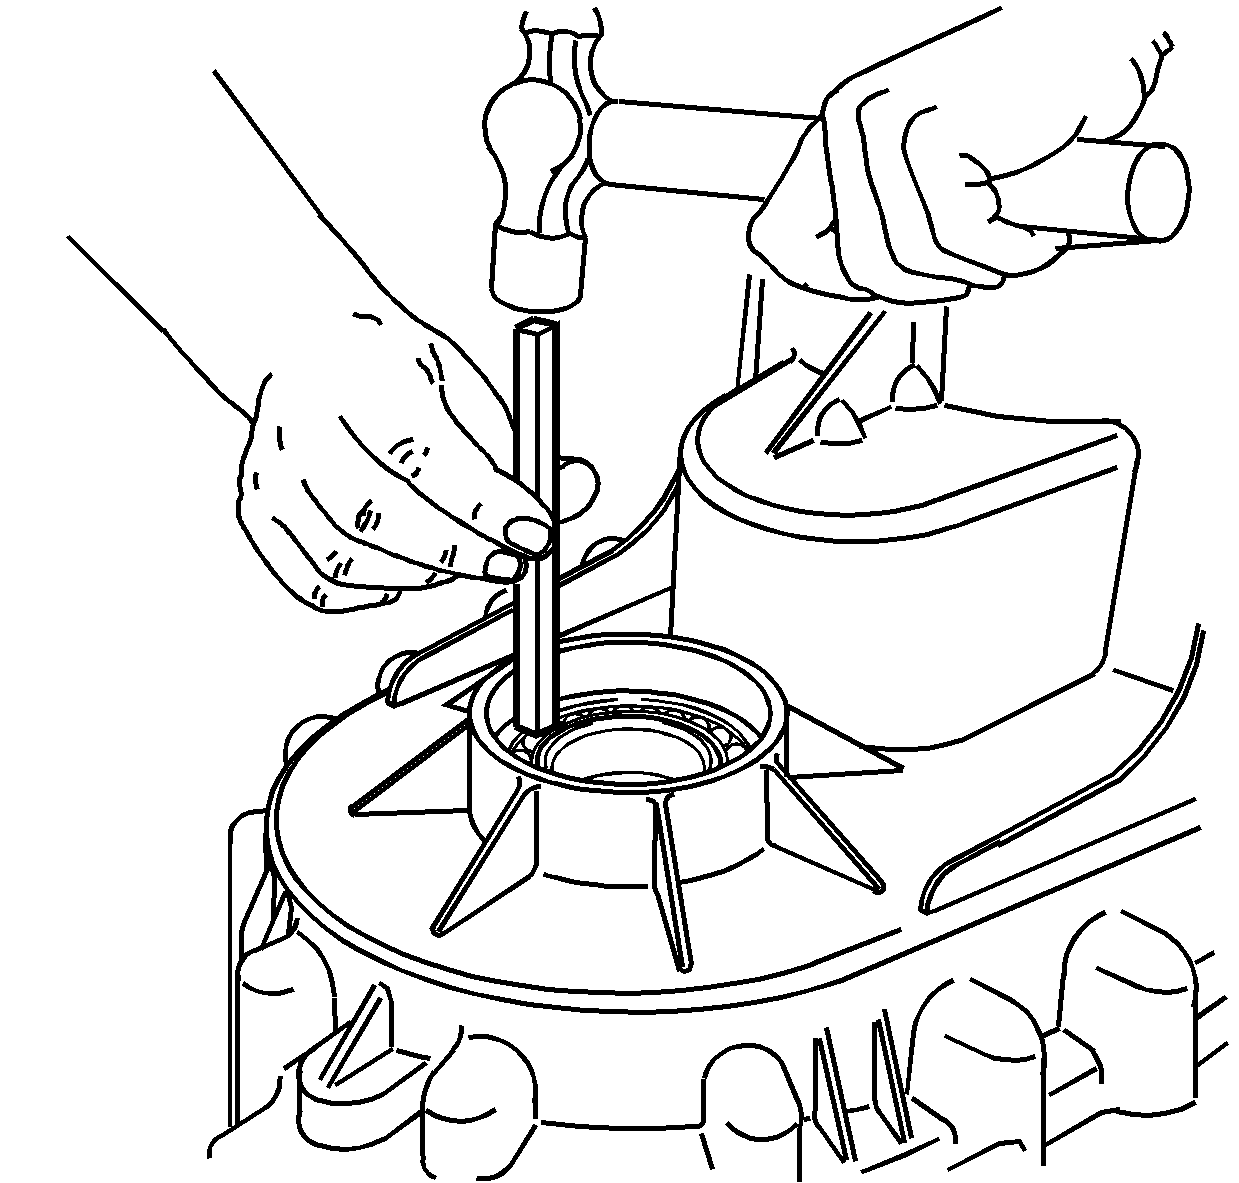
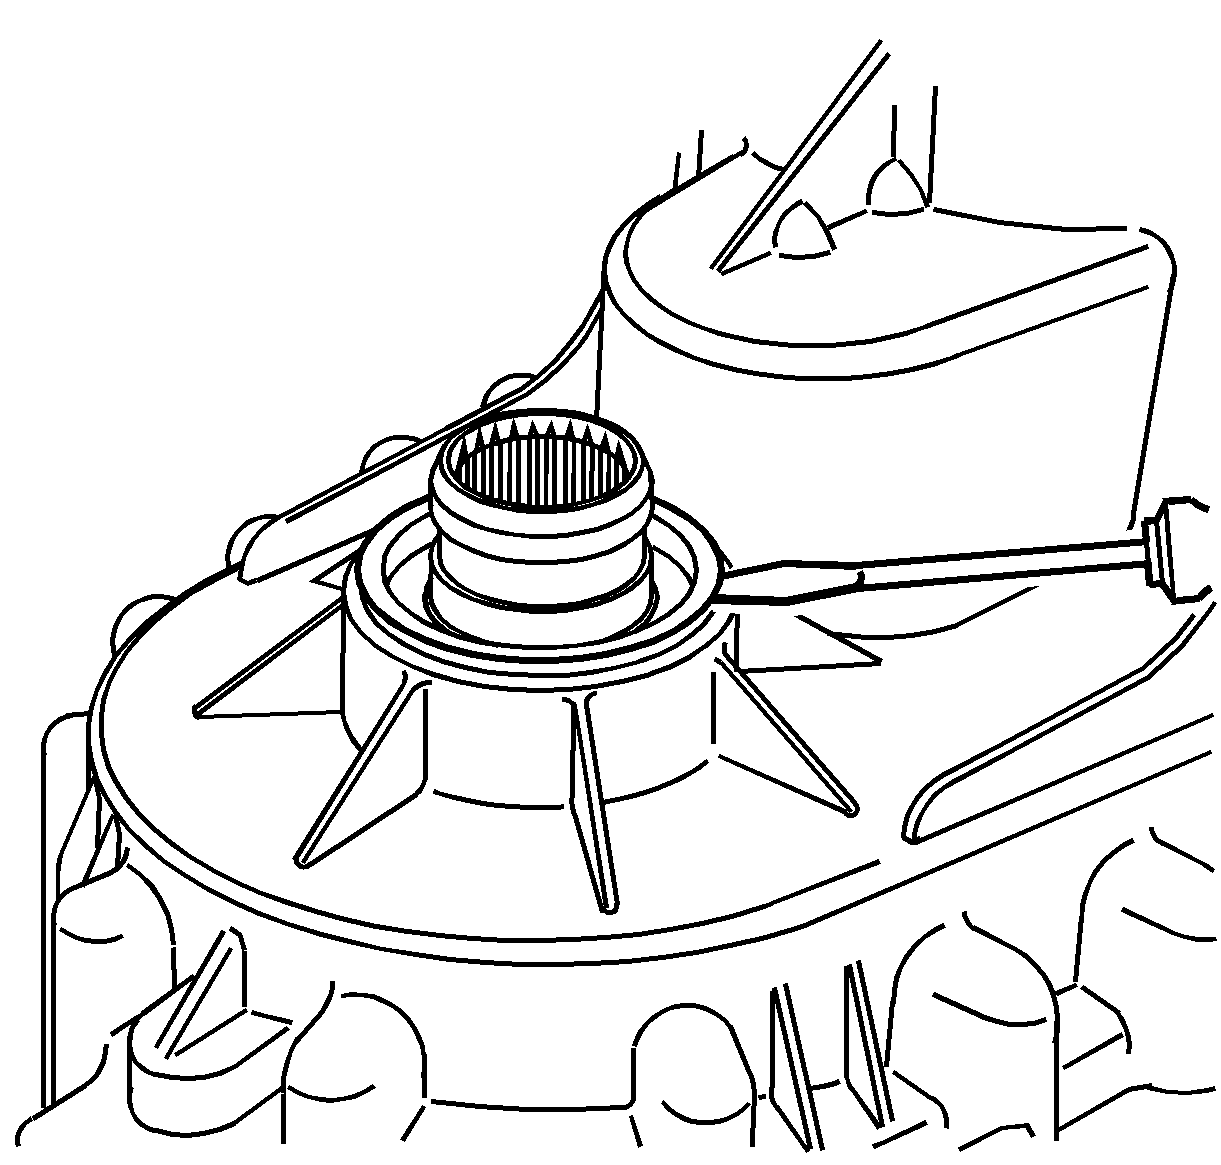
- Using a brass drift, remove the front
output shaft bearing from the front case half.
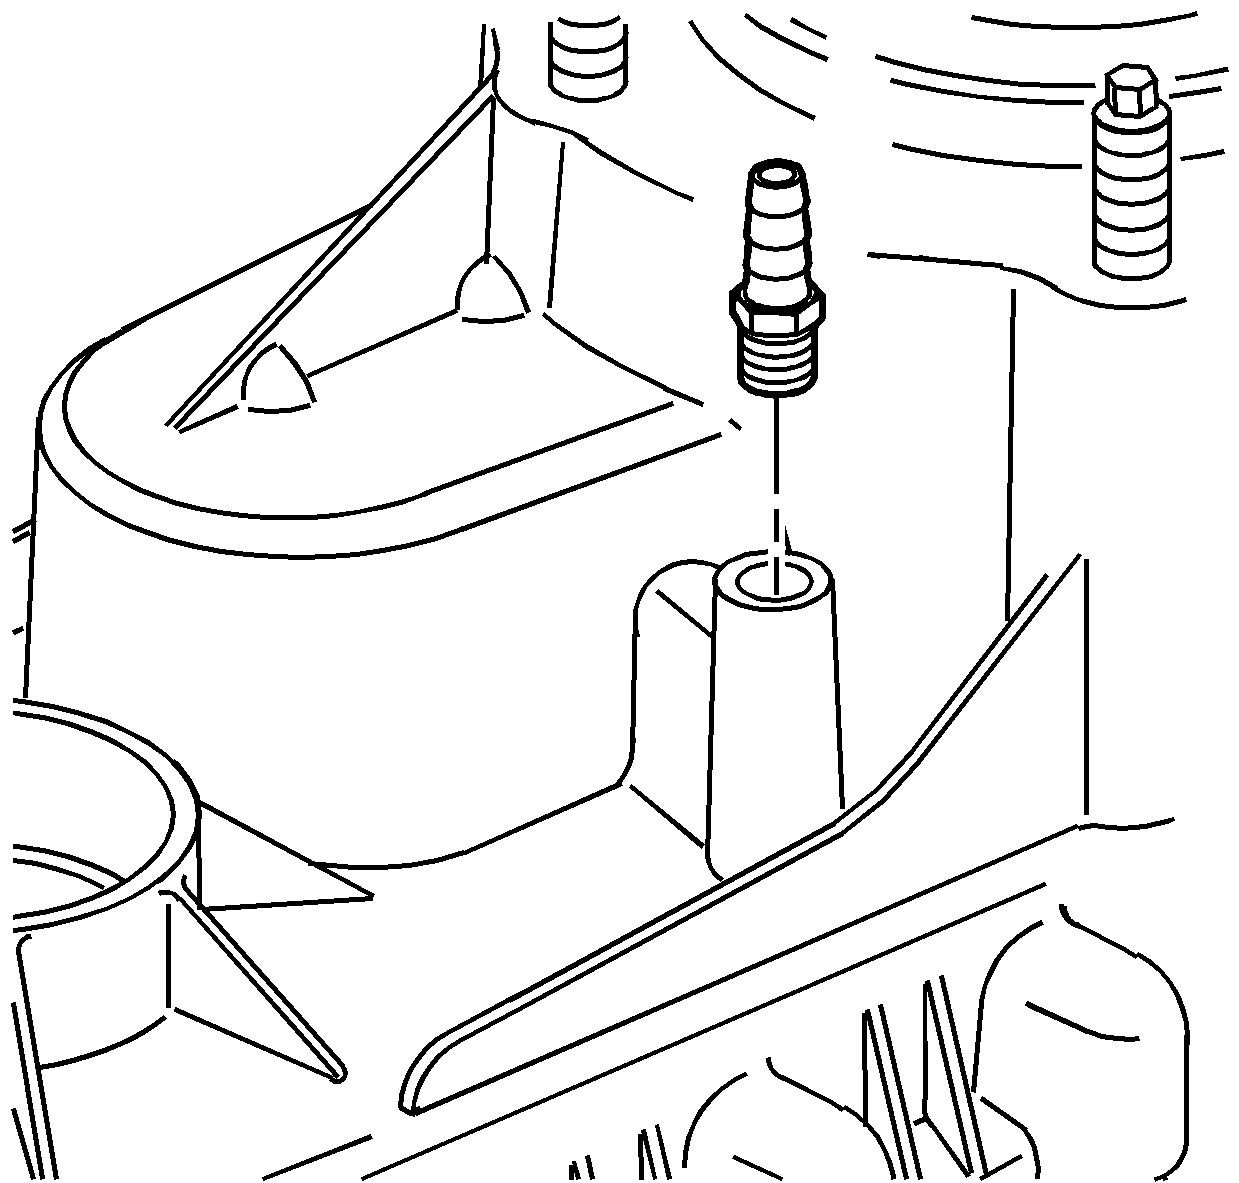
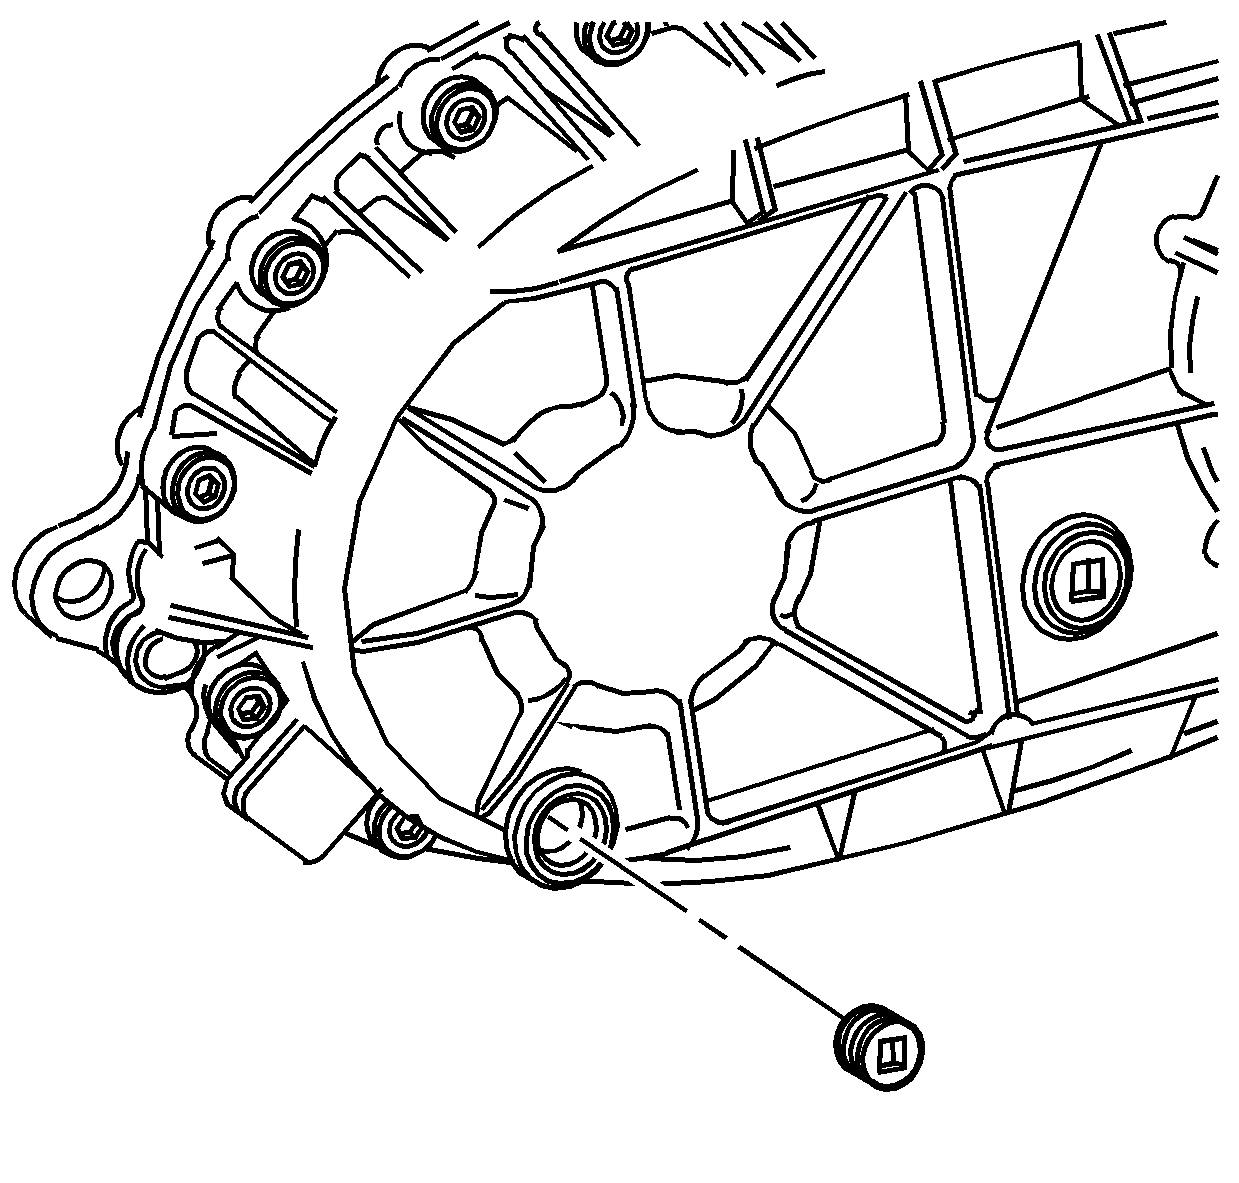
- If necessary, remove the vent from the front case half.
- Using
J 45380
, remove the rear output shaft bushing.
- Remove the rear output shaft from the
rear case half.
| 29.1. | Spread the rear output shaft rear bearing outer retaining ring. |
| 29.2. | Using a soft-face hammer, tap on the end of the rear output shaft. |
- Remove the retaining ring for the rear
output shaft bearing.
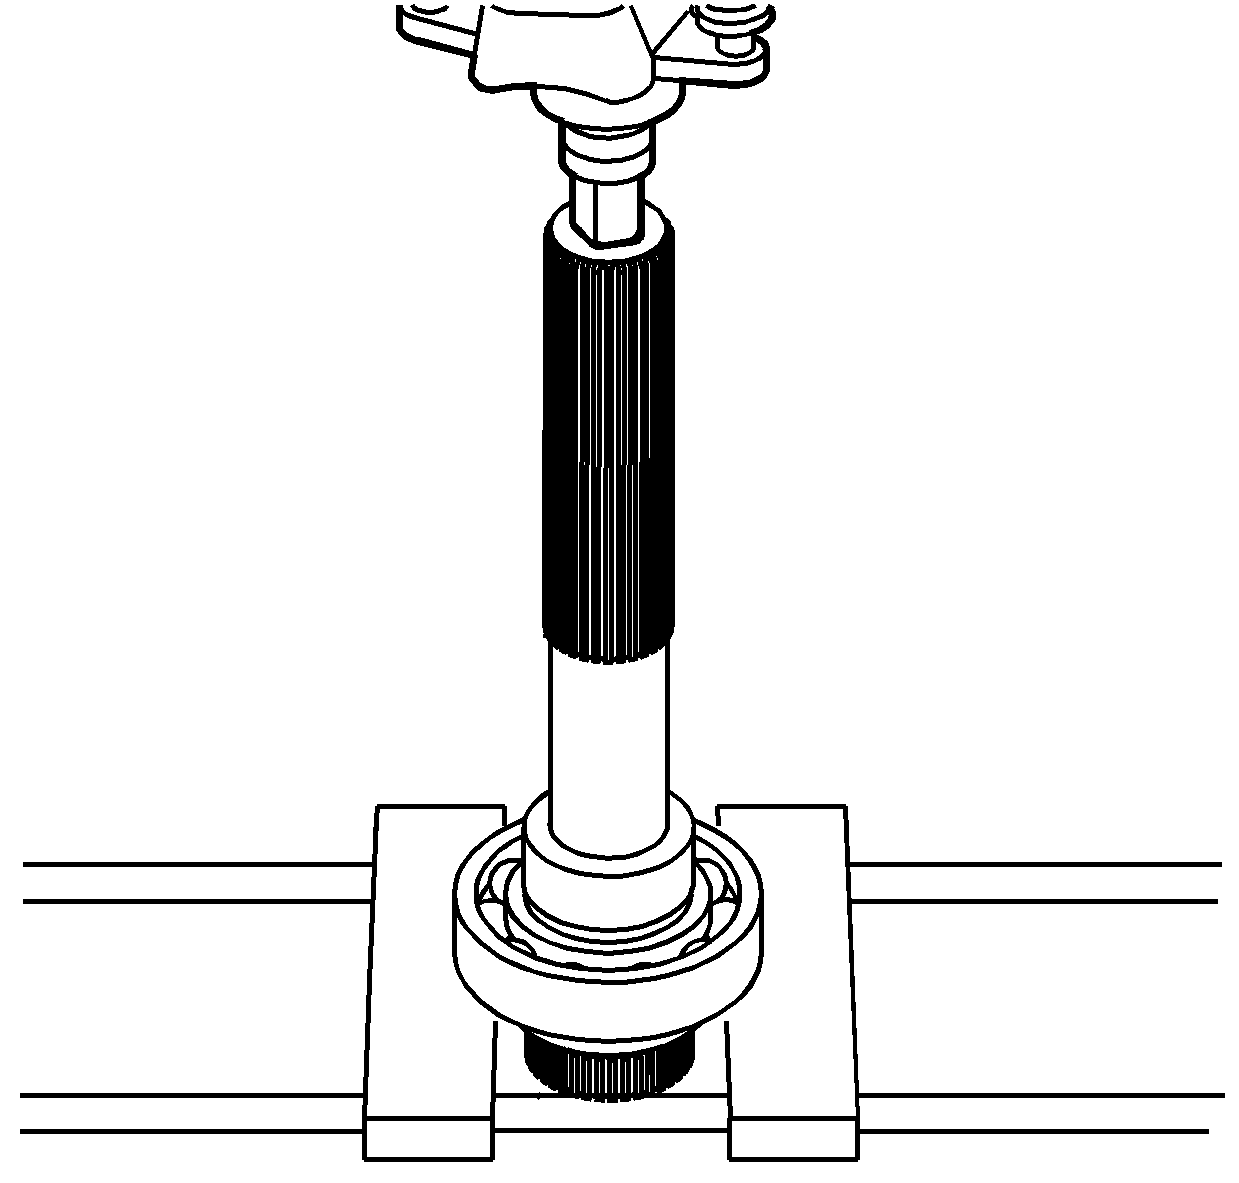
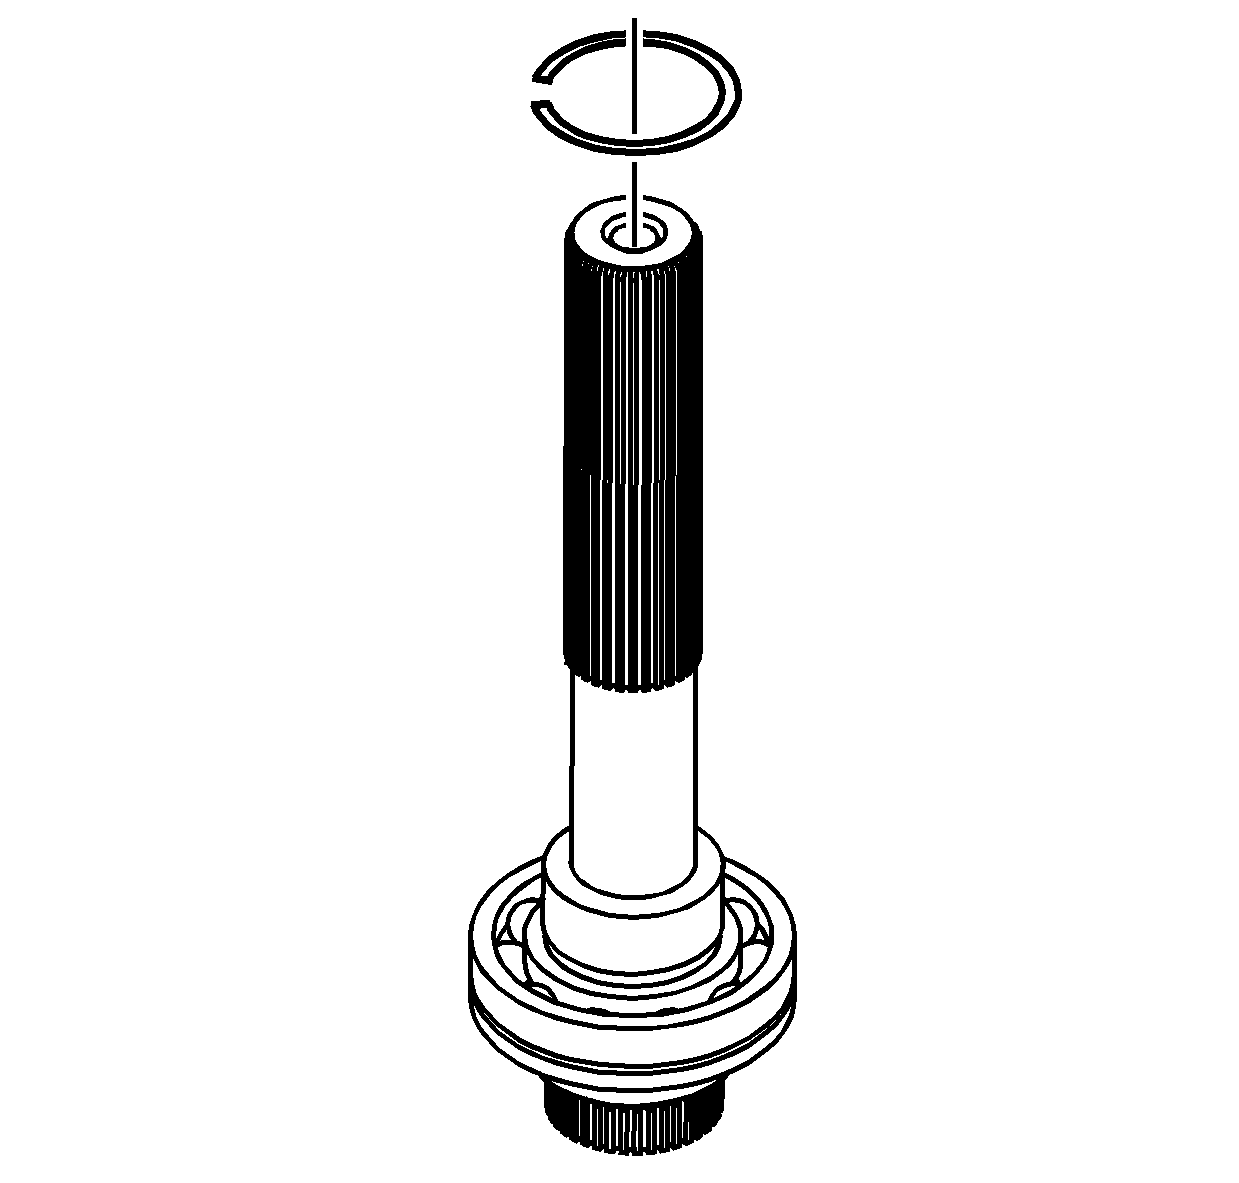
- Using a hydraulic press, remove the rear output shaft bearing.
- Inspect the mainshaft rear support
bushing in the rear output shaft for being faulty. Refer to
Transfer Case Cleaning and Inspection
.
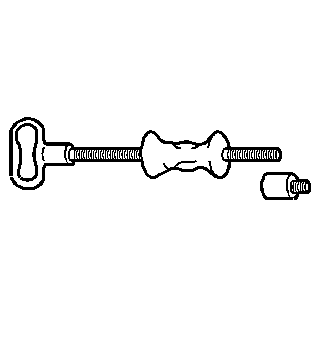
- Using the
J 2619-01
(1) and the
J 45548
(2), remove the mainshaft rear support bushing from the rear output shaft.
- Using the
J 26941
(3), the
J 45124
(1), and the
J-45124-9
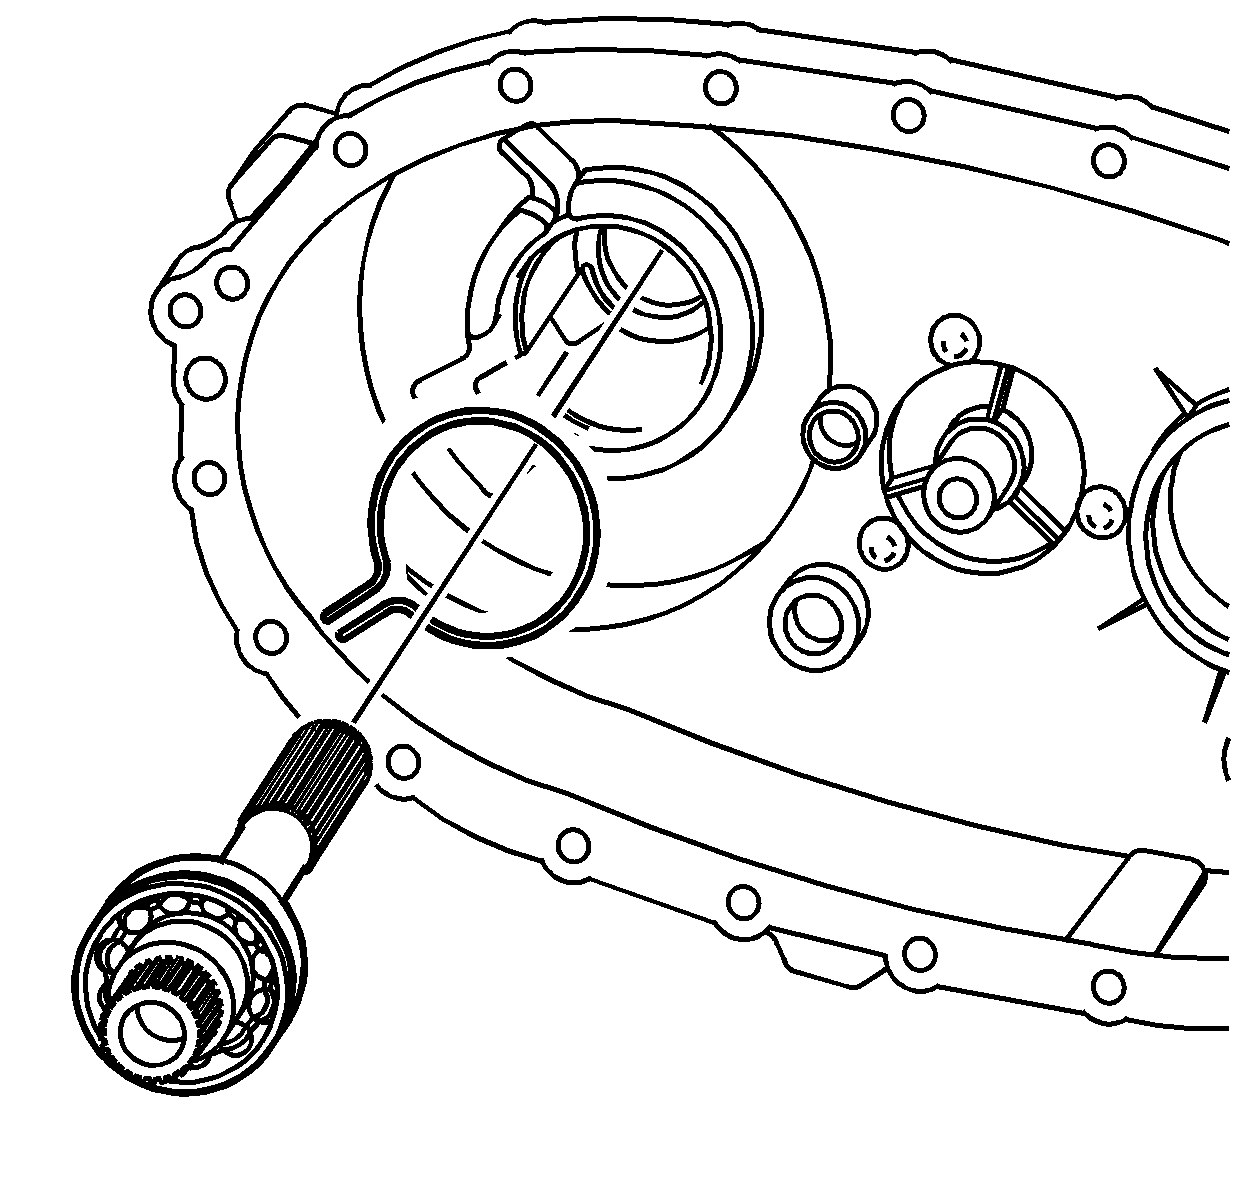
(2), remove the rear bearing for the front output shaft from the rear case.
