Tools Required
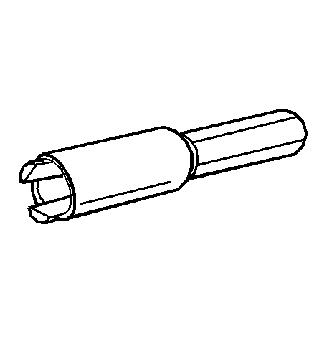
| • | J 36509 Detent
Spring Plug Remover |
| • | J 36511 Oil
Fill and Drain Plug Hex Bit - 17 mm |
| • | J 36825 Output
Shaft Oil Seal Remover |
Important: The transmission must remain in 3rd or 5th gear in order to prevent
losing the shift shaft lever spring and plunger.
- Using the J 36511
,
remove the oil fill plug.
- If the transmission is not in 3rd or 5th gear, reinstall the shift
control housing and shift the transmission in 3rd or 5th gear.
- Place a suitable container
under the transmission assembly in order to drain the remaining transmission
fluid.
- Using J 36511
,
remove the oil drain plug.
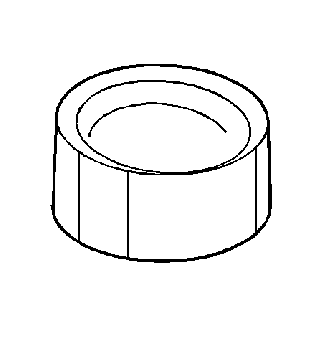
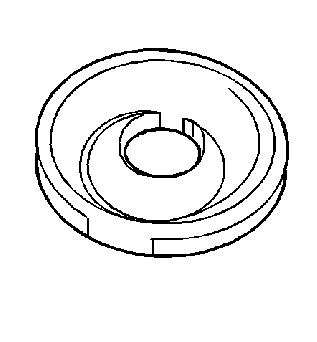
- Remove the gasket material from the housing.
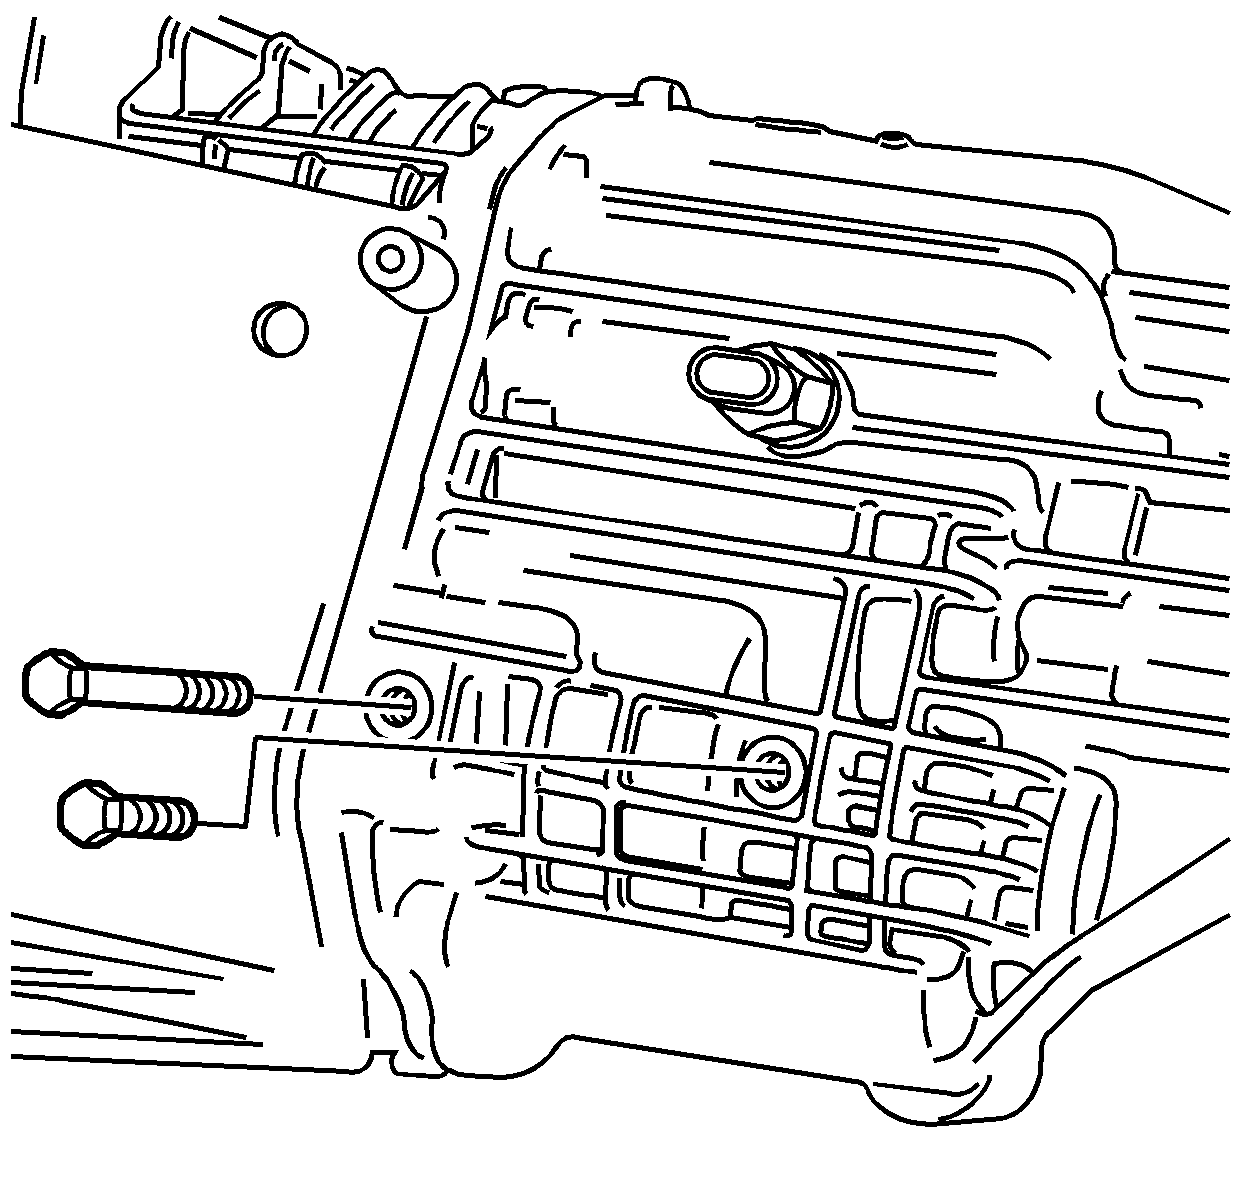
- Remove the 2 reverse
idler gear shaft support bolts.
- Remove the back-up lamp
switch.
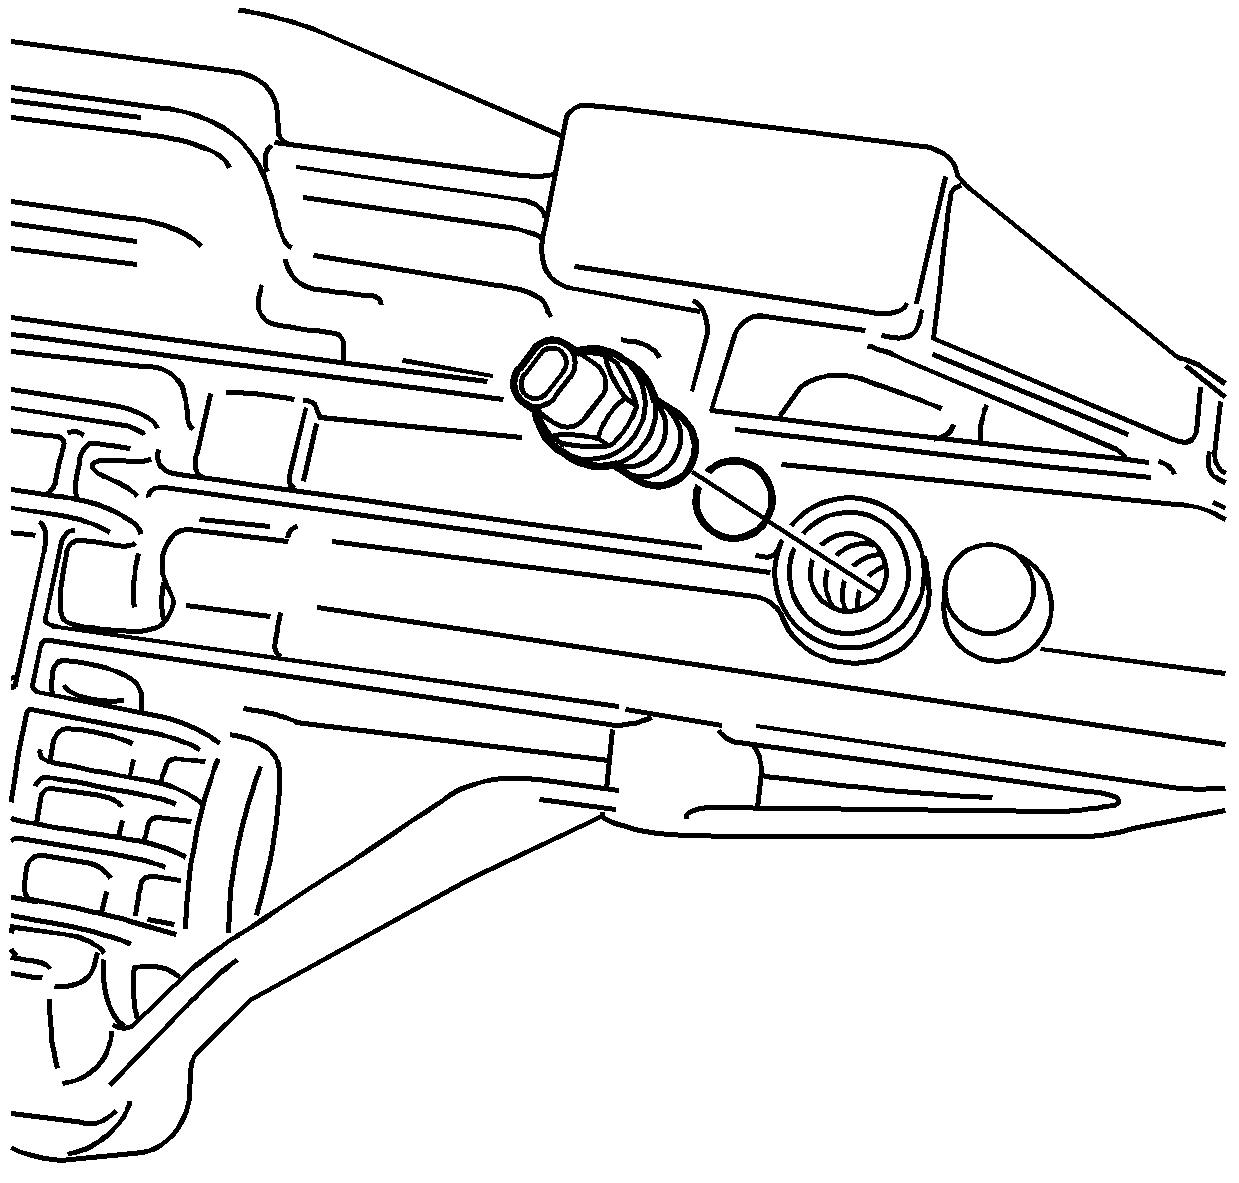
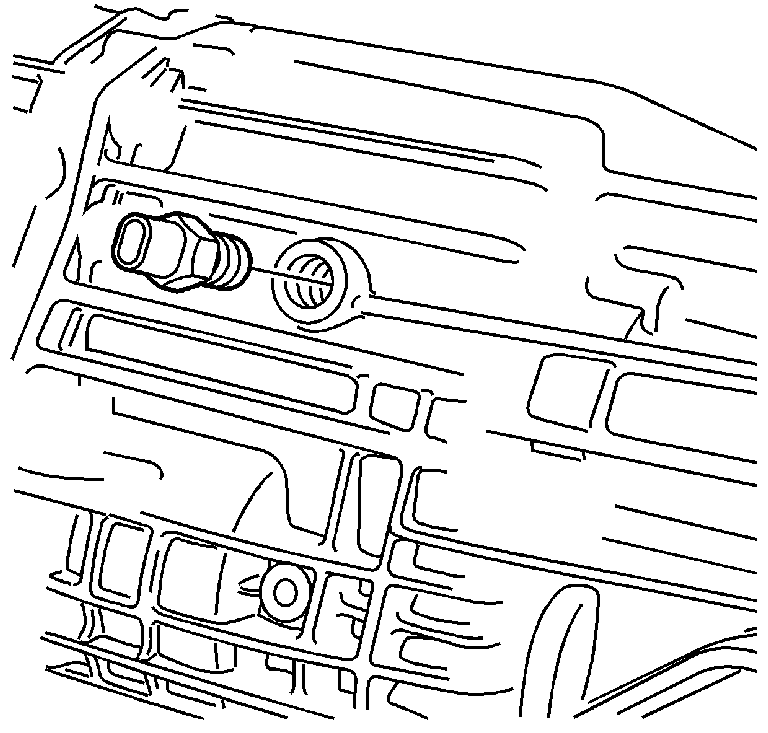
- If RWD, remove the vehicle
speed sensor and O-ring.

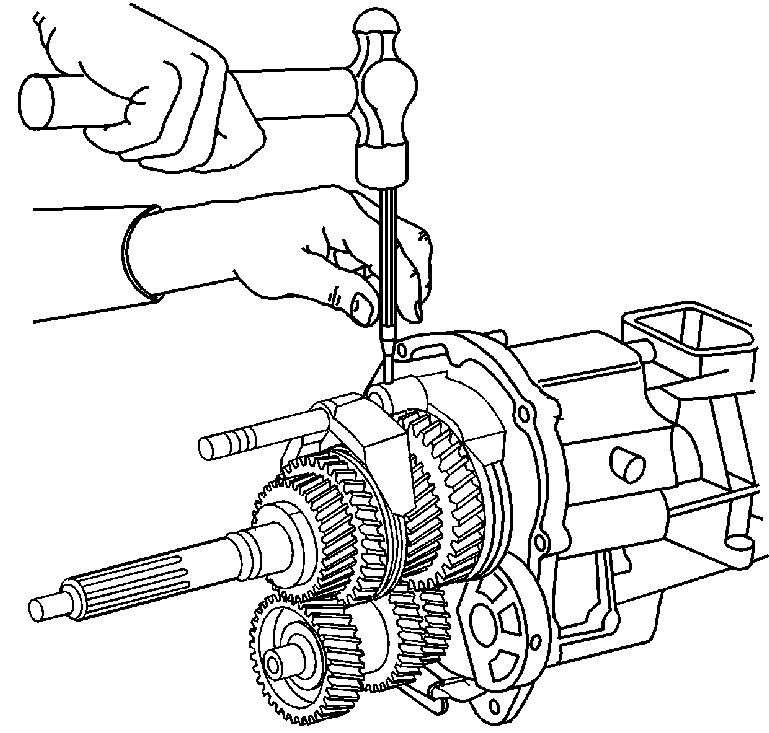
- Remove the shift shaft
detent pin.
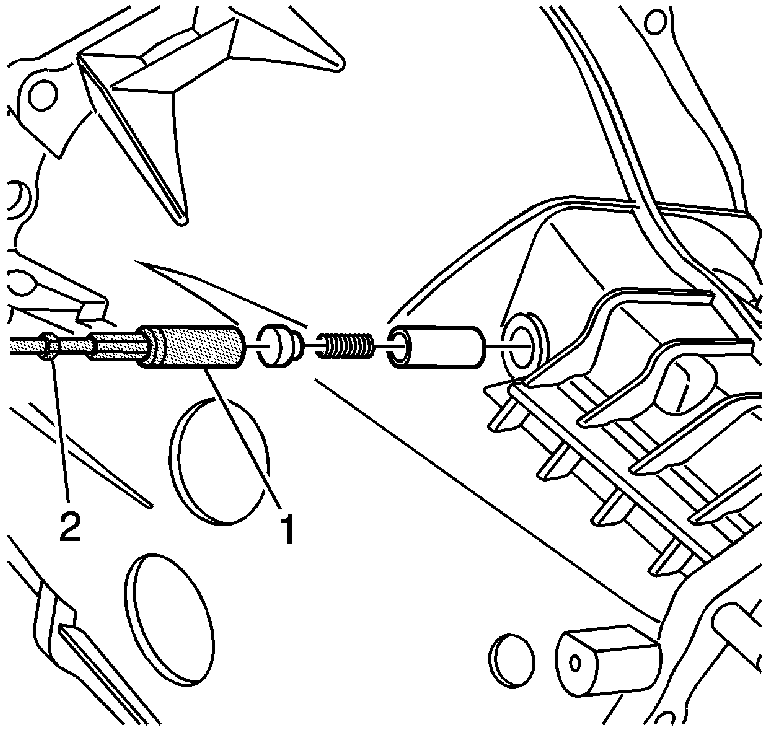
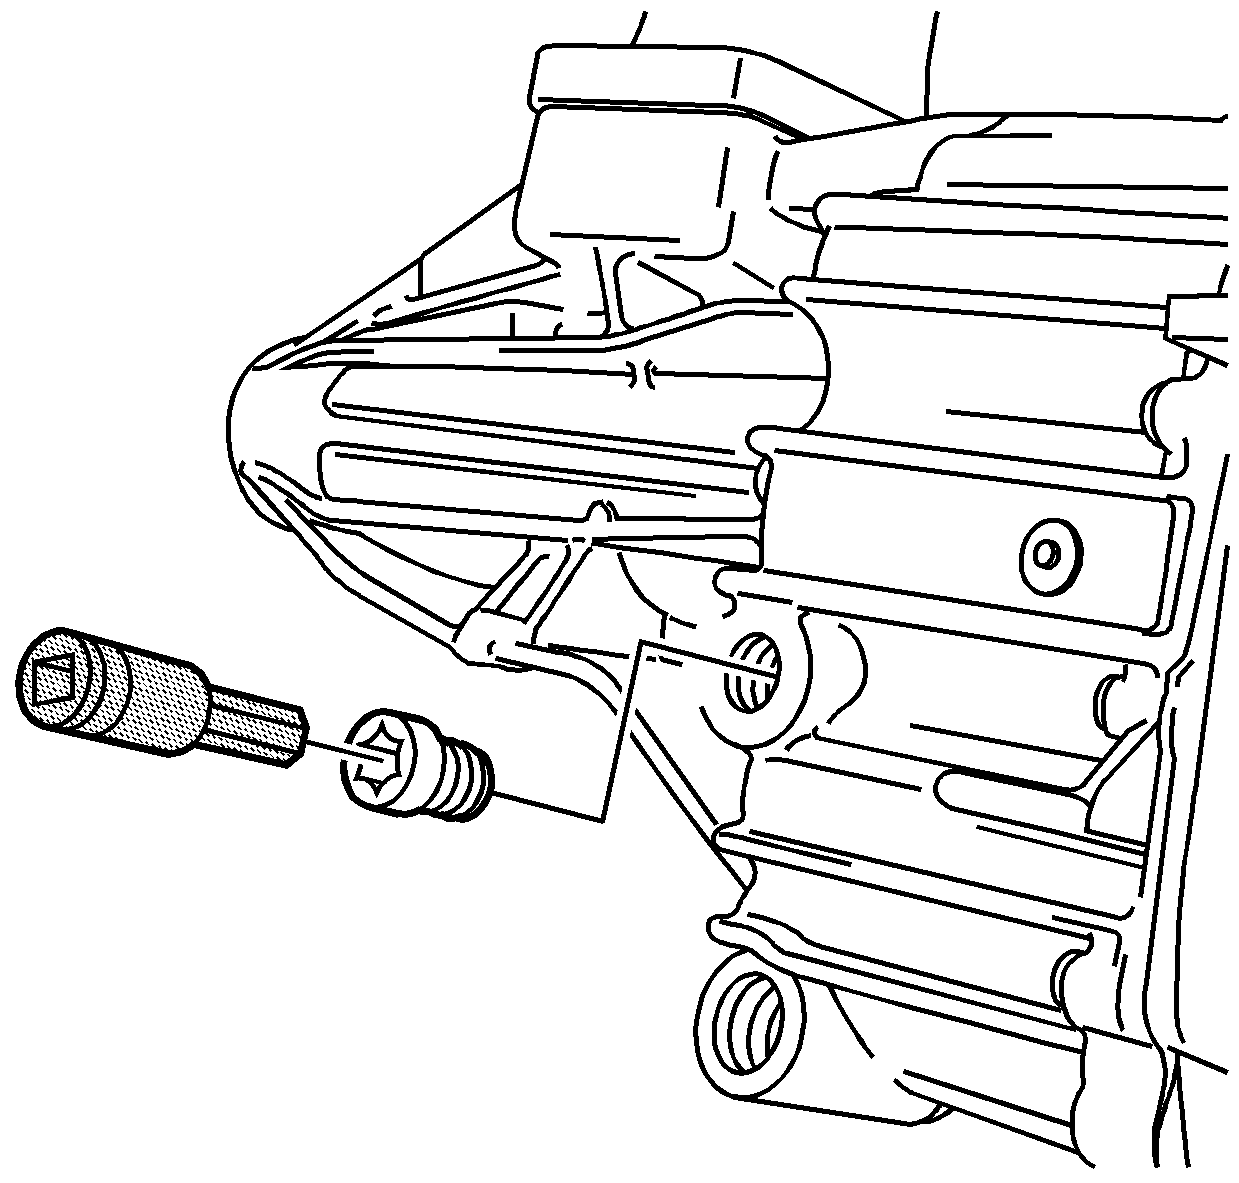
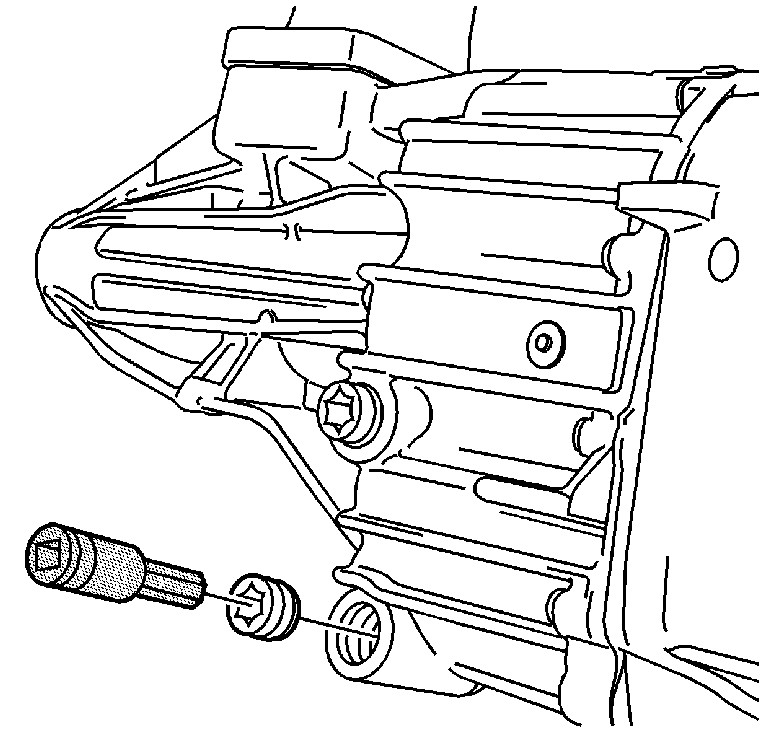
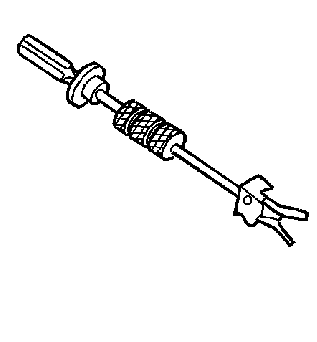
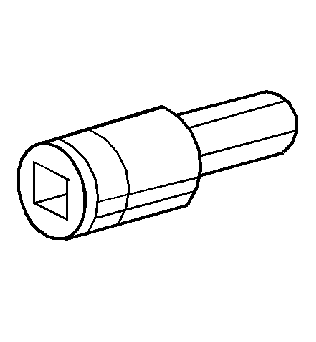
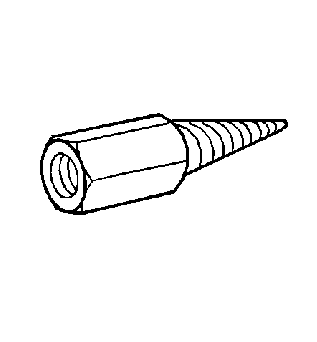
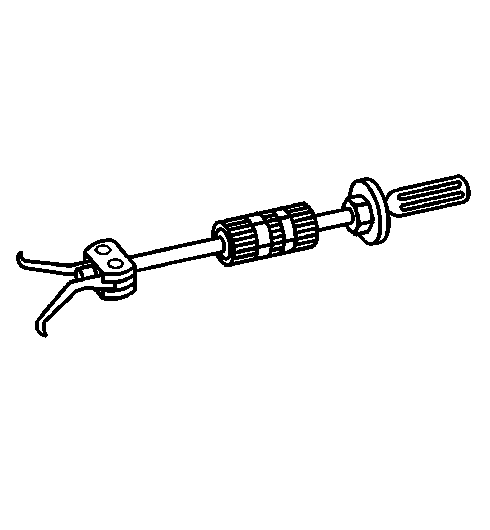
- Using the J 36509
(1) and the J 23907
(2), remove the detent plug,
spring, and detent plunger.

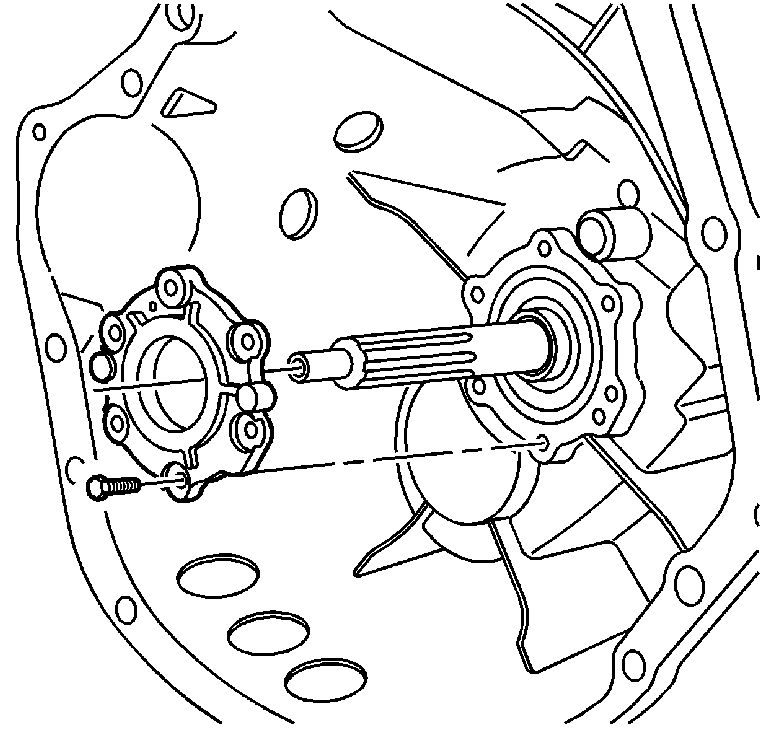
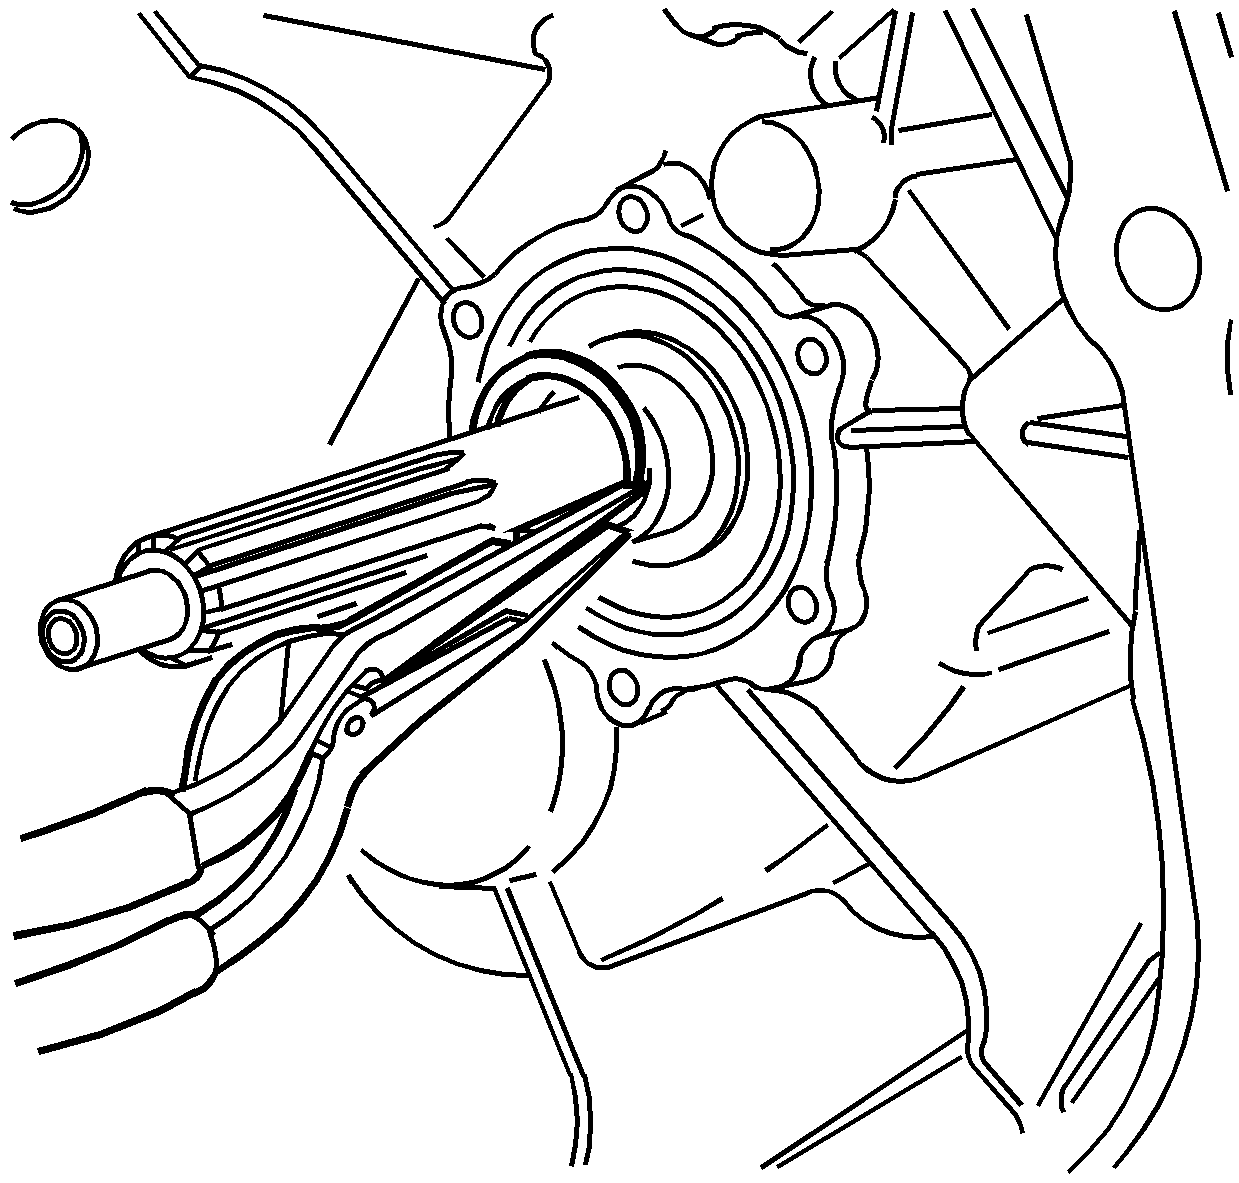
- If 4WD vehicle, remove
the output shaft seal using the J 36825
and the J 23907
. Screw the J 36825
into 1 of the 3 perforated holes in the seal.
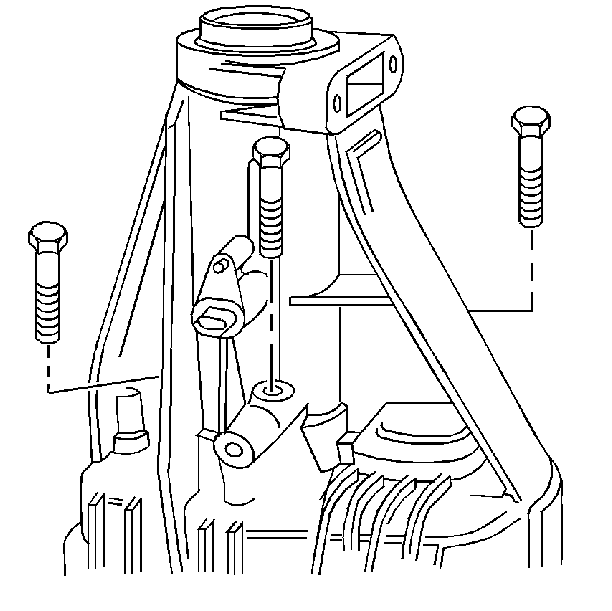
- Remove the 6 bolts
securing the input shaft bearing retainer to the clutch housing.
Remove the retainer by screwing 2 of the removed bolts into the
threaded holes in the retainer.
- Remove the input shaft
bearing retainer ring.
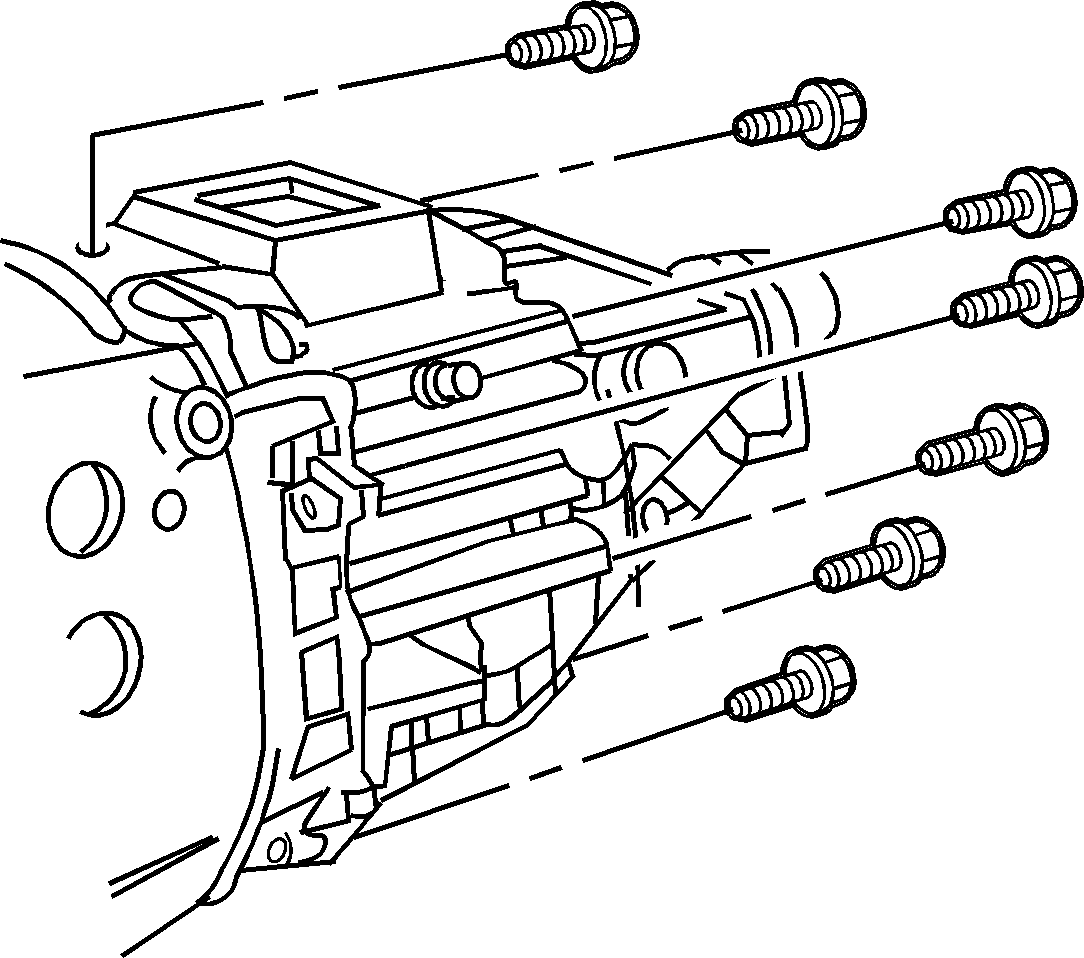
- Remove the bolts securing
the clutch housing to the rear case.
Notice: Do not nick, scratch or damage the sealing surface. The
sealing surface is a machined surface. Damage to the machined surface can
cause leakage.
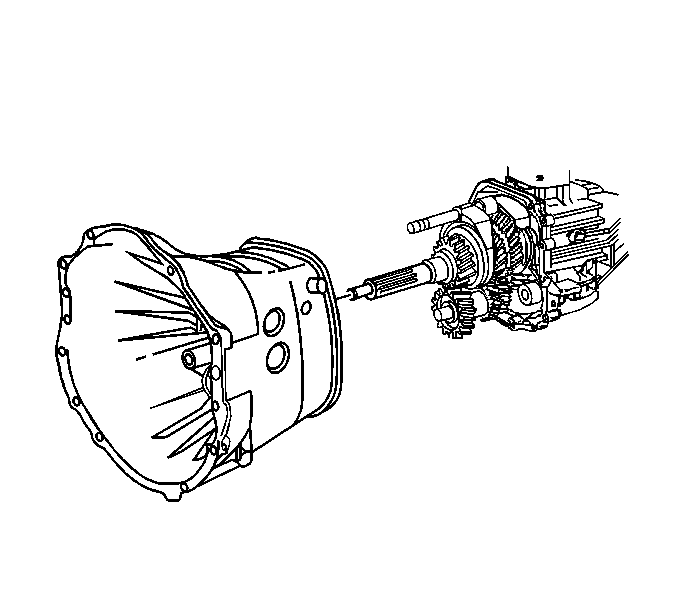
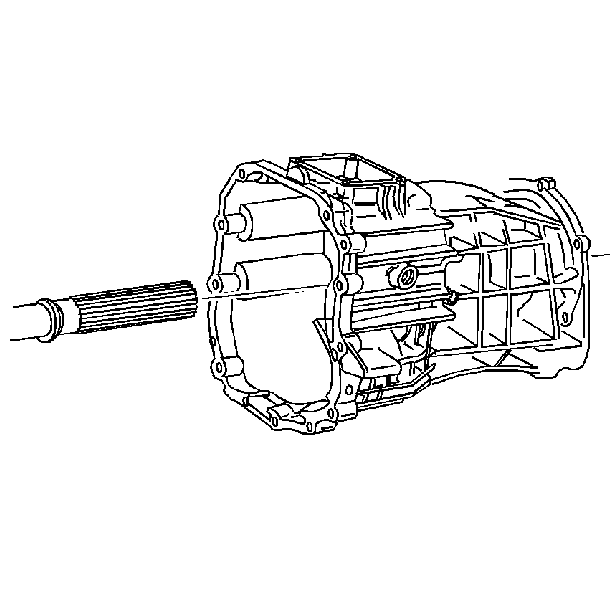
- Separate the clutch housing from the rear case using a soft-face hammer.
Do not pry at the sealing surfaces.
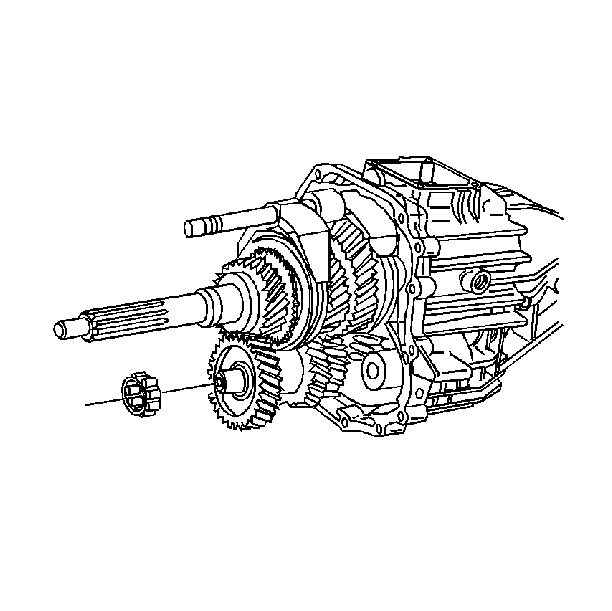
- Remove the countershaft
front bearing.

- Move the reverse idler
gear shaft towards the countershaft.
- Remove the reverse idler gear shaft retainer.
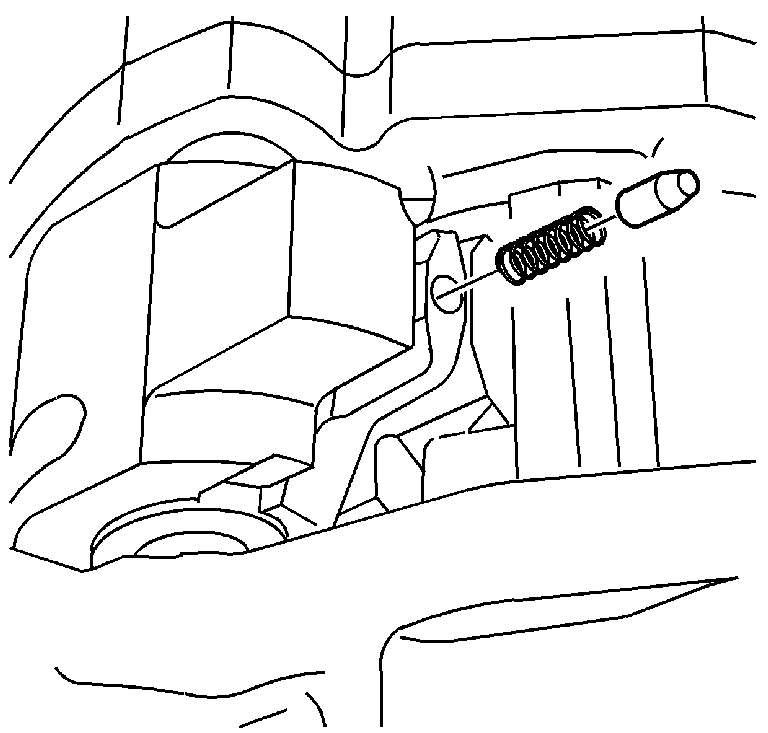
Important: If the shift rail is rotated, the shift lever spring and plunger may
come out of the shift shaft lever.
- Slowly shift the transmission in neutral.
- Rotate the shift rail counterclockwise. While rotating, catch
the shift shaft plunger and the shift shaft spring.
- Remove the shift shaft
lever roll pin.
| 21.1. | Rotate the shift shaft lever finger down. |
| 21.2. | Support the shift shaft end. |
| 21.3. | Drive out the roll pin. |
| 21.4. | Ensure that the roll pin clears the 2nd speed gear. |
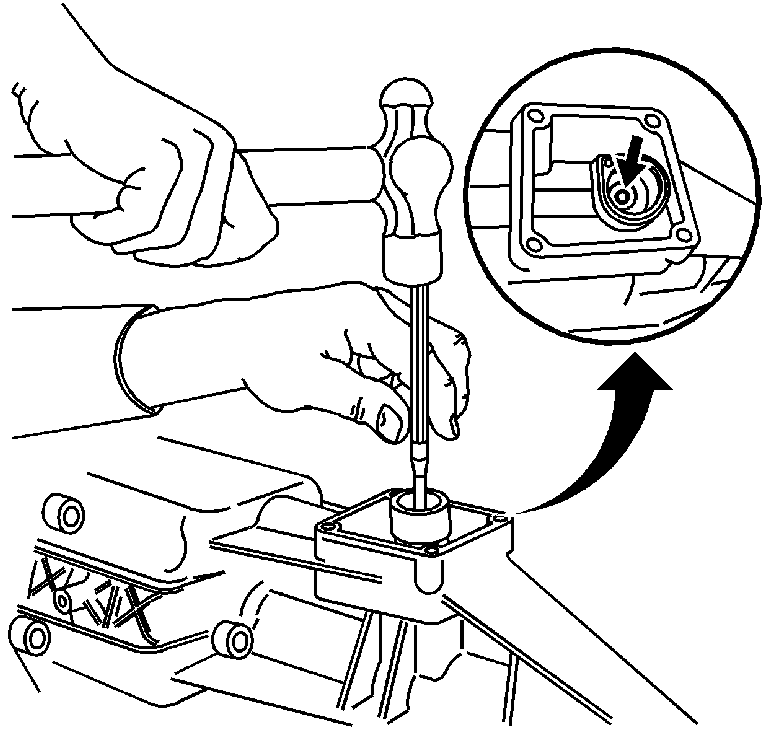
- Remove the shift shaft
socket roll pin.
| 22.1. | Align the shift shaft socket in the center of the case opening. |
| 22.2. | Using a 5 mm (3/16 in) punch, remove the roll pin. |
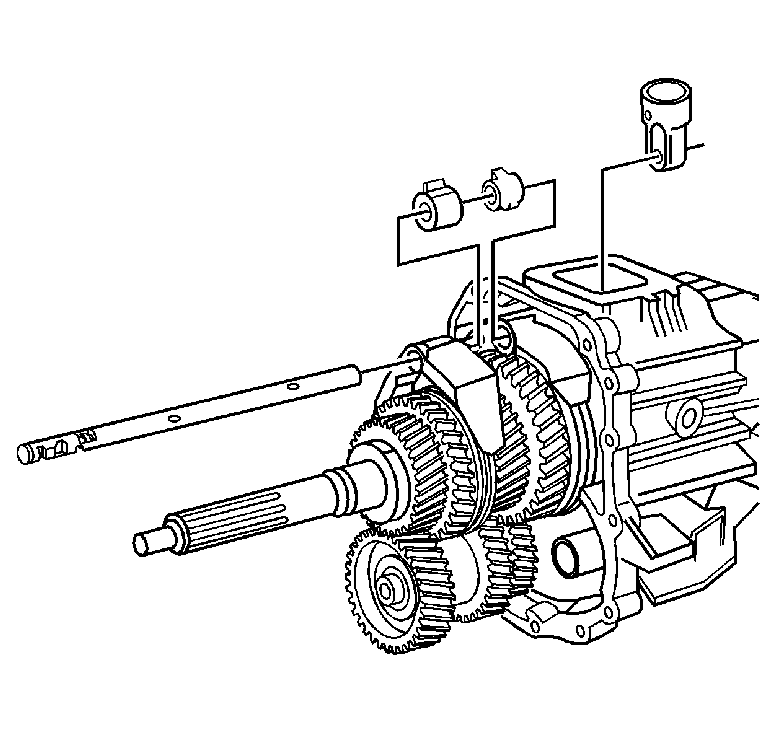
- Remove the following components:
| 23.2. | The shift shaft socket |
| 23.3. | The shift shaft lever |
| 23.4. | The shift shaft block out bushing |

- Rotate the 3rd/4th speed
gear shift fork counterclockwise.
- Remove the 3rd/4th speed gear shift fork from the transmission
case.
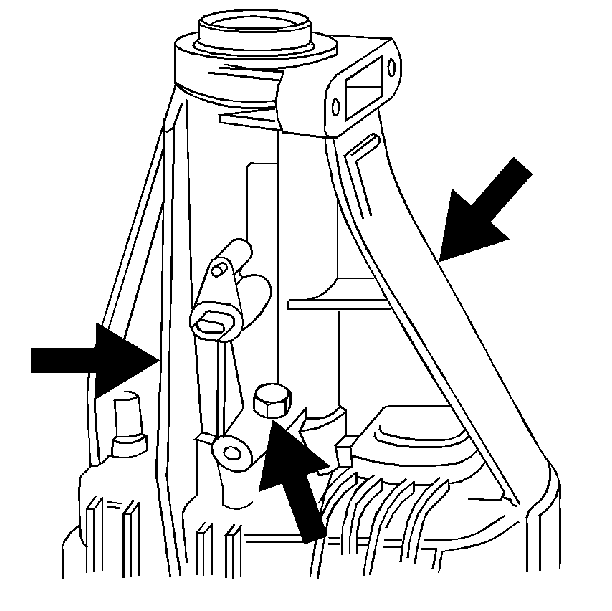
- If RWD vehicle, loosen
the 3 bolts on the rear of the housing. Do not remove the bolts.
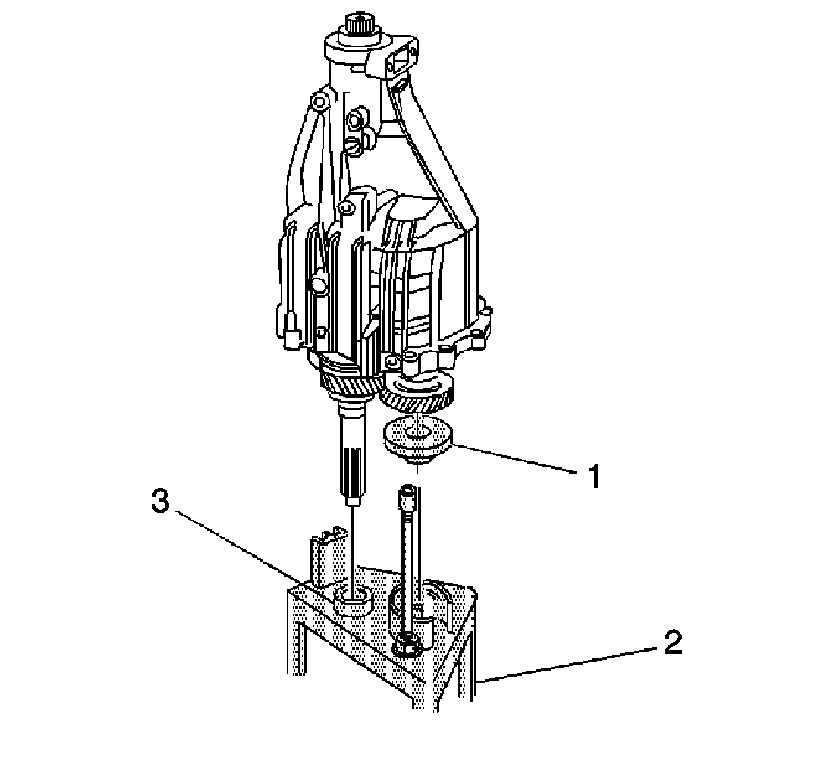
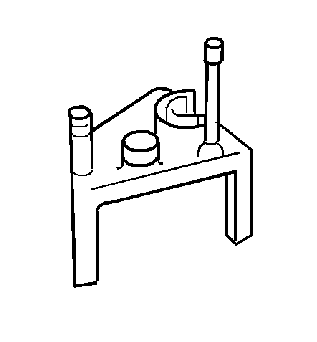
- Install the J 36515-15
(3) on the input shaft.
- Install the J 36515-16
(1) on the countershaft.
- Install the transmission to the J 36515
(2).
- Adjust the reverse holding pin against the reverse gear idler
shaft.
- If RWD vehicle, remove
the 3 bolts on the rear of the housing.
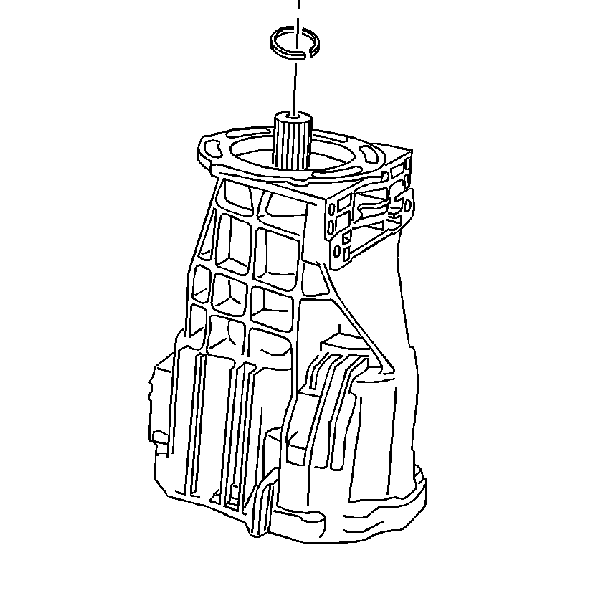
- If 4WD vehicle, remove
the main shaft rear bearing retaining ring.
- Remove the rear housing, 4WD shown. Tap the rear housing with a rubber
mallet.
