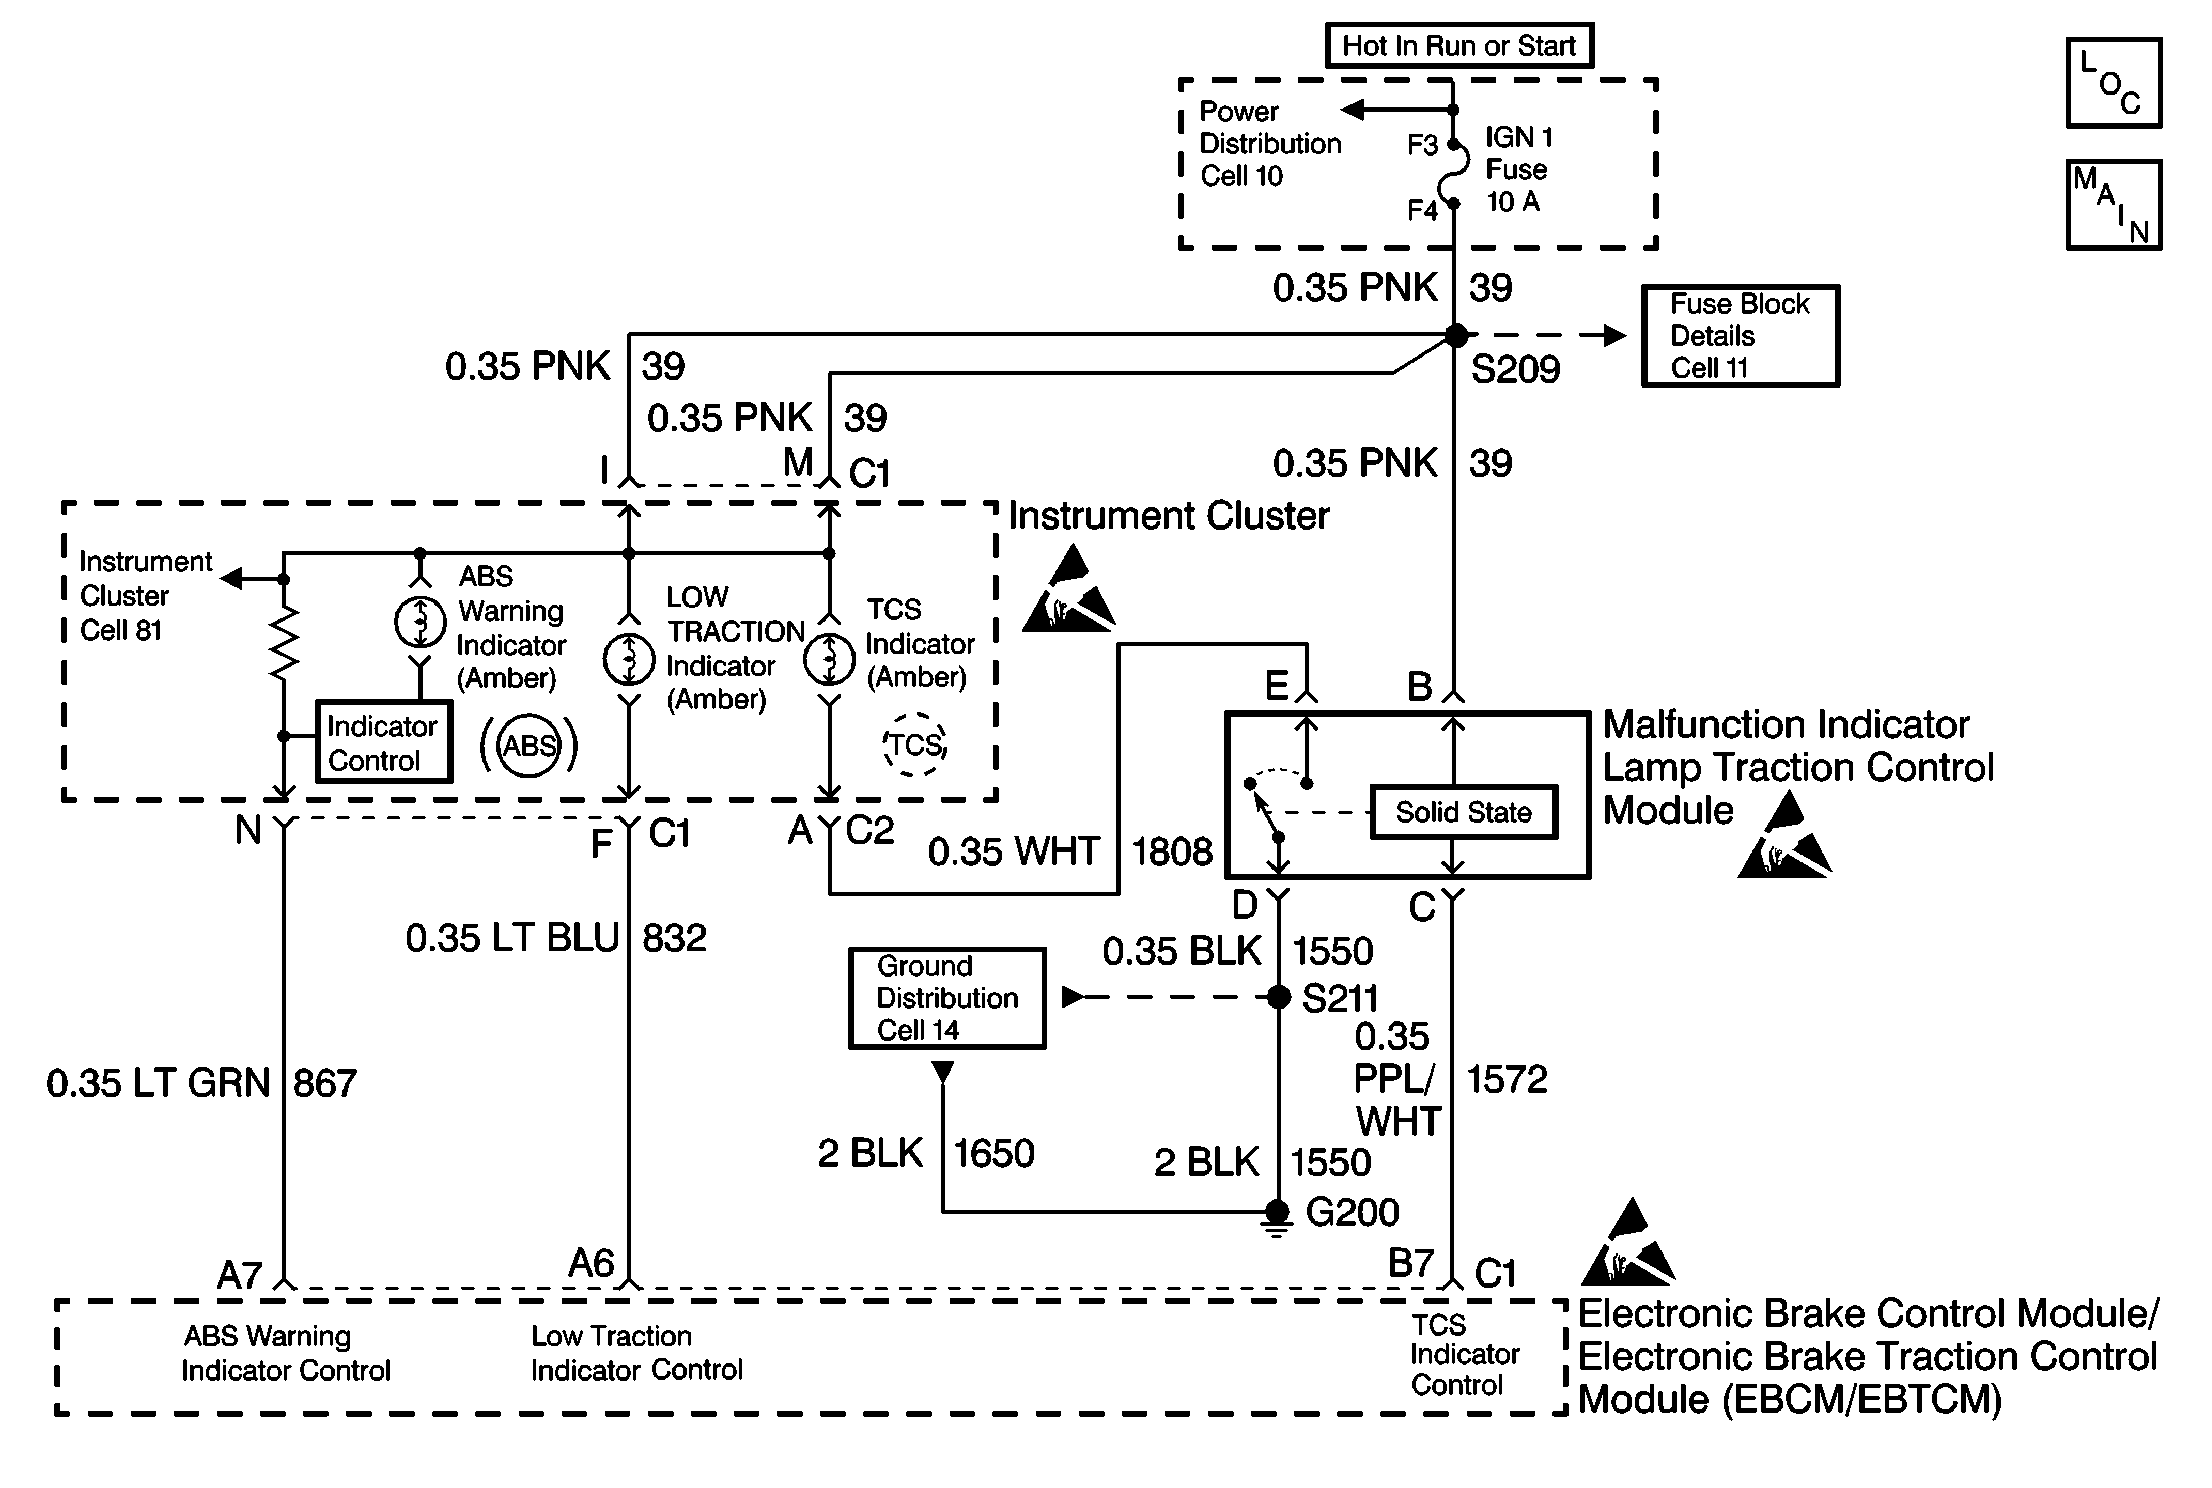
DTC C1311 inspects the state of the following components in order
to identify a situation in which the driver could not be alerted to a system
malfunction or the availability of the ABS or TCS:
Separate lamp driver modules turn the ABS and TCS warning indicators
on, unless the EBCM/EBTCM provides a ground to turn them off. Because of the
circuitry in the lamp driver modules, the EBCM/EBTCM only detects external
wiring malfunctions. The EBCM/EBTCM provides a ground to turn on the ABS/TCS
active indicator circuit.
DTC C1311 can set anytime. Shorts to voltage on the ABS or TCS
warning indicators are detected anytime after the bulb check is completed
for more than 2 seconds. The engine must be running for the code to set.
The ABS/TCS active indicator (Low Traction) will set DTC C1311 if shorted
to voltage during the 3 second bulb check. Shorts to ground or an open
circuit are detected anytime after the bulb check is complete for more
than 2 seconds.
Use the enhanced diagnostic function of the Scan Tool in order to measure
the frequency of the malfunction. Refer to the Scan Tool manual or
Scan Tool Diagnostics
located in this section for
the procedure.
Thoroughly inspect any circuitry that may cause the intermittent complaint
for the following conditions:
Step
| Action
| Value(s)
| Yes
| No
|
1
| Was the Diagnostic System Check performed?
| --
| Go to
Step 2
| Go to
Diagnostic System Check - ABS
|
2
|
- Turn the ignition switch to the OFF position.
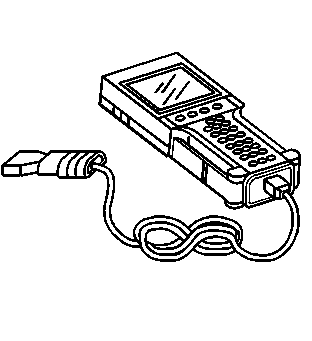
- Install a Scan Tool
.
- Turn the ignition switch to the RUN position, engine OFF.
- Select Special Functions on the Scan Tool
.
- Select Lamp Test on the Scan Tool
.
- Use the Scan Tool
in order to attempt to turn on and then flash the ABS warning indicator.
Can the ABS warning indicator be both turned on and flashed?
| --
| Go to
Step 3
| Go to
Step 5
|
3
|
- Select Special Functions on the Scan Tool
.
- Select Lamp Test on the Scan Tool
.
- Use the Scan Tool
in order to attempt to turn on and then flash the TCS warning indicator.
Can the TCS warning indicator be both turned on and flashed?
| --
| Go to
Step 4
| Go to
Step 17
|
4
|
- Select Special Functions on the Scan Tool
.
- Select Lamp Test on the Scan Tool
- Use the Scan Tool
in order to attempt to turn on and then off the ABS/TCS active indicator.
Can the ABS/TCS active indicator (LOW TRACTION) be turned on and off?
| --
| Go to
Step 51
| Go to
Step 33
|
5
|
- Turn the ignition switch to the OFF position.
- Turn the ignition switch to the RUN position, engine OFF.
Does the ABS warning indicator turn on and stay on?
| --
| Go to
Step 6
| Go to
Step 11
|
6
|
- Turn the ignition switch to the OFF position.
- Turn the ignition switch to the RUN position, engine OFF.
- Use the Scan Tool
in order to check for other DTCs.
Are there any other DTCs present?
| --
| Go to the appropriate DTC table
| Go to
Step 7
|
7
|
- Turn the ignition switch to the OFF position.
- Disconnect the 24-way EBCM/EBTCM connector C1.
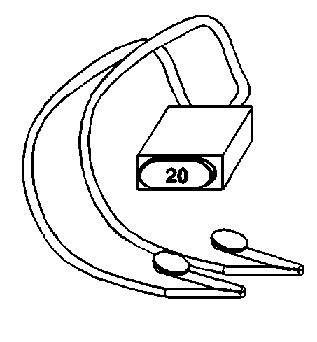
- Connect a fused jumper wire (such as a J 36169-A
) with a 3A fuse between the 24-way EBCM/EBTCM harness connector C1
terminal A7 and ground.
- Turn the ignition switch to the RUN position, engine OFF.
Is the ABS warning indicator on?
| --
| Go to
Step 8
| Go to
Step 10
|
8
|
- Turn the ignition switch to the OFF position.
- Remove the jumper wire.
- Disconnect the instrument panel cluster connector C1.
- Use a J 39200
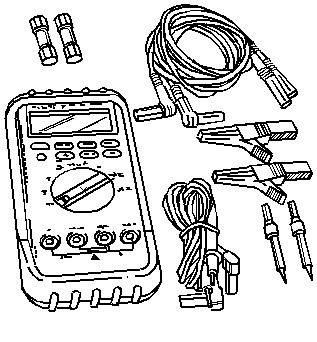
in
order to measure the resistance between the 24-way EBCM/EBTCM harness connector C1
terminal A7 and the instrument panel cluster harness connector C1
terminal N.
Is the resistance within the specified range?
| 0-2ohms
| Go to
Step 9
| Go to
Step 15
|
9
|
- Turn the ignition switch to the RUN position, engine OFF.
- Use the J 39200
in
order to measure the voltage between the 24-way EBCM/EBTCM harness connector C1
terminal A7 and ground.
Is the voltage within the specified range?
| 0-2V
| Go to
Instrument Cluster System Check
| Go to
Step 16
|
10
|
- Turn the ignition switch to the OFF position.
- Inspect the following terminals:
| • | The 24-way EBCM/EBTCM connector C1 terminal A7 |
| • | The remaining terminals of the 24-way EBCM/EBTCM connector C1 |
- Inspect the above terminals for the following conditions:
Are there signs of poor terminal contact, corrosion, or damaged terminals?
| --
| Go to
Step 29
| Go to
Step 23
|
11
|
- Perform an instrument panel cluster bulb check.
- Observe the remaining instrument panel cluster warning indicators.
Do the remaining instrument cluster warning indicators operate properly?
| --
| Go to
Step 12
| Go to
Step 41
|
12
|
- Turn the ignition switch to the OFF position.
- Disconnect the 24-way EBCM/EBTCM connector C1.
- Turn the ignition switch to the RUN position, engine OFF.
Does the ABS warning indicator turn on?
| --
| Go to
Step 10
| Go to
Step 13
|
13
|
- Turn the ignition switch to the OFF position.
- Disconnect the instrument panel cluster connector C1.
- Use the J 39200
in
order to measure the resistance between the 24-way EBCM/EBTCM harness connector C1
terminal A7 and ground.
Is continuity to ground present during this test?
| --
| Go to
Step 14
| Go to
Instrument Cluster System Check
|
14
| Repair
the short to ground in CKT 867.
Is the repair complete?
| --
| Go to
Diagnostic System Check - ABS
| --
|
15
| Repair the open or high resistance in CKT 867.
Is the repair complete?
| --
| Go to
Diagnostic System Check - ABS
| --
|
16
| Repair the short to voltage in CKT 867.
Is the repair complete?
| --
| Go to
Diagnostic System Check - ABS
| --
|
17
|
- Turn the ignition switch to the OFF position.
- Turn the ignition switch to the RUN position, engine OFF.
Does the TCS warning indicator turn on and stay on?
| --
|
Go to Step 18
| Go to
Step 24
|
18
|
- Turn the ignition switch to the OFF position.
- Turn the ignition switch to the RUN position, engine OFF.
- Use the Scan Tool
in order to check for other DTCs.
Are there any other DTCs present?
| --
| Go to the appropriate DTC table
| Go to
Step 19
|
19
|
- Turn the ignition switch to the OFF position.
- Disconnect the 24-way EBCM/EBTCM connector C1.
- Connect a fused jumper wire (such as a J 36169-A
) with a 3A fuse between the 24-way EBCM/EBTCM harness connector C1
terminal B7 and ground.
- Turn the ignition switch to the RUN position, engine OFF.
Is the TCS warning indicator on?
| --
| Go to
Step 20
| Go to
Step 22
|
20
|
- Turn the ignition switch to the OFF position.
- Remove the jumper wire.
- Disconnect the Malfunction Indicator Lamp Traction Control Module
harness connector.
- Use a J 39200
in
order to measure the resistance between the 24-way EBCM/EBTCM harness connector C1
terminal B7 and the Malfunction Indicator Lamp Traction Control
Module harness connector terminal C.
Is the resistance within the specified range?
| 0-2ohms
| Go to
Step 21
| Go to
Step 30
|
21
|
- Turn the ignition switch to the RUN position, engine OFF.
- Use a J 39200
in
order to measure the voltage between the 24-way EBCM/EBTCM harness connector C1
terminal B7 and ground.
Is the voltage within the specified range?
| 0-2V
| Go to
Step 32
| Go to
Step 31
|
22
|
- Turn the ignition switch to the OFF position.
- Inspect the following terminals:
| • | The 24-way EBCM/EBTCM connector C1 terminal B7 |
| • | The remaining terminals of the 24-way EBCM/EBTCM connector C1 |
- Inspect the above terminals for the following conditions:
Are there signs of poor terminal contact, corrosion, or damaged terminals?
| --
| Go to
Step 29
| Go to
Step 23
|
23
|
- Reconnect the 24-way EBCM/EBTCM harness connector C1.
- Reconnect the instrument panel cluster harness connector C1
or the Malfunction Indicator Lamp Traction Control Module if they are disconnected.
- Install a Scan Tool
- Turn the ignition switch to the RUN position, engine OFF.
- Use the Scan Tool
in order to read the DTCs.
Does DTC C1311 reset?
| --
| Go to
Step 50
| Go to
Diagnostic System Check - ABS
|
24
|
- Perform an instrument panel cluster bulb check.
- Observe the remaining instrument panel cluster warning indicators.
Do the remaining instrument panel cluster warning indicators operate
properly?
| --
| Go to
Step 25
| Go to
Step 41
|
25
|
- Turn the ignition switch to the OFF position.
- Disconnect the 24-way EBCM/EBTCM connector C1.
- Turn the ignition switch to the RUN position, engine OFF.
Does the TCS warning indicator turn on?
| --
| Go to
Step 22
| Go to
Step 26
|
26
|
- Turn the ignition switch to the OFF position.
- Disconnect the Malfunction Indicator Lamp Traction Control Module
harness connector.
- Use the J 39200
in
order to measure the resistance between the 24-way EBCM/EBTCM harness connector C1
terminal B7 and ground.
Is continuity present during this test?
| --
| Go to
Step 28
| Go to
Step 27
|
27
|
- Turn the ignition switch to the RUN position, engine OFF.
- Use the J 39200
in
order to measure the voltage between the Malfunction Indicator Lamp Traction
Control Module harness connector terminal B and the ground.
Is the voltage equal to or greater than the specified voltage?
| 10V
| Go to
Step 32
| Go to
Step 44
|
28
| Repair the short to ground in CKT 1572.
Is the repair complete?
| --
| Go to
Diagnostic System Check - ABS
| --
|
29
| Repair the 24-way EBCM/EBTCM connector C1. Go to Troubleshooting
Procedures Cell 4 in Electrical Diagnosis.
Is the repair complete?
| --
| Go to
Step 23
| --
|
30
| Repair the open or high resistance in CKT 1572.
Is the repair complete?
| --
| Go to
Diagnostic System Check - ABS
| --
|
31
| Repair the short to voltage in CKT 1572.
Is the repair complete?
| --
| Go to
Diagnostic System Check - ABS
| --
|
32
| Replace the Malfunction Indicator Lamp Traction Control Module.
Is the repair complete?
| --
| Go to
Diagnostic System Check - ABS
| --
|
33
|
- Turn the ignition switch to the OFF position.
- Remove the Scan Tool
- Turn the ignition switch to the RUN position, engine OFF.
Does the ABS/TCS active indicator turn on and stay on?
| --
| Go to
Step 34
| Go to
Step 37
|
34
|
- Turn the ignition switch to the OFF position.
- Disconnect the 24-way EBCM/EBTCM connector C1.
- Turn the ignition switch to the RUN position, engine OFF.
Does the ABS/TCS active indicator turn on?
| --
| Go to
Step 46
| Go to
Step 35
|
35
|
- Turn the ignition switch to the OFF position.
- Inspect the following terminals:
| • | The 24-way EBCM/EBTCM connector C1 terminal A6 |
| • | The remaining terminals of the 24-way EBCM/EBTCM connector C1 |
- Inspect the above terminals for the following conditions:
Are there signs of poor terminal contact, corrosion, or damaged terminal(s)?
| --
| Go to
Step 47
| Go to
Step 36
|
36
|
- Reconnect the 24-way EBCM/EBTCM harness connector C1.
- Reconnect the instrument panel cluster harness connector C1
if the instrument panel cluster harness connector is disconnected.
- Install a Scan Tool
- Turn the ignition switch to the RUN position, engine OFF.
- Use the Scan Tool
in order to read the DTCs.
Does DTC C1311 reset?
| --
| Go to
Step 50
| Go to
Diagnostic System Check - ABS
|
37
|
- Turn the ignition switch to the OFF position.
- Turn the ignition switch to the RUN position, engine OFF.
- Observe the TCS indicator.
Does the TCS indicator turn on and then off?
| --
| Go to
Step 38
| Go to
Step 41
|
38
|
- Turn the ignition switch to the OFF position.
- Disconnect the 24-way EBCM/EBTCM connector C1.
- Connect a fused jumper wire (such as a J 36169-A
) with a 3A fuse between the 24-way EBCM/EBTCM harness connector C1
terminal A6 and ground.
- Turn the ignition switch to the RUN position, engine OFF.
Does the ABS/TCS active indicator turn on?
| --
| Go to
Step 35
| Go to
Step 39
|
39
|
- Turn the ignition switch to the OFF position.
- Remove the jumper wire.
- Disconnect the instrument panel cluster harness connector C1.
- Use the J 39200
in
order to measure the resistance between the 24-way EBCM/EBTCM harness connector C1
terminal A6 and the instrument panel cluster harness connector C1
terminal F.
Is the resistance within the specified range?
| 0-2ohms
| Go to
Step 40
| Go to
Step 48
|
40
|
- Turn the ignition switch to the RUN position, engine OFF.
- Use the J 39200
in
order to measure the voltage between the 24-way EBCM/EBTCM harness connector C1
terminal A6 and ground.
Is the voltage within specifications?
| 0-2V
| Go to
Instrument Cluster System Check
| Go to
Step 49
|
41
|
- Turn the ignition switch to the OFF position.
- Remove the IGN 1 Fuse (10A).
- Inspect the IGN 1 Fuse (10A).
Is the IGN 1 Fuse (10A) open?
| --
| Go to
Step 42
| Go to
Step 44
|
42
| Use a J 39200
in order to measure the
resistance between the fuse block terminal F4 and ground.
Is the resistance within specifications?
| 0-2ohms
| Go to
Step 43
| Go to
Step 45
|
43
| Repair the
short to ground in CKT 39.
Is the repair complete?
| --
| Go to
Step 45
| --
|
44
| Repair the open or high resistance in CKT 39.
Is the repair complete?
| --
| Go to
Diagnostic System Check - ABS
| --
|
45
| Replace the fuse block IGN 1 Fuse (10 A).
Is the repair complete?
| --
| Go to
Diagnostic System Check - ABS
| --
|
46
| Repair the short to ground in CKT 832.
Is the repair complete?
| --
| Go to
Diagnostic System Check - ABS
| --
|
47
| Repair the 24-way EBCM/EBTCM connector C1.
Is the repair complete?
| --
| Go to
Step 36
| --
|
48
| Repair the open or high resistance in CKT 832.
Is the repair complete?
| --
| Go to
Diagnostic System Check - ABS
| --
|
49
| Repair the short to voltage in CKT 832.
Is the repair complete?
| --
| Go to
Diagnostic System Check - ABS
| --
|
50
| Replace the EBCM/EBTCM.
Is the repair complete?
| --
| Go to
Diagnostic System Check - ABS
| --
|
51
|
- Turn the ignition switch to the OFF position.
- Turn the ignition switch to the RUN position, engine OFF.
- Use the Scan Tool
in order to read the DTCs.
Does DTC C1311 reset?
| --
| Go to
Step 50
| Go to
Step 52
|
52
| The malfunction is intermittent or not present at this time.
Is a concern still present?
| --
| Go to Diagnostic Aids
| Go to
Diagnostic System Check - ABS
|
