For 1990-2009 cars only
Synchronizers Assemble NV3500 4WD
Synchronizer Assembly
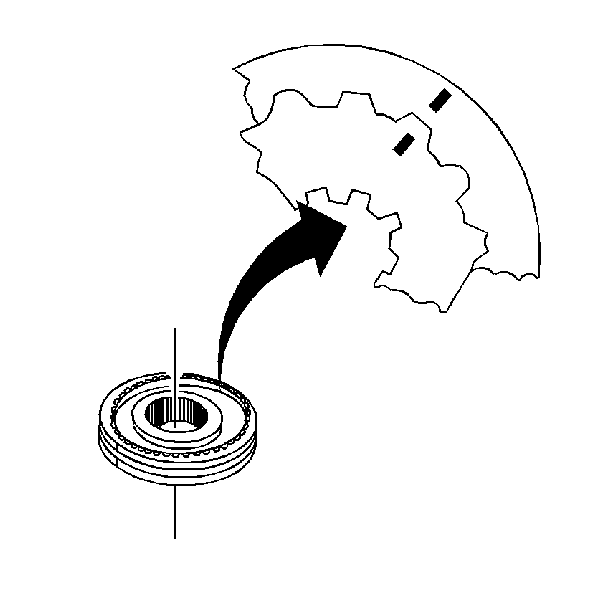
- Assemble the sleeve and the hub. Check the scribe marks for correct positions.
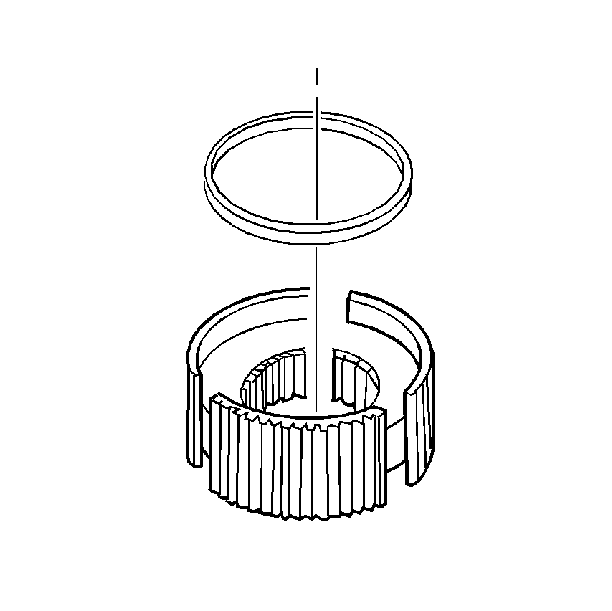
- Remove the spiral lock ring for easier assembly (5TH speed/reverse gear only).
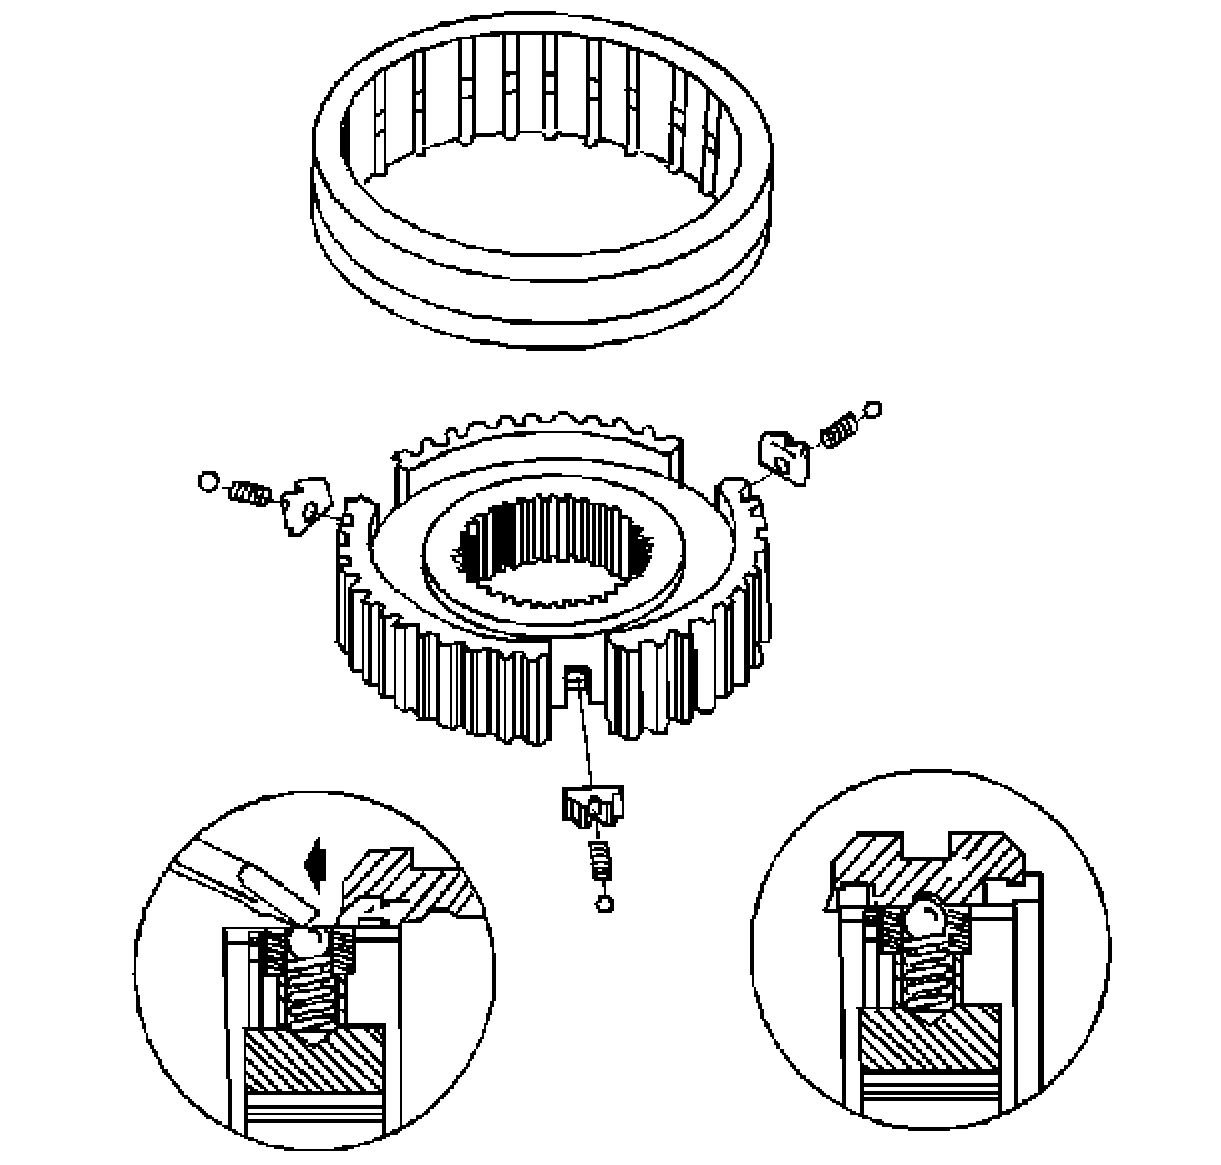
- Assemble the spring and the key.
- Install the spiral lock ring (5th speed/reverse gear only).


| 3.1. | Install the spring and key assembly into the hub. |
| 3.2. | Position the assembly as shown in view A. |
| 3.3. | Install one ball at a time. |
| • | Push the ball into the sleeve. Use a screwdriver. |
| • | Push the sleeve down just enough to retain the ball. |
| • | Slide the sleeve up just enough to install each of the remaining two balls. |
| 3.4. | Install the synchronizer rings. Align the synchronizer ring tangs with the keys. |
| 3.5. | Center the hub, the keys, and the balls. |
| • | Push on the synchronizer rings. |
| • | The balls will click into position. |

Synchronizers Assemble NV3500 RWD
Synchronizer Assembly
- Assemble the sleeve and the hub.
- Remove the spiral lock ring for easier assembly (5th speed/reverse gear only).
- Assemble the spring and the key.
- Install the spiral lock ring (5th speed/reverse gear only).

Check the scribe marks for correct positions.


| 3.1. | Install the spring and key assembly into the hub. |
| 3.2. | Position the assembly as shown in view A. |
| 3.3. | Install one ball at a time. |
| 3.3.1. | Push the ball into the sleeve. Use a screwdriver. |
| 3.3.2. | Push the sleeve down just enough to retain the ball. |
| 3.3.3. | Slide the sleeve up just enough to install each of the remaining two balls. |
| 3.4. | Install the synchronizer rings. The synchronizer ring tangs must line up with the keys. |
| 3.5. | Center the hub, the keys, and the balls. |
| 3.5.1. | Push on the synchronizer rings. |
| 3.5.2. | The balls click into position. |

