Tools Required
| • | J 45380 Transfer
Case Rear Bushing Remover and Installer |
Removal Procedure

- Raise and suitably support
the vehicle. Refer to
Lifting and Jacking the Vehicle
in General Information.
- Remove the transfer case shield from the cross member (if equipped).
Refer to
Transfer Case Shield Replacement
.
- Remove the rear propeller shaft.
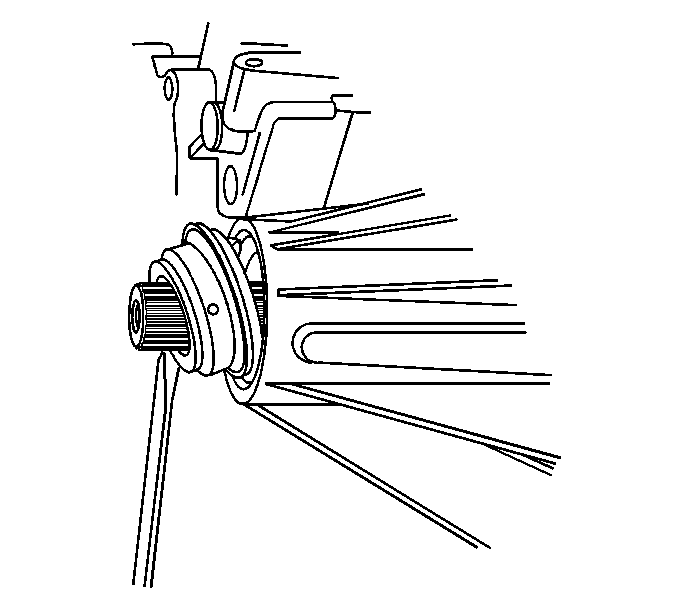
- Remove the rear output shaft seal from the transfer case.

- Inspect the rear output
shaft bushing for scoring or wear.
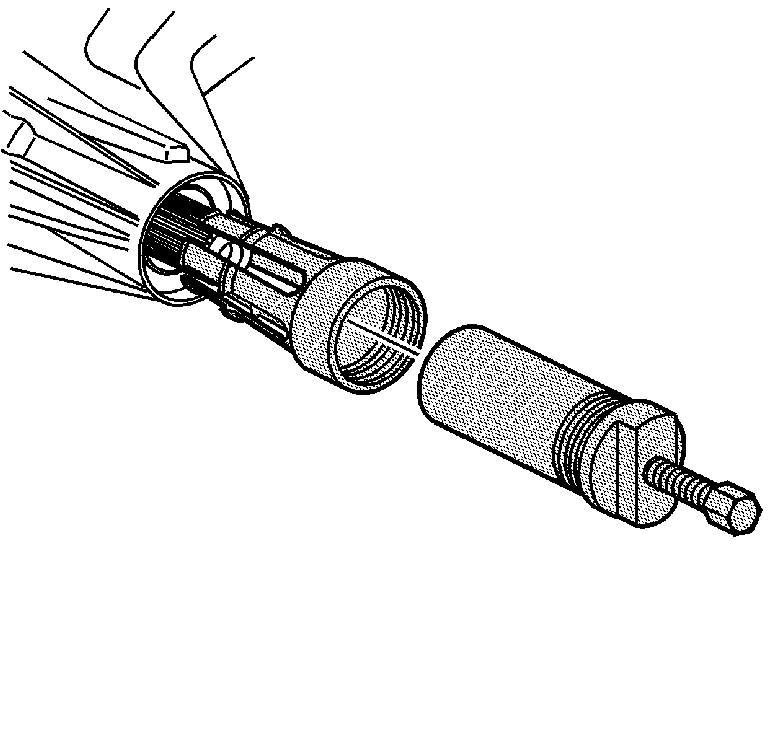
- Remove the rear output shaft bushing if required, using the J 45380
.
| • | Install the finger section of the J 45380
in front of the bushing. |
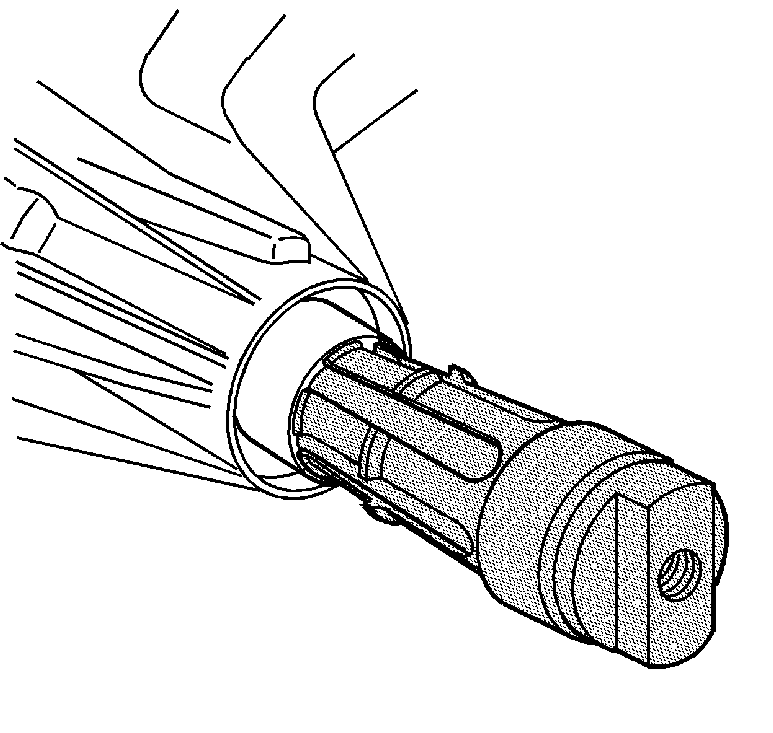
| • | Install the tube and forcing screw to the finger section. Ensure
the forcing screw is backed out. |
| • | Using a wrench on the forcing screw, remove the rear output shaft
bushing. |
Installation Procedure

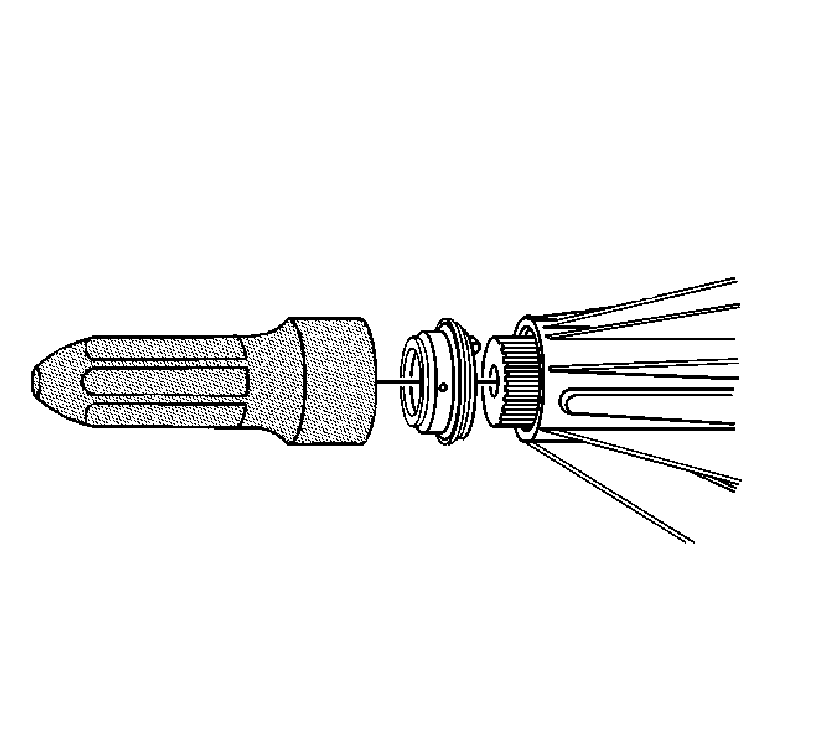
- Install a NEW rear output
shaft bushing, if required, using the J 45380
.
| • | Install the bushing or the finger section of the J 45380
. |
| • | Install the finger section to the main body of the J 45380
. |
| • | Position the bushing and tool to the case. |
| • | Using a hammer and the J 45380
, install the bushing. |

- Position the rear output
shaft seal in the transfer case.
- Using the J 37668-A
, install the front output shaft in the transfer case.
- Install the rear propeller shaft.
- Check the fluid level. Refer to
Transfer Case Fluid Replacement
.
- Install the transfer case shield to the cross member. Refer to
Transfer Case Shield Replacement
.
- Lower the vehicle.


