Removal Procedure
Important: The cab replacement procedure will vary depending upon the optional equipment on the vehicle.
- Tag all of the following components during removal in order to ensure correct installation:
- Block the wheels.
- Roll down the windows.
- Disconnect the negative battery cable. Refer to
Battery Negative Cable Disconnection and Connection
.
- Remove the hood. Refer to
Hood Layer Removal
.
- Remove the wheel housing panels. Refer to
Wheelhouse Panel Replacement
.
- Remove the radiator support braces and the bolts from the brackets at the front of the cab.
- Remove the underhood fuse block cover and 2 bolts. Refer to
Instrument Panel Carrier Replacement
.
- Remove the battery cable from the underhood fuse block. Refer to
Battery Negative Cable Disconnection and Connection
.
- Remove the vehicle control module (VCM) wiring harness at the right of the front of the cowl in the engine compartment:
| 10.1. | Disconnect the wiring harness from the VCM behind the instrument panel (I/P) storage compartment. |
| 10.3. | Push the harness through the grommet in the cowl. |
- Remove the starter relay connector at the lower right side of the cowl.
- Remove the air conditioning lines. Refer to
Air Conditioning Evaporator Tube Replacement - Inlet
and to
Air Conditioning Evaporator Tube Replacement - Outlet
.
- Remove the heater hoses at the cowl. Refer to the following procedures:
- Remove the radio antenna. Refer to
Fixed Antenna Mast Replacement
.
- If you are replacing the cab, remove the outer hood seal above the bumper bracket. Refer to
Hood Rear Seal Replacement
.

- Remove the steering column bolt at the steering gear.
- Remove the power steering lines. Refer to
Power Steering Fluid Reservoir Inlet Hose Replacement
and
Power Steering Fluid Reservoir Outlet Hose Replacement
.
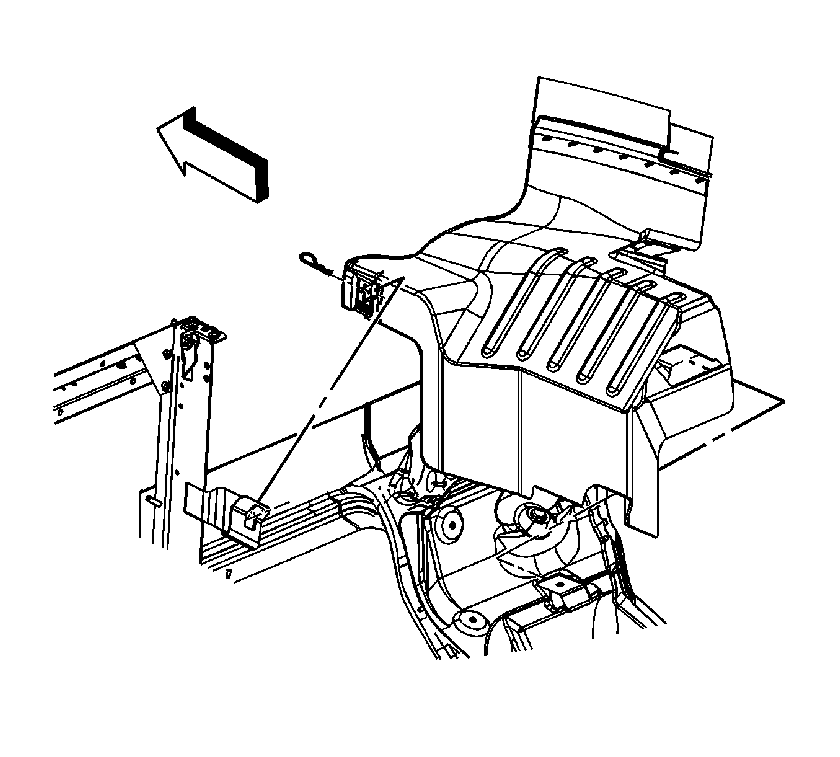
- Remove the lower wiring harness from the bulkhead connector at the left side of the cowl in the engine compartment:
| 18.1. | Remove the 2 bolts at the connector in the engine compartment. |
| 18.2. | Disconnect the wiring connectors in the cab. |
| 18.3. | Push the harness into the engine compartment. |
- If the vehicle has a manual transmission, perform the following steps:
| 19.2. | Remove the shift lever at the top of the transmission. |
| 19.2.1. | Remove the cotter pin at the end of the pin. |
| 19.3. | Shift the cable linkage at the transmission. |
| 19.4. | Remove the shift tower from the floor of the cab, with the following procedure: |
| 19.4.1. | Remove the 4 bolts holding the tower to the floor. |
| 19.4.2. | Trace the electrical wire from the base of the tower to the connector behind the heater. |
| 19.4.3. | Disconnect the connector. |
| 19.4.4. | Lift the wire from under the floor mat. |
- If the vehicle has air brakes, perform the following steps. Refer to
Tractor Air Brake Park Control Valve Replacement
:
| 20.1. | Number the vacuum lines at the brake application valve. |
| 20.2. | Remove the air lines at the cowl, with the following procedure: |
| 20.2.1. | Use a wrench in order to grasp each line. |
| 20.2.2. | Push in the line. |
| 20.2.3. | Push the wrench against the collar on the connector in order to release the line. |
- If the vehicle has hydraulic brakes, perform the following procedure in order to remove the power assist unit. Refer to
Power Brake Booster Replacement
:
| 21.1. | On the engine compartment side, remove the 2 nuts at the top of the unit. |
| 21.2. | From inside the cab, remove the 2 bolts at the bottom of the unit holding the unit to the cowl. |
| 21.3. | Disconnect the 4 wiring connectors at the unit. |
- If the vehicle has an air seat, remove the air seat supply line to the storage cylinder inside the frame rail and behind the cab. Refer to
Air Suspension Seat Replacement
.
- Remove the air horn from the roof. Refer to
Air Horn Replacement
.
- Remove the fuel vapor canister line in the component box under the left side of the cab. Refer to
Evaporative Emission Hoses/Pipes Replacement - Canister/Fuel Tank
for the 8.1L engine.
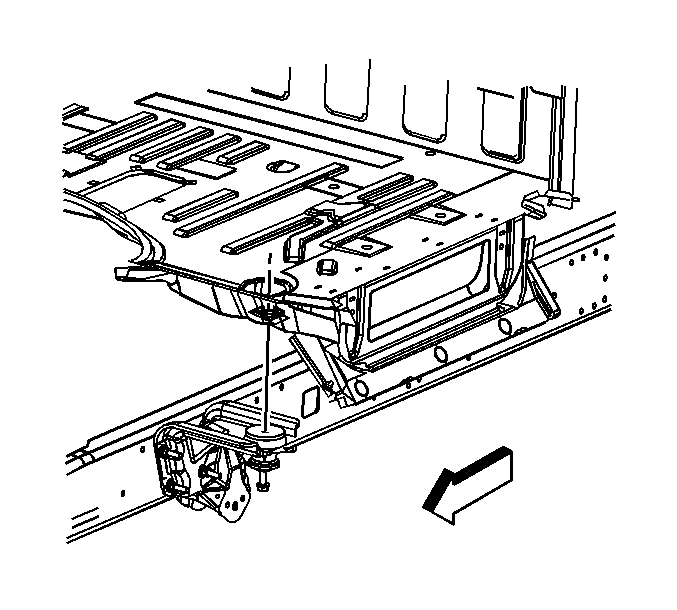
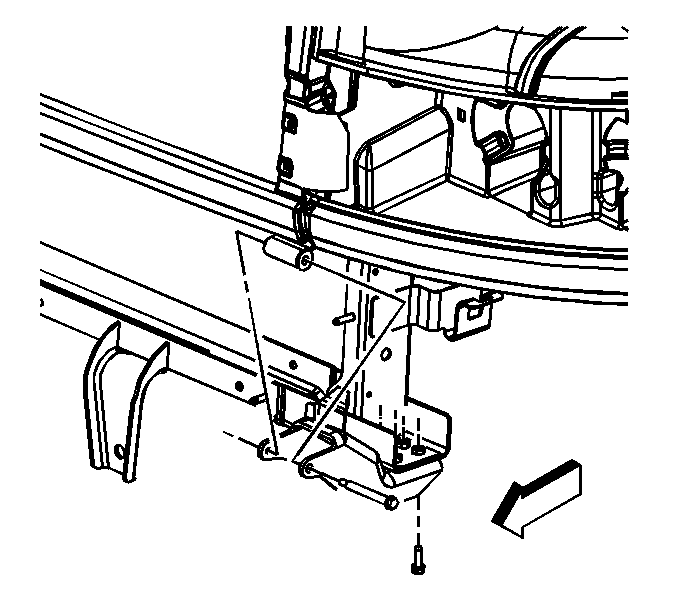
- Remove the nut and the washer at the bottom of each front cab mount from under the bracket on the side rail.
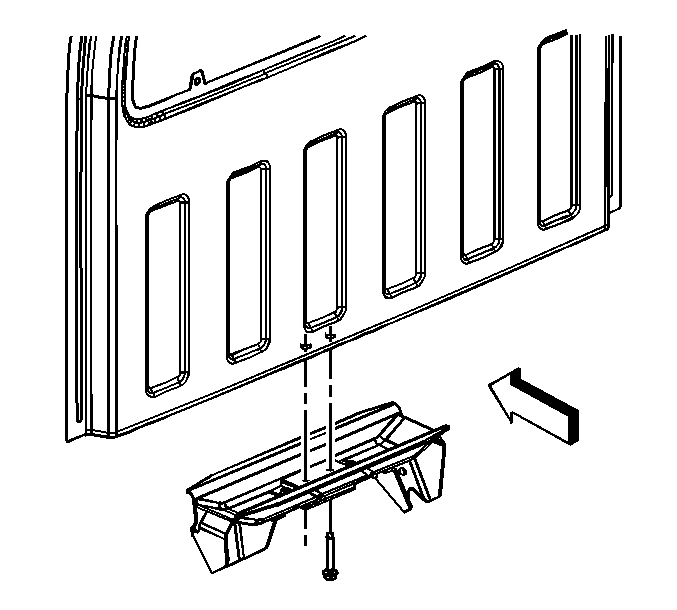
- Remove the 6 bolts holding the support bracket at the rear of the cab to the rear crossmember.
Remove the nuts from under the crossmember.

- Remove the cab from the chassis using the lifting straps:
| | Important: Remember the trimmed cab weighs about 454 kg (1,000 lb).
|
| 27.1. | Use 4 commercial lifting straps. Ensure that the straps are 152 mm (6 in) wide and 3 m (10 ft) long. |
| 27.2. | Wrap one strap around each of the hood bumper brackets at the front of the cab. |
| | Notice: When the cab is being removed, ensure that the lifting straps are not
wrapped around the door frames. Otherwise, damage to the window
channels may occur.
|
| 27.3. | Pass one strap into the cab through the door on each side at the top rear of the window openings. |
| 27.4. | Connect the 2 straps together in the center. |
- Walk around the cab in order to ensure that all components are disconnected from the chassis.
- Slowly raise the cab.
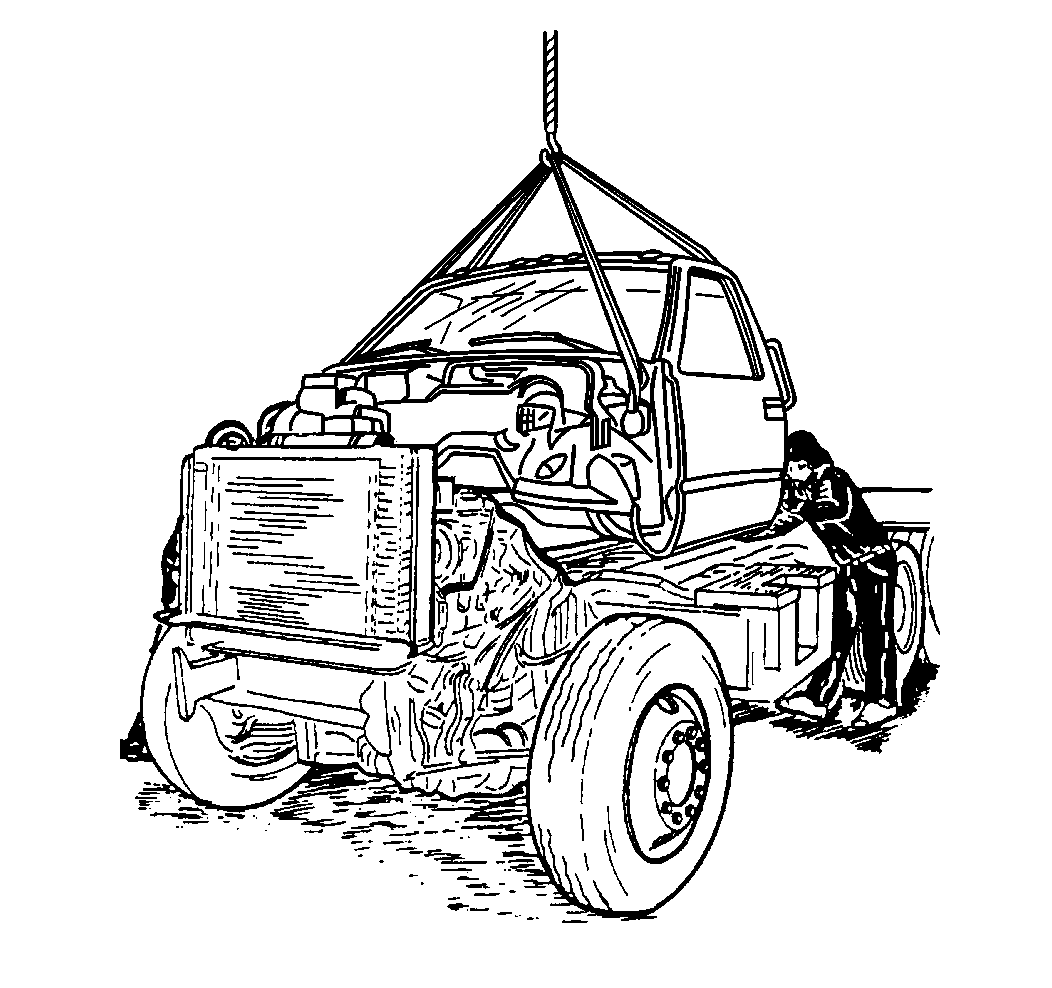
- With the aid of an assistant, guide the cab while the cab is lifting.
Installation Procedure
- Block the chassis wheels.
- Use the following procedure in order to install the cab onto the chassis.
| 2.1. | Use the following procedure in order to attach the lifting straps to the cab: |
| | Important: Remember that the trimmed cab weighs about 454 kg (1,000 lb).
|
| 2.1.1. | Use 4 commercial lifting straps. ensure that the straps are 152 mm (6 in) wide and 3 m (10 ft) long. |
| 2.1.2. | Wrap one strap around each of the hood bumper brackets at the front of the cab. |
| | Notice: When the cab is being removed, ensure that the lifting straps are not
wrapped around the door frames. Otherwise, damage to the window
channels may occur.
|
| 2.1.3. | Pass one strap into the cab through the door on each side at the top rear of the window openings. |
| 2.1.4. | Connect the 2 straps together i the center. |
| 2.2. | Guide the long bolts in the cab floor through the cab mounts. |
Notice: Refer to Fastener Notice in the Preface section.
- Install the washer and the nut to each front cab mount bolt from under the bracket on the frame rail.
Tighten
Tighten the nut to 76 N·m (56 lb ft)
- Install the 4 nuts and bolts to the rear cab mounting bracket attaching the cab to the frame crossmember.
Tighten
Tighten the nuts to 70 N·m (52 lb ft).
- Install the air horn onto the roof. Refer to
Air Horn Replacement
.
- If the vehicle has hydraulic brakes, use the following procedure in order to install the power assist unit, and refer to
Power Brake Booster Replacement
:
| 6.1. | Use the 2 nuts in order to finger-tighten the power assist unit to the 2 studs on the cowl. |
| 6.2. | Install the 2 nuts finger tight through the base of the unit from within the cab. |
| 6.3. | Connect the wiring connectors. |
Tighten
Tighten the brake assist unit nuts to 28 N·m (21 lb ft).
- If the vehicle has air brakes, install the air lines at the brake application valve. Push each line into the fitting. Refer to
Air Brake Application Valve Replacement
.
- If the vehicle has an automatic transmission, use the following procedure in order to install the shift tower to the cab floor:
| 8.1. | Run the electrical line under the floor mat. |
| 8.2. | Connect the electrical line behind the heater. |
| 8.3. | Use the 4 bolts in order to install the shift tower to the floor. |
Tighten
Tighten the bolts to 6 N·m (53 lb in).
- If the vehicle has a manual transmission, use the following procedure in order to install the shift linkage:
| 9.1. | Install the transmission cable linkage to the side of the transmission. |
| 9.2. | Use the cotter pin in order to install the shift lever to the top of the transmission. |
- If the vehicle has a diesel engine, install the throttle control valve.
- Pass the wiring harness through the lower bulkhead pass-through at the left side of the cowl.
- Use the 2 bolts in order to attach the harness. Connect the wiring.
- Install the steering column bolt at the steering gear.
Tighten
Tighten the bolt to 62 N·m (46 ft lb).
- Install the power steering lines. refer to
Power Steering Fluid Reservoir Inlet Hose Replacement
and to
Power Steering Fluid Reservoir Outlet Hose Replacement
.
- If the vehicle has an air seat, install the air seat supply line to the storage cylinder behind the cab at the left frame rail. Refer to
Air Suspension Seat Description
.
- Install the fuel vapor canister lines to the component box below the left side of the cab. Refer to
Evaporative Emission Hoses/Pipes Replacement - Canister/Fuel Tank
for the 8.1L engine.
- Install the radio antenna. Refer to
Fixed Antenna Mast Replacement
.
- Install the outer hood seal. Refer to
Hood Rear Seal Replacement
.
- Install the heater hoses to the heater core tubes. Refer to the following procedures:
- Install the air conditioning lines. Refer to
Air Conditioning Evaporator Tube Replacement - Inlet
and to
Air Conditioning Evaporator Tube Replacement - Outlet
.
- Install the VCM wiring harness to the right side of the cowl in the engine compartment:
| 21.1. | Push the harness through the grommet in the cowl. |
| 21.2. | Use a screw in order to attach the wiring harness. |
| 21.3. | Route the harness to the VCM behind the instrument panel compartment. |
| 21.4. | Connect the 2 connectors to the I/P wiring harness near the VCM. |
- Connect the battery cable to the underhood fuse block. Refer to
Battery Negative Cable Disconnection and Connection
.
- Use the 2 bolts in order to install the junction block cover.
- Connect the negative battery cable. Refer to
Battery Negative Cable Disconnection and Connection
.
- Install the following components to the brackets at the front of the cab:
| • | The radiator support braces |
- Install the inner fender. Refer to
Wheelhouse Panel Replacement
.
- Install the clip retaining the front of the fender to the radiator support bracket. Refer to
Wheelhouse Panel Replacement
.
- Install the hood. Refer to
Hood Layer Installation
.
- Before starting the engine, inspect the following components for secure connections:
| • | The starter motor wires |
- Start the engine.
- Inspect all connections and linkage.
