For 1990-2009 cars only
Tools Required
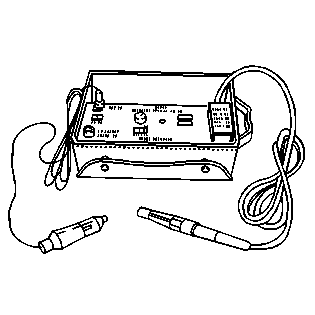
J 39400-A Halogen Leak Detector
Removal Procedure
- Recover the refrigerant. Refer to Refrigerant Recovery and Recharging .
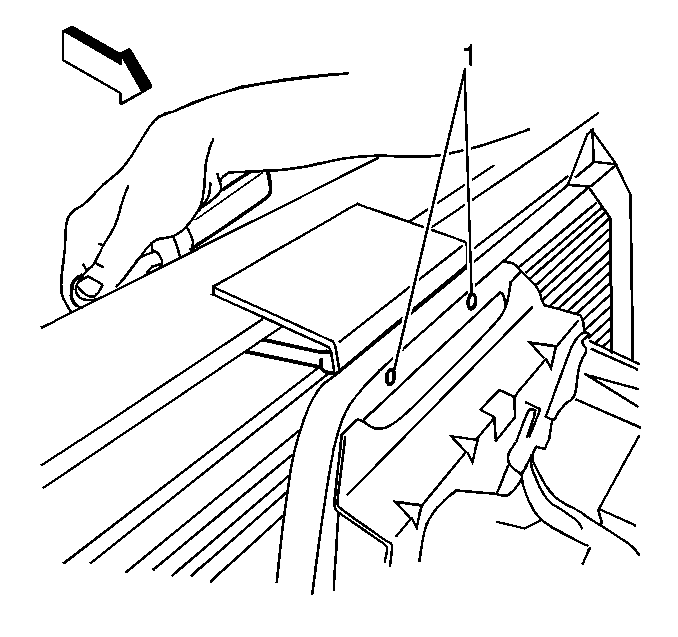
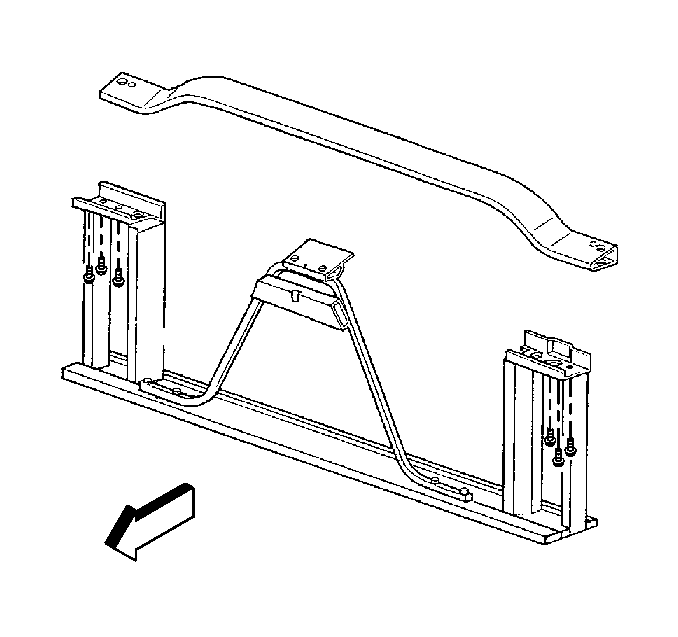
- Remove upper tie bar bolts (1). Access the bolts from the rear of the upper radiator support. Refer to Front End Upper Tie Bar Replacement .
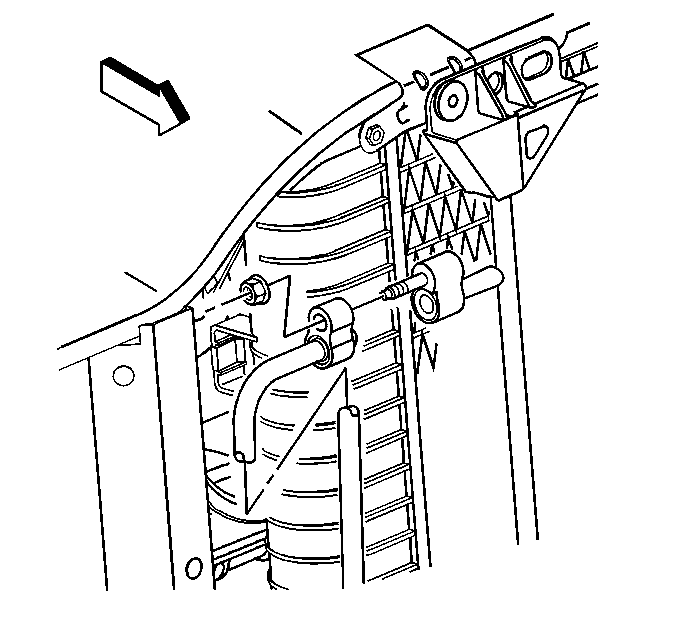
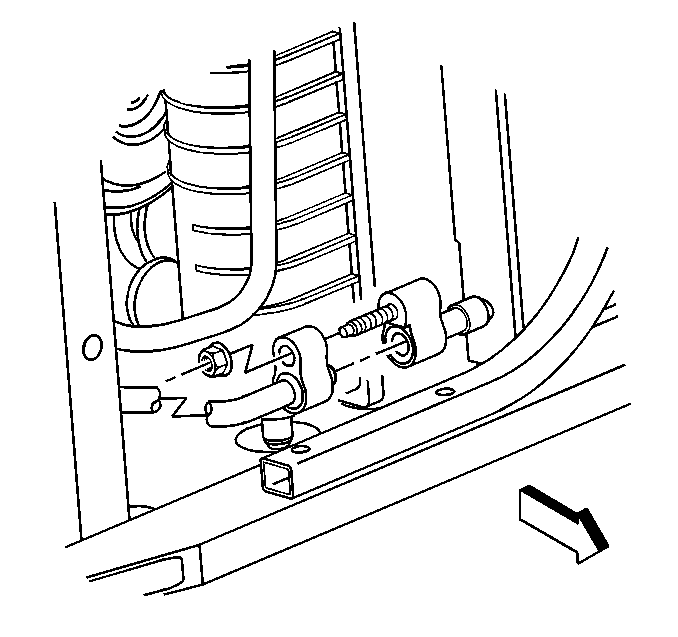
- Remove the compressor discharge hose assembly bolt from the condenser.
- Disconnect the compressor discharge hose assembly from the condenser.
- Remove the evaporator tube nut from the condenser.
- Disconnect the evaporator tube from the condenser.
- Remove the insulator retainer bolts and the upper insulator retainers.
- Remove the condenser from the vehicle.
Installation Procedure
- Install the condenser to the vehicle.
- Install the upper insulator retainers and the insulator retainer bolts.
- Connect the evaporator tube to the condenser using new sealing washers. Refer to Sealing Washer Replacement .
- Install the evaporator tube nut to the condenser.
- Connect the compressor discharge hose to the condenser using new sealing washers. Refer to Sealing Washer Replacement .
- Install the compressor discharge hose nut to the condenser.
- Install the lower bolts to the hood latch support bracket.
- Install the tie bar to radiator brace bolts (1). Access the bolts from the rear of the upper radiator support. Refer to Front End Upper Tie Bar Replacement .
- Evacuate and recharge the system. Refer to Refrigerant Recovery and Recharging .
- Leak test the fittings of the component using the J 39400-A .
Important: If replacing the condenser, add the refrigerant oil to the condenser. Refer to Refrigerant System Capacities for system capacity information.
Notice: Refer to Fastener Notice in the Preface section.
Tighten
Tighten the bolts to 2.4 N·m (21 lb in).
Tighten
Tighten the nut to 16 N·m (12 lb ft).
Tighten
Tighten the nut to 16 N·m (12 lb ft).
Tighten
Tighten the bolts to 9 N·m (80 lb in).
Tighten
Tighten the bolts to 9 N·m (80 lb in).
