
- If RWD vehicle, remove
the main shaft bearing retainer.
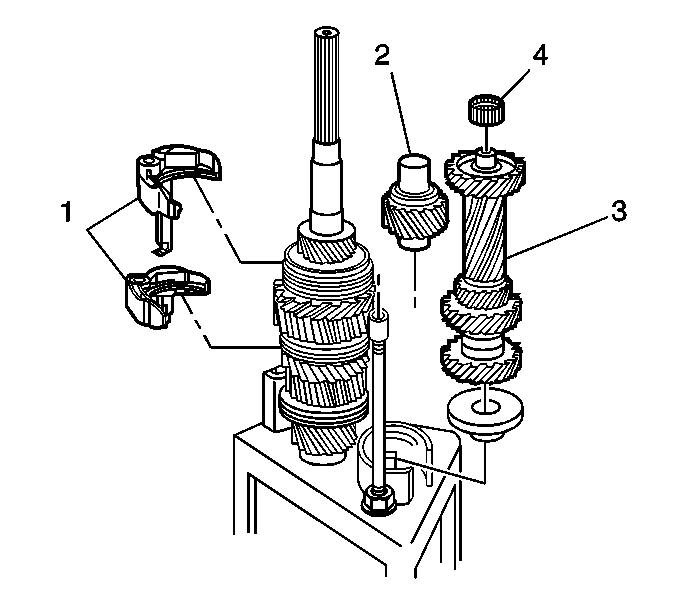
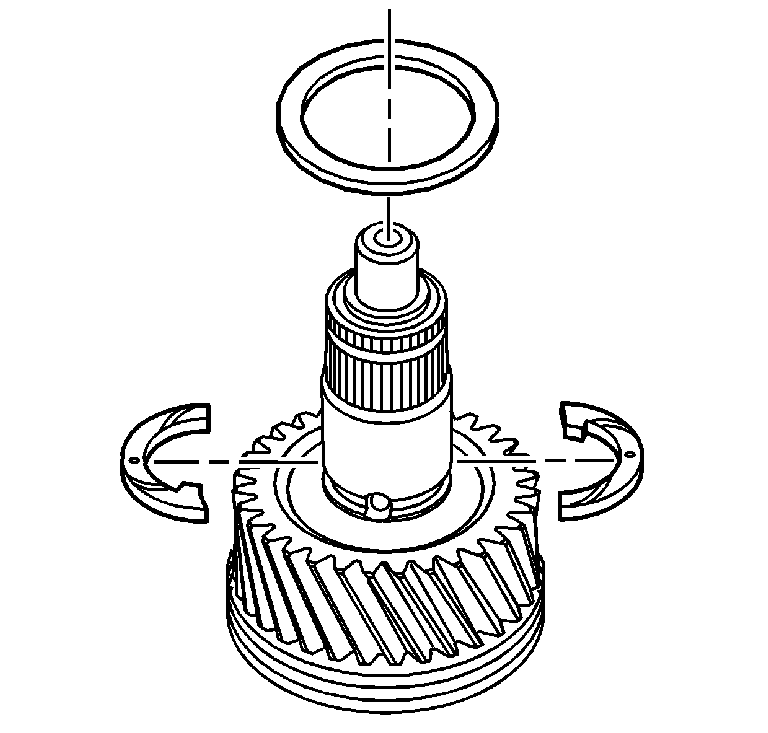
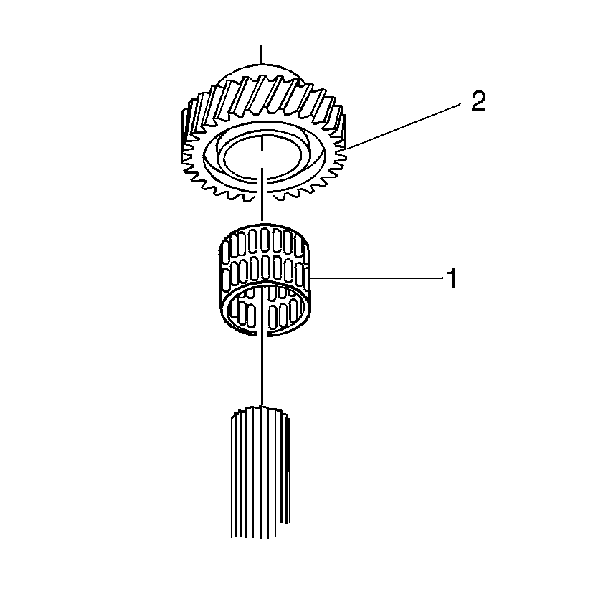
- Remove the following components
from the mainshaft assembly:
| • | The reverse idler gear (2) |
| • | The countershaft rear bearing (4) |
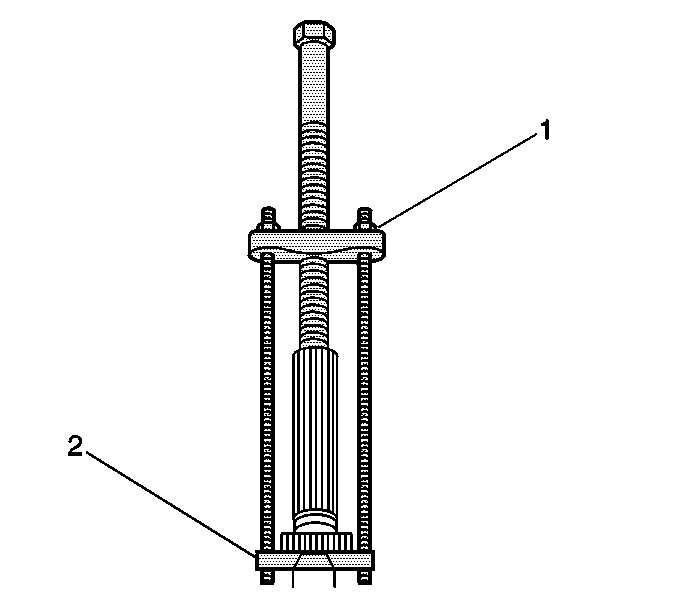
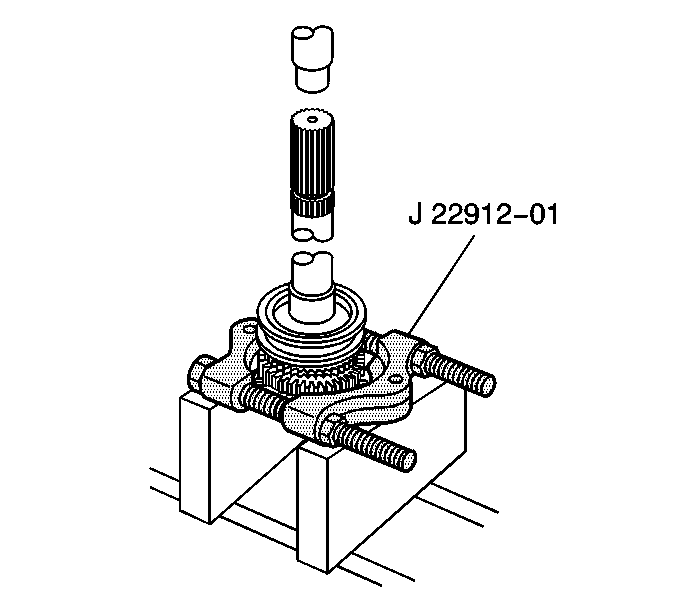
- If RWD vehicle, using
the J 21427-A
(2)
and the J 24420-C
(1),
remove the speed sensor reluctor wheel from the rear of the main shaft.
Do not reuse the reluctor wheel after removal.
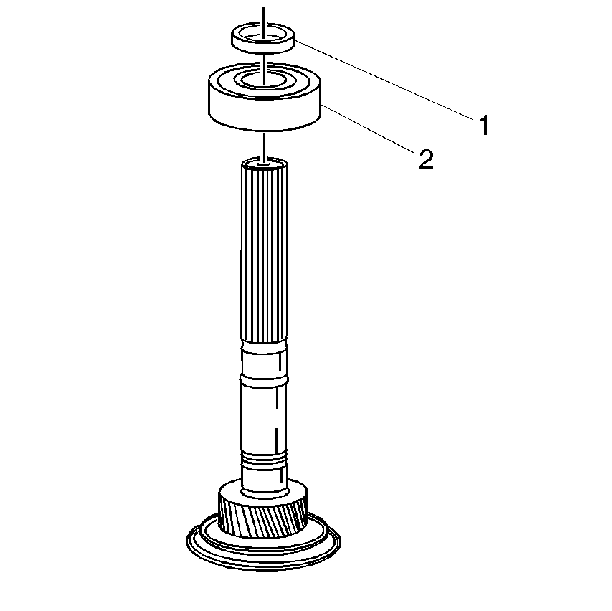
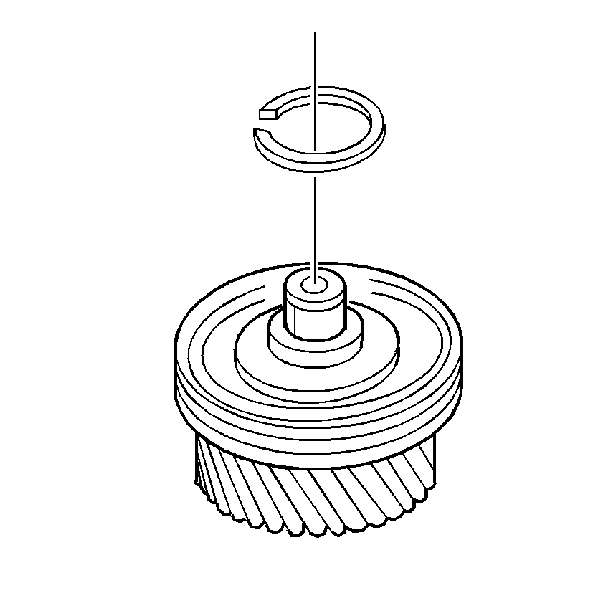
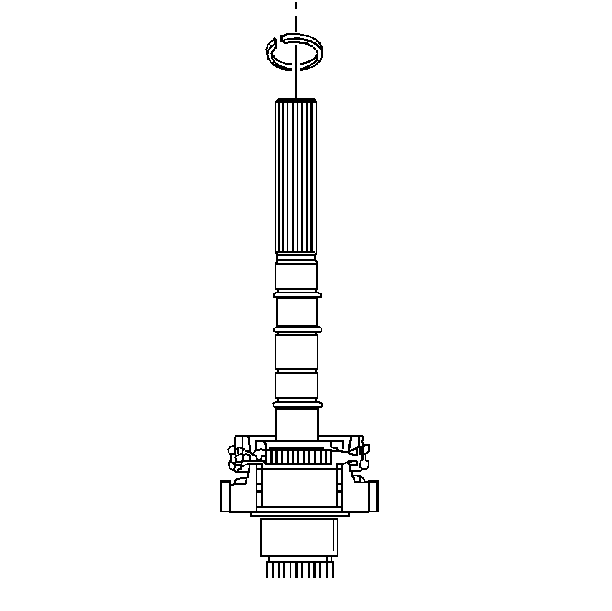
- If RWD vehicle, remove
the mainshaft rear bearing retaining ring (1) and the mainshaft rear
bearing (2).
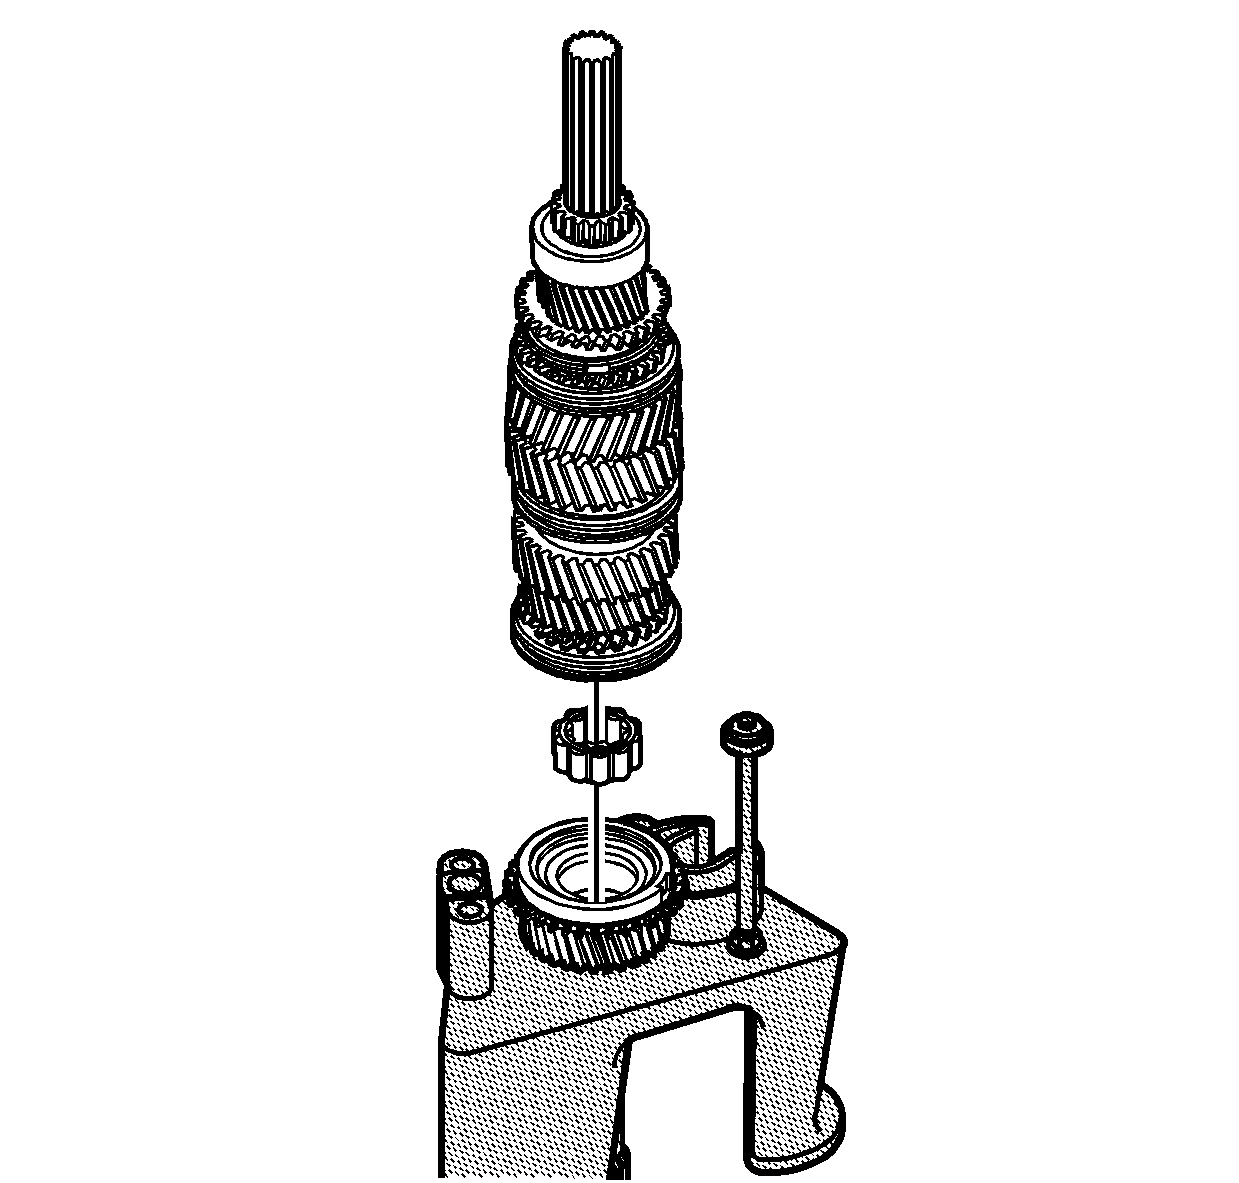
- Remove the mainshaft assembly
from the input shaft.
Important: Leave the synchronizer ring on the 3rd/4th synchronizer assembly to
prevent the synchronizer detent balls from popping out.
- Remove the 4th gear synchronizer blocking ring and put on the 4th gear
synchronizer assembly.
- Remove the main shaft front bearing from the input shaft.
- Remove the 3rd/4th gear synchronizer retaining ring.
- Scribe an alignment mark
on the synchronizer hub and the synchronizer sleeve in order to properly
reassemble the synchronizer hub assembly.
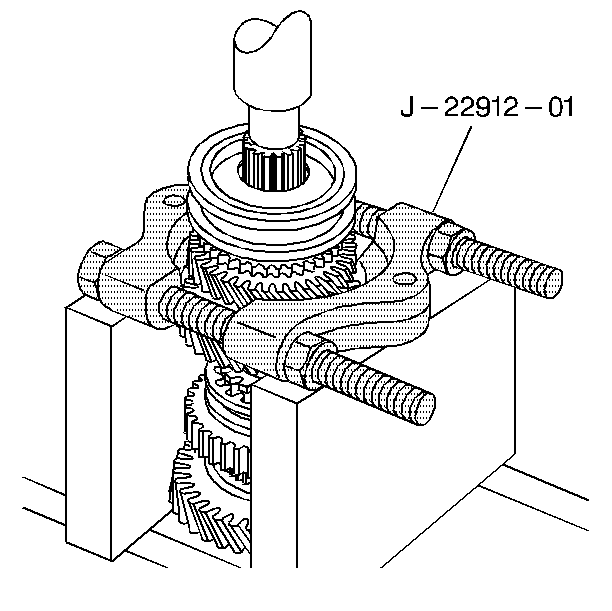
Important: When removing the synchronizer hubs use the J 22912-B
under the gear for that synchronizer and not the synchronizer
sleeve. Do not separate the synchronizer hub from the synchronizer sleeves.
Leave the synchronizer rings with the synchronize assembly to prevent the
synchronizer detent balls from popping out.
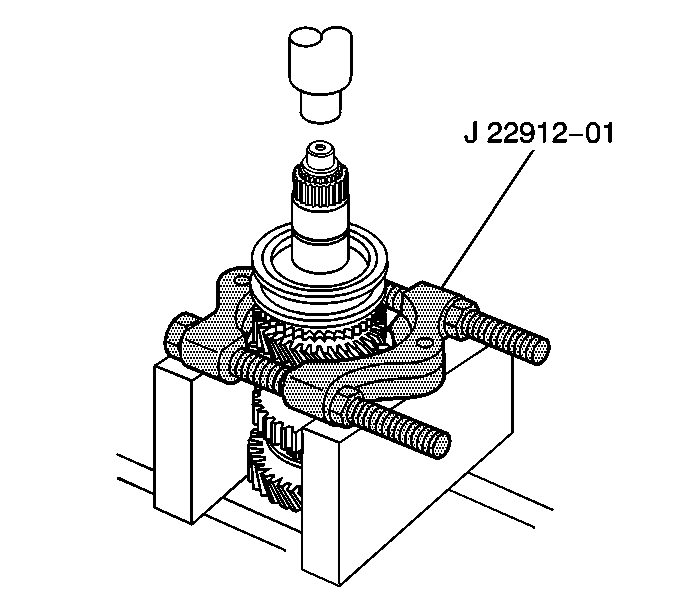
- Using a hydraulic press and the J 22912-B
remove the 3rd/4th speed gear synchronizer hub assembly,
the third speed gear and the synchronizer rings.
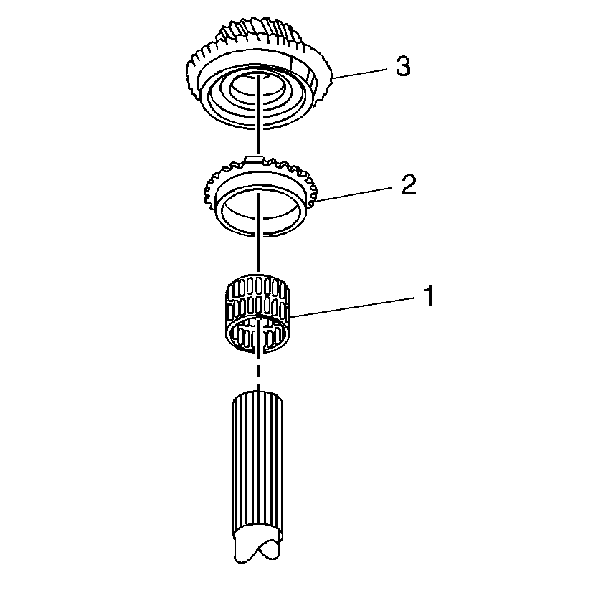
- Remove the synchronizer assembly from the third gear.
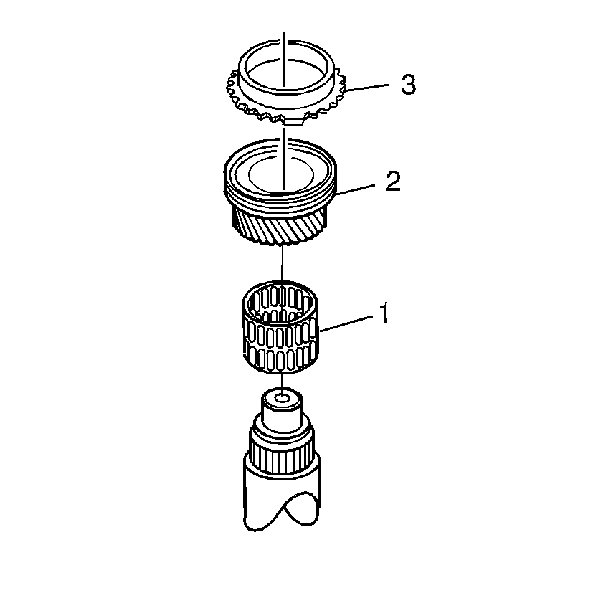
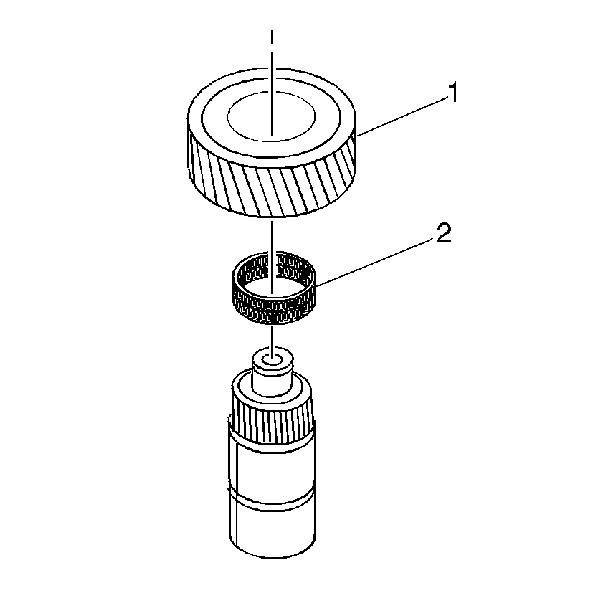
- Remove the 3rd speed gear
needle bearing assembly (1).
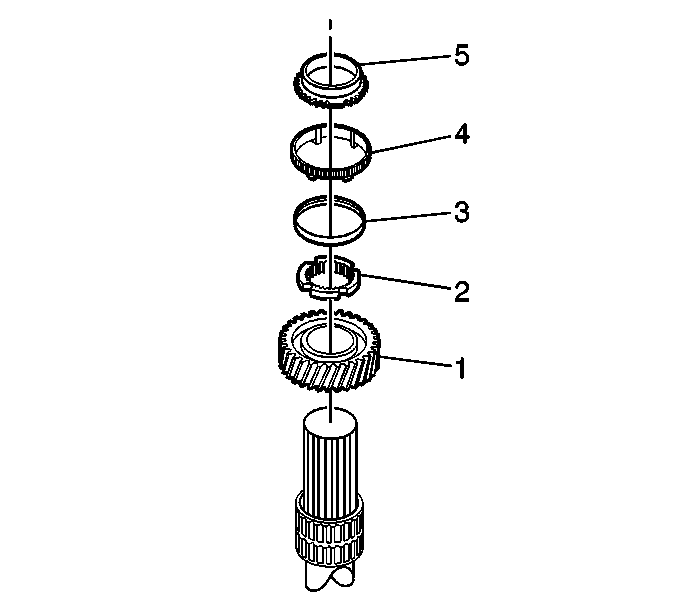
- Remove the following components:
| 13.1. | The 2nd speed gear 2 piece thrust washer |
- Remove the following components:
| 14.1. | The 2nd speed gear (1) |
| 14.2. | The 2nd speed gear needle bearing assembly (2) |
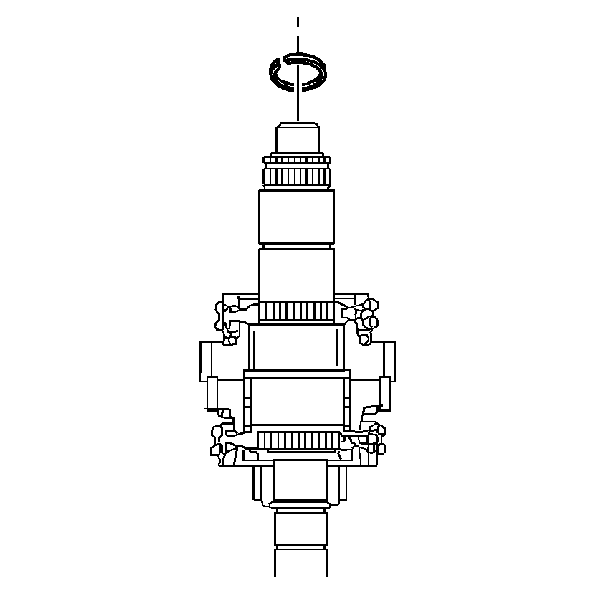
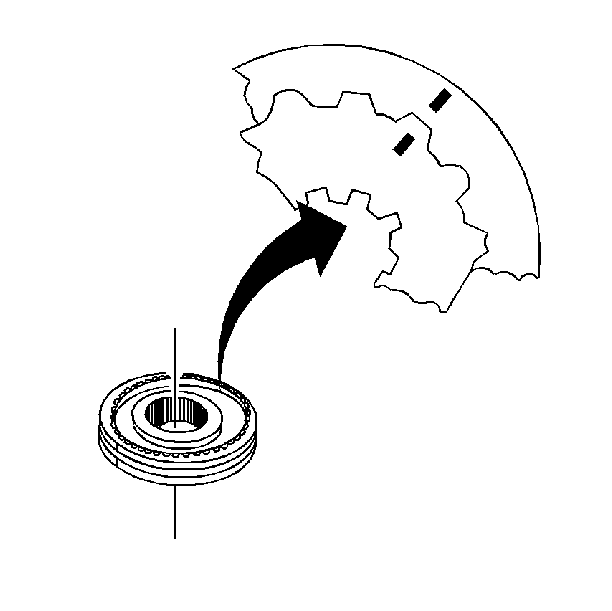
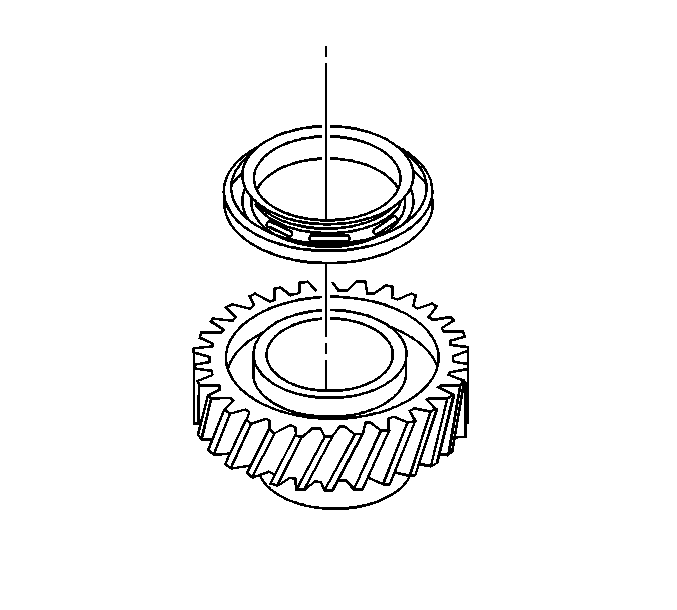
- Remove the 1st/2nd gear
synchronizer retaining ring from the main shaft.
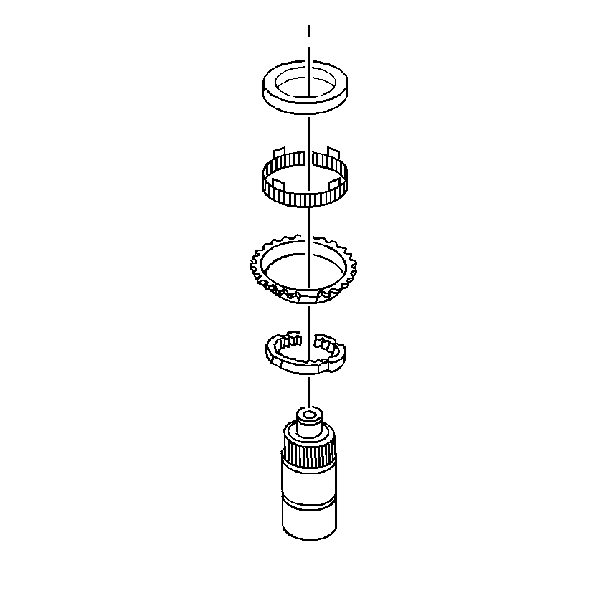
- Remove the following components
for the 2nd gear synchronizer:
| 16.1. | The synchronizer cone |
- Scribe an alignment mark
on the synchronizer hub and the synchronizer sleeve in order to properly
reassemble the synchronizer hub assembly.
Important: When removing the synchronizer hubs use the J 22912-B
under the gear for that synchronizer and not the synchronizer
sleeve. Do not separate the synchronizer hub from the synchronizer sleeves.
Leave the synchronizer rings with the synchronize assembly to prevent the
synchronizer detent balls from popping out.
- Using a hydraulic press and the J 22912-B
remove the 1st/2nd speed gear synchronizer hub and the 1st
speed gear.
- Remove the following components:
| 19.1. | The synchronizer cone (5) |
| 19.2. | The blocker ring (4) |
| 19.3. | The reactor cone (3) |
| 19.4. | The synchronizer interim ring (2) |
| 19.5. | The 1st speed gear (1) |
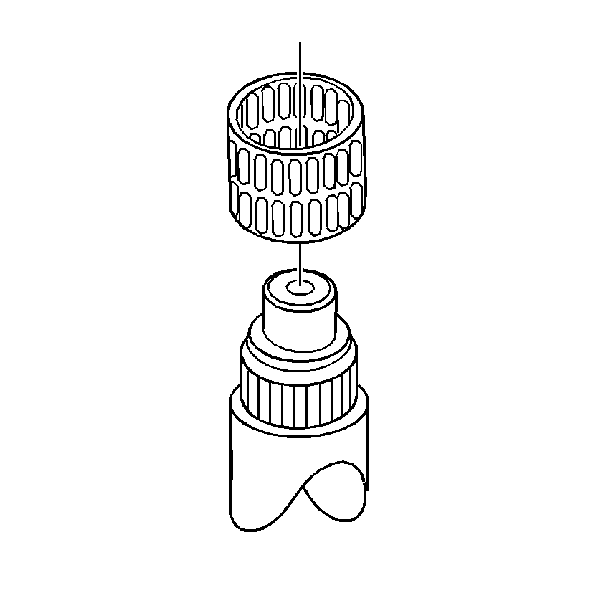
- Remove the 1st speed gear
needle bearing assembly.
- Turn the mainshaft over
to work on the output end.
- Remove the following components:
| 22.1. | The 5th speed gear (3) |
| 22.2. | The 5th speed gear needle bearing assembly (1). The needle
bearing is split in order to remove it over the collar. |
- Remove the retaining ring
for the 5th/Reverse synchronizer hub from the mainshaft.
- Scribe an alignment mark
on the synchronizer hub and the synchronizer sleeve in order to properly
reassemble the synchronizer hub assembly.
Important: When removing the synchronizer hubs use the J 22912-B
under the gear for that synchronizer and not the synchronizer
sleeve. Do not separate the synchronizer hub from the synchronizer sleeves.
Leave the synchronizer rings with the synchronize assembly to prevent the
synchronizer detent balls from popping out.
- Using a hydraulic press and the J 22912-B
remove the 5th/Reverse speed gear synchronizer assembly and
the reverse speed gear.
- Remove the reverse speed
gear needle bearing assembly (1).
- Remove the reverse speed
gear drag seal.
