For 1990-2009 cars only
Removal Procedure
- Disconnect the electrical connector from the reservoir.
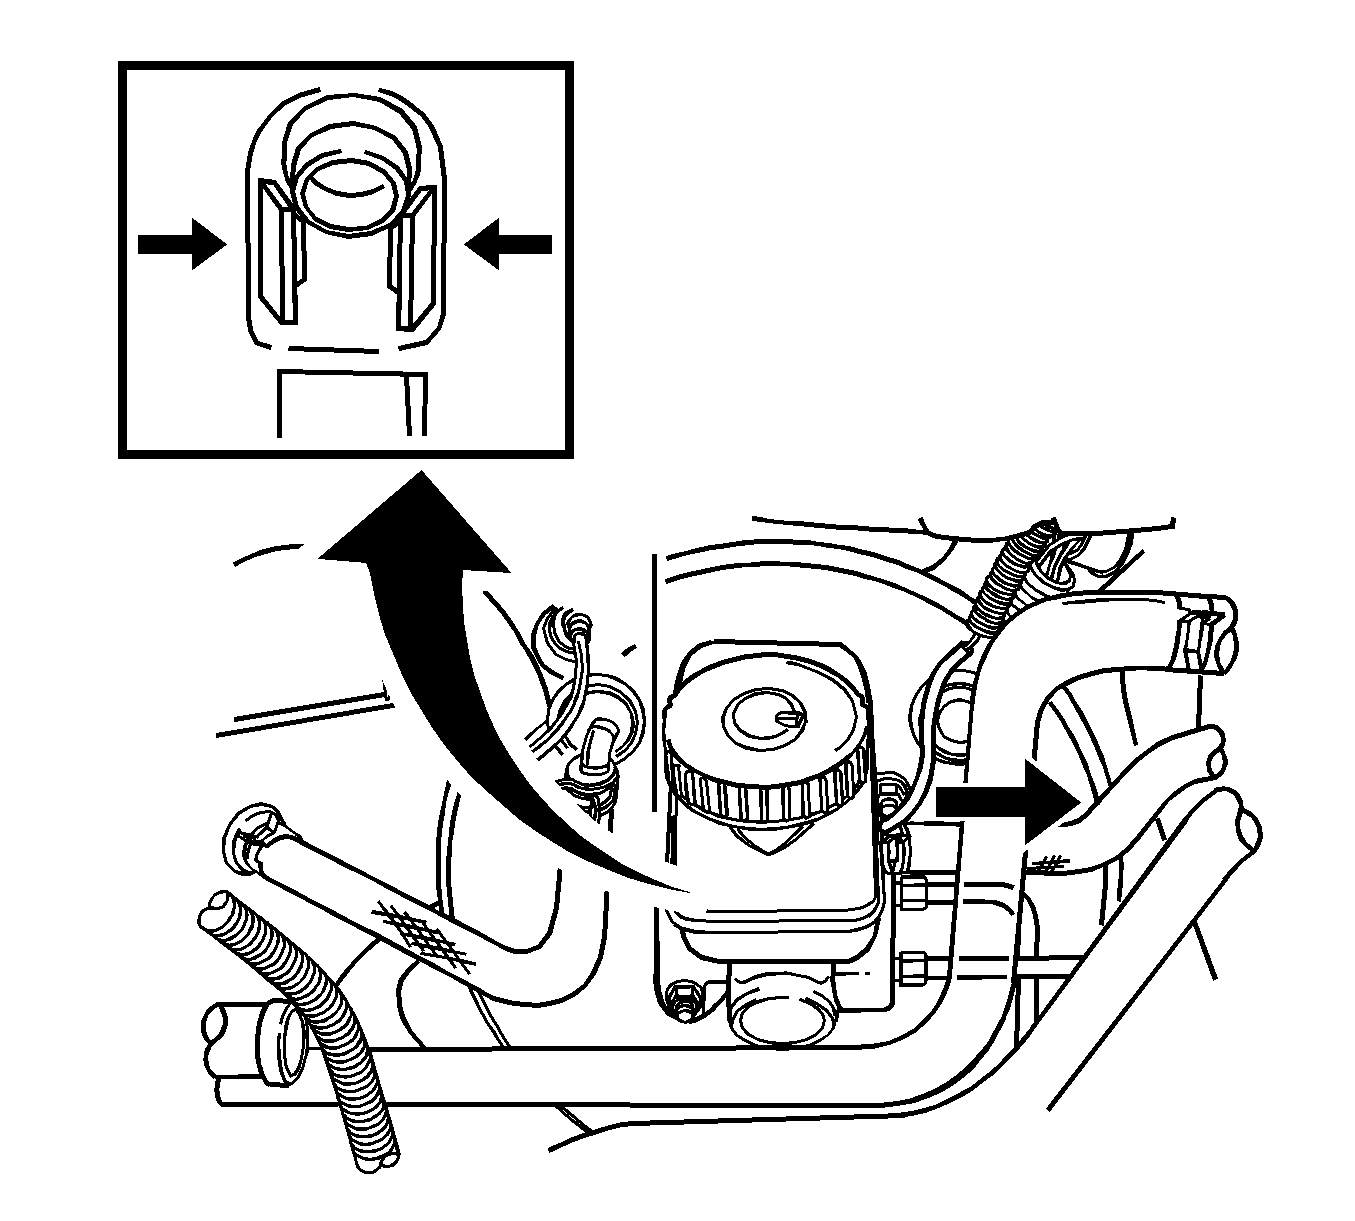
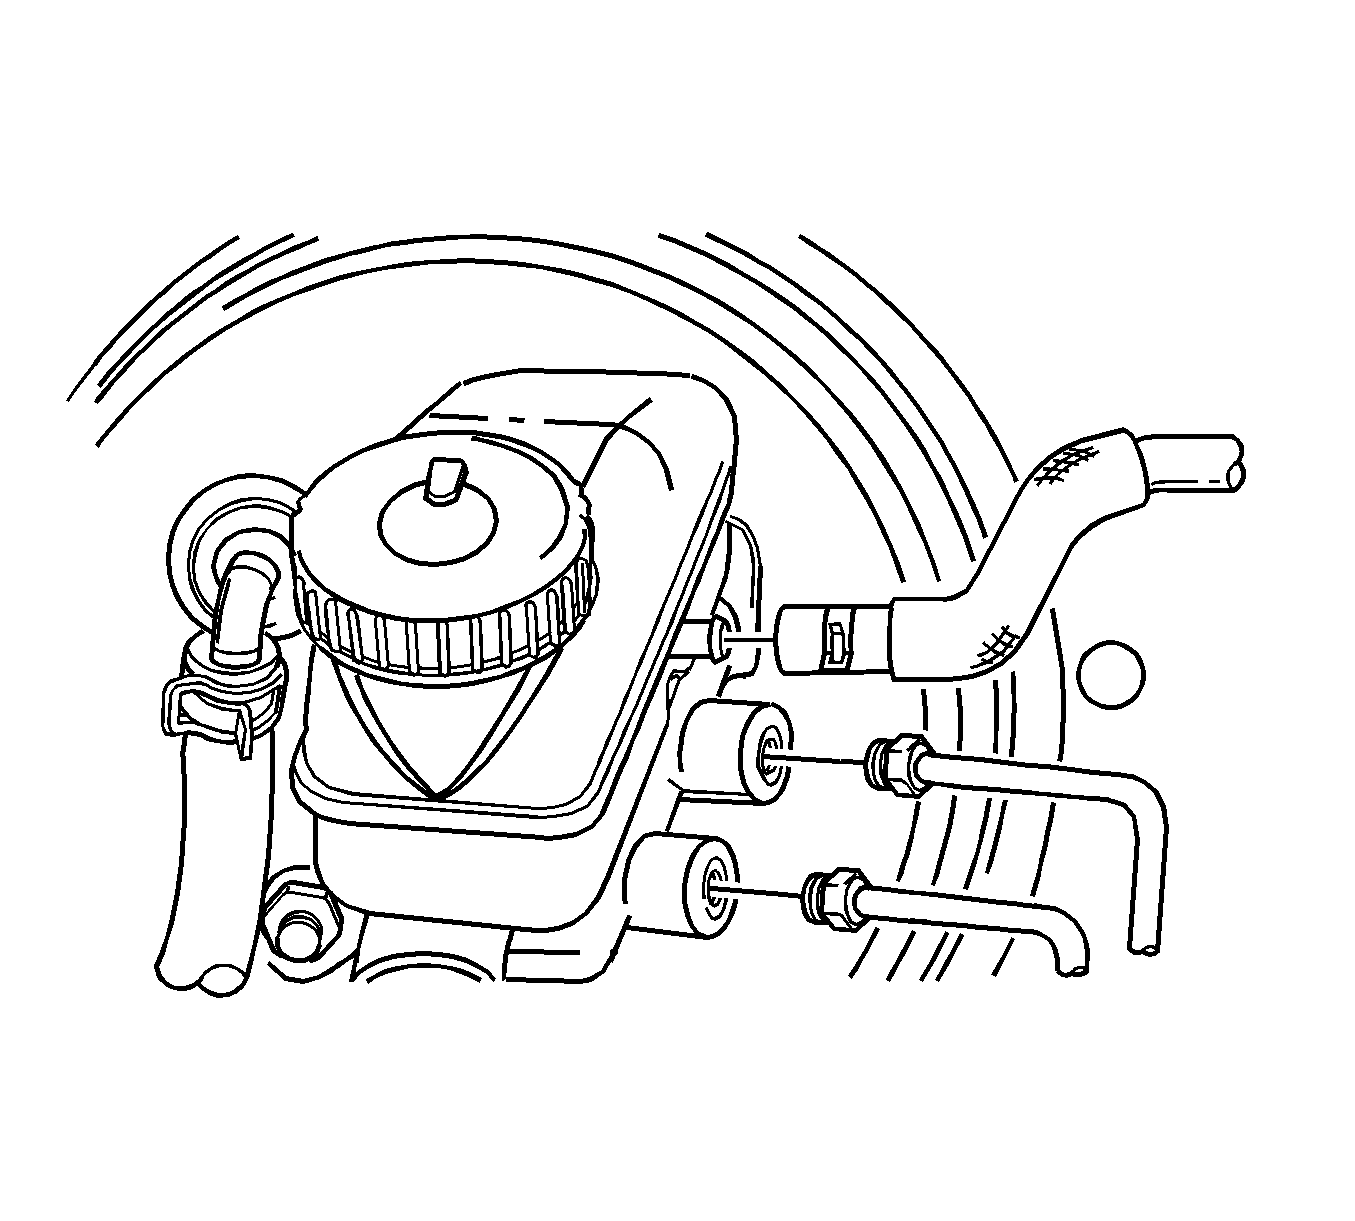
- For vehicles with the ABS braking system, disconnect the brake lines from the master cylinder body.
- For vehicles with the non-ABS braking system, disconnect the brake lines from the proportioning valves.
- For vehicles with the manual transaxle, disconnect the clip to the clutch hose connection at the master cylinder.
- Plug the opening to the brake lines to prevent fluid loss and contamination.
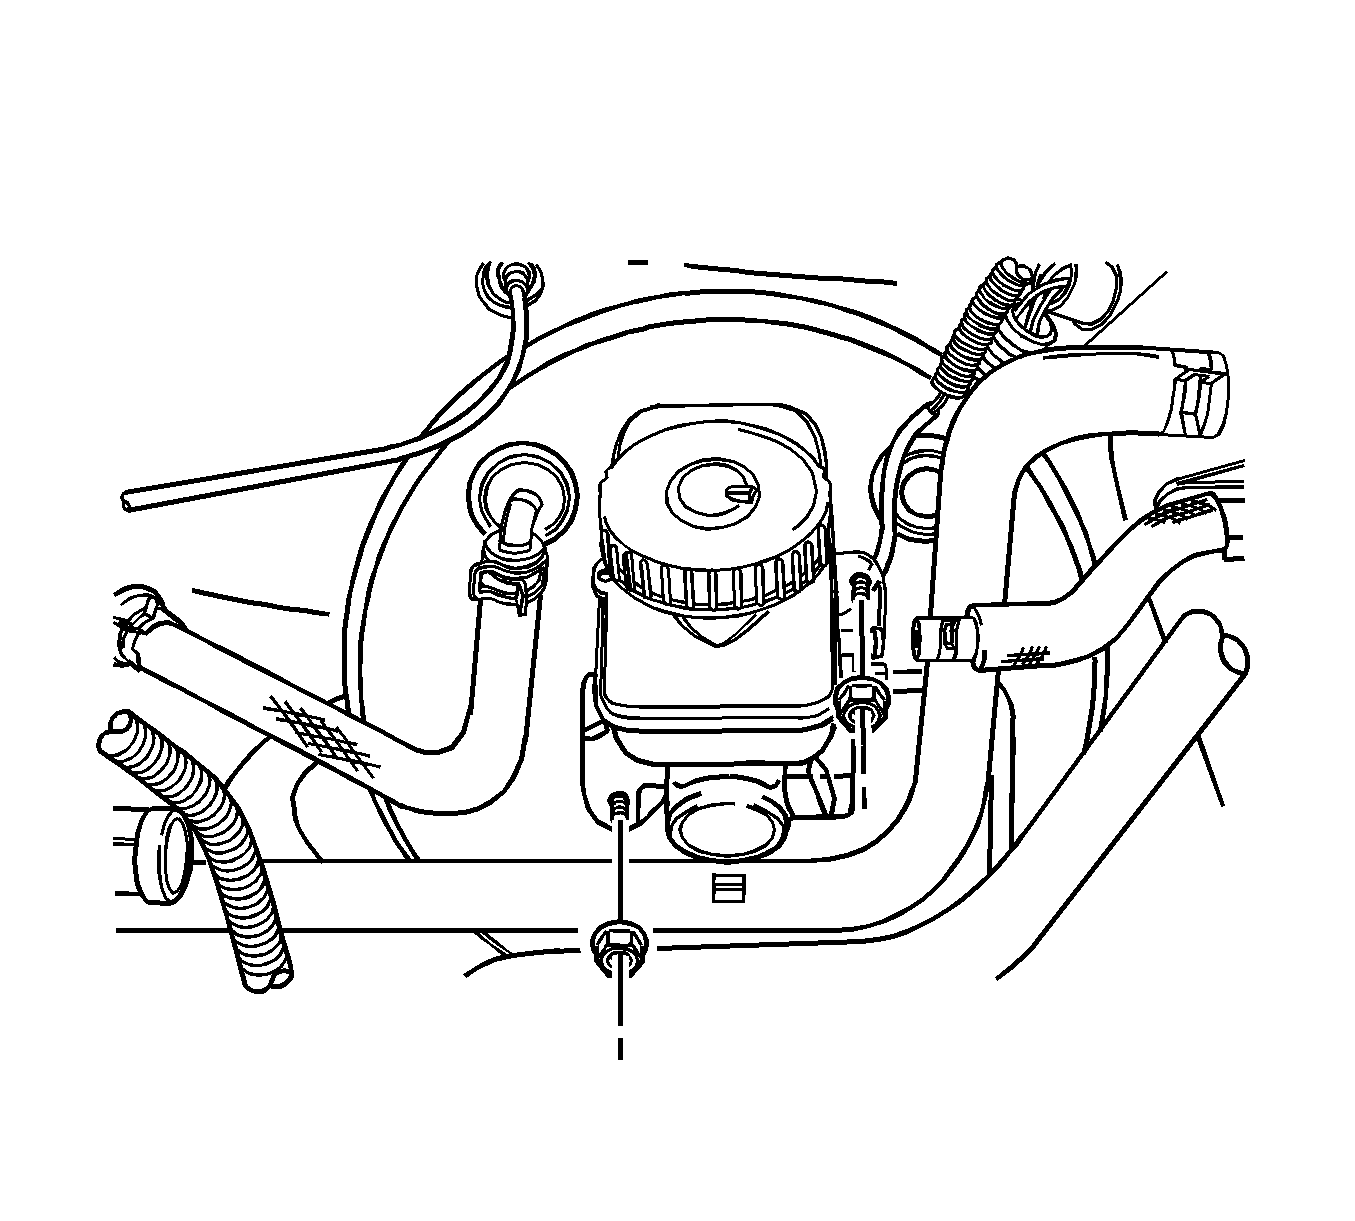
- Remove the attaching nuts from the power booster.
- Remove the master cylinder assembly.
- Remove the seal from the booster housing. Discard the seal.
- Drain the brake fluid.
Installation Procedure
- Install the master cylinder assembly with the new attaching nuts.
- Install the new seal to the booster housing.
- For vehicles with the ABS braking system (as shown), connect the brake lines to the cylinder body.
- For vehicles with the non-ABS braking system, connect the brake lines to the proportioning valves.
- For vehicles with the manual transaxle, connect the clip to the clutch hose connection at the master cylinder.
- Connect the electrical connector on the reservoir.
- Add brake fluid.
- Check for leaks and recheck the fluid level.
- Bleed the brake system. Refer to Hydraulic Brake System Bleeding .
Notice: Refer to Brake Fluid Effects on Paint and Electrical Components Notice in the Preface section.
Notice: Refer to Fastener Notice in the Preface section.
Tighten
Tighten the master cylinder attaching nuts to 18 N·m (13 lb ft).
Tighten
Tighten the brake lines to 16 N·m (12 lb ft).
