For 1990-2009 cars only
Removal Procedure
Notice: Cap the fittings and plug the holes when servicing the fuel system in order to prevent dirt and other contaminants from entering the open pipes and passages.
Important: Always maintain cleanliness when servicing fuel system components.
- Drain the fuel tank. Refer to Fuel Tank Draining .
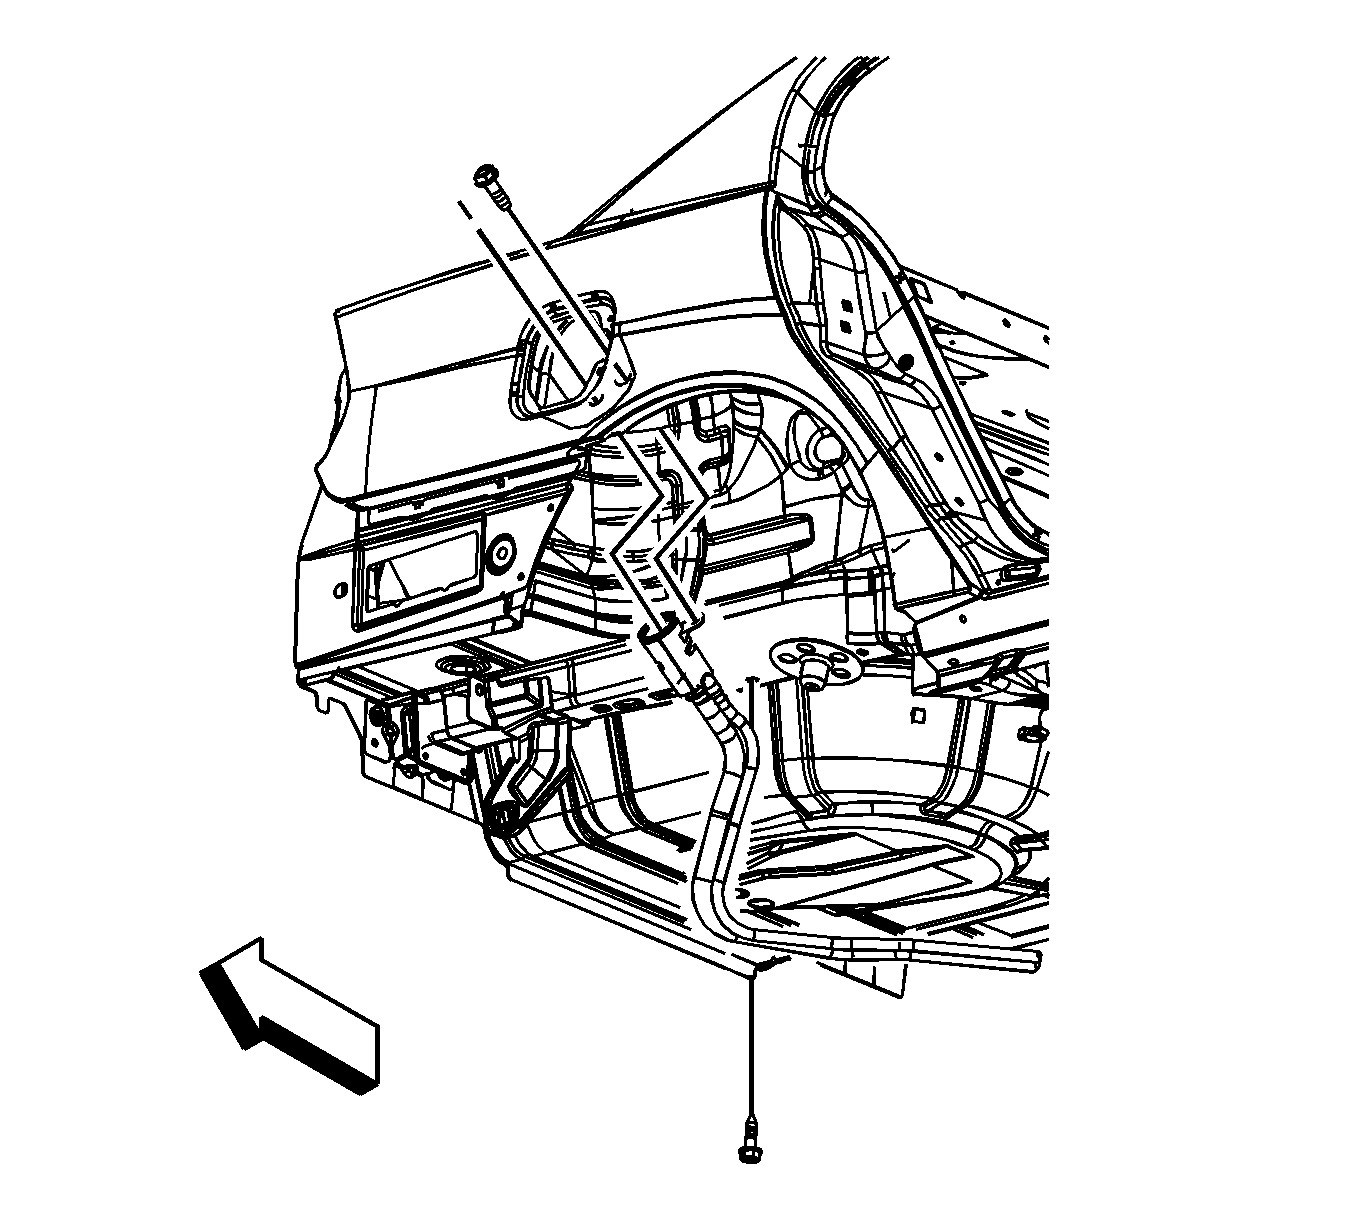
- Remove the fuel fill pipe bolt from the fuel fill pocket.
- Raise and support the vehicle. Refer to Lifting and Jacking the Vehicle .
- Remove the fuel fill pipe bolt from the underbody.
- Disconnect and reposition the rear stabilizer shaft. Refer to Stabilizer Shaft Replacement .
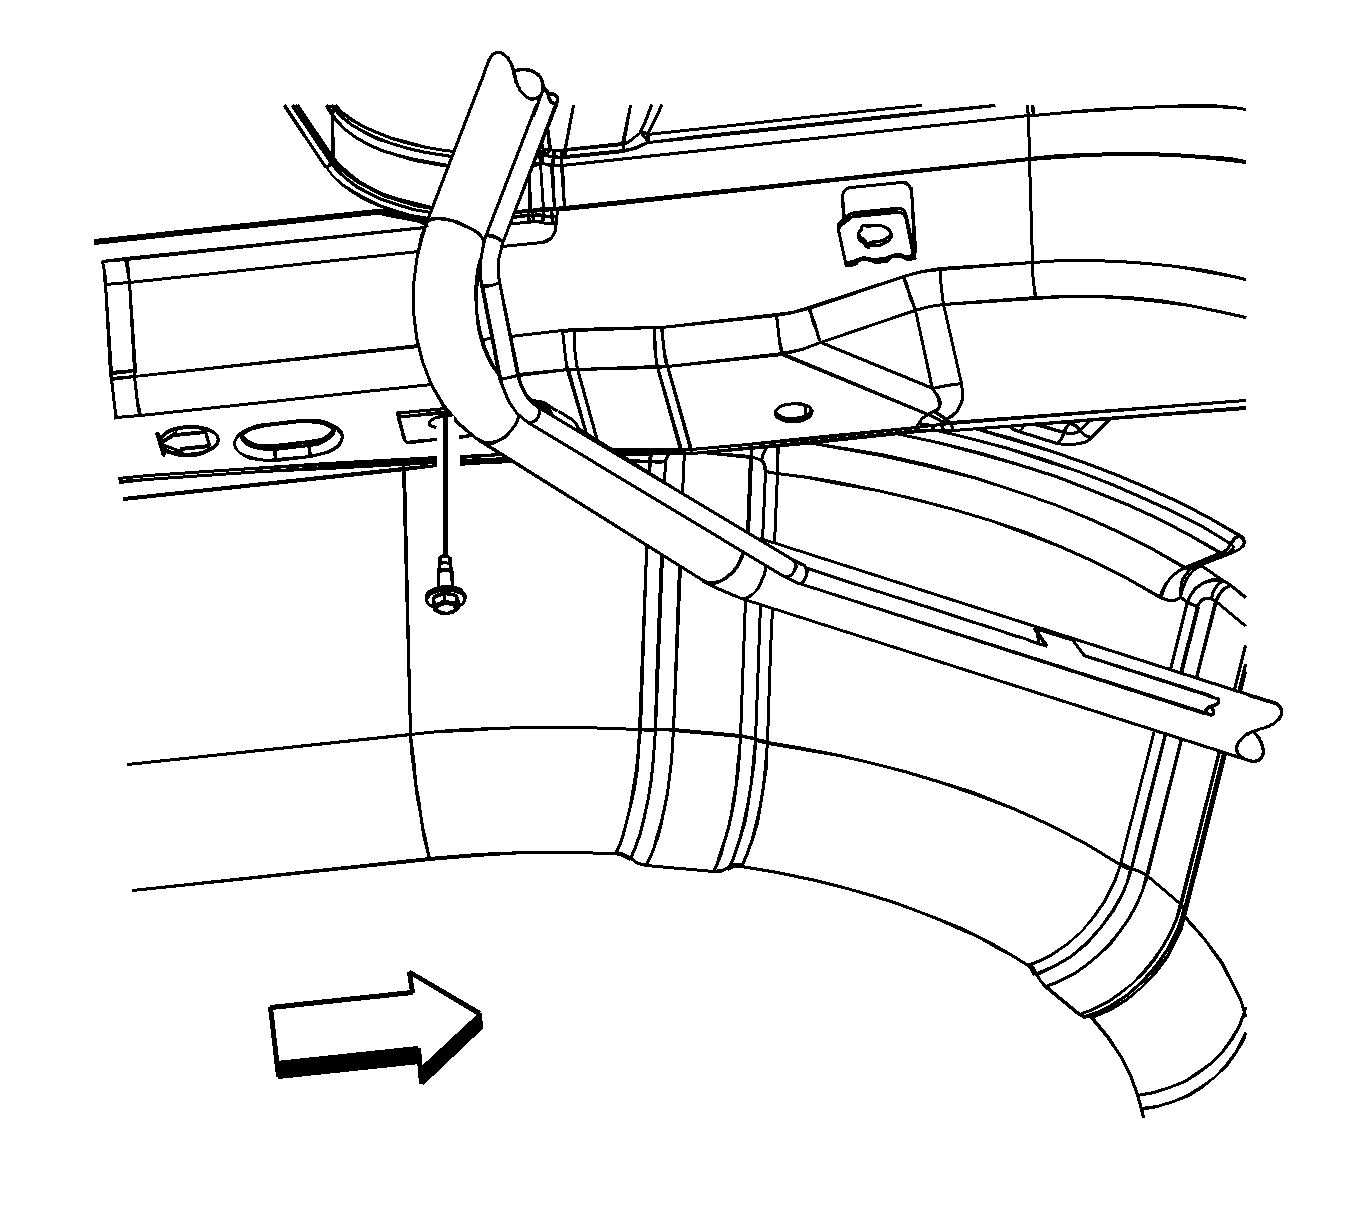
- Loosen the fuel fill pipe hose clamp (1) at the fuel tank.
- Disconnect the evaporative emission (EVAP) canister vent solenoid tube quick connect fitting (2). Refer to Plastic Collar Quick Connect Fitting Service .
- Disconnect the vapor recirculation line quick connect fitting (3). Refer to Plastic Collar Quick Connect Fitting Service .
- Disconnect and remove the fuel fill pipe hose assembly.

Installation Procedure
- Install and connect the fuel fill pipe hose assembly.
- Tighten the fuel fill pipe hose clamp (1) at the fuel tank.
- Connect the EVAP canister vent solenoid tube quick connect fitting (2). Refer to Plastic Collar Quick Connect Fitting Service .
- Connect the vapor recirculation line quick connect fitting (3). Refer to Plastic Collar Quick Connect Fitting Service .
- Install the fuel fill pipe bolt to the underbody.
- Position and connect the rear stabilizer shaft. Refer to Stabilizer Shaft Replacement .
- Lower the vehicle.
- Install the fuel fill pipe bolt to the fuel fill pocket.
Notice: Refer to Fastener Notice in the Preface section.
Tighten
Tighten the clamp to 4 N·m (35 lb in).
Tighten
Tighten the bolt to 10 N·m (89 lb in).
Tighten
Tighten the bolt to 1.5 N·m (13 lb in).
