- Install cylinder block water drain cock sub-assembly.
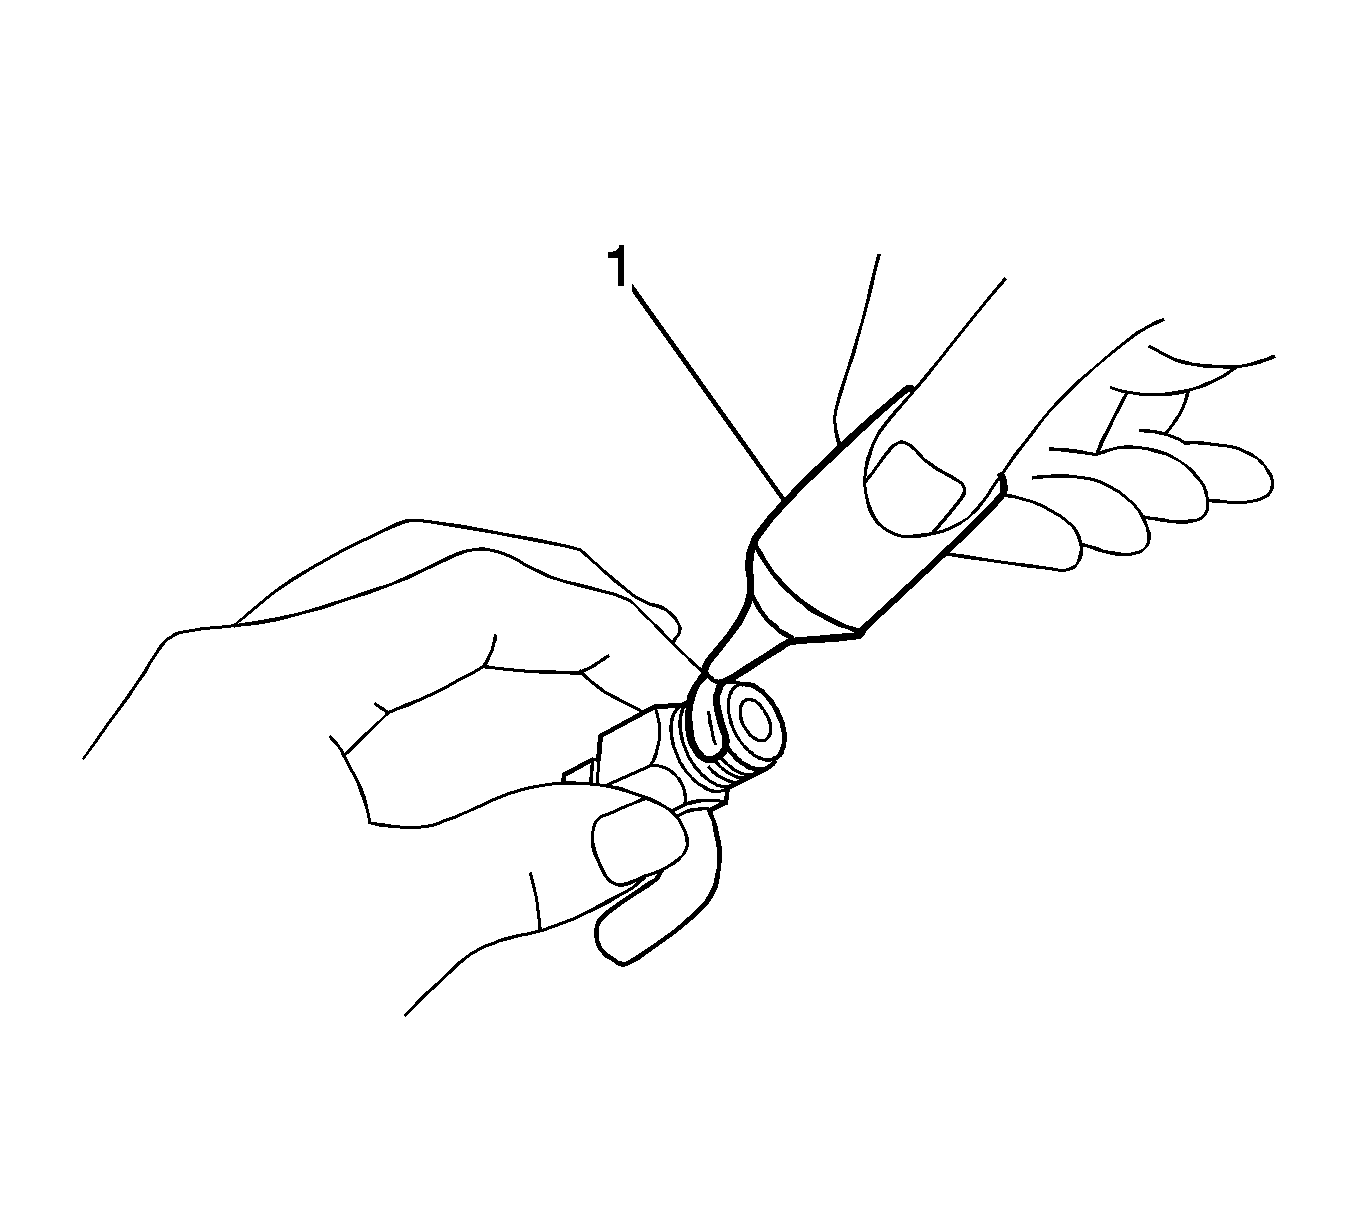
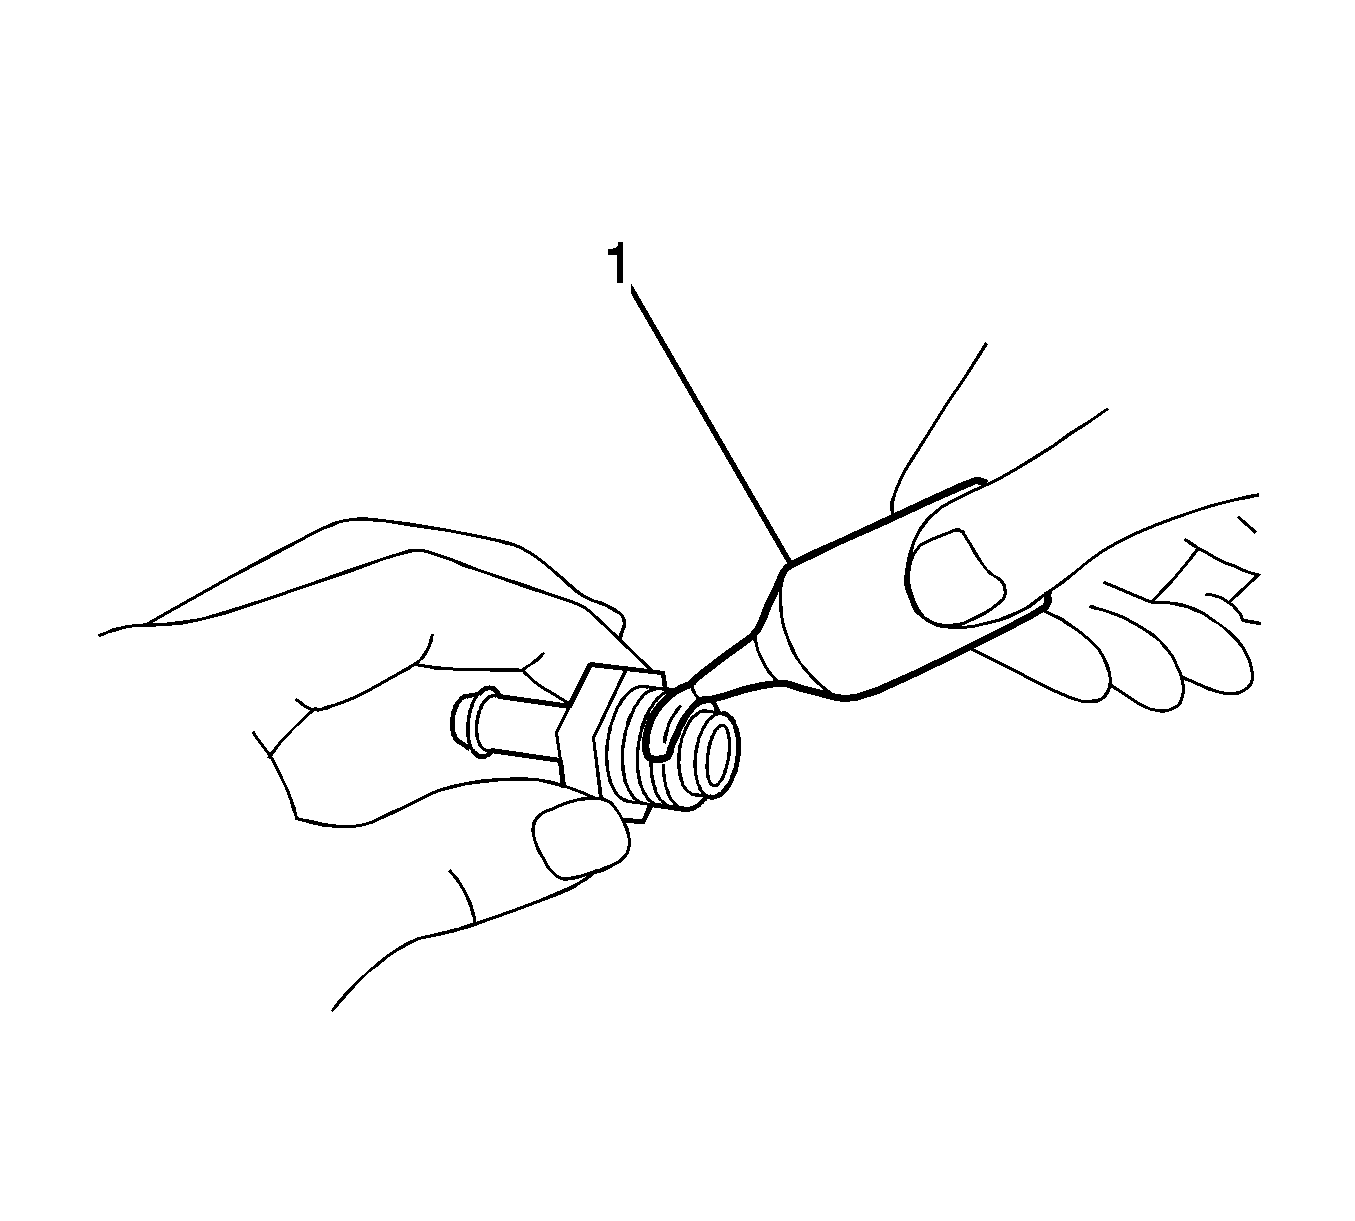
- Apply Three Bond 1344 or equivalent adhesive (1) to the threads of the drain cock.
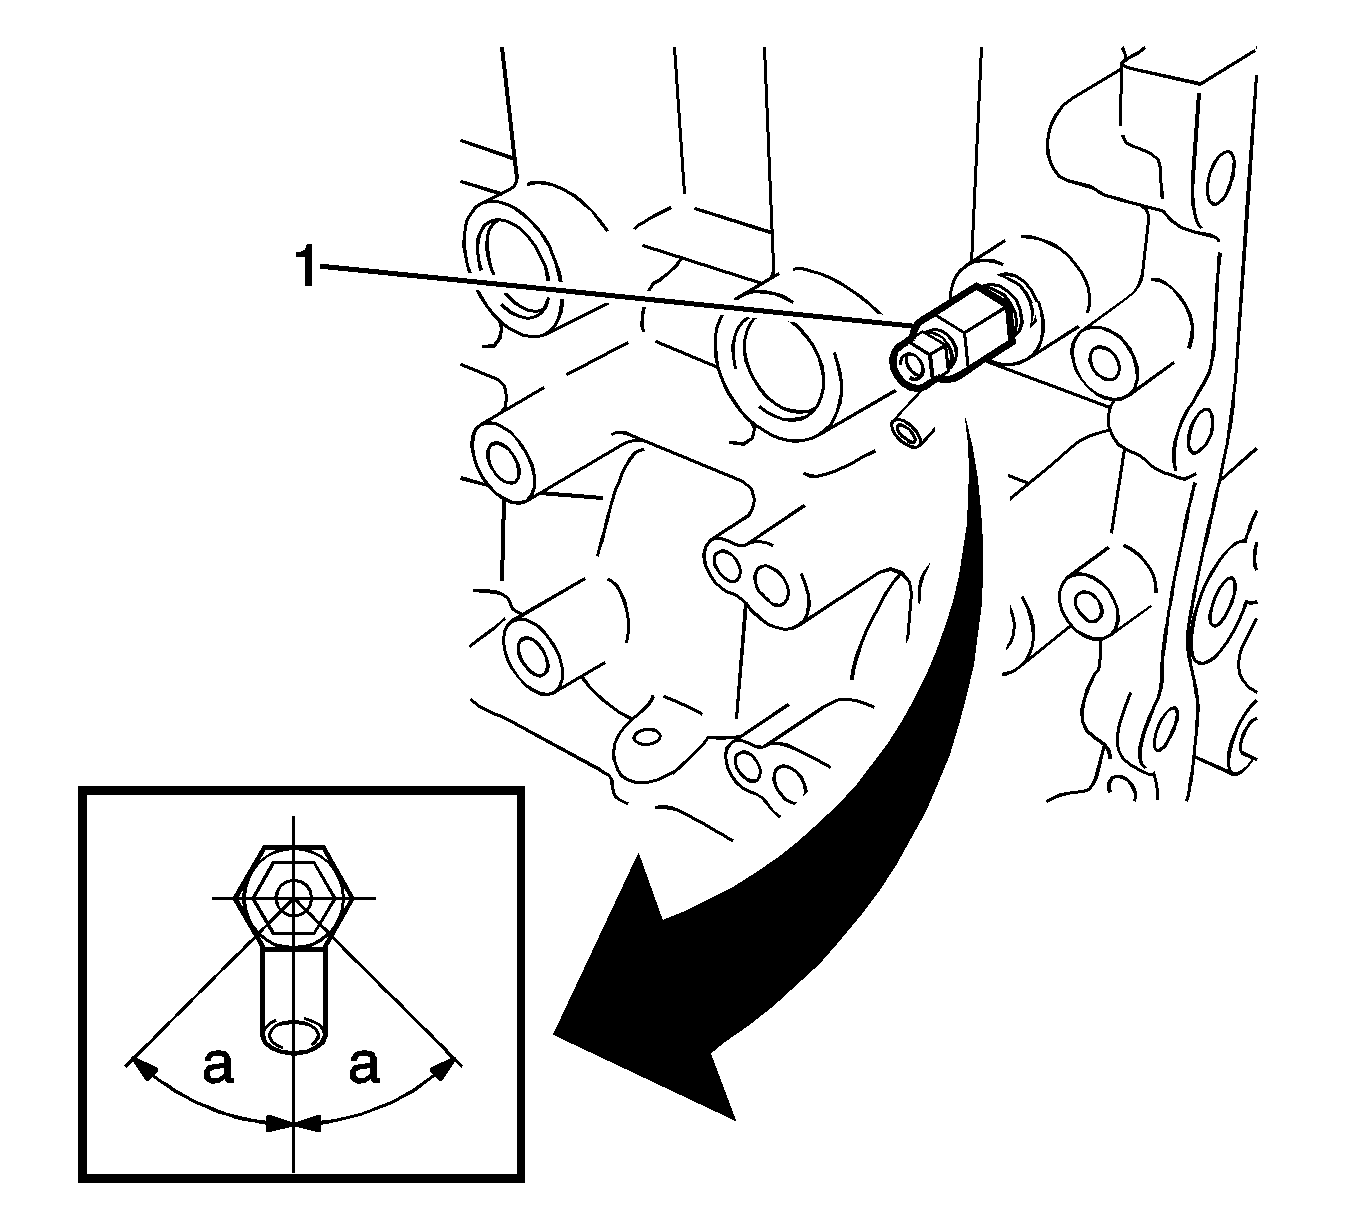
- Install the water drain cock and tighten to 20 N·m (15 lb ft).
- Install the water drain cock plug (1) to the engine block and tighten to 13 N·m (9 lb ft).
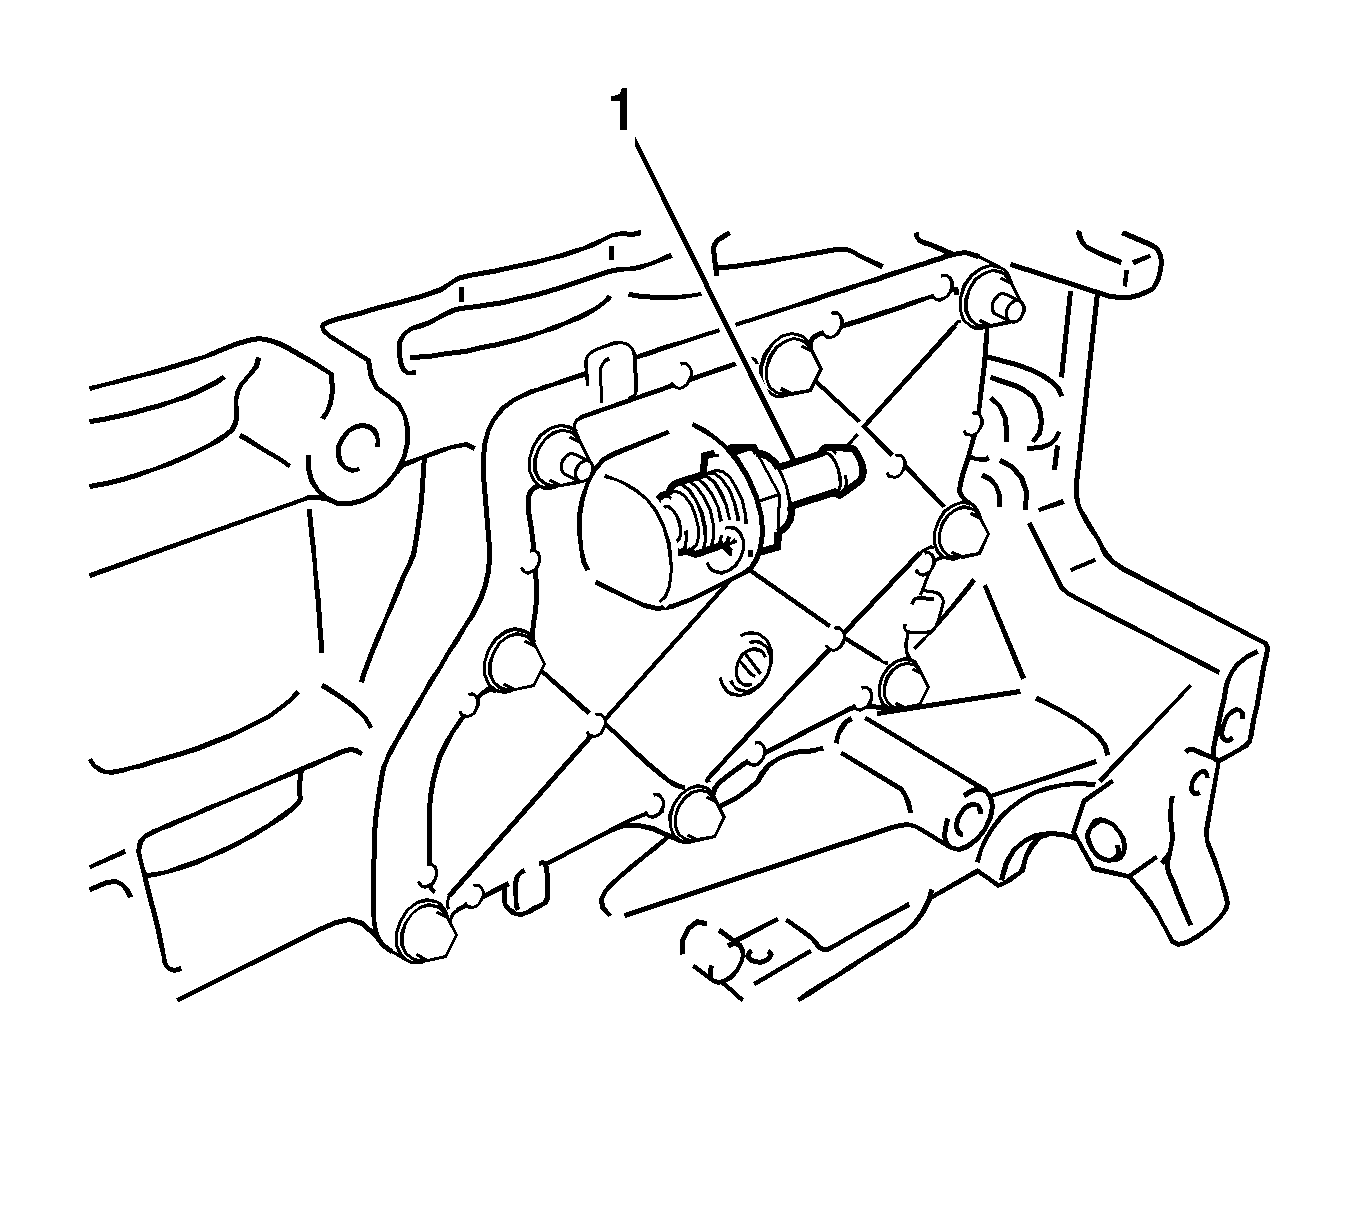
- Install the ventilation valve sub-assembly.
- Apply Three Bond 1324 or equivalent adhesive (1) to the threads of the ventilation valve.
- Install the ventilation valve (1) and tighten to 20 N·m (15 lb ft).
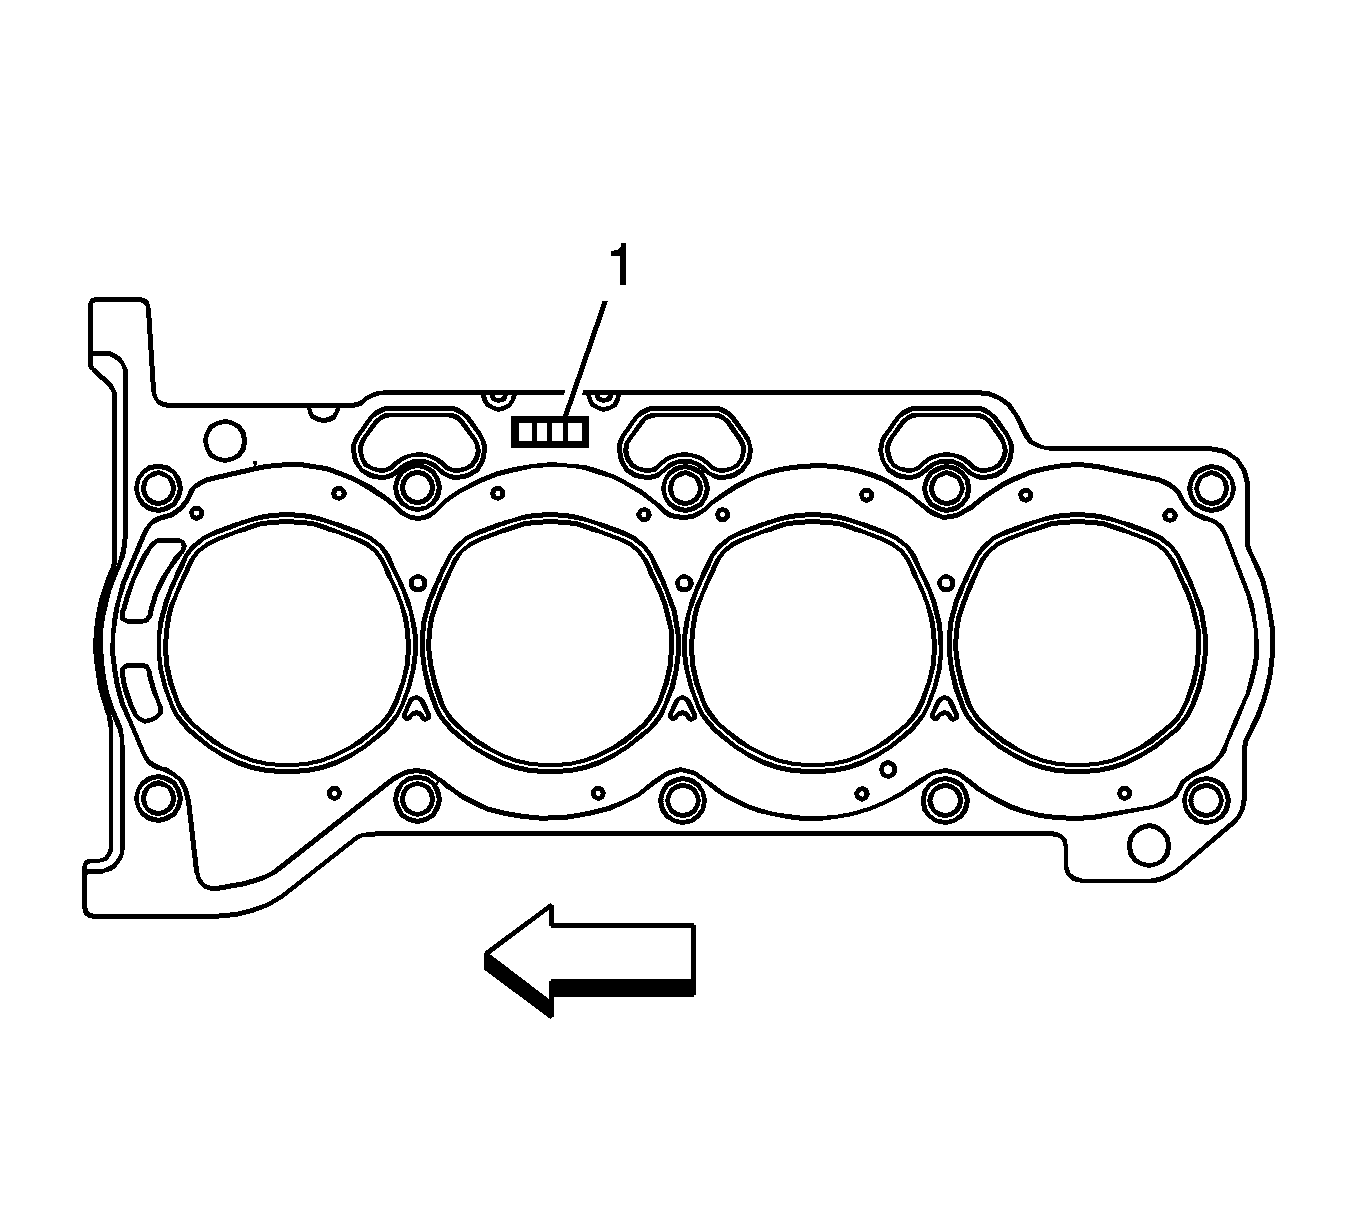
- Install cylinder head gasket.
- Place a new gasket on the cylinder block surface with the Lot No. stamp (1) facing upward.
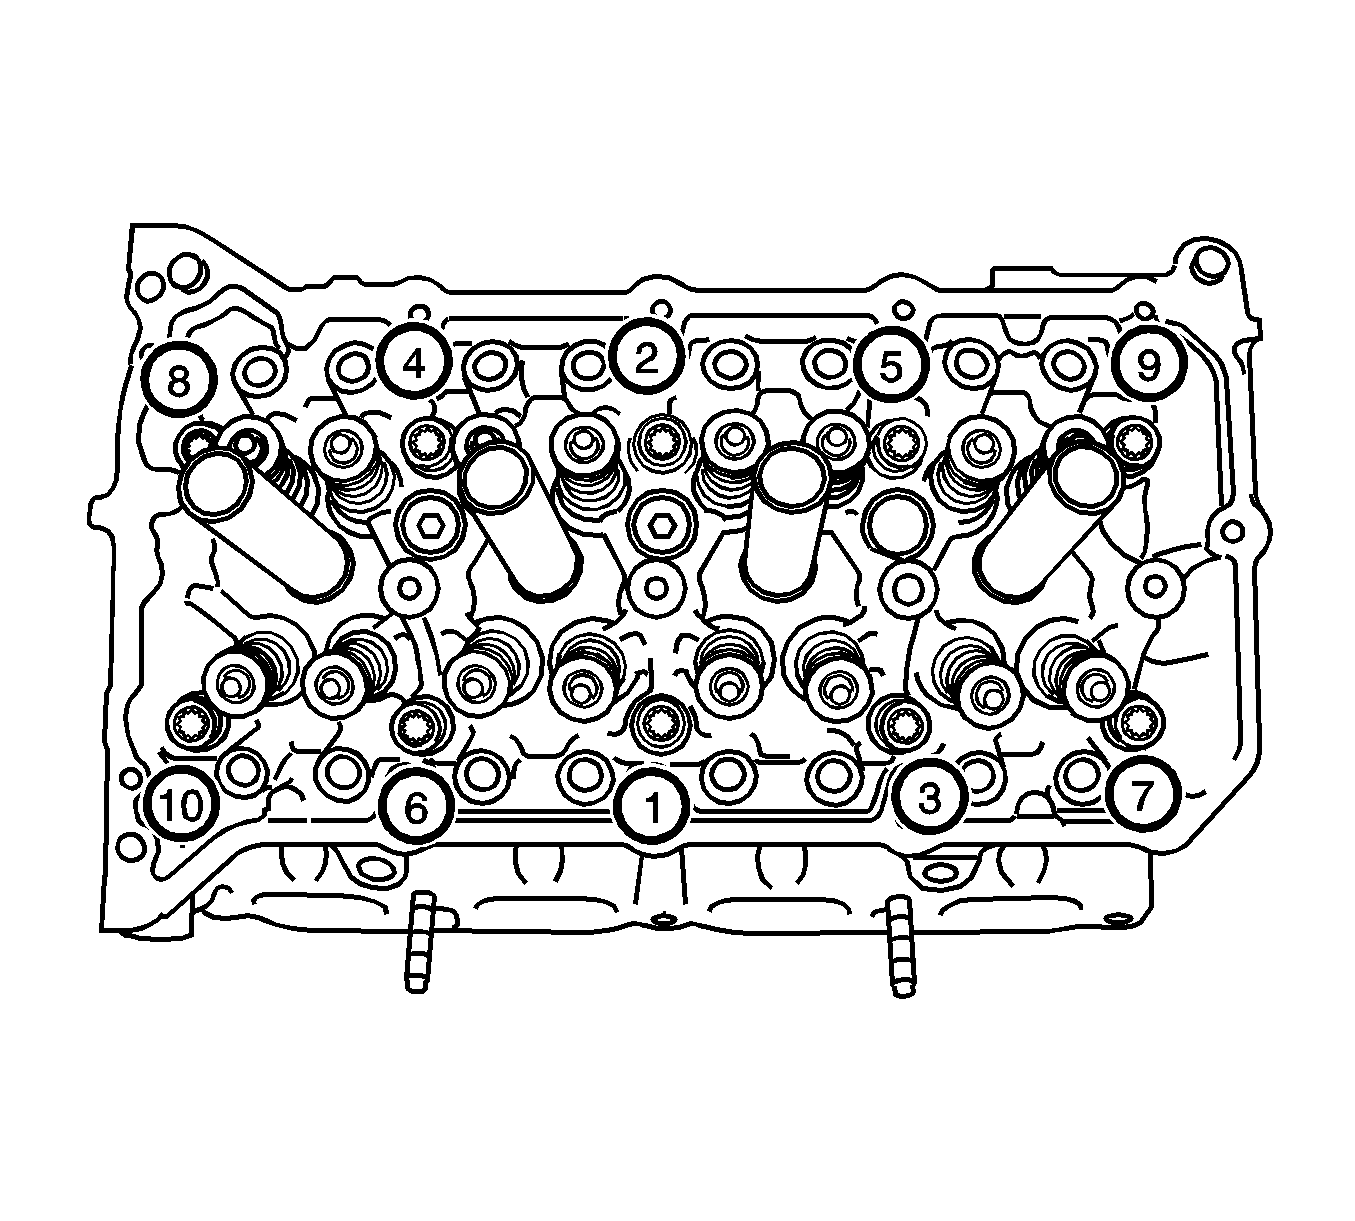
- Install the cylinder head assembly.
- Apply a light coat of engine oil to the bolt threads and the area beneath the bolt heads that come in contact with the washers.
- Install the bolts and plate washers to the cylinder head.
- Using several passes, with a 10 mm bi-hexagon wrench, uniformly install and tighten the 10 cylinder head set bolts and plate washers in the order shown and tighten to 49 N·m (36 lb ft).
- Mark the front side of the cylinder head bolts with paint.
- Retighten the cylinder head bolts an additional 90 degrees, then once more 45 degrees as shown in the illustration.
- Check that the paint mark is now at a 135 degrees angle to the front.
Caution: Refer to Fastener Caution in the Preface section.
Note:
• Do not rotate the drain cock more than 1 revolution (360 degrees) after tightening it to the specified torque. • Install the water drain cock within 3 minutes after applying seal packing. • Do not start the engine for at least 2 hours after installing the water drain cock.
Note:
• Install the crankcase within 3 minutes after applying seal packing. • Do not start the engine for at least 2 hours after installing the ventilation valve.
Note:
• Remove any oil from the contact surface. • Make sure that the gasket is installed in the correct direction.
Note: The cylinder head bolts are tightened in 2 progressive steps.
Caution: Refer to Fastener Caution in the Preface section.