Removal Procedure
- Disconnect the battery ground cable.
- Remove the front seat. Refer to Front Seat Replacement - Bucket.
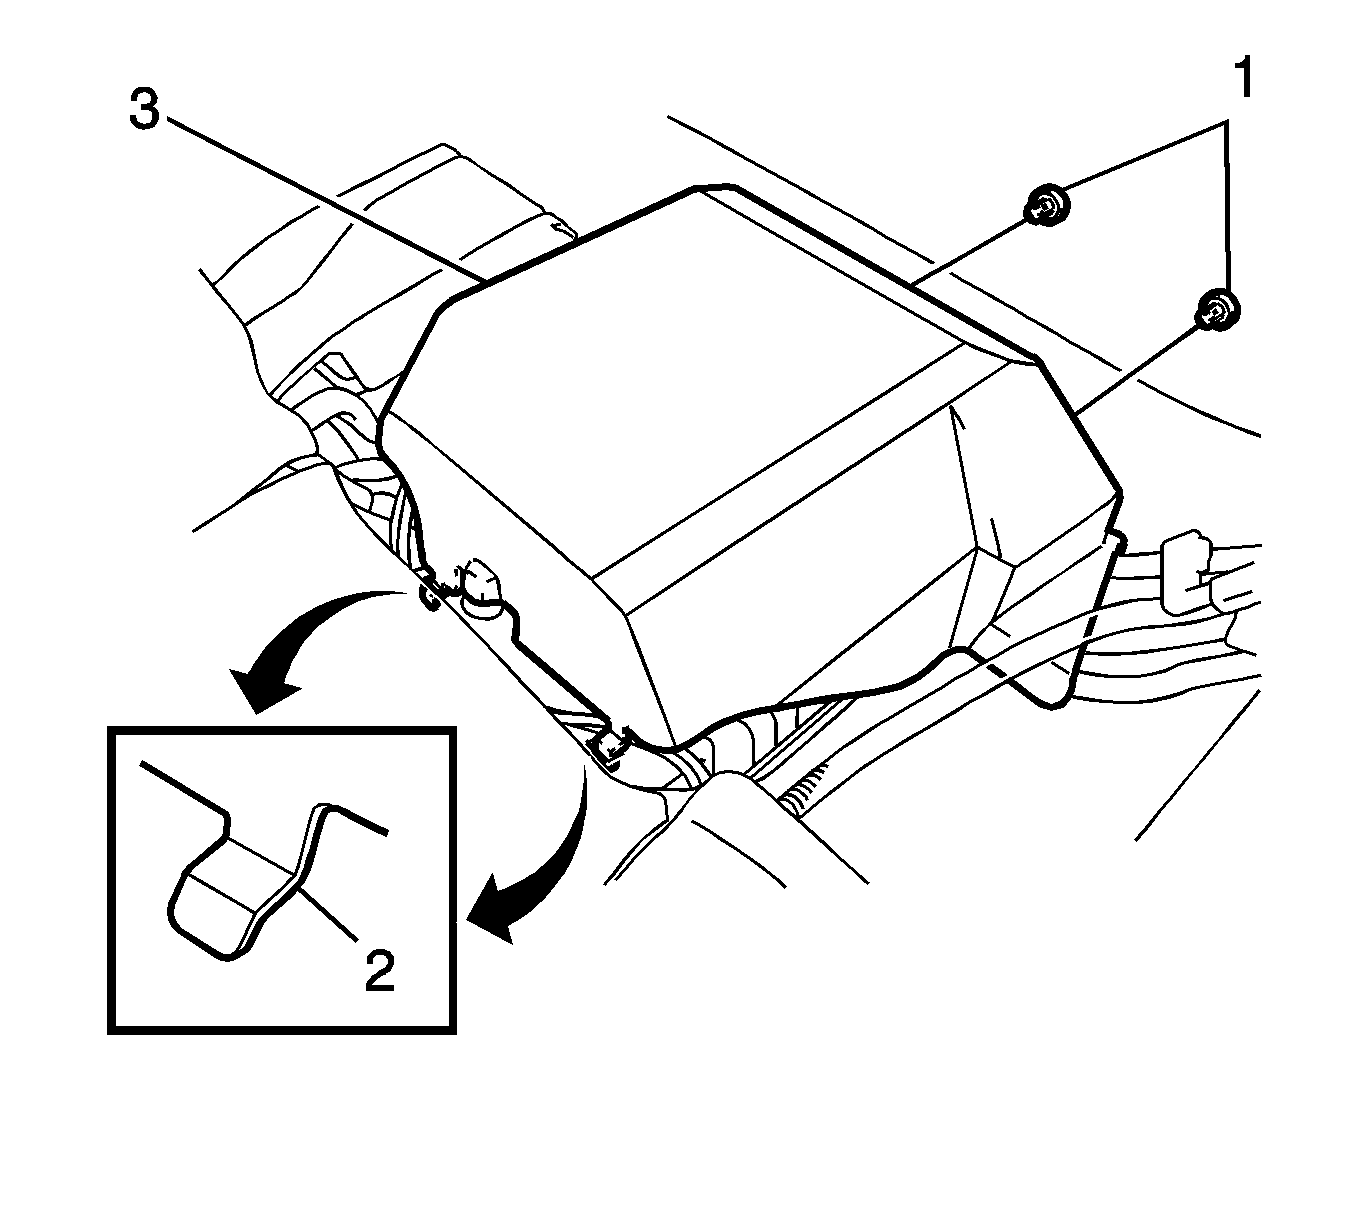
- Remove the two clips (1).
- Disengage two guides (2) and remove the communication interface module cover (3).
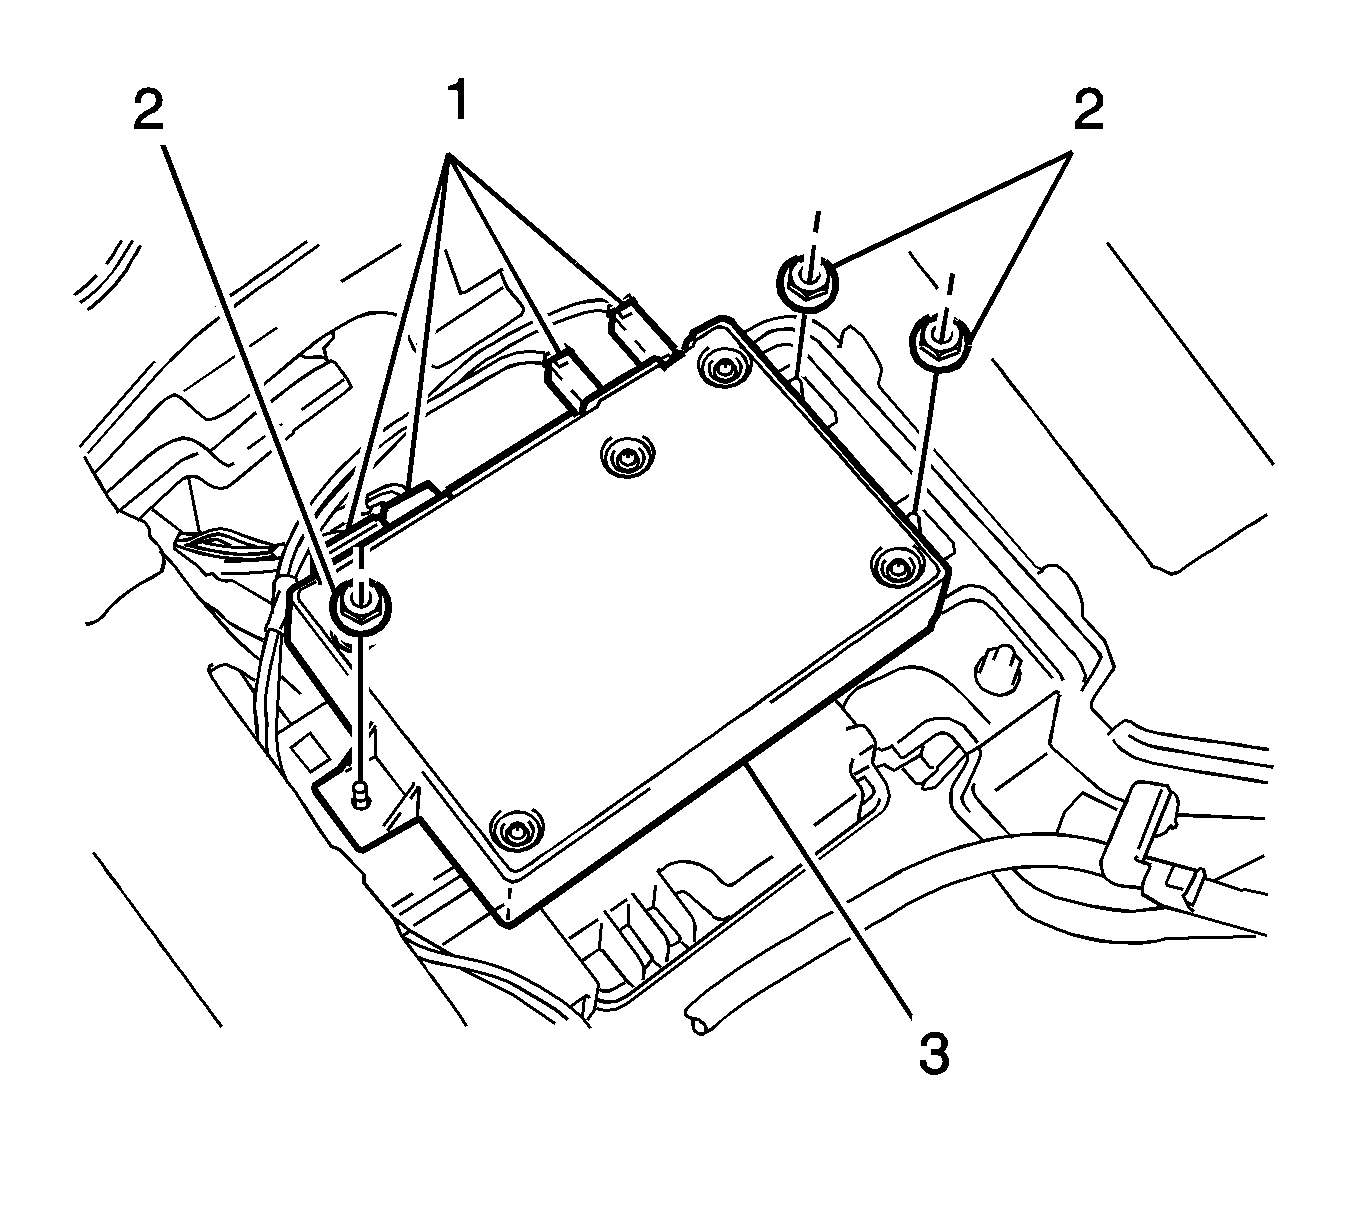
- Disconnect vehicle communication interface module electrical connectors (1).
- Remove the three nuts (2).
- Remove the vehicle communication interface module from the vehicle.
Warning: Refer to Battery Disconnect Warning in the Preface section.

Note: The vehicle communication interface module (VCIM) has a specific set of unique numbers that tie the module to each vehicle. These numbers, the 10-digit station identification and the 11-digit electronic serial number, are used by the National Cellular Network and OnStar® to identify the specific vehicle. Because these numbers are tied to the vehicle identification number of the vehicle, you must never exchange these parts with those of another vehicle.

Installation Procedure
- Position the vehicle communication interface module (3) in the vehicle.
- Install the three nuts (2).
- Connect vehicle communication interface module electrical connectors (1).
- Engage two guides (2) and install the communication interface module cover (3).
- Install the two clips (1).
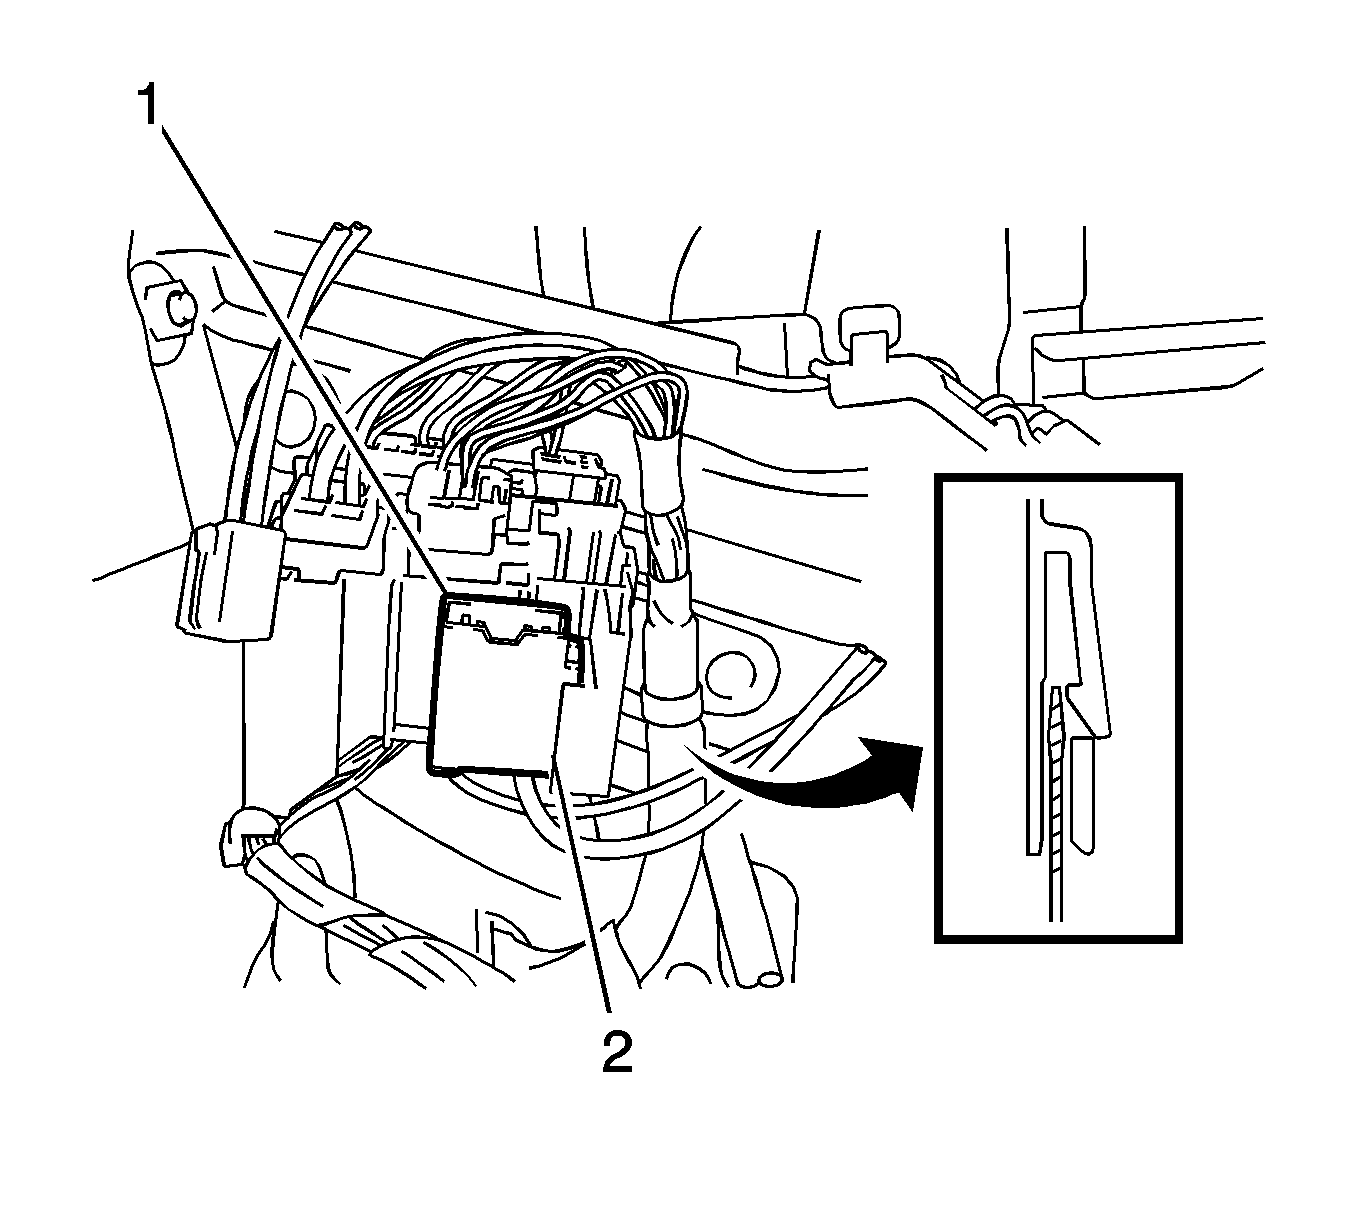
- Connect two vehicle communication interface module electrical connectors (1).
- Install the front seat. Refer to Front Seat Replacement - Bucket.
- Connect the battery ground cable.
- Reconfigure the OnStar® system. Refer to Control Module References for programming and setup information.

Caution: Refer to Fastener Caution in the Preface section.
Tighten
Tighten the nuts (2) to 7.5 N·m (66 lb in).

Warning: Refer to Battery Disconnect Warning in the Preface section.
Note: If replacing the vehicle communication interface module, you must reconfigure the OnStar® system.
