For 1990-2009 cars only
Tools Required
| • | J 28467-B (DW 110-060) Engine Support Fixture |
| • | DW 260-120 (DW 260-012) Transaxle Support Fixture |
Removal Procedure
- Remove the battery and battery tray. Refer to Battery and Battery Tray Replacement in Engine Electrical.
- Drain the transaxle fluid. Refer to Transmission Fluid Draining .
- Remove the left and right drive axle assemblies. Refer to Front Drive Axle Inner Shaft and Inner Shaft Housing Replacement in Front Drive Axle.
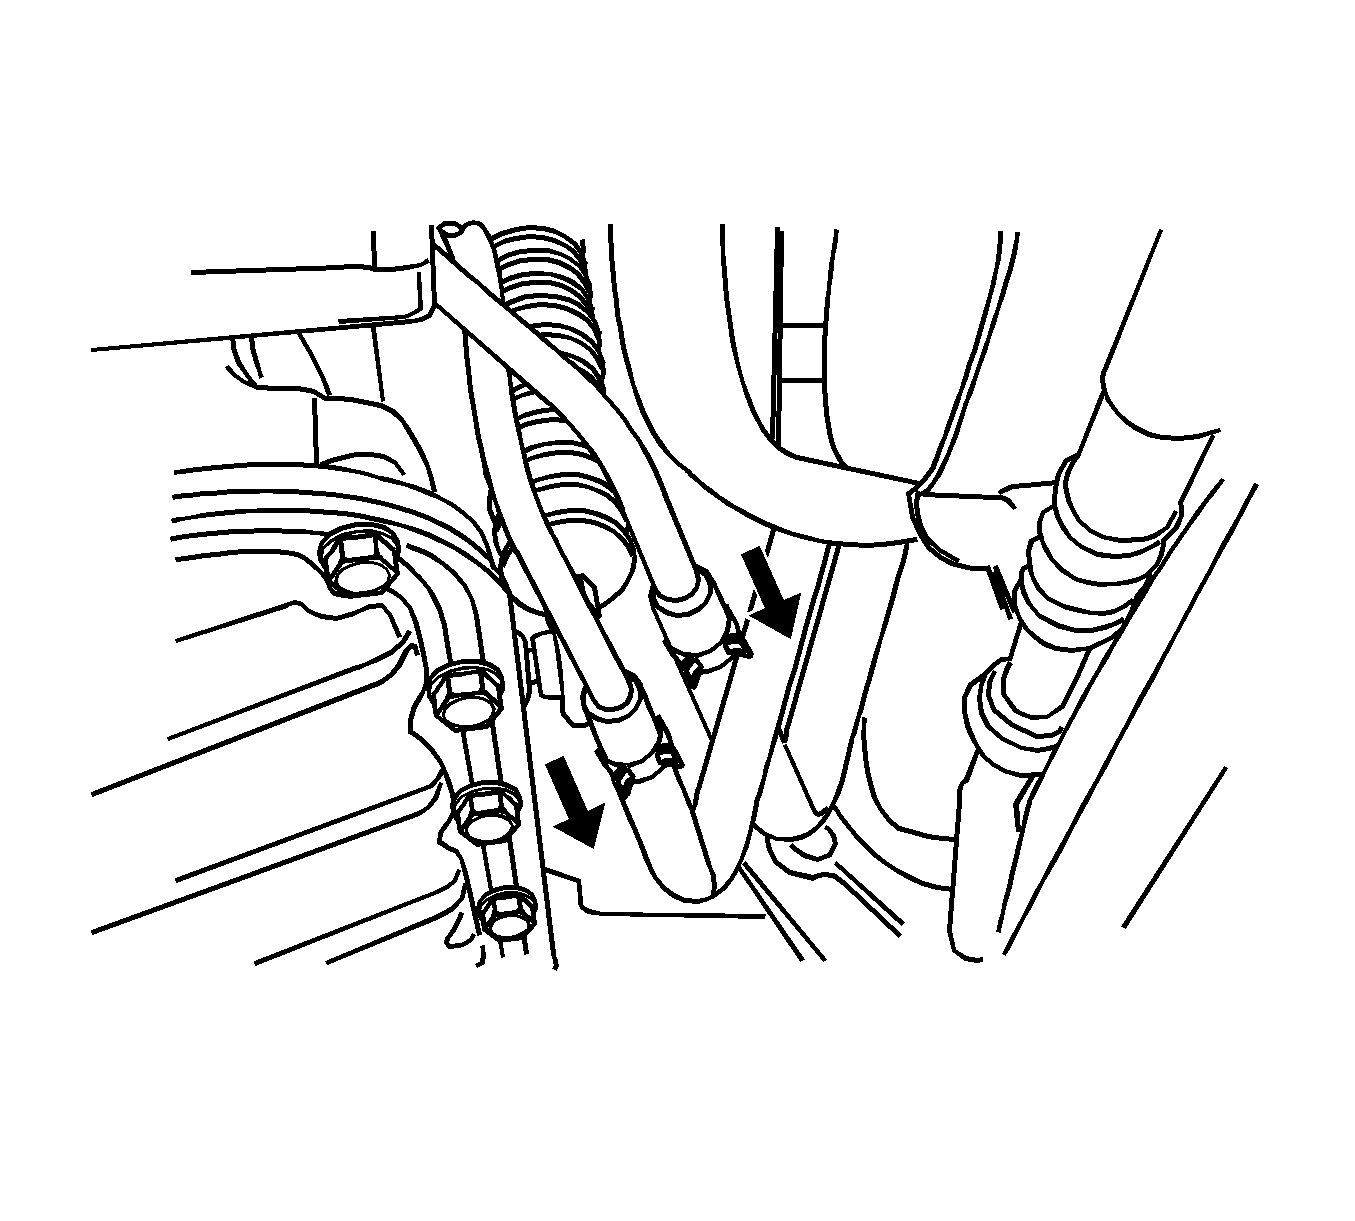
- Disconnect the fluid cooler inlet and outlet hoses from the transaxle.
- Disconnect the shift control cable from the transaxle. Refer to Floor Shift Control Cable Replacement .
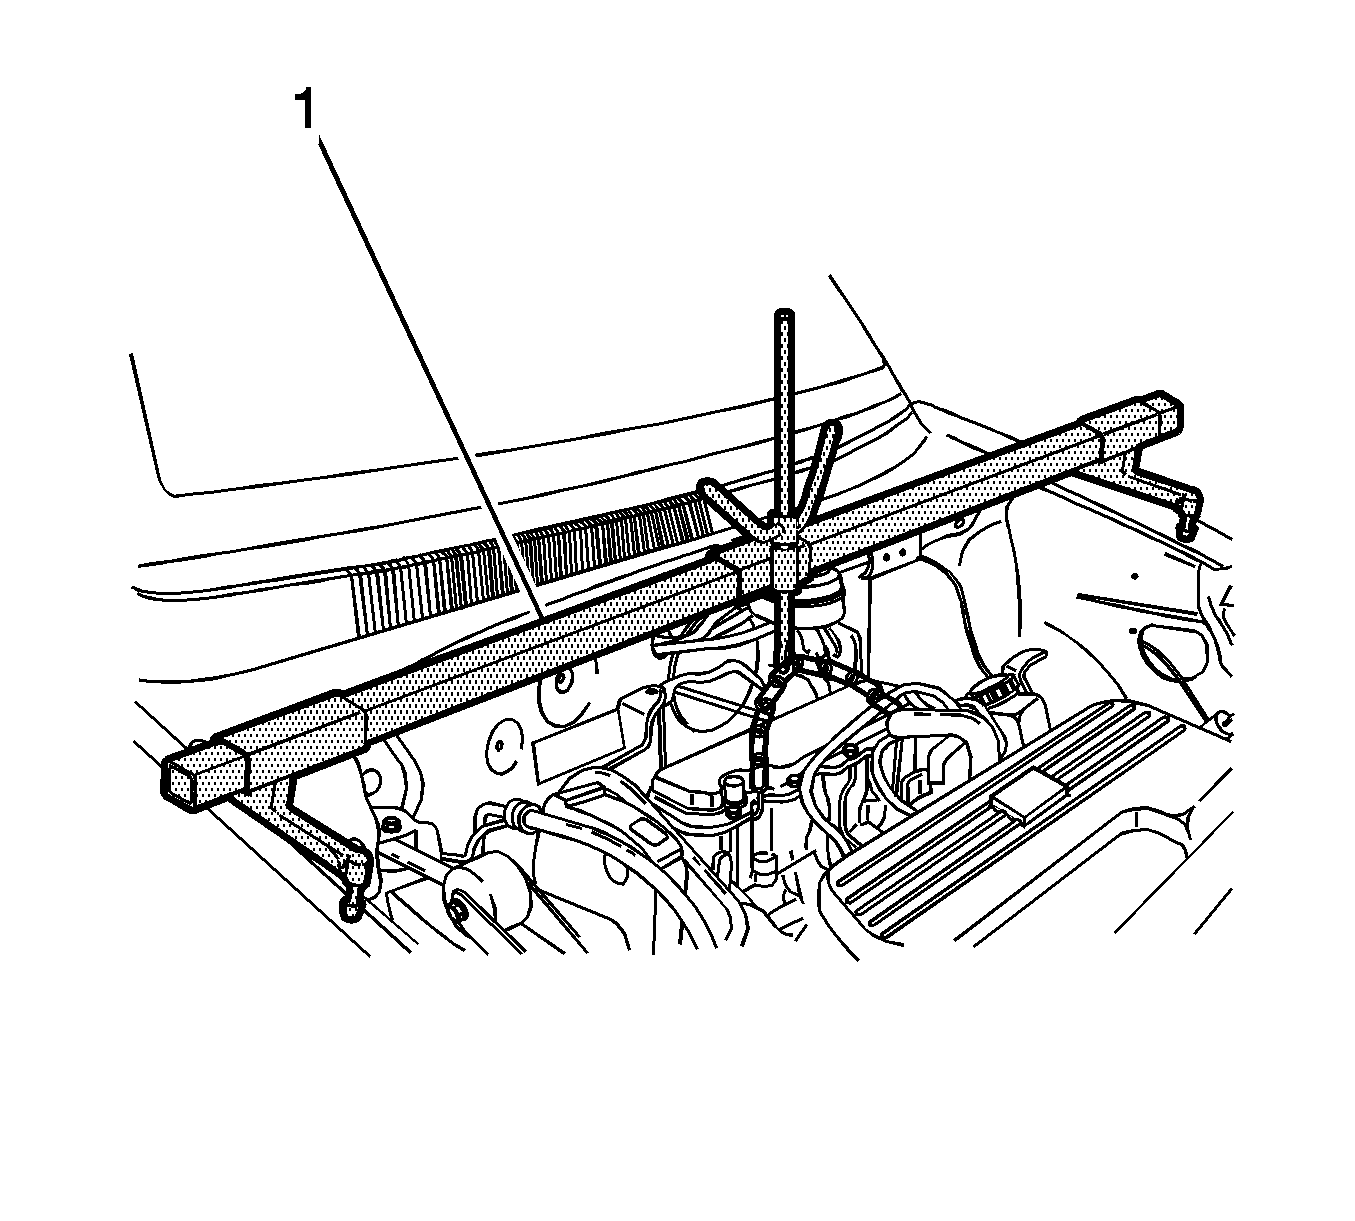
- Install the J 28467-B (1) to support the engine.
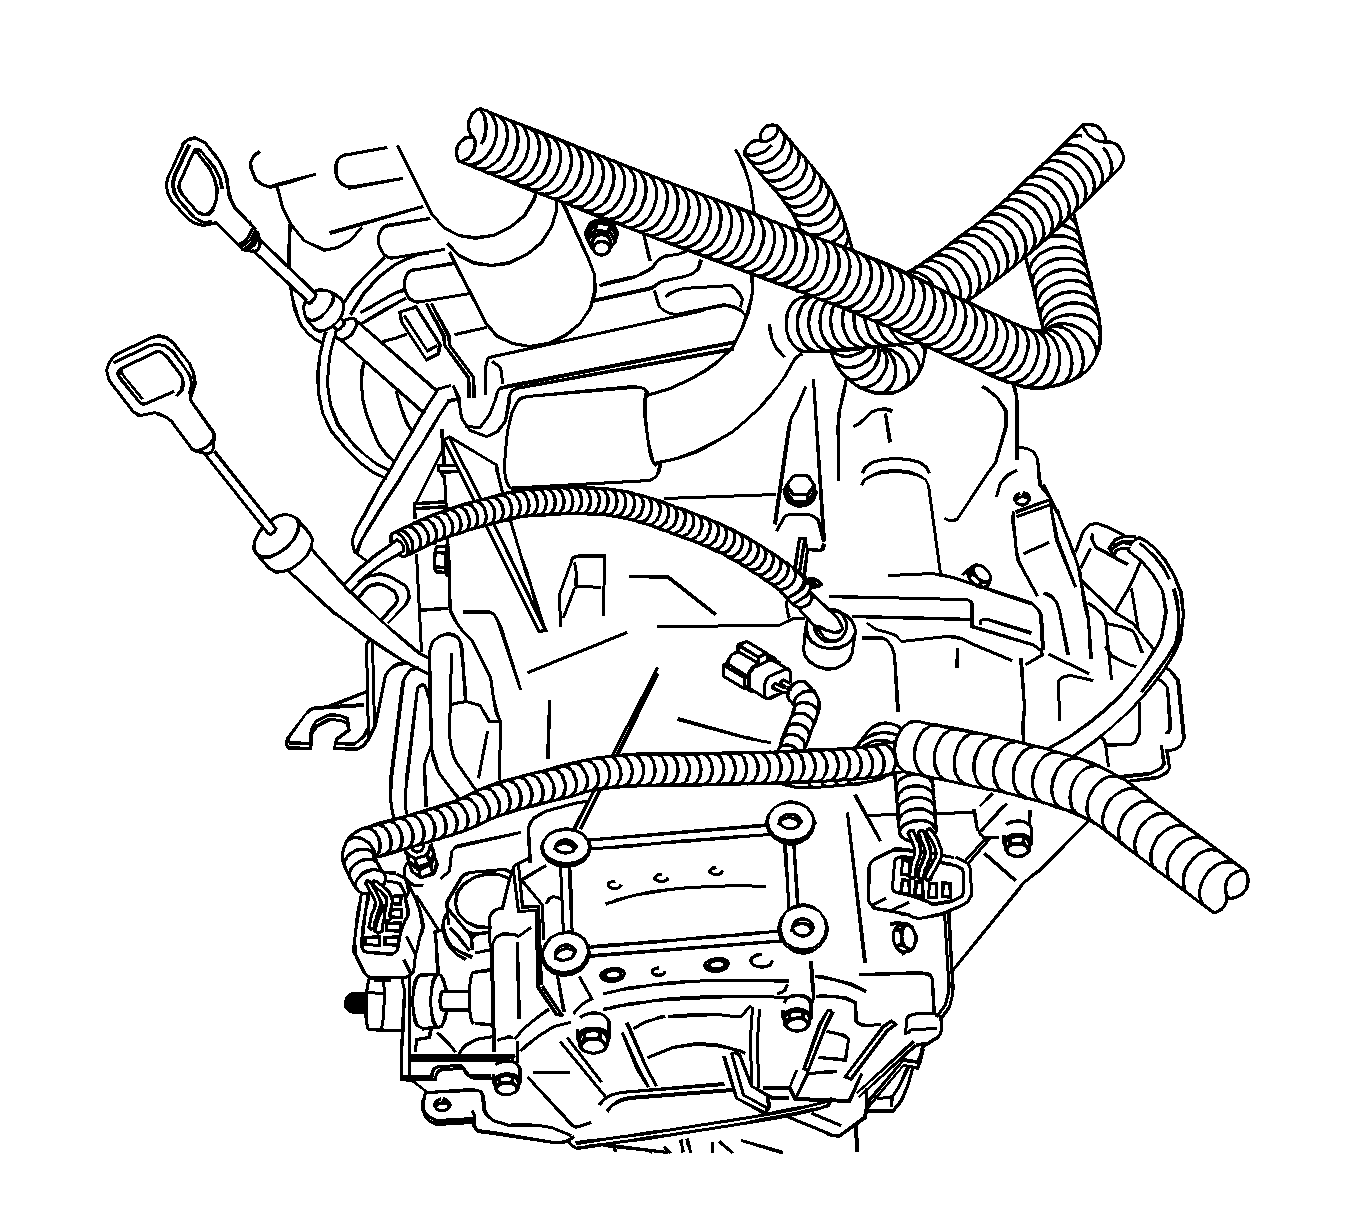
- Disconnect the input shaft speed (ISS) sensor electrical connector.
- Disconnect the output shaft speed (OSS) sensor electrical connector.
- Disconnect the park/neutral position (PNP) sensor electrical connector.
- Disconnect the transaxle electrical connector.
- Remove the service hall cover.
- Remove the torque converter bolts.
- Remove the damping block connection nut and bolt.
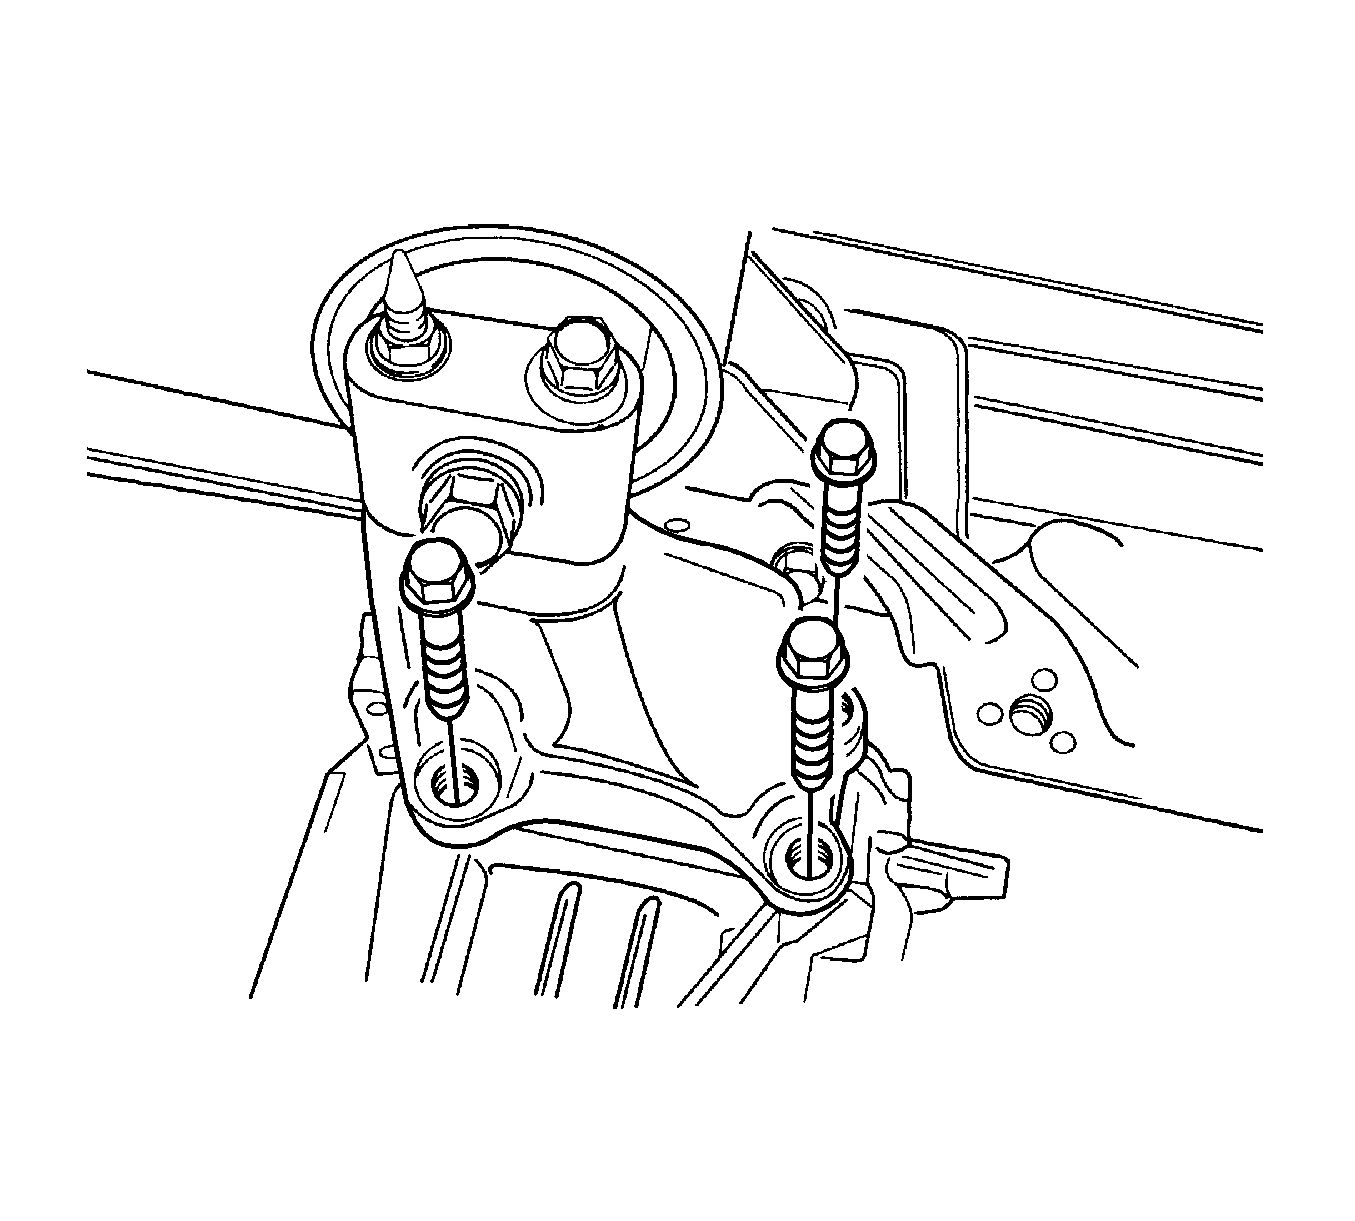
- Remove the rear mounting bracket bolts and rear mounting bracket.
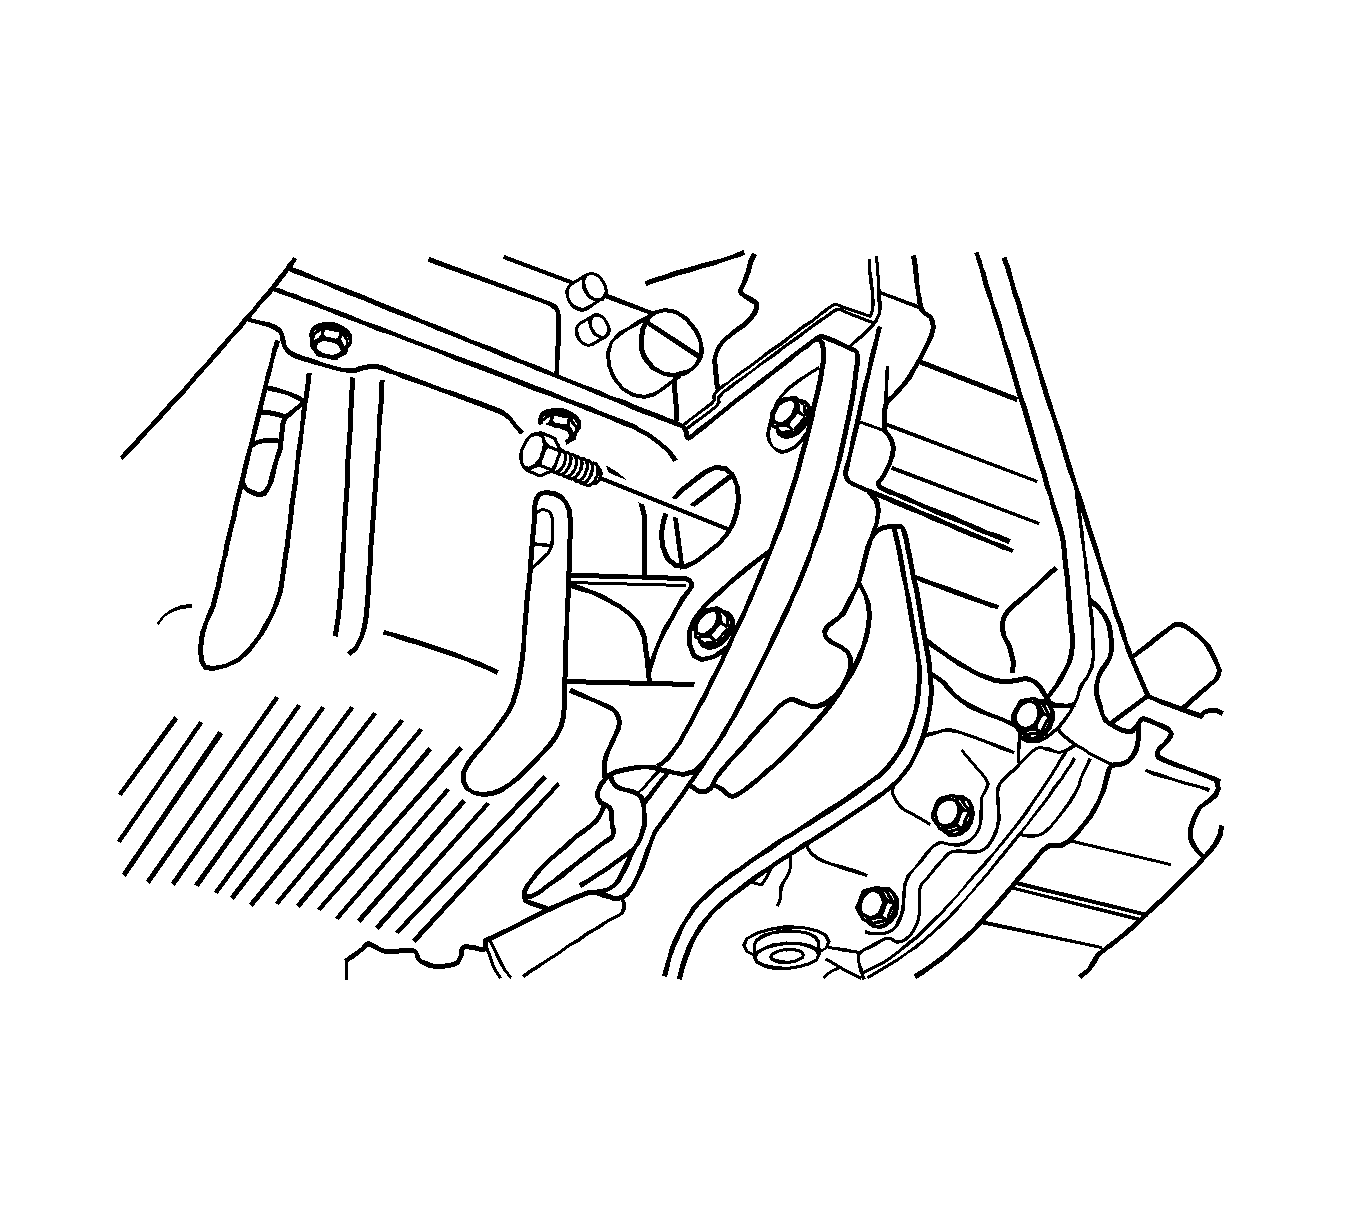
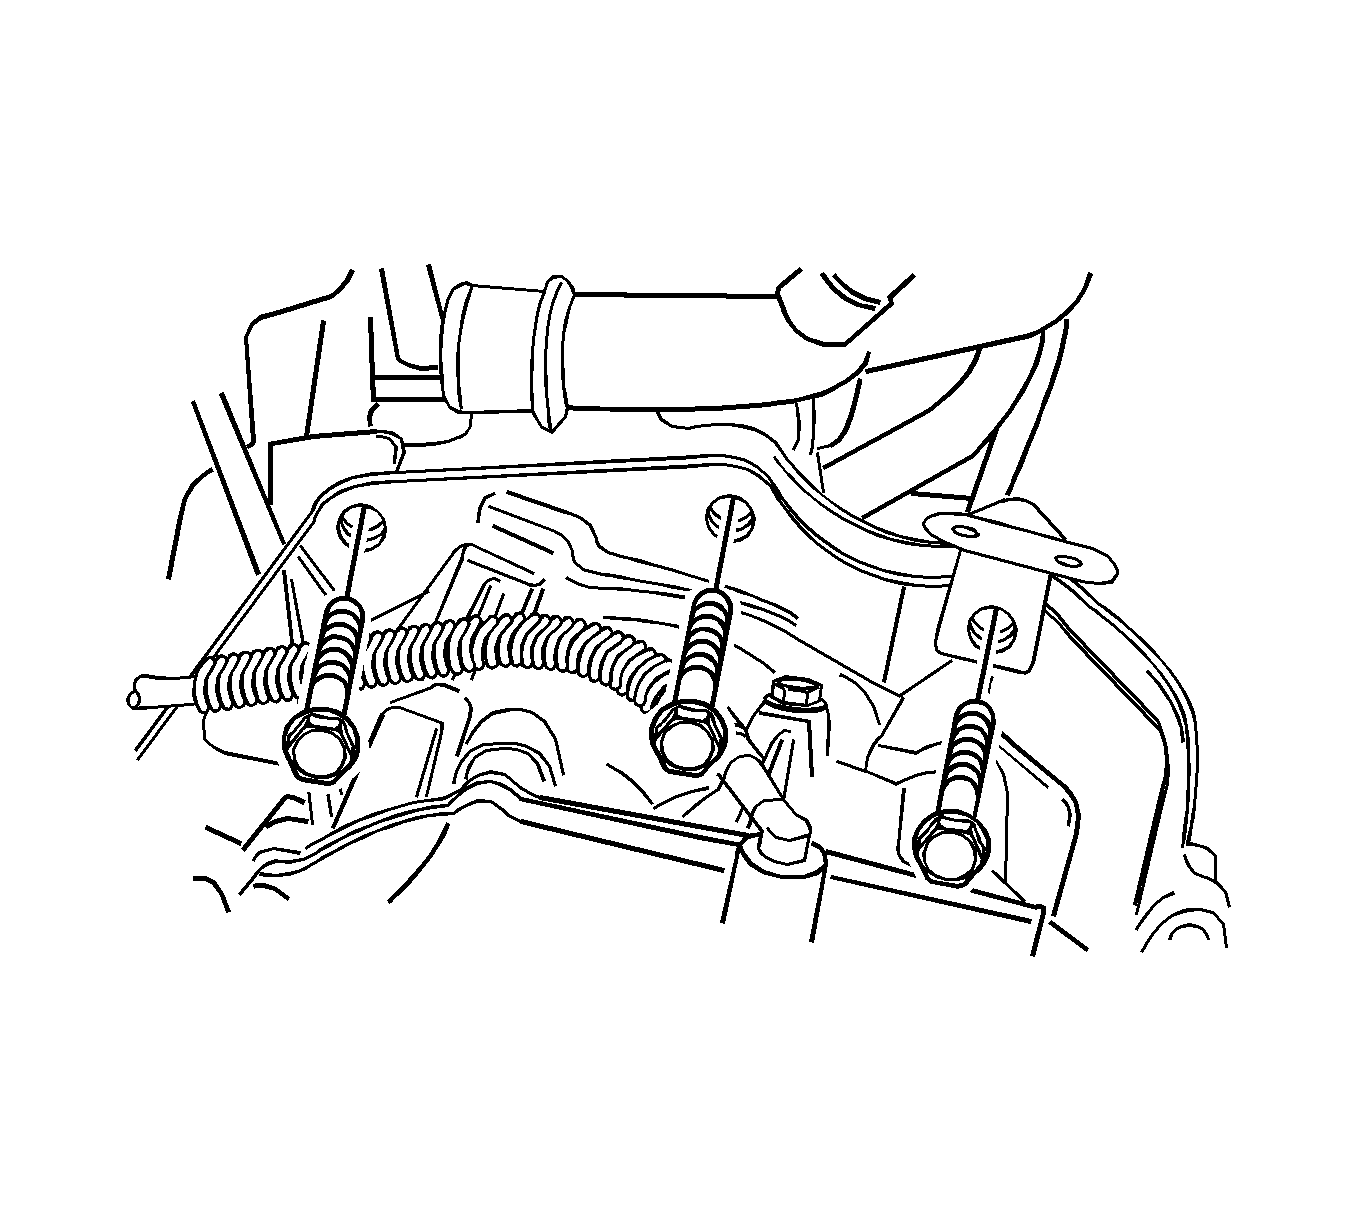
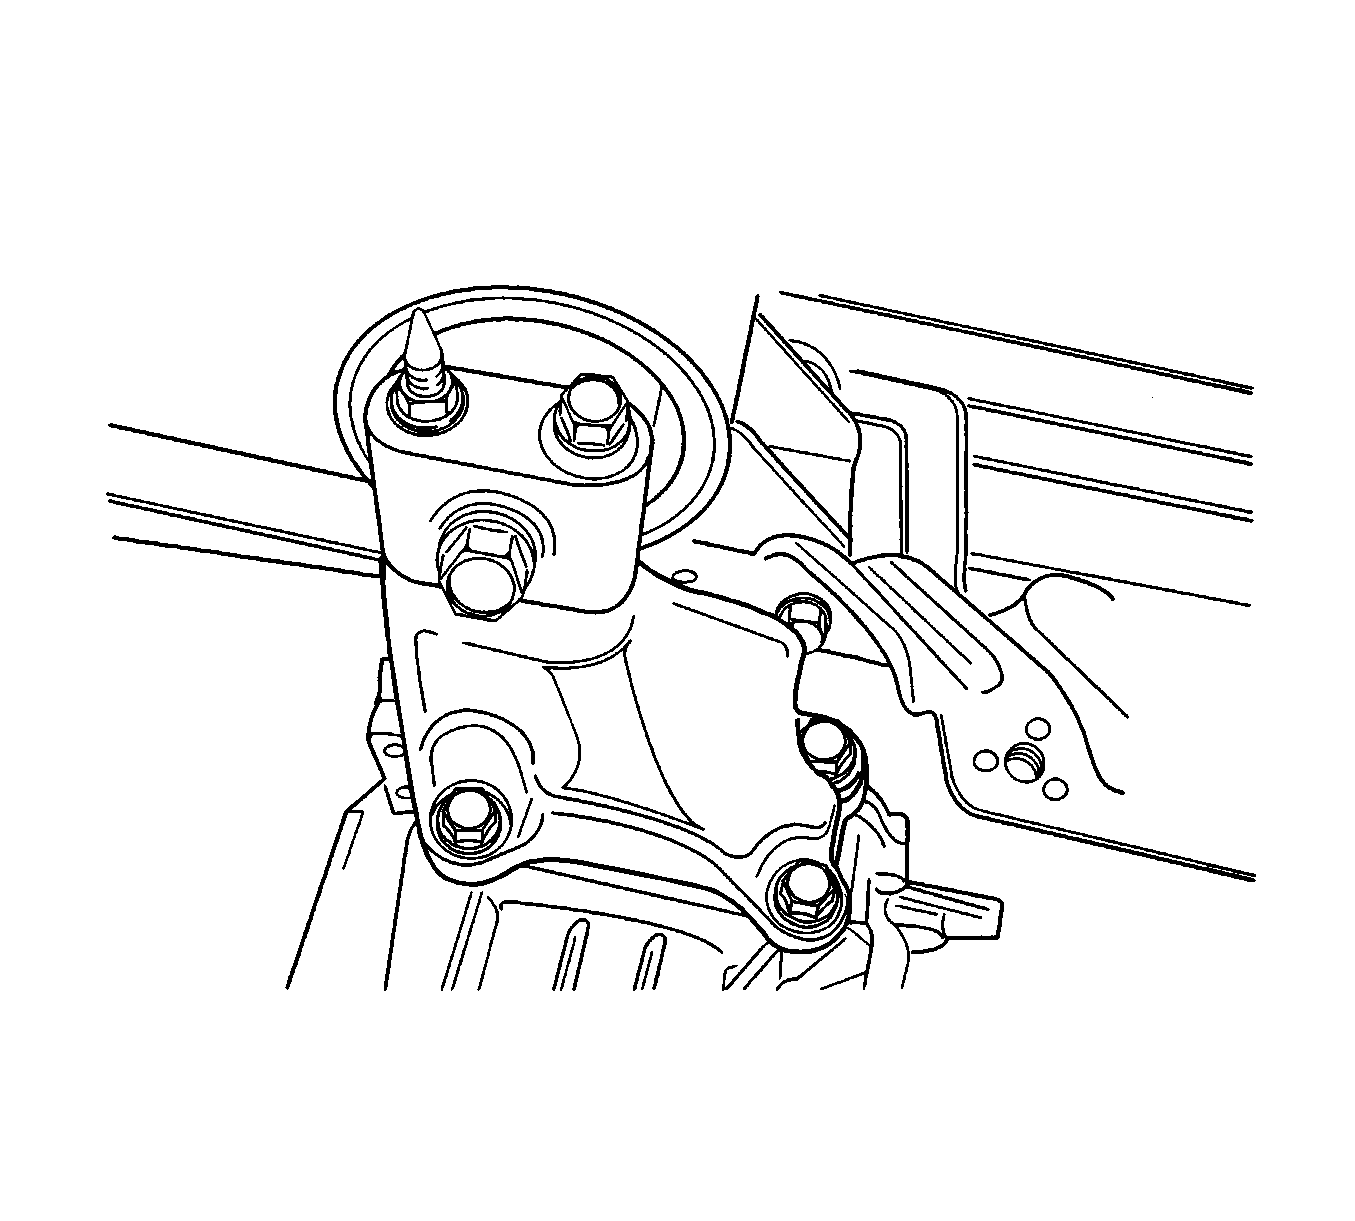
- Remove the 3 upper transaxle mounting bracket bolts.
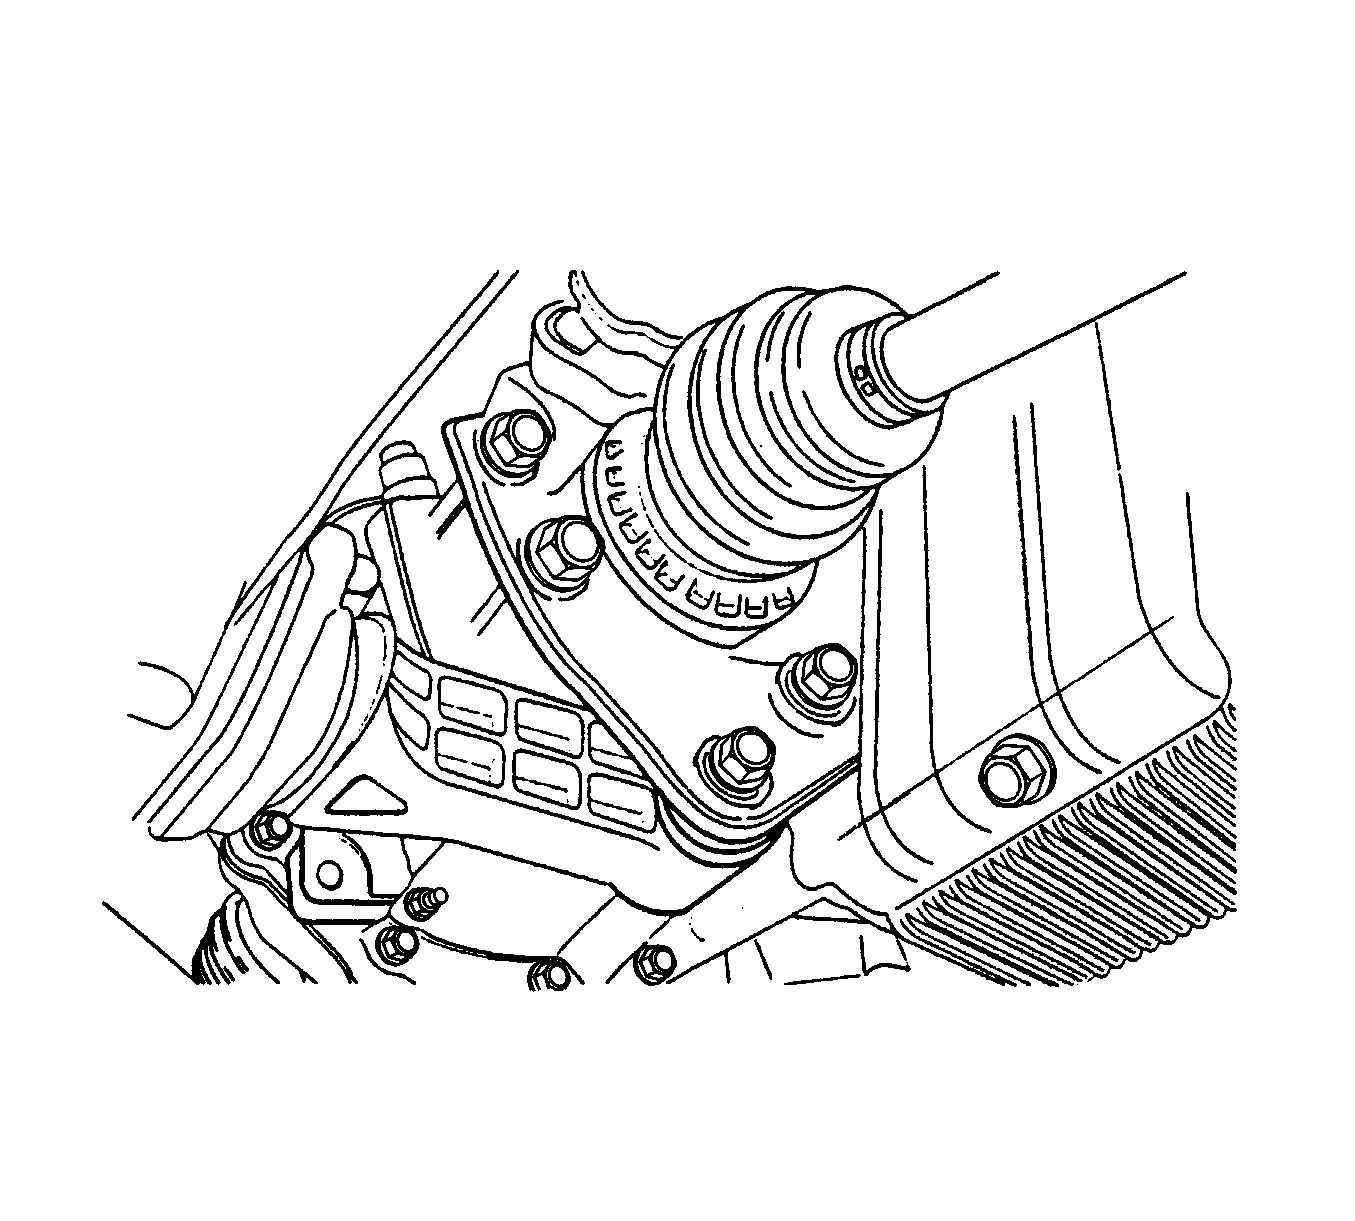
- Remove the 3 upper transaxle-to-engine mounting bolts.
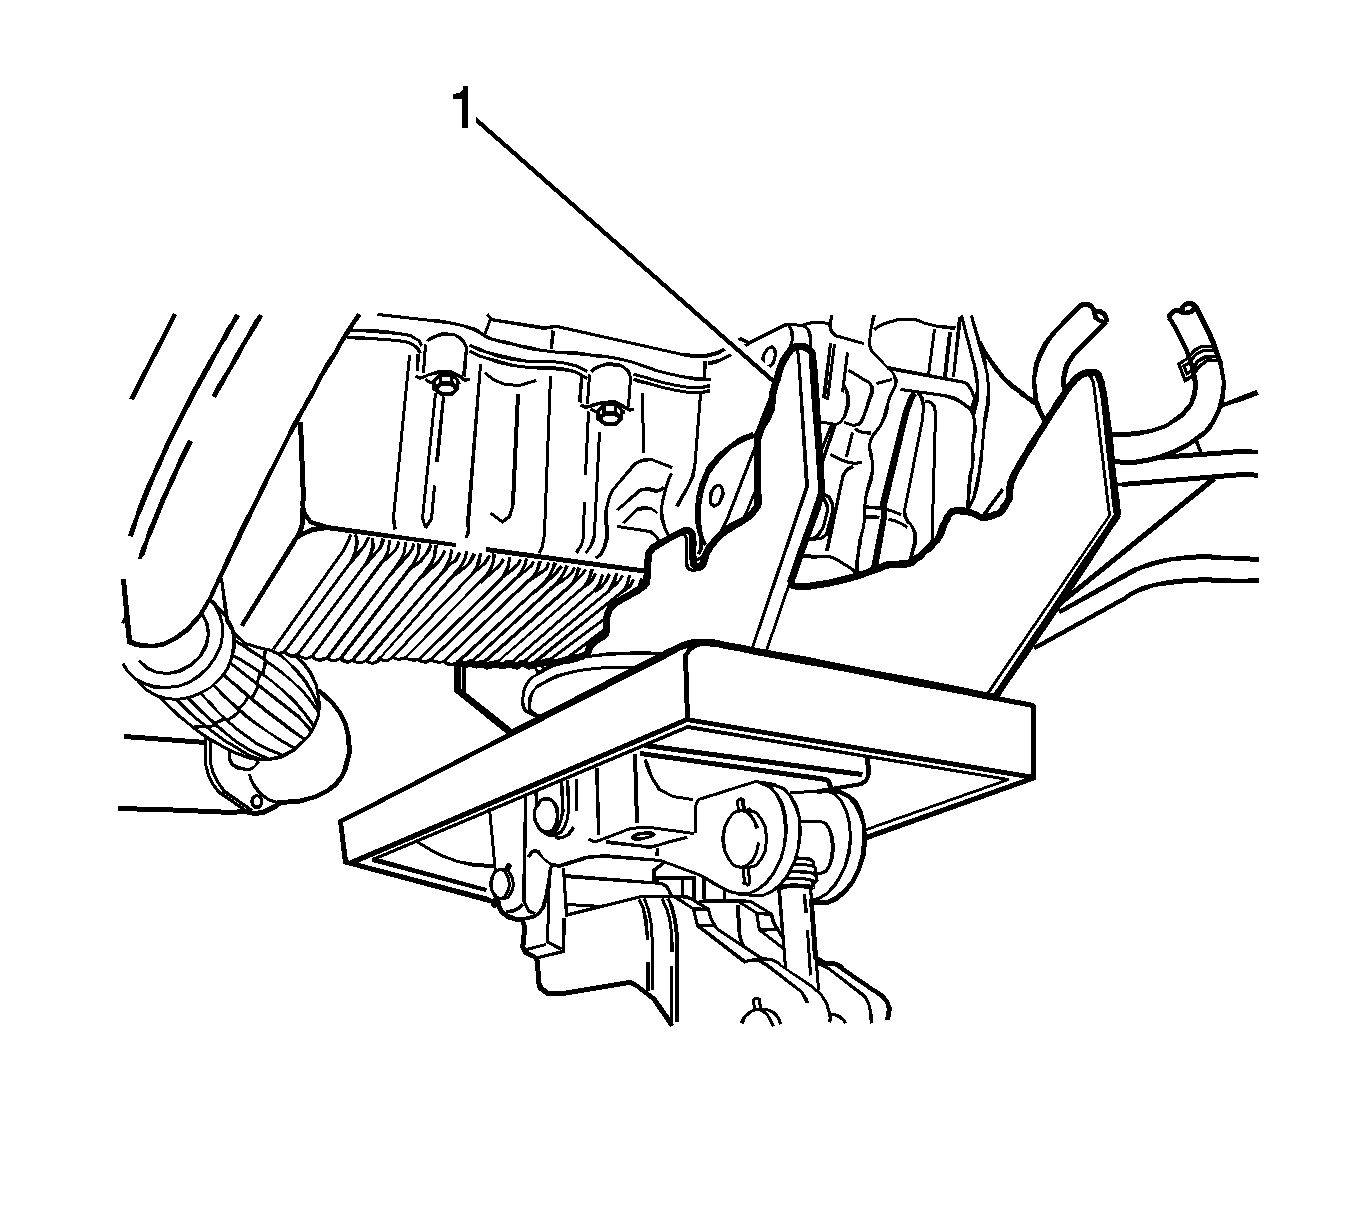
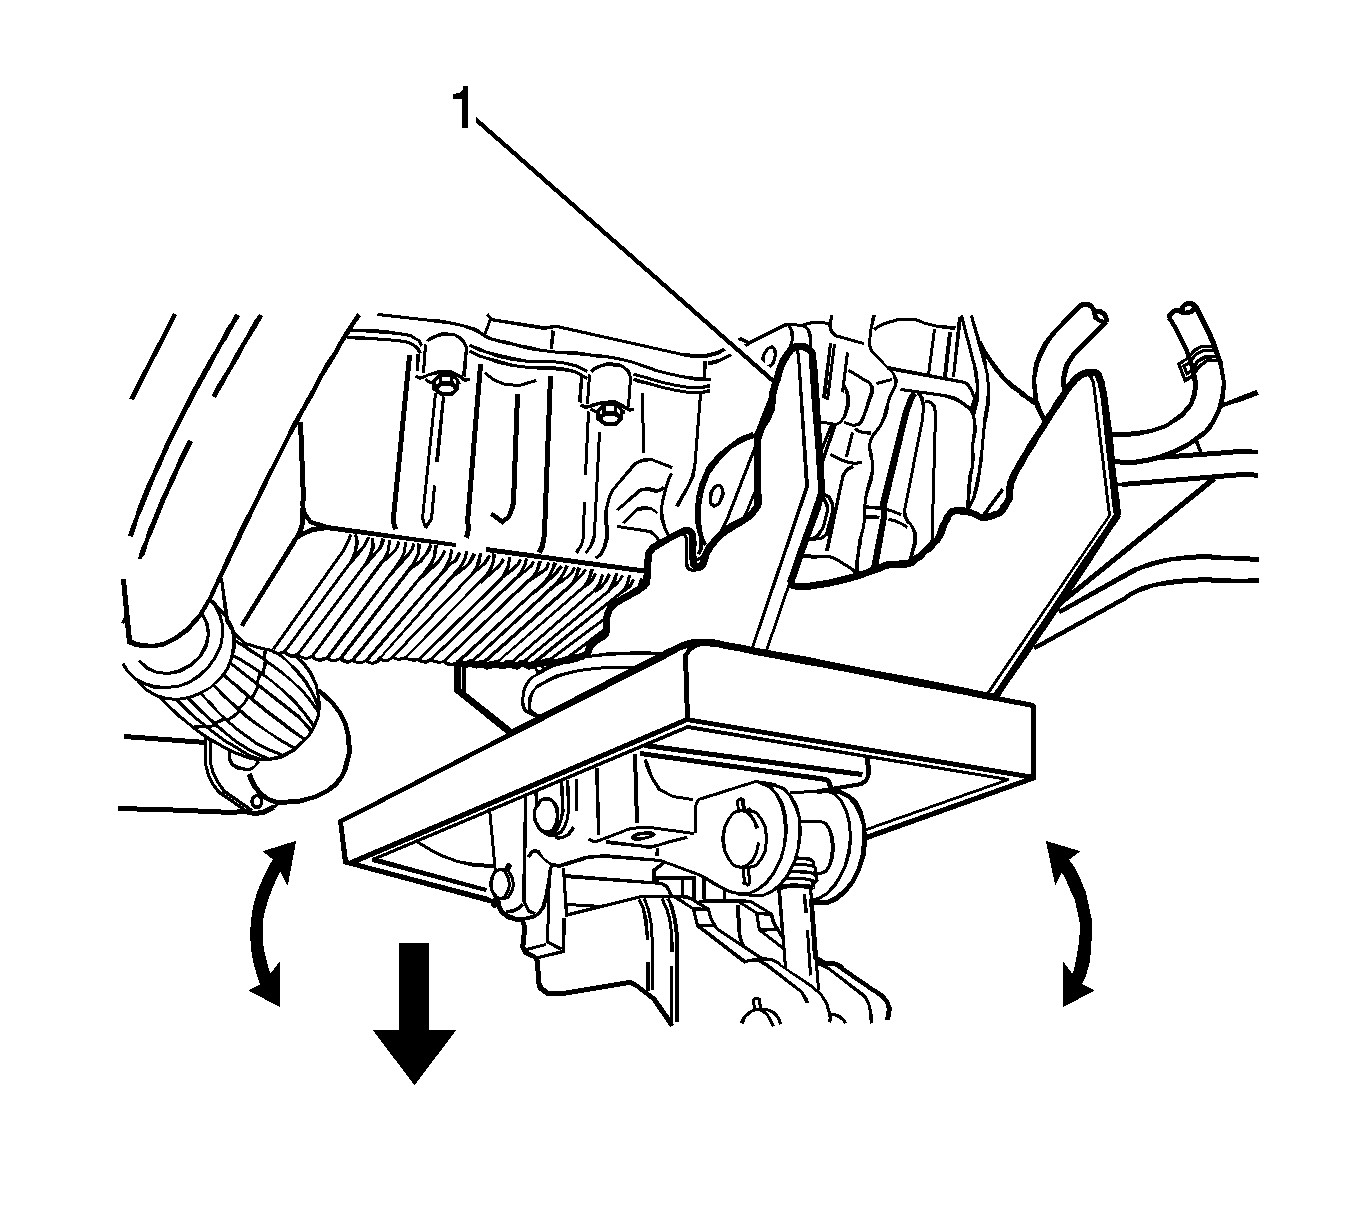
- Secure the transaxle to a transaxle jack and DW 260-120 (1).
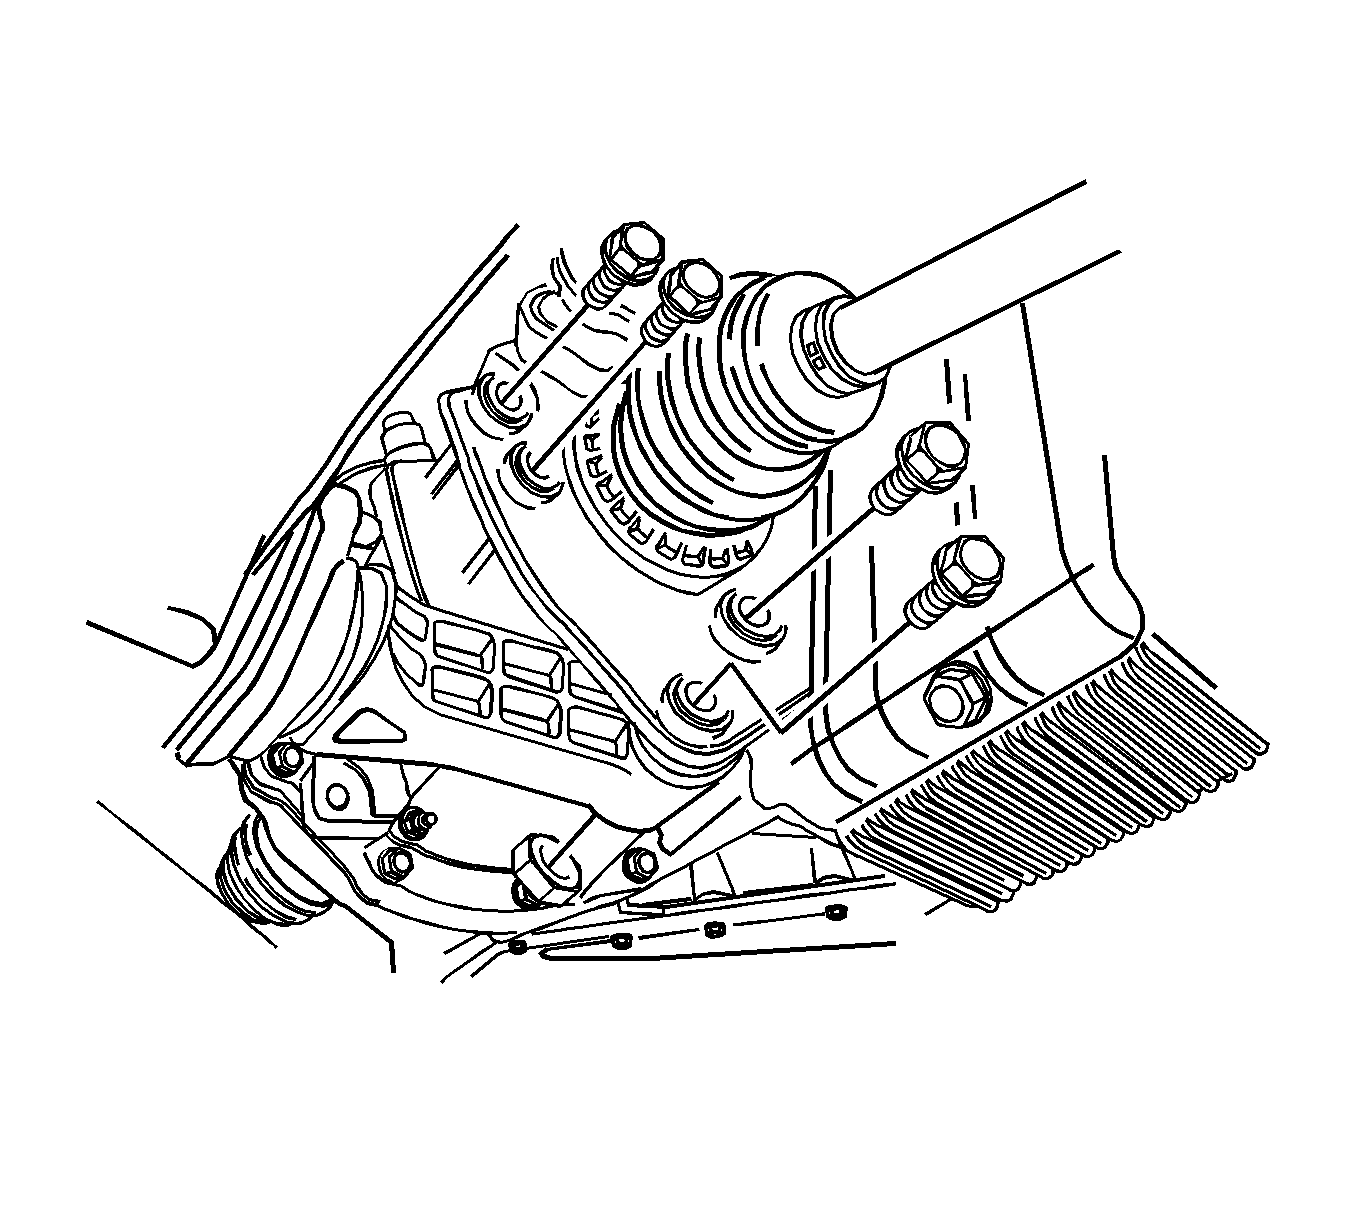
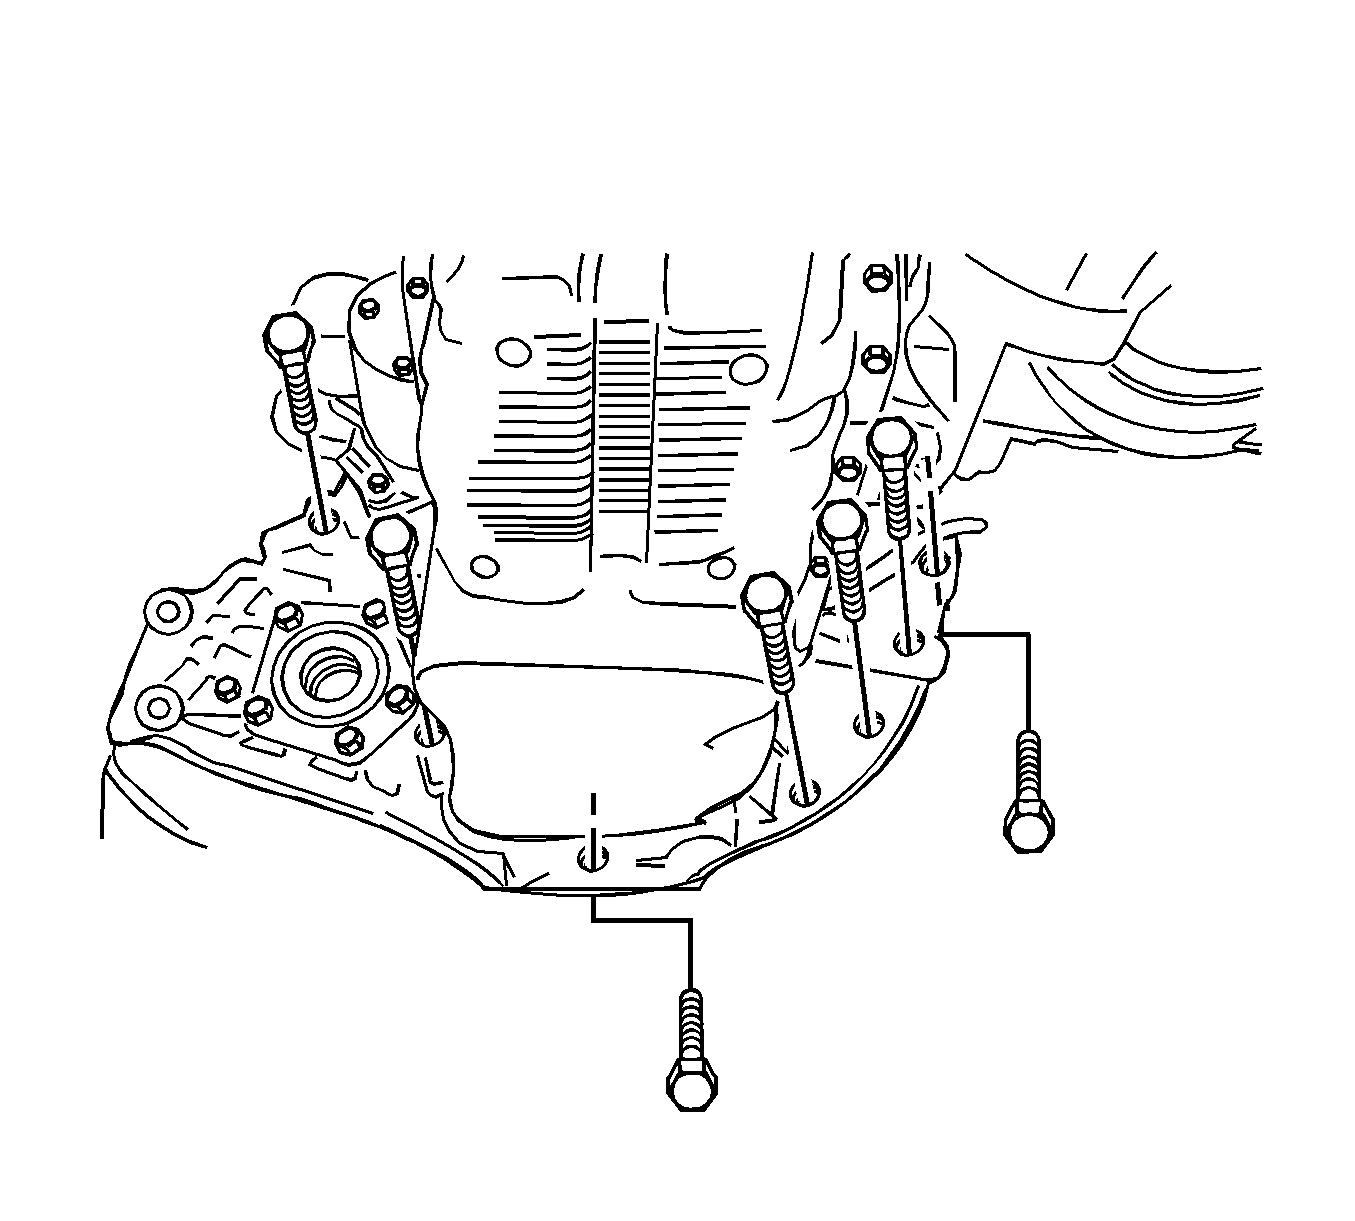
- Remove the 7 lower transaxle-to-engine retaining bolts.
- Carefully remove the transaxle from the vehicle with the transaxle secured in the DW 260-120 (1).
Installation Procedure
- Secure the transaxle to the transaxle jack, then carefully position in the vehicle with the transaxle secured in the DW 260-120 (1).
- Install the 7 lower transaxle-to-engine retaining bolts.
- Install the 3 upper transaxle-to-engine mounting bolts.
- Install the 3 upper transaxle mounting bracket bolts and the bracket.
- Install the rear mounting bracket bolts and the bracket.
- Install the damping block connection nut and bolt.
- Install the torque converter bolts.
- Install the service hall cover.
- Connect the transaxle electrical connector.
- Connect the PNP sensor electrical connector.
- Connect the OSS sensor electrical connector.
- Connect the ISS sensor electrical connector.
- Remove the J 28467-B (1).
- Connect the shift control cable into the transaxle. Refer to Floor Shift Control Cable Replacement .
- Connect the fluid cooler inlet and outlet hose into the transaxle.
- Install the left and right drive axle assemblies. Refer to Front Drive Axle Inner Shaft and Inner Shaft Housing Replacement in Front Drive Axle.
- Install the battery and battery tray. Refer to Battery and Battery Tray Replacement in Engine Electrical.
- Fill the transaxle with fluid. Refer to Transmission Fluid Draining .
- Measure the fluid level. Refer to Transmission Fluid Level Inspection .

Notice: Refer to Fastener Notice in the Preface section.
Tighten
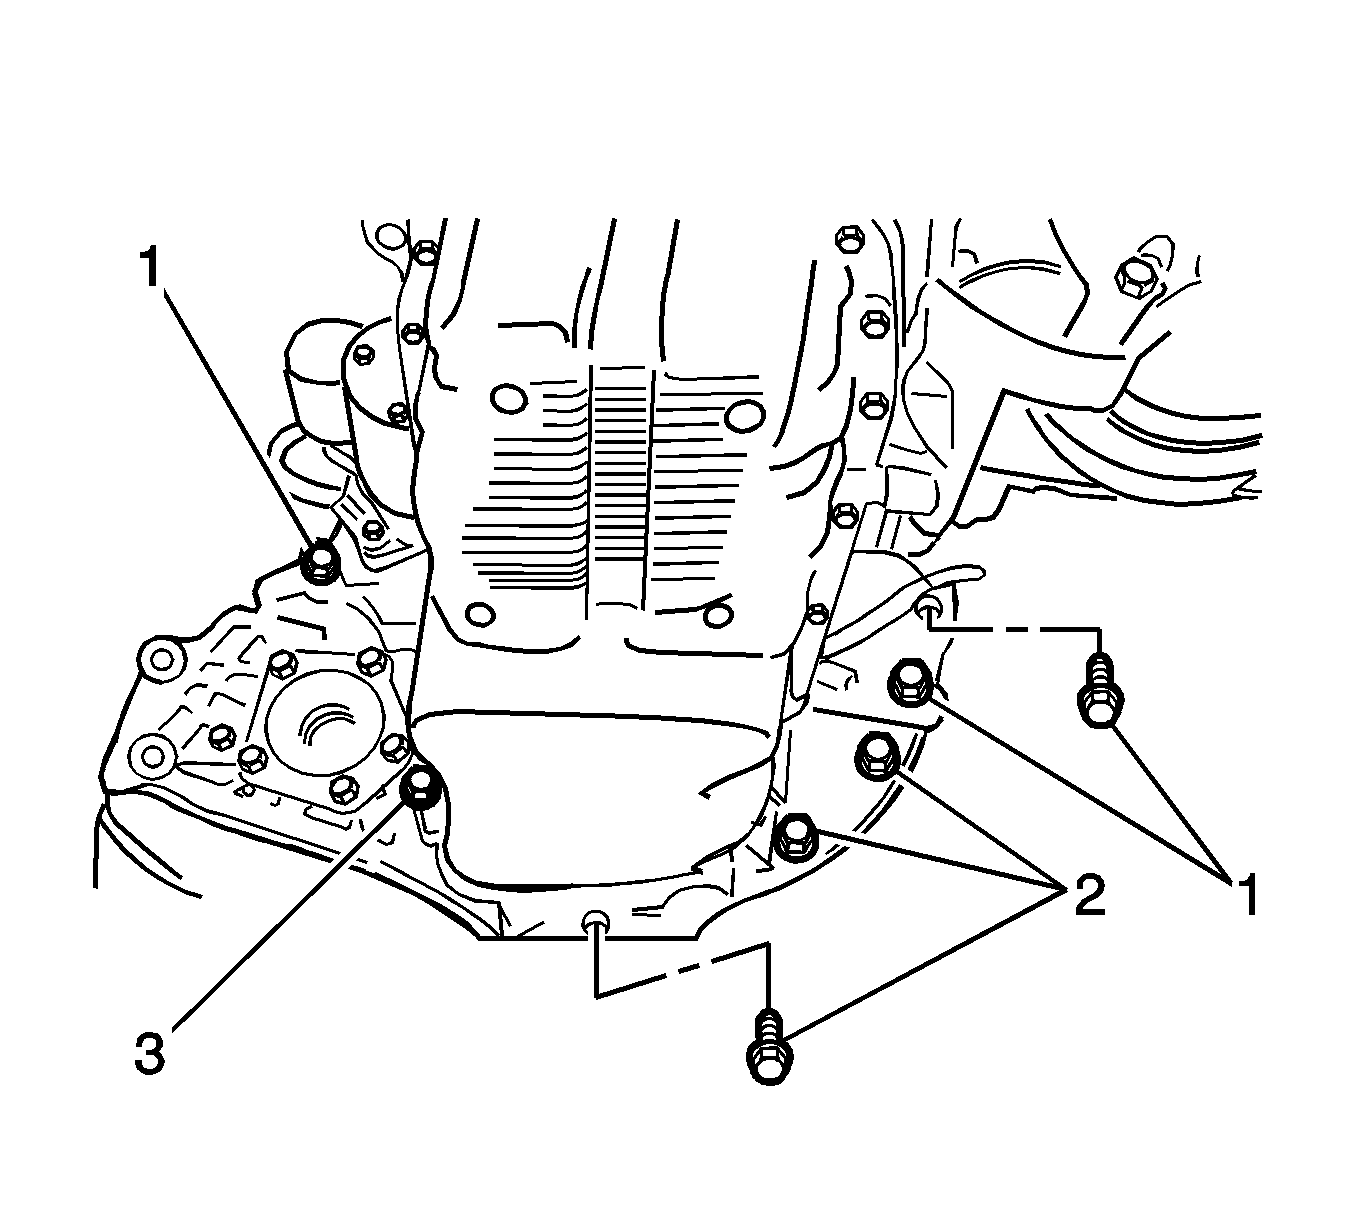
| • | Tighten the bolts (1) to 73 N·m (54 lb ft). |
| • | Tighten the bolts (3) to 31 N·m (23 lb ft). |
| • | Tighten the bolts (2) to 21 N·m (15 lb ft). |
Tighten
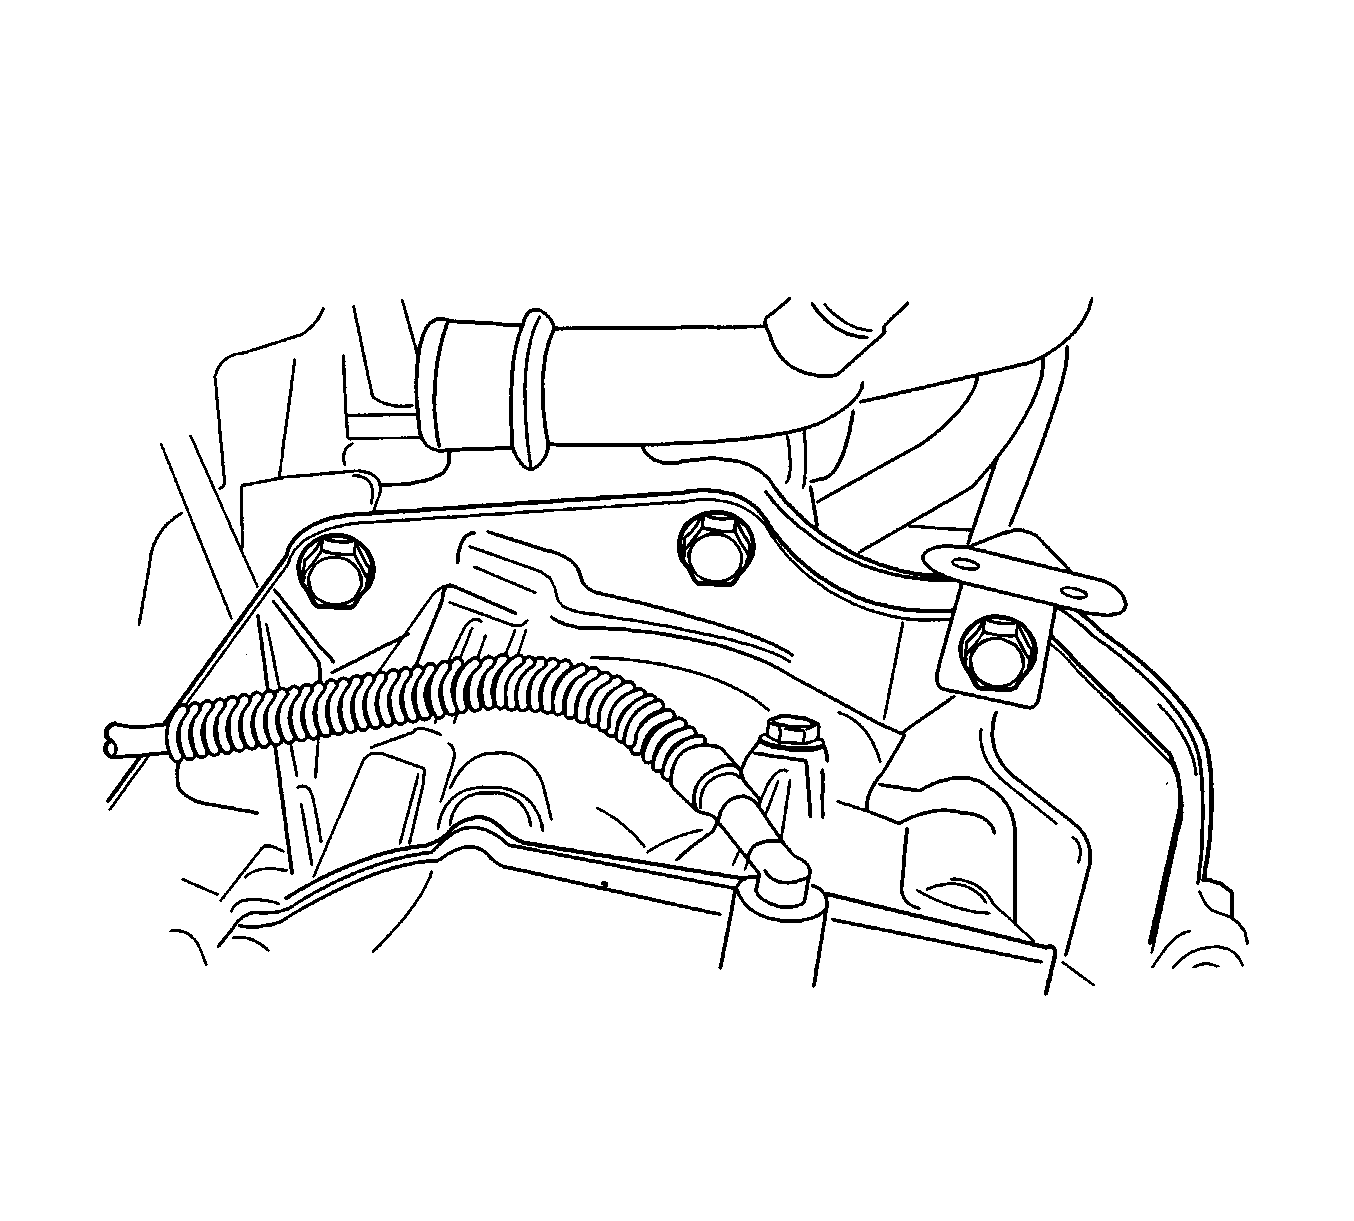
Tighten the 3 upper transaxle-to-engine mounting
bolts to 73 N·m (54 lb ft).
Tighten
Tighten the 3 upper transaxle mounting bracket
bolts to 60 N·m (44 lb ft).
Tighten
Tighten the rear mounting bracket bolts to 60 N·m
(44 lb ft).
Tighten
Tighten the damping block connection nut and bolt
to 80 N·m (59 lb ft).

Tighten
Tighten the torque converter bolts to 45 N·m
(33 lb ft).


