
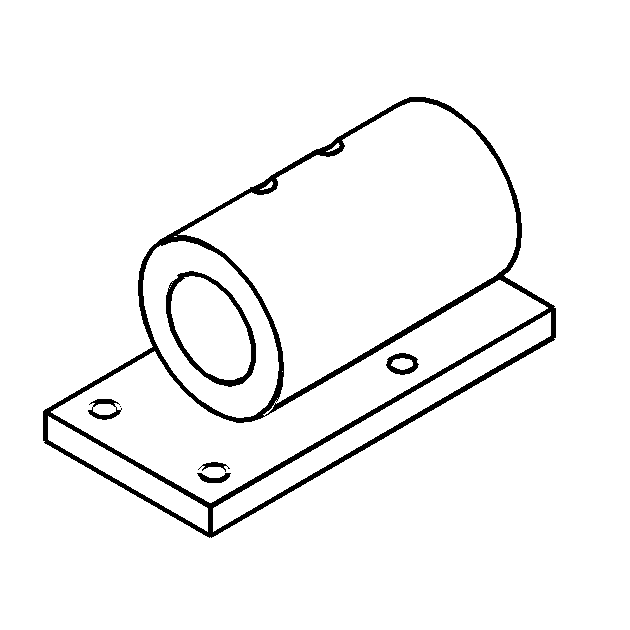
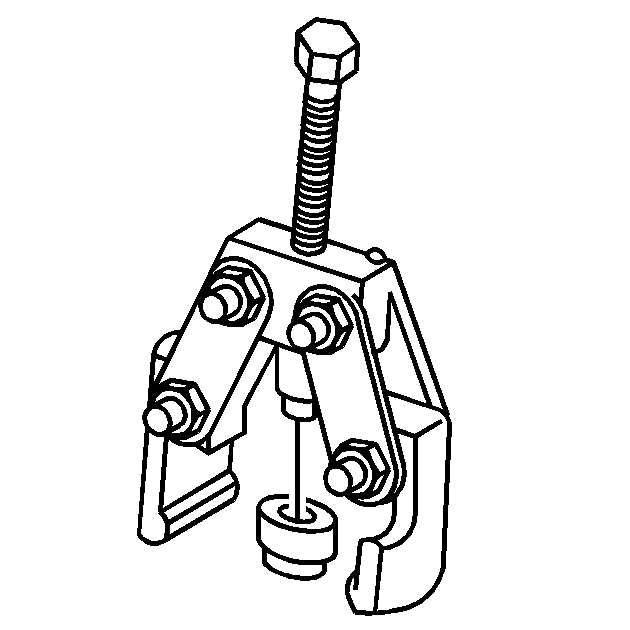
- Attach transmission to
KM-6115
(2).
- Attach transmission to
KM-113-2
(1) using
KM-6115
.
- Remove left engine damping block bracket.
Remove 3x bolts.
- Put transmission into neutral.
Important: Shift transmission to neutral position.
- F17+ MTA: Remove gearshift module. Refer to
Transmission Control Replacement.
F17+: Complete the following procedure:
| 5.1. | Press adjusting pin (2) into adjusting bore. |
| | Important: The adjusting pin is at the front in the direction of travel.
|
| 5.1. | Turn gearshift rod anti-clockwise (in direction of 3rd gear). |
| | Important: Cover aperture in transmission.
|
| 5.2. | Detach gearbox cover (1) from transmission. |
Unscrew 4x bolt.
| 5.3. | Clean sealing surfaces, remove sealant residues. |

| 5.4. | Measure clearance (I) between alignment pin (2) and actuating mechanism (1) of the gearshift rod 3rd/4th gear. |
| • | Measure with feeler gauge |
| • | Clearance must be approx. 0.5 mm (0.0197 in) |
| - | If clearance is too great, drive alignment pin further into the transmission housing with a drift punch and measure clearance again. |
| - | If clearance is too small: No correction of clearance necessary because the gearshift rod presses the alignment pin into the correct position. |

| 5.5. | Attach gearbox cover to
KM-982
(3). |
| 5.7. | Remove engaging sleeve for intermediate lever from gearbox cover (I). |
Draw out of gearbox cover with
KM-328-B
(1) and
KM-983
-2 (2).
| 5.8. | Remove guide bolt for connecting link from gearbox cover (II). |
Draw out of gearbox cover with
KM-328-B
and
KM-983
-1 (4).
| 5.9. | Detach retaining ring (5) from intermediate gearshift lever. |
| 5.9.2. | Remove compression spring (7) |
| 5.10. | Detach gearbox cover from
KM-982
. |

| 5.11. | Remove intermediate gearshift lever (1). |
Turn gearshift rod (2) with gearshift finger in the direction of the arrow.
| 5.12. | Remove gearshift rod from gearbox cover. |
Knock roll pin out of gearshift finger (3) with drift punch. Note recess in cover.
| | Important: Do not further dismantle gearbox cover.
|
| 5.13. | Prise seal ring (4) out of gearbox cover. |
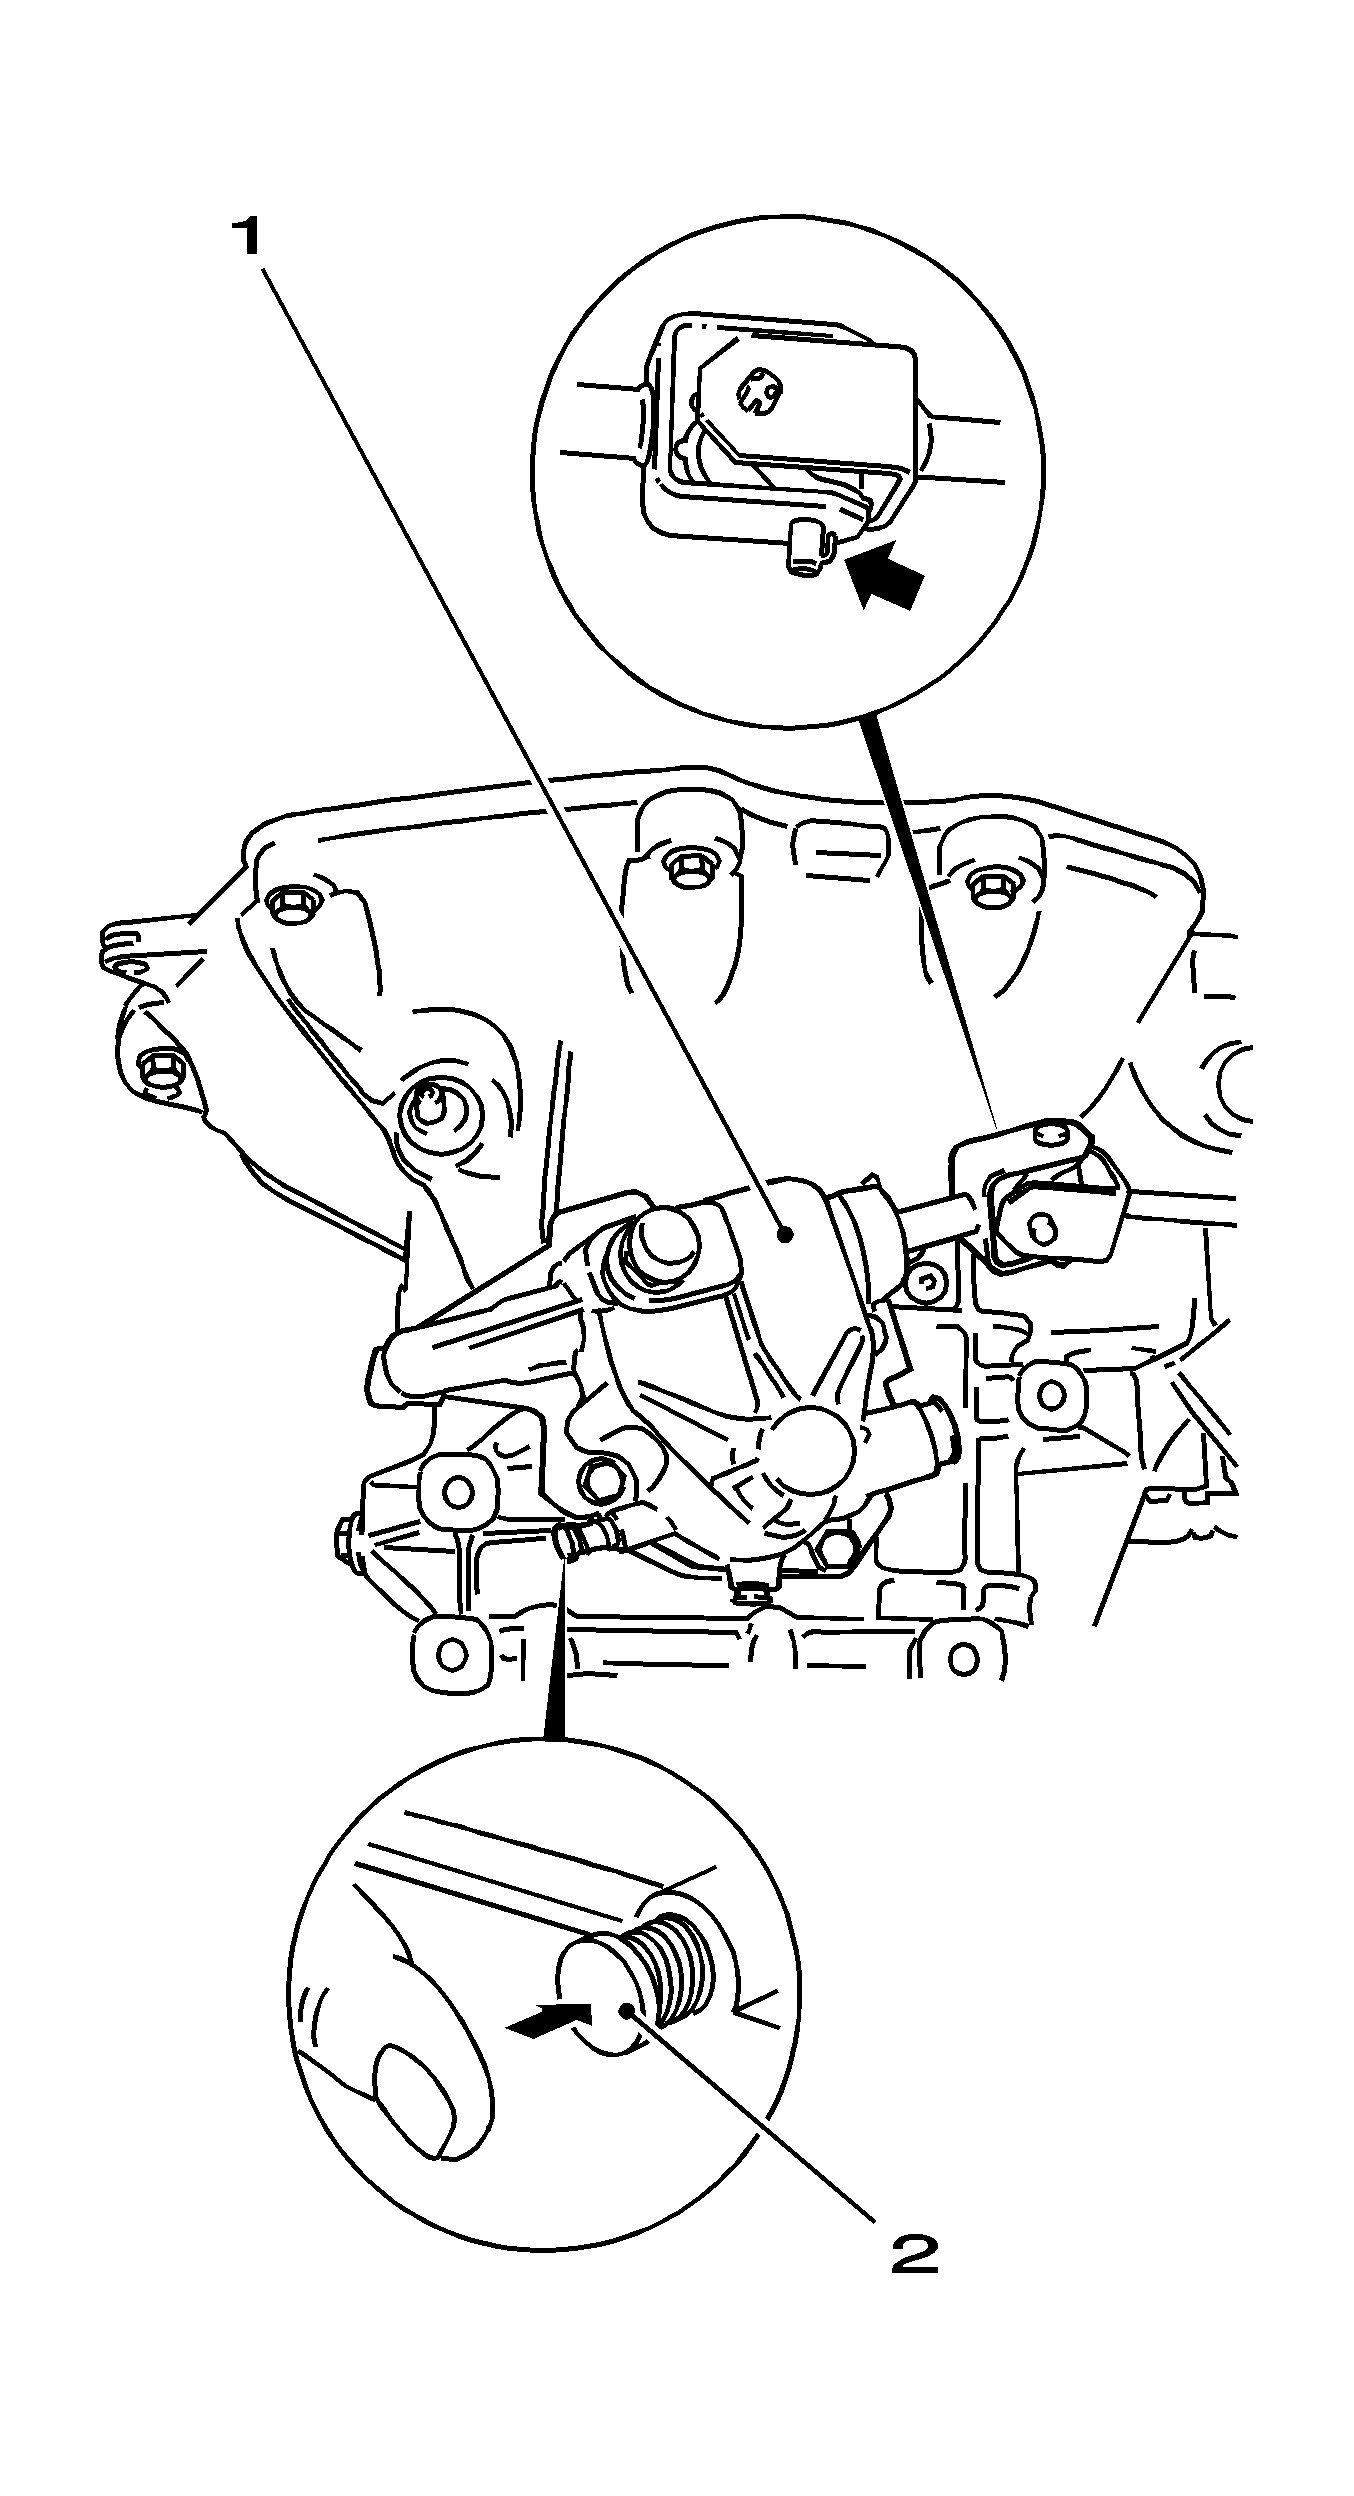
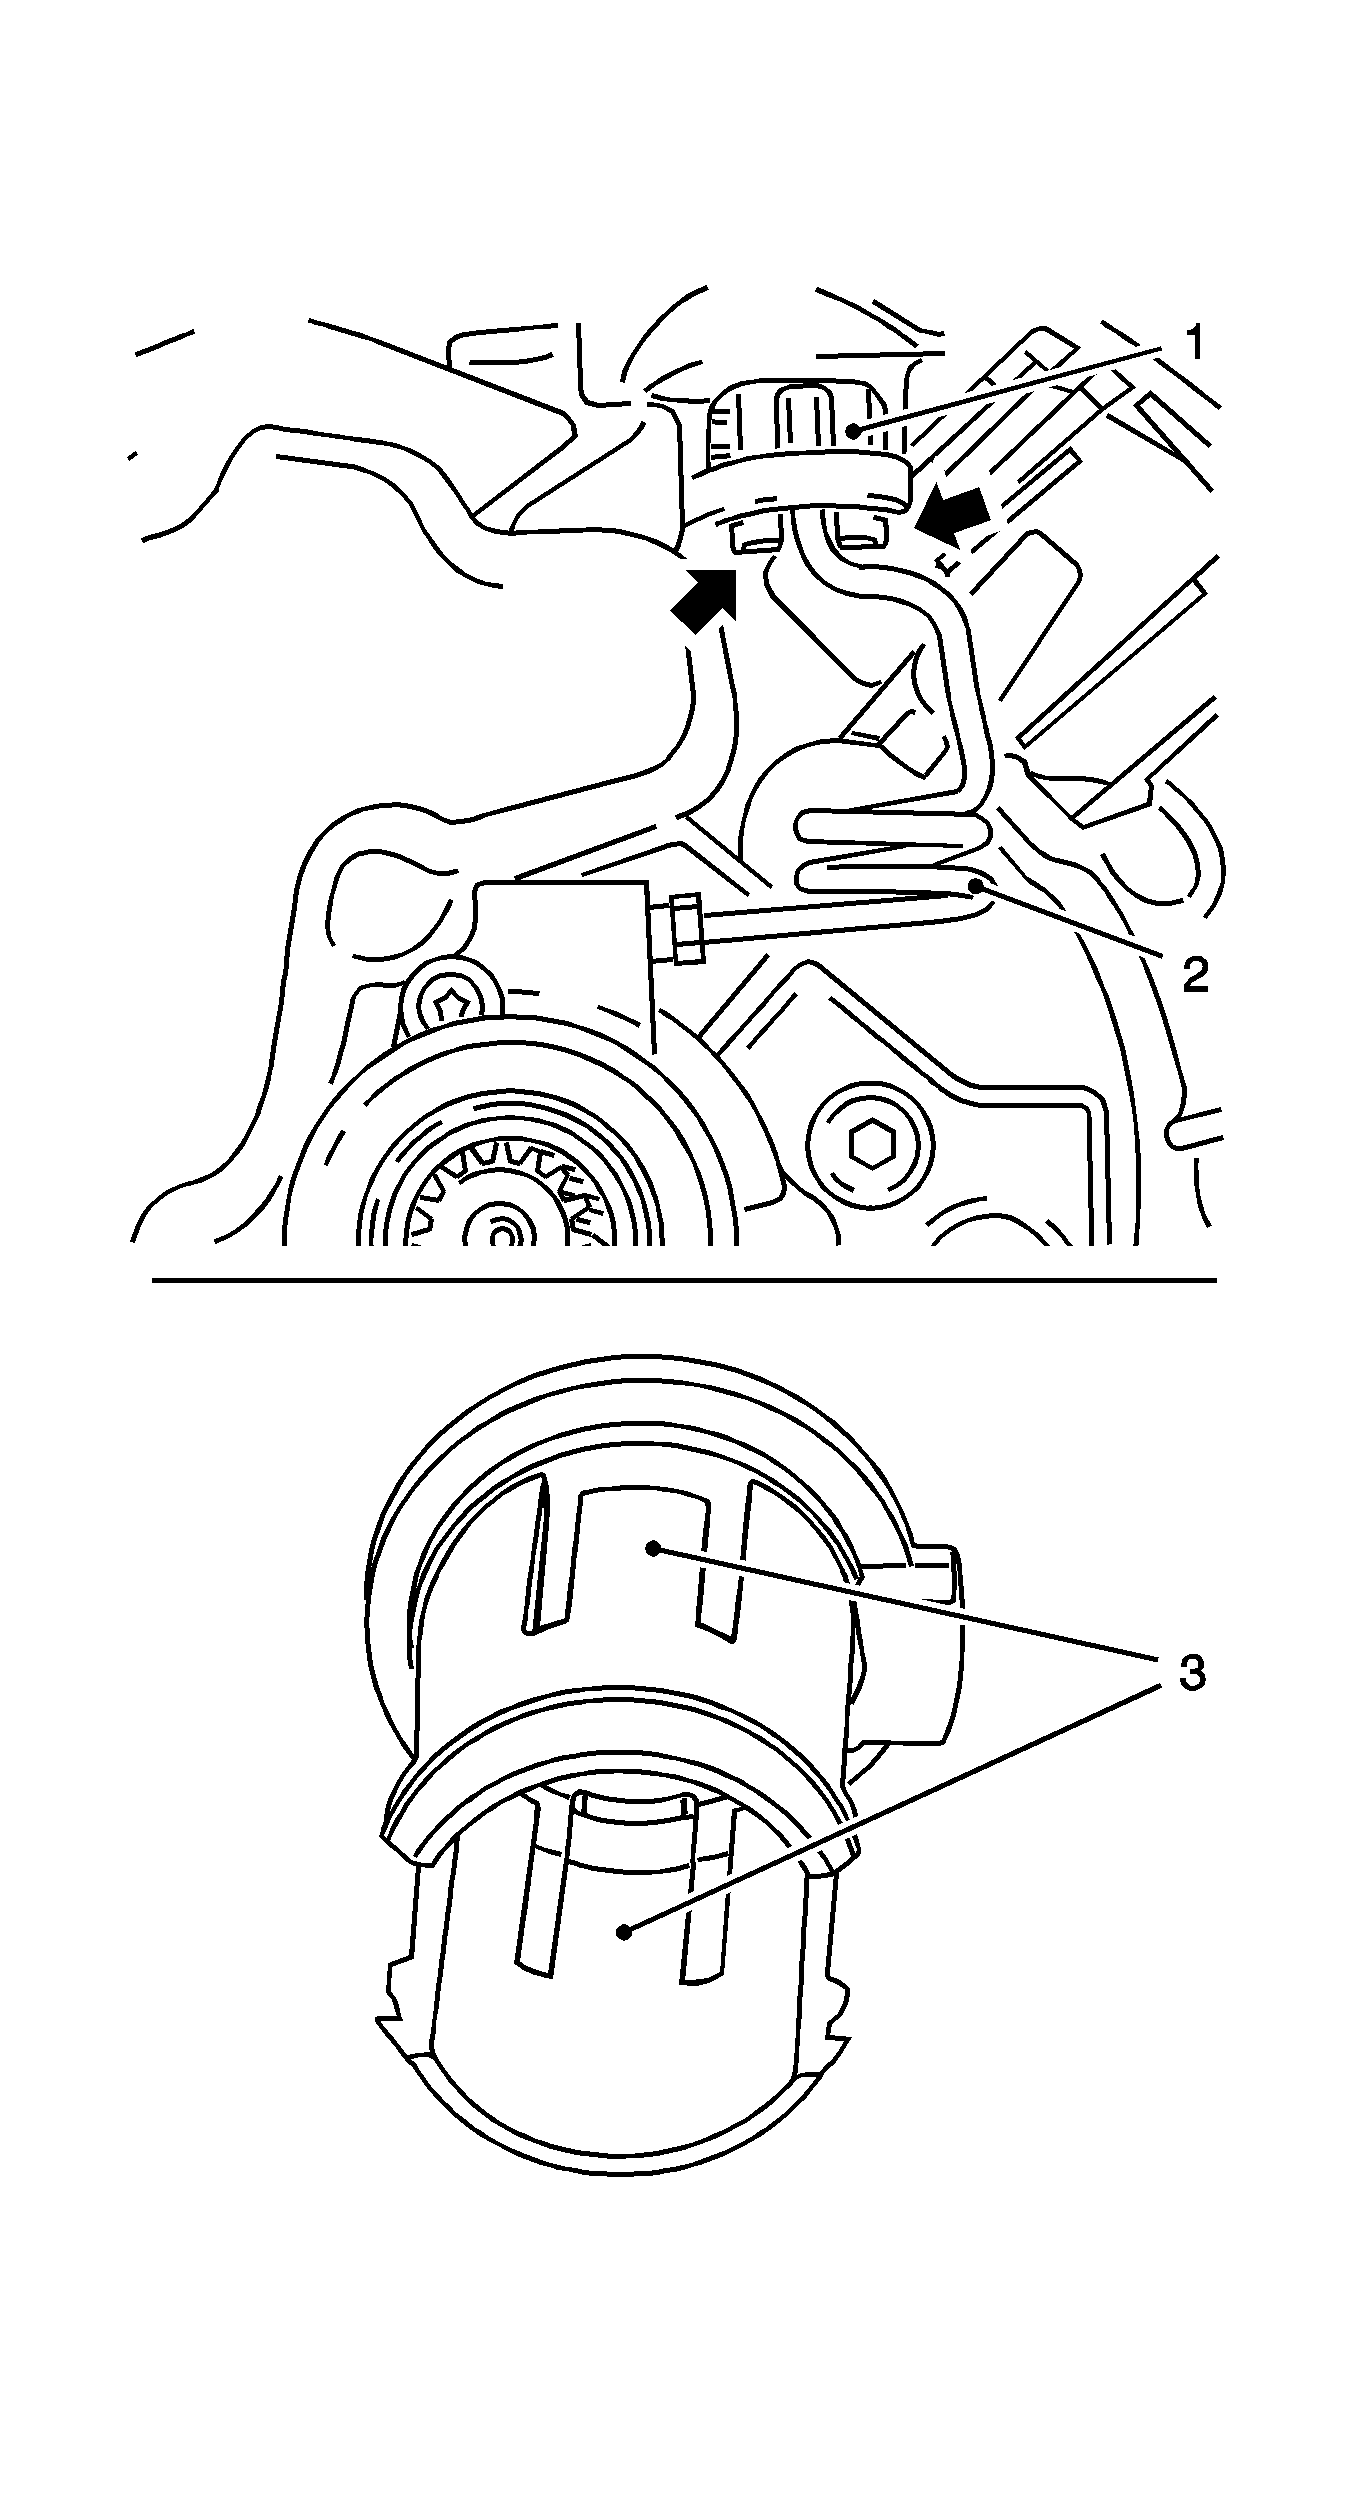
- Unscrew reversing lamp switch (1).

Important: Place collecting pan underneath - transmission fluid will escape
- Remove end shield cover.
Unscrew 9x bolt. If necessary, release the end shield cover by striking it gently with a rubber mallet.
Detach end shield cover gasket.

Important: When dismantling the end shield it is essential to use
KM-6155
(2) as otherwise the shaft seal ring of the central release will be damaged.
Important: Be careful of guide sleeves, magnet (3) and spacer washer (4) for axle reverse idler gear.
- Screw
KM-6155
into threaded bores.
- Detach end shield.
Unscrew 4x bolt (arrows).
- Check all parts for damage. Replace damaged components.
- Clean sealing surfaces.
- Detach
KM-6155
.

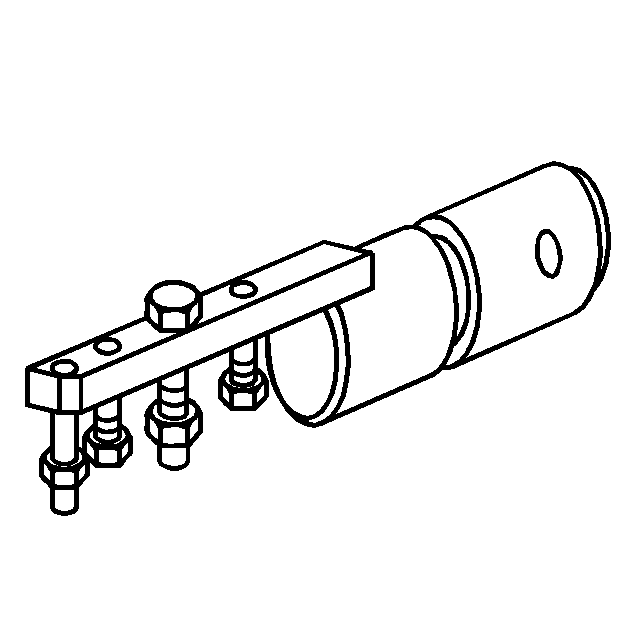
- Attach end shield to
KM-552
(2).
- Attach end shield to
KM-113-2
(1) using
KM-552
.

Important: Micro-encapsulated fastening bolts. If fastening bolts are stiff, heat end shield with hot-air dryer to approximately 80°C (176°F).
- Remove bearing support (1) with rocker arm (2) from end shield.
Unscrew 2x bolt.

- Remove 5th gear (driven).
| • | Detach retaining ring from synchro body (1) |
| • | Pull gear wheel, 5th gear, and synchro body, 5th gear, away from main shaft with
KM-559-A
(2) |
| • | Remove 2x needle bearing for gear wheel, 5th gear |

- Detach gear wheel, 5th gear (driving) (2) from drive shaft (3). Remove retainer (1).

Important: Ensure
KM-553-A
is correctly seated on the gear wheel, 5th gear (driving).
- Detach gear wheel, 5th gear, (driving) from drive shaft with
KM-553-A
(1).
Place thrust piece (2) from
KM-553-A
on drive
shaft.

Important: Micro-encapsulated fastening bolts. If fastening bolts are stiff, heat end shield with hot-air dryer to approximately 80°C (176°F).
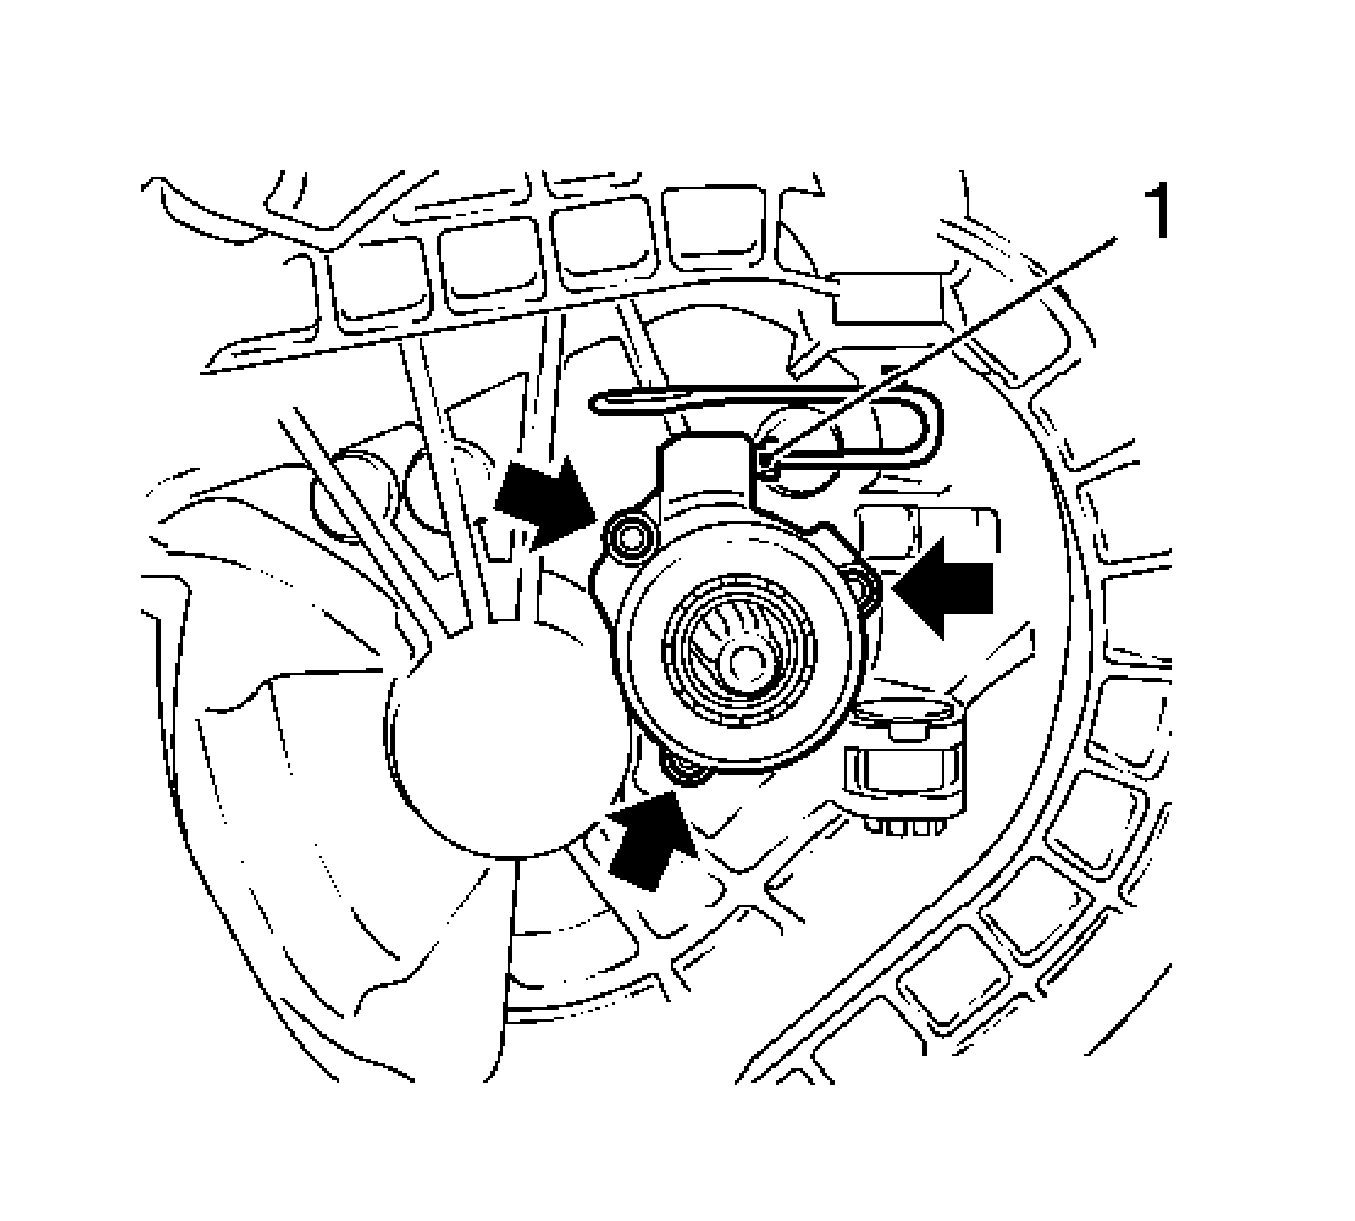
- Detach bearing support (2) with pawl (1) from end shield.
Remove 2x bolts (arrow).

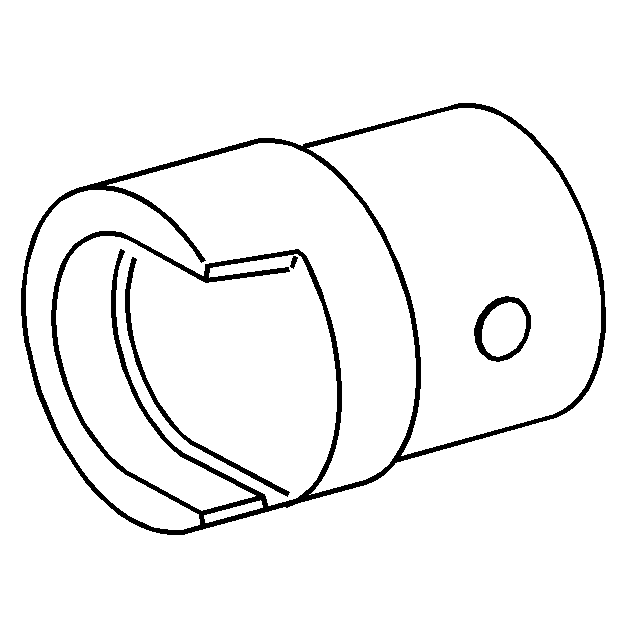
- Remove locking plugs (arrows) from end shield.
Remove locking plugs with
KM-727
(2) and
KM-328-B
(1).

- Detach bridge (1) for end shield locking bolt. The bridge will push out if 3rd gear is then engaged.
Important: Micro-encapsulated fastening bolts. If fastening bolts are stiff, heat end shield with hot-air dryer to approximately 80°C (176°F).
- Unscrew 2x bolt (2).
- Engage 2nd gear and 5th gear.
Engage 2x gear with shift carrier (arrows).

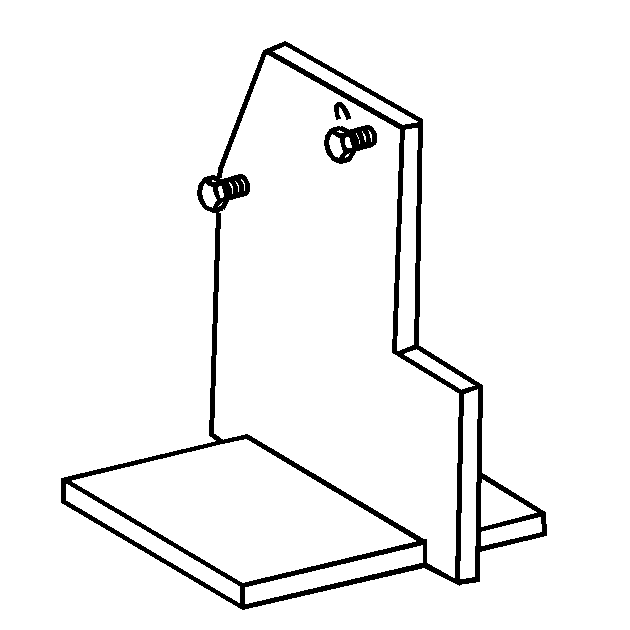
Important: Relieve pressure on gearshift rod guides - for this, support gearshift rods above with wood (1).
- Remove shift fork, 3rd/4th gear and reverse gear.
| • | Drive roll pins out of 3rd/4th gear shift fork (3) and reverse gear shift fork (6) using
KM-308
|
| • | Take out gearshift rod (2), gearshift rod reverse gear and shift fork |
- Remove gear shift driver.
Remove 5th gear shift driver (4) from end shield.
- Remove locking pins (5).
Remove roll pin for catch from end shield.

Important: Relieve pressure on gearshift rod guides - for this, support gearshift rods (1) above with wooden wedge (2).
- Remove 1st/2nd gear shift fork.
| • | Drive roll pin (3) out of 1st/2nd gear shift fork (4) using
KM-308 |
| • | Take out shift fork with gearshift rod |

Important: Collect main shaft, drive shaft and reverse idler.
- Remove main shaft and drive shaft.
| • | Detach end shield from
KM-552
|
| | Important: To ensure that both shafts are pushed out evenly, press harder on the main shaft side. Take care that the gear wheel, 1st gear, is not in contact with the press.
|
| • | Press main shaft and drive shaft out as shown using
KM-6335
(1) |
| • | Collect main shaft, drive shaft and reverse idler |

Important: Note that retaining ball is released.
- Remove reverse gear axle (1).
| | Important: Use protective jaws
|
| • | Clamp reverse gear spindle in vice |
| • | Carefully knock off end shield with brass punch |
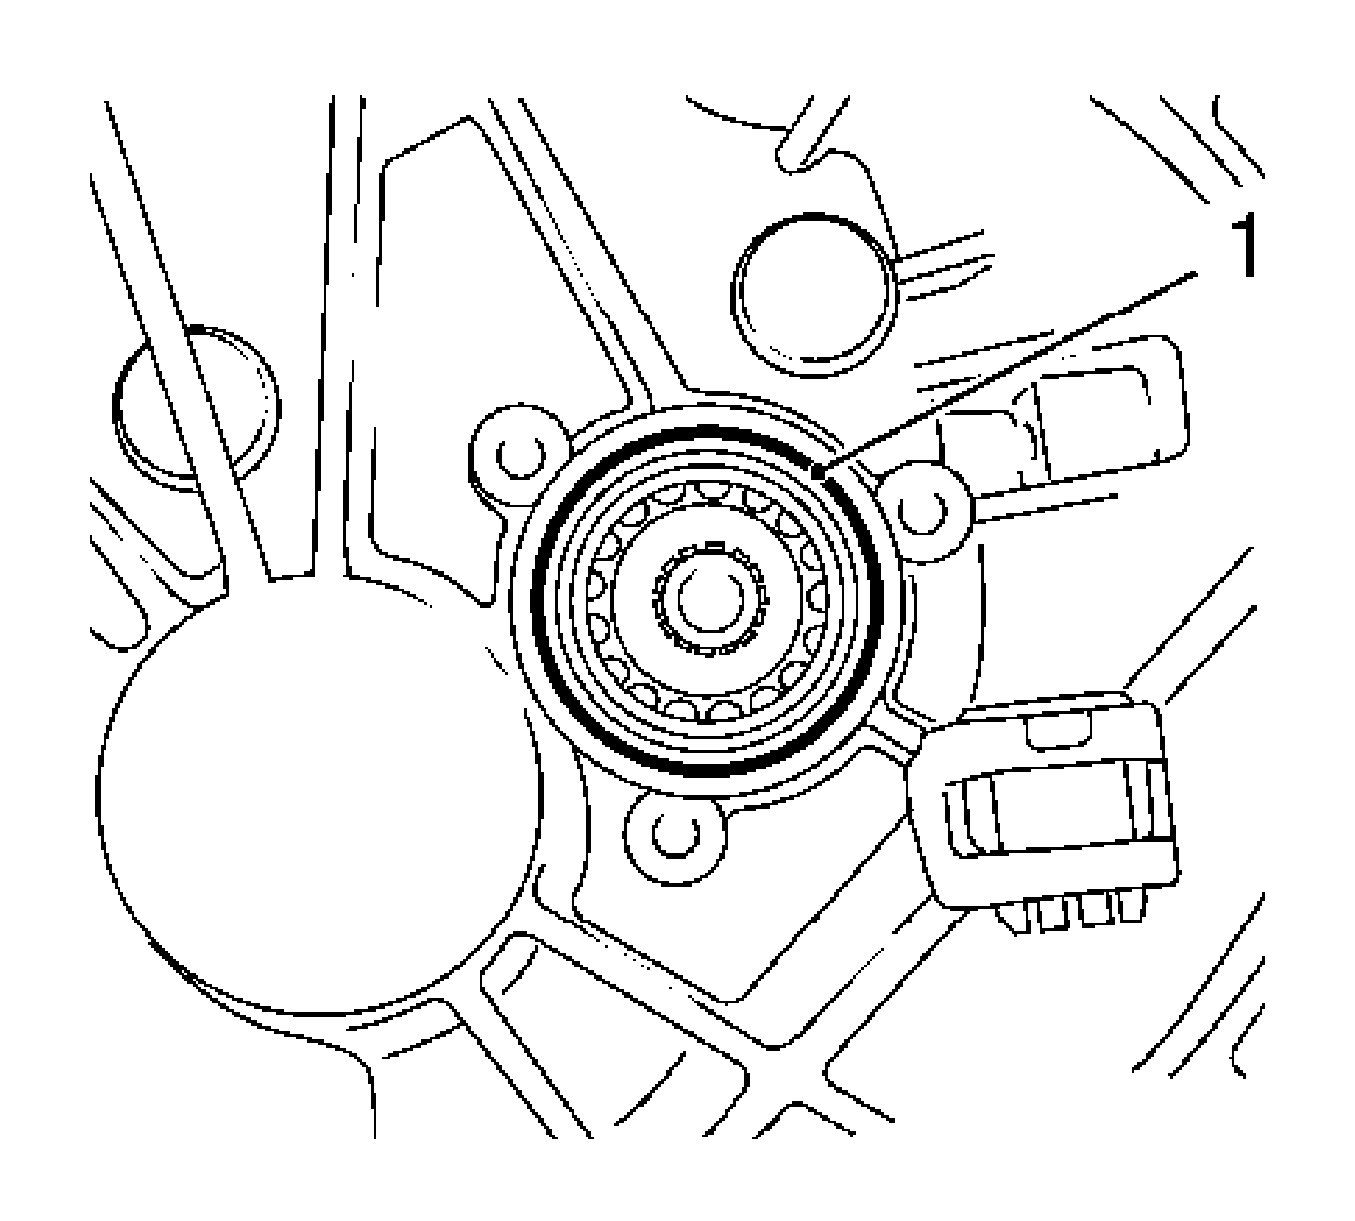
- Remove bearing for main and drive shafts.
| • | Remove 2x retaining rings (2) |
| • | Press out 2x bearings using
KM-500-A
-5 (3) |
- Clean all parts and sealing surfaces.
- Check all parts. Replace damaged components.

Important: Place collecting pan underneath - transmission fluid will escape
- Detach differential cover (1).
Unscrew 10x bolt.
- Mark position of bearing race (2) in respect of transmission (arrow).

- Remove bearing race with
KM-447
(2).
Remove retaining plate (1) from bearing race - unscrew
bolt.
- Remove differential downwards.
- Detach pressure line (1). Unscrew union nut.
- Remove central release. Remove 3x bolt (arrow).
- Check seal ring (1) on central release for damage. Replace damaged components.
- Remove pressure line (1).
| • | Unlatch fastening sleeve for pressure line on clutch housing (arrows) |
| • | Draw fastening sleeve with pressure line upwards and slightly out of transmission |
| • | Detach fastening sleeve for pressure line - carefully disengage retaining lugs (3) |
- Check all parts for damage. Replace damaged components.

- Remove needle bearing (3) for drive shaft.
Remove needle bearing from transmission housing with
KM-556-A
(1)
and
MKM-559
(2).
- Remove roller bearing (4) for main shaft.
Remove roller bearing from transmission housing with
KM-556-A
(6) and
KM-556-A
-2 (5).

- Remove 2x axle shaft seal ring with
KM-557-A
-1 (2) and
KM-557-A
-2 (1)
from transmission housing.
- Remove transmission housing from
KM-6115
.
