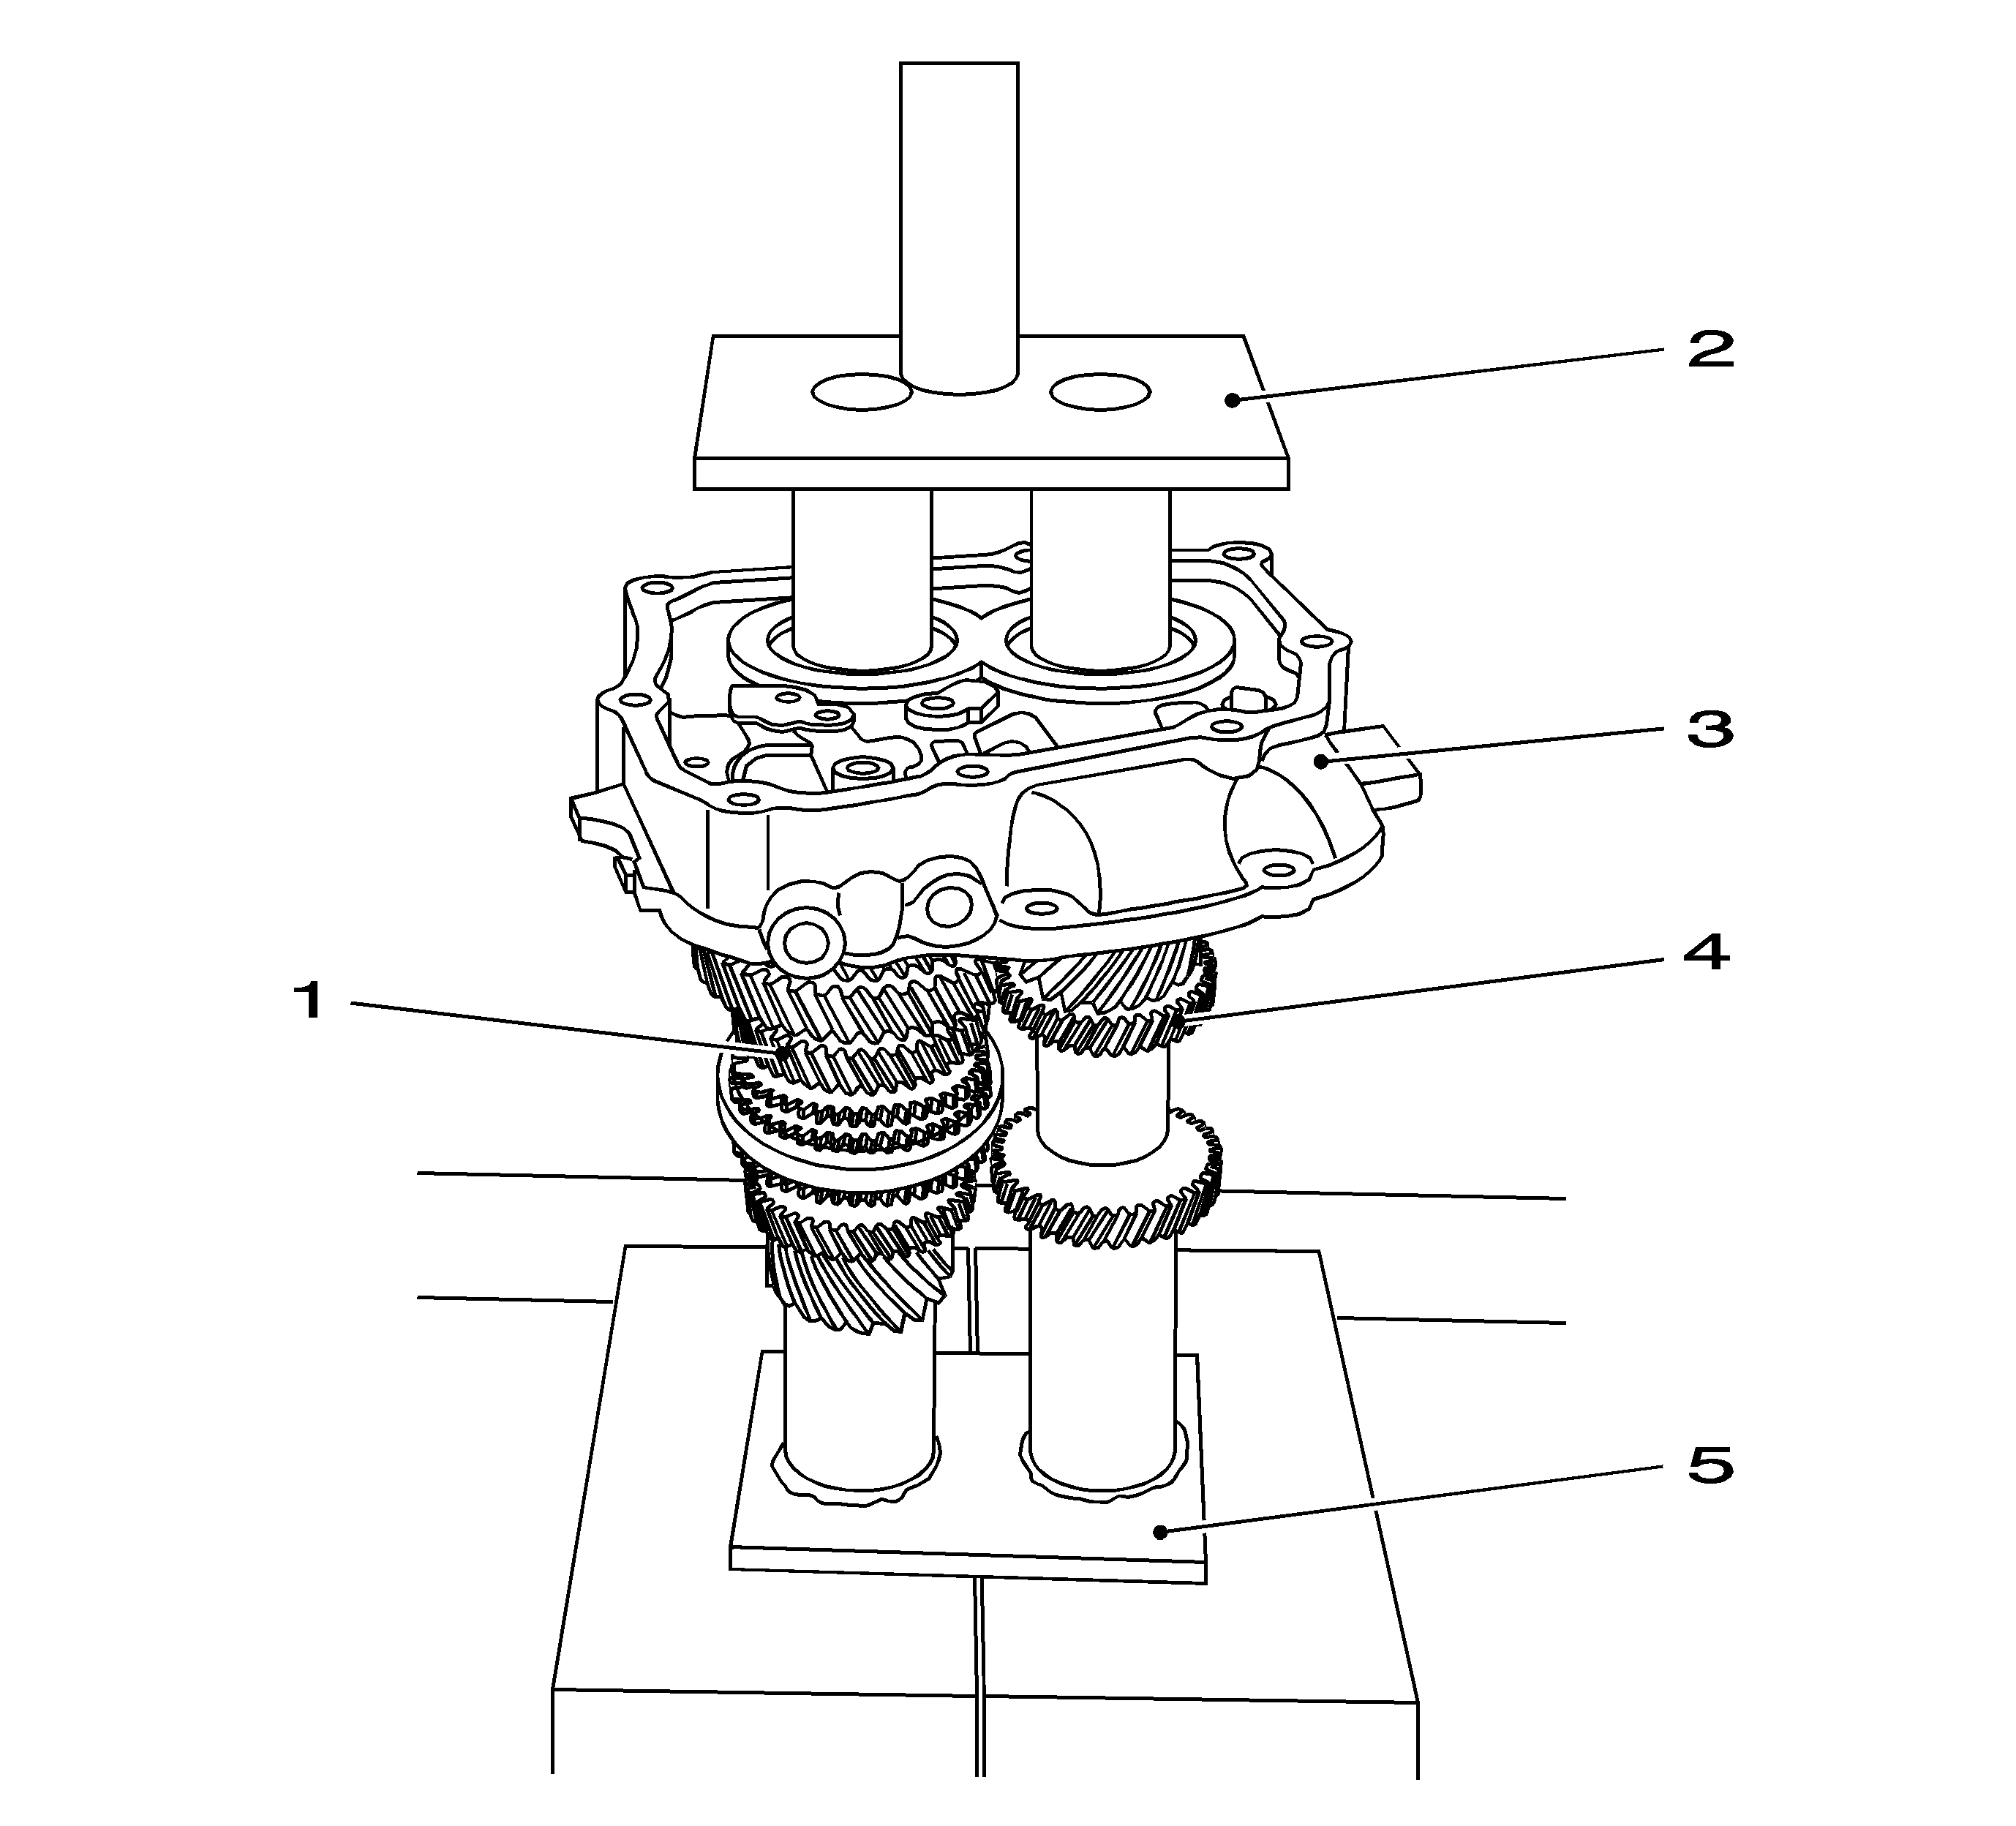
- Attach new transmission housing to
KM-6115
.
- Fit roller bearing (3) for main shaft.
Install roller bearing flush in transmission housing with
KM-454-B
-3 (5) and
KM-454-B
-4 (4).
Important: Needle bearing side with writing points to transmission.
- Fit needle bearing (2) for drive shaft.
Install needle bearing flush in transmission housing with
KM-454-B
-2 (6) and
KM-454-B
-4 (1).

- Insert differential into transmission from below.
Important: Align bearing race with marking previously made.
- Install bearing race with
KM-447
(2).
Important: The connection must be oil-tight.
- Coat thread (arrow) and new O-ring (1) with multi-purpose grease.
- Check clearance between tapered roller bearing and differential housing (external LU).
Important: Adjust bearing pre-tension by screwing in bearing race.
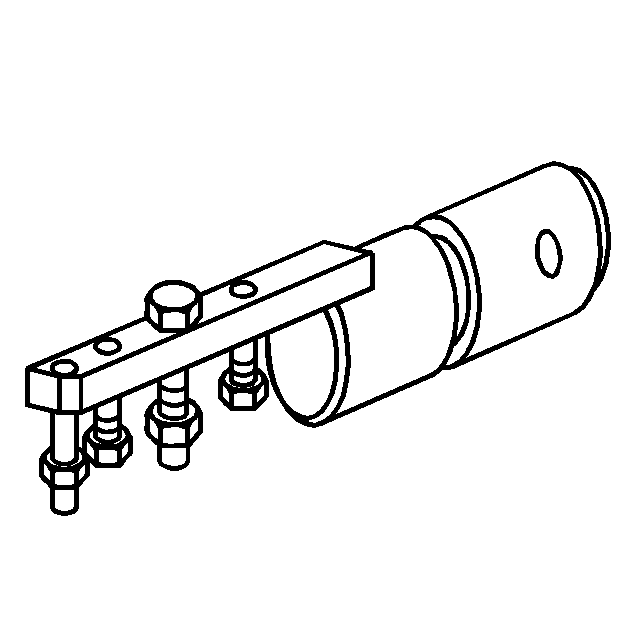
- Check breakaway torque with
MKM-536-A
(1) and
KM-6037
(2).
Important: Adhere to specified breakaway torques.
- Test rpm 1 revolution per second.
| • | Re-use all the dismantled parts. Adjust to marking. |
| • | Re-use bearing, replacement of bearing race, bearing flange, differential or transmission housing. |
Breakaway Torque
60...100 Ncm
Breakaway Torque
150...210 Ncm
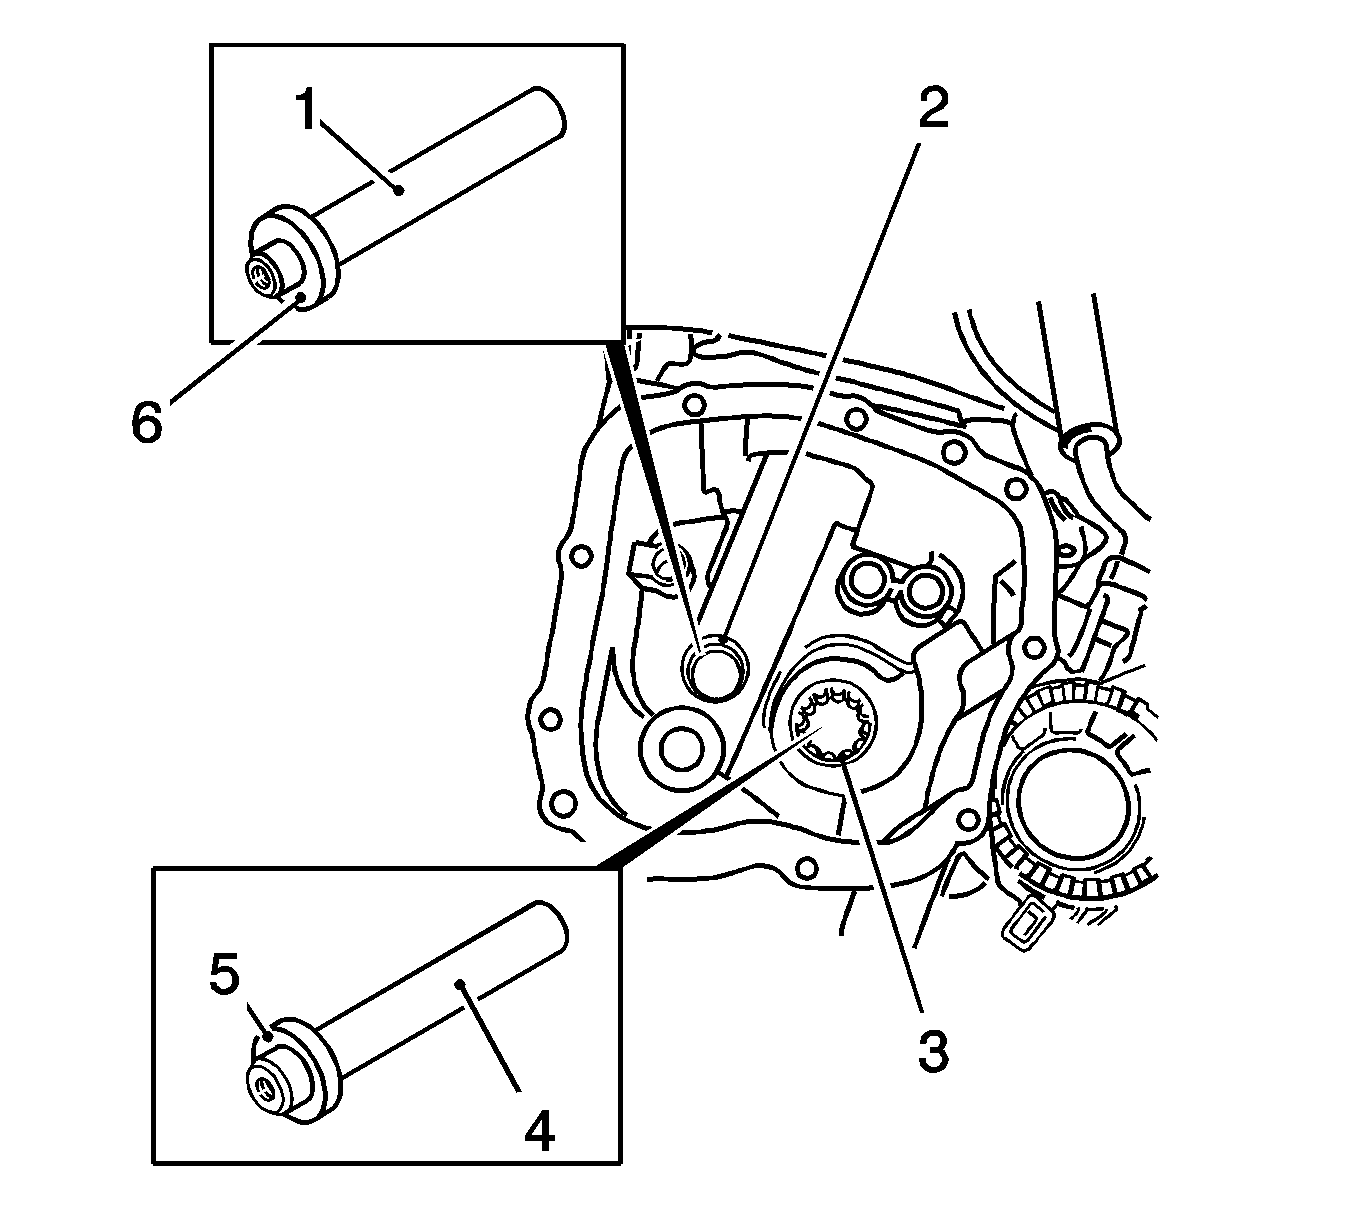
- Clean thread for retaining plate bolt in transmission housing.
Notice: Refer to Fastener Notice in the Preface section.
Important: Insert bolt with locking compound.
- Attach retaining plate for bearing ring.
- Re-cut thread.
Tighten
Tighten bolt 9 N·m (80 lb in).
Important: Note seating and condition of the O-ring (2). Damage to or absence of the O-ring leads to leaks.
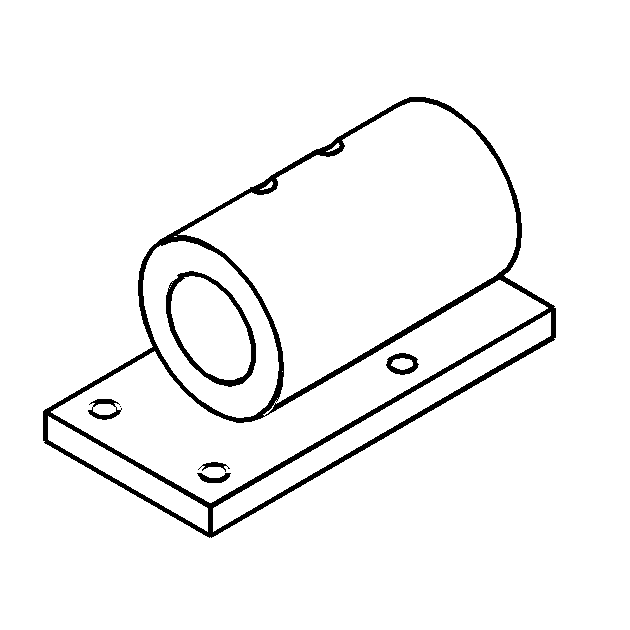
- Install fastening sleeve for pressure line (1). The lug (arrow) on the sleeve must sit in the groove in the clutch housing.
- Engage pressure line in fastening sleeve.

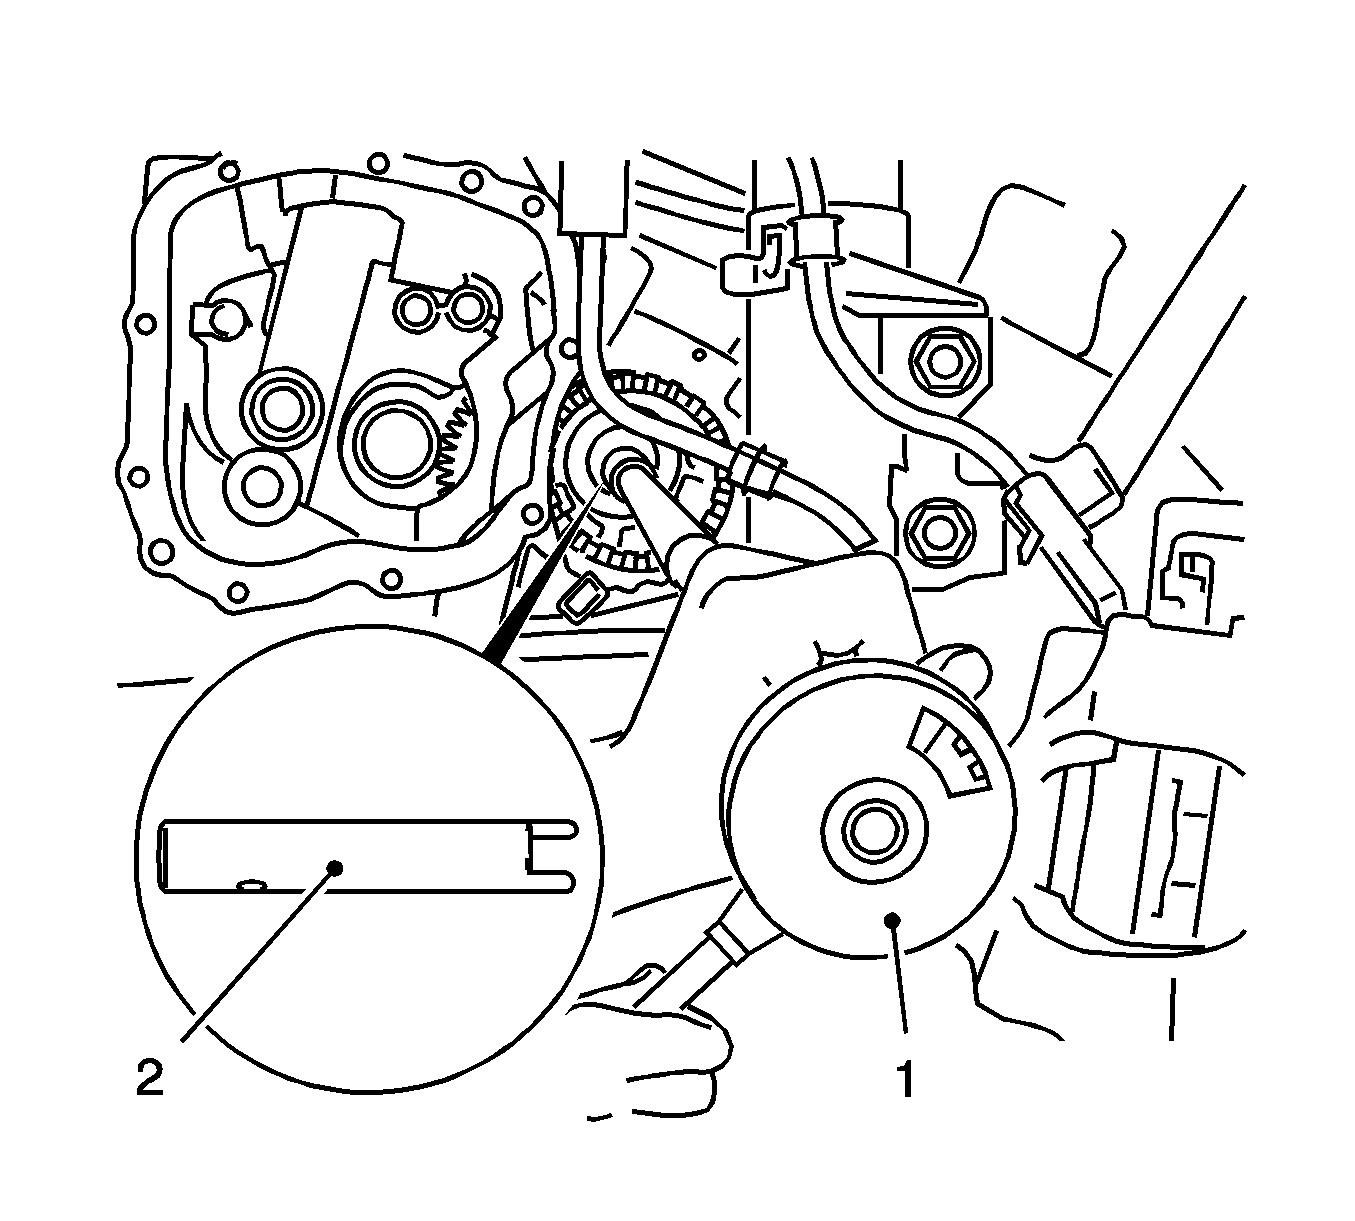
- Clean 3x thread (1) in transmission.
- Install central release (1).
| • | Attach assembly aid MTA
KM-6157
(3) to drive shaft (2), so that the seal ring (arrow) is not damaged |
| • | Lightly coat seal ring in central release with transmission fluid. |
| • | Preassemble 3x bolt evenly in contact with the flange. Use new bolts. |
| | Important: It is essential to avoid pulling the central release at an angle.
|
Tighten
Tighten bolt to 5 N·m (44 lb in)

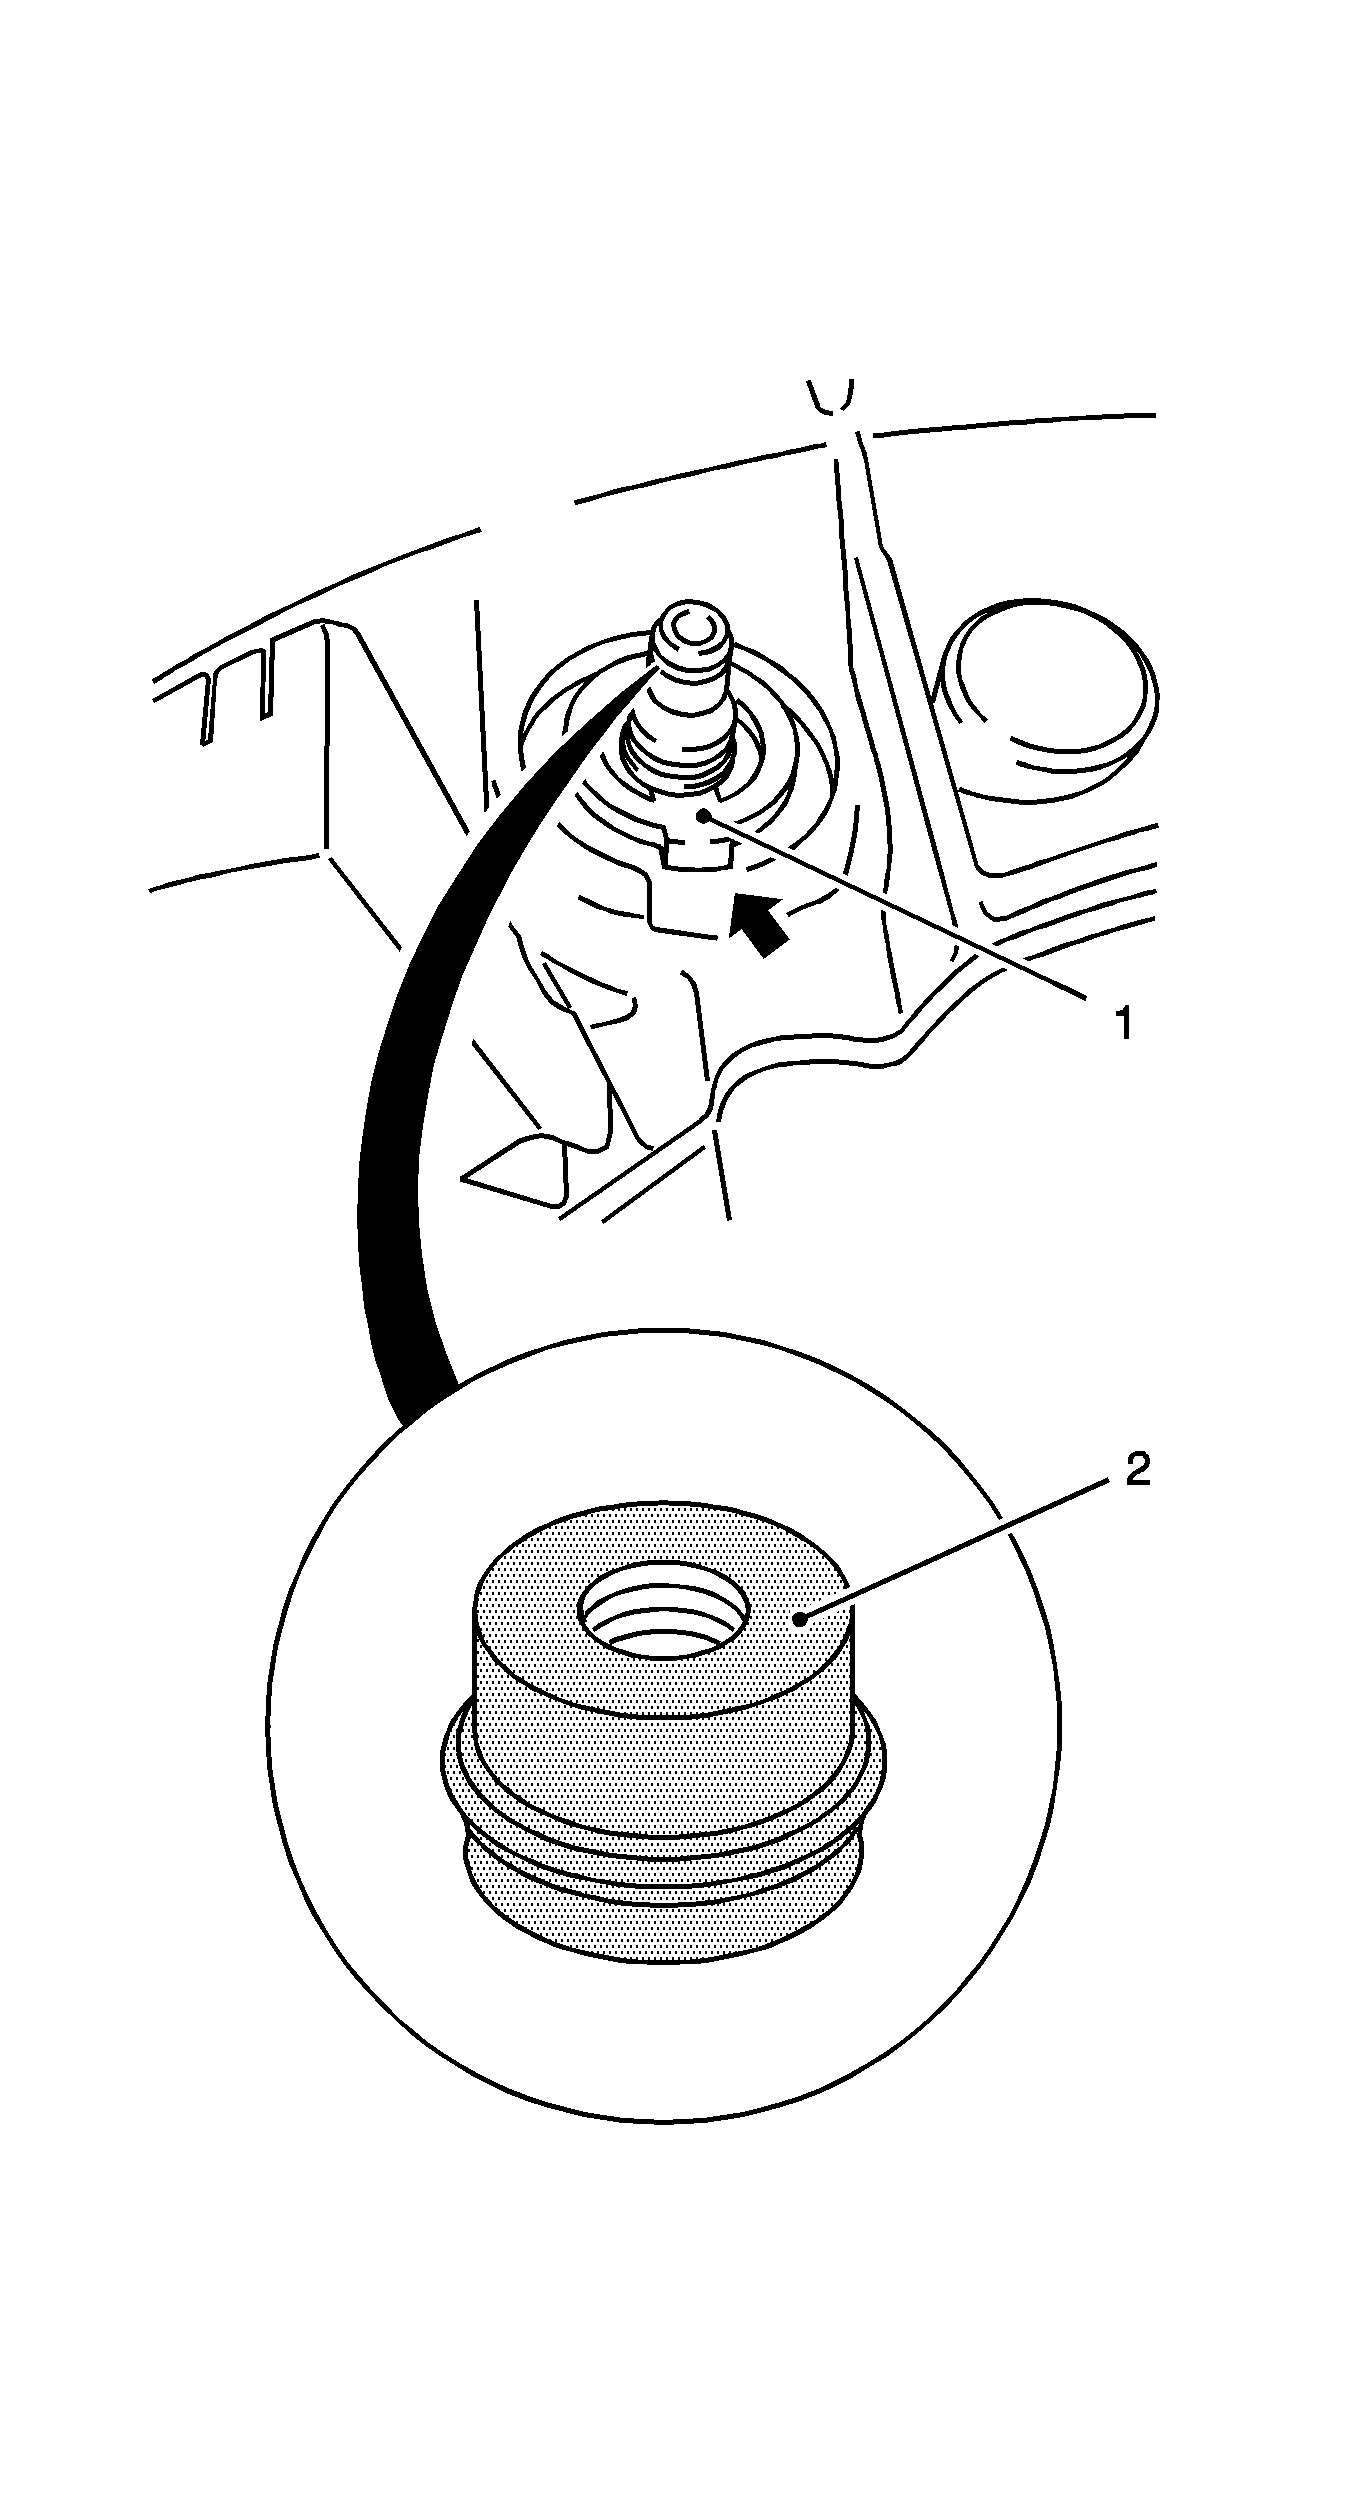
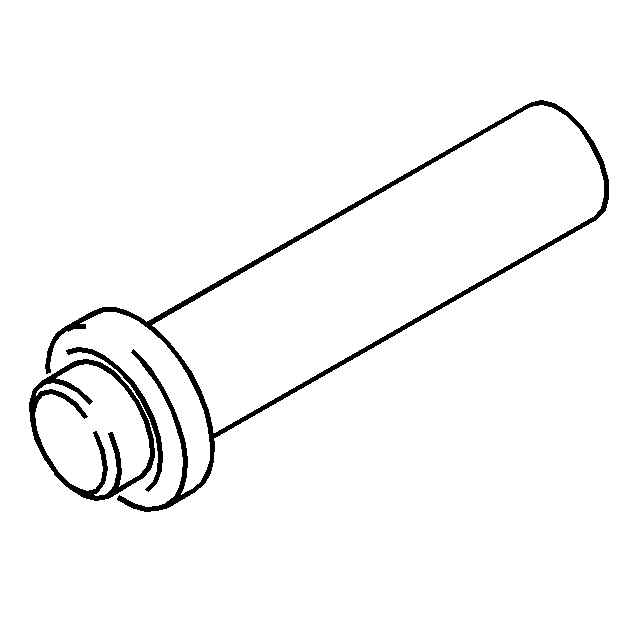
- Attach pressure line (1).
Tighten
Tighten retaining nut 14 N·m (10 lb ft).

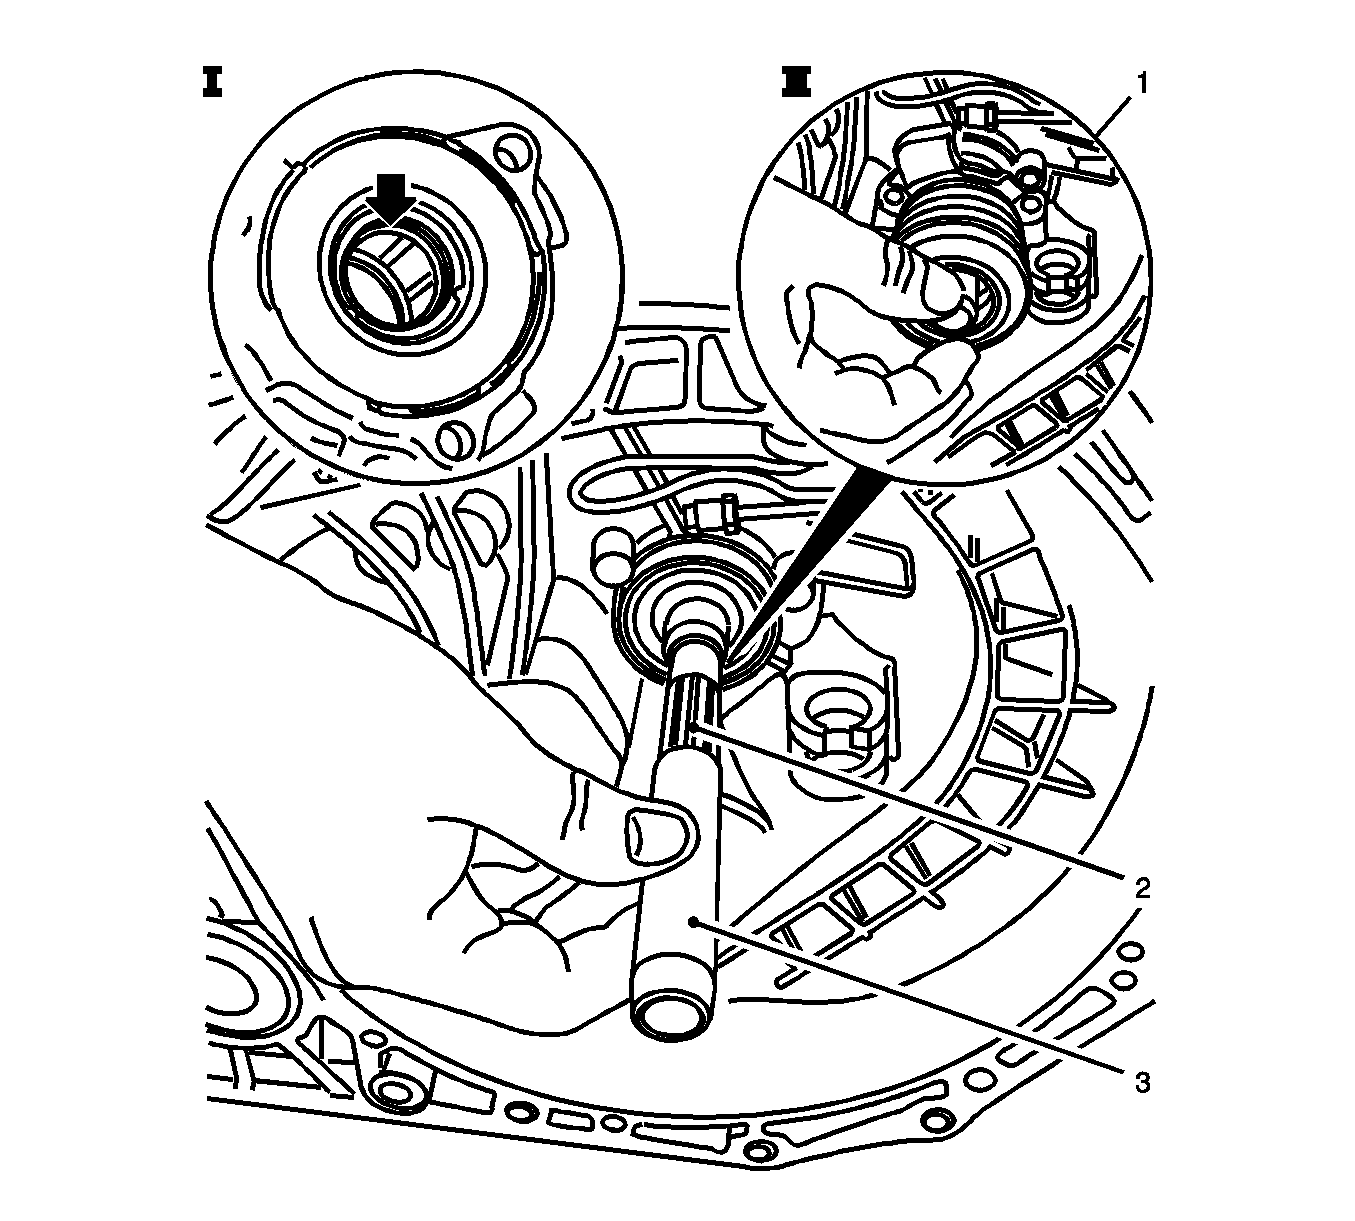
- Lubricate rotating parts on their bearing, running, seating, and pressure surfaces using transmission fluid.
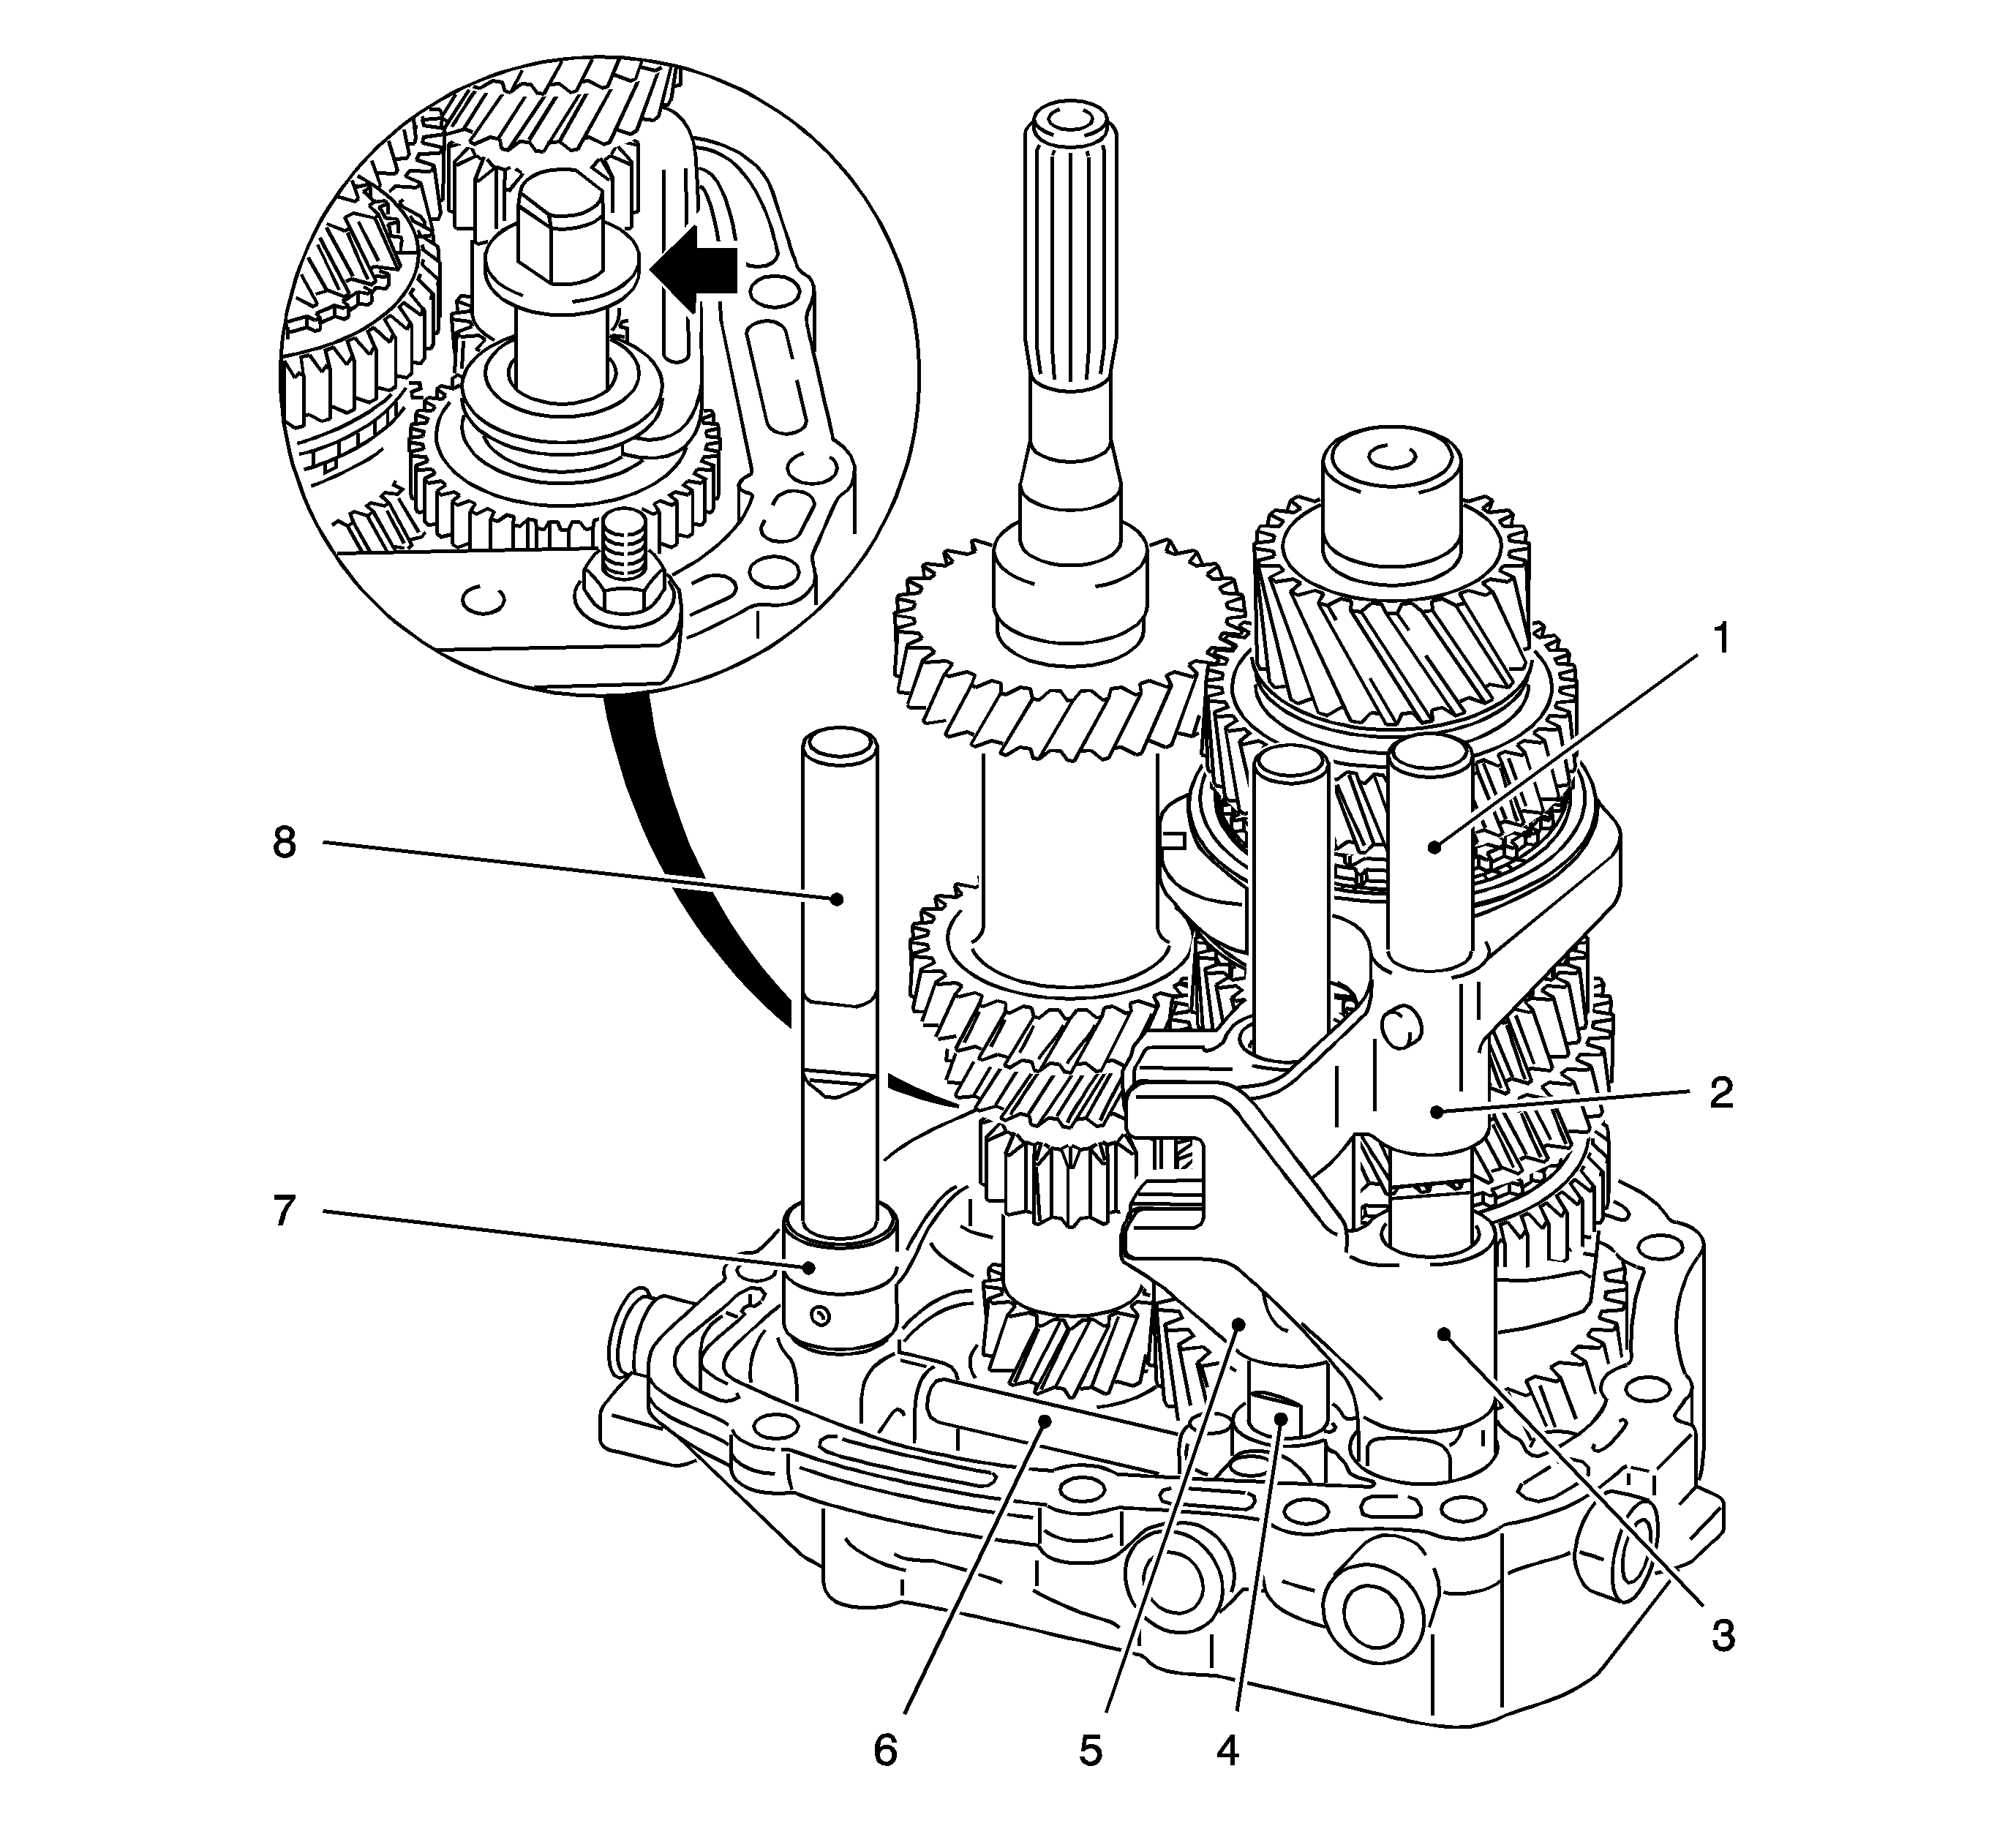
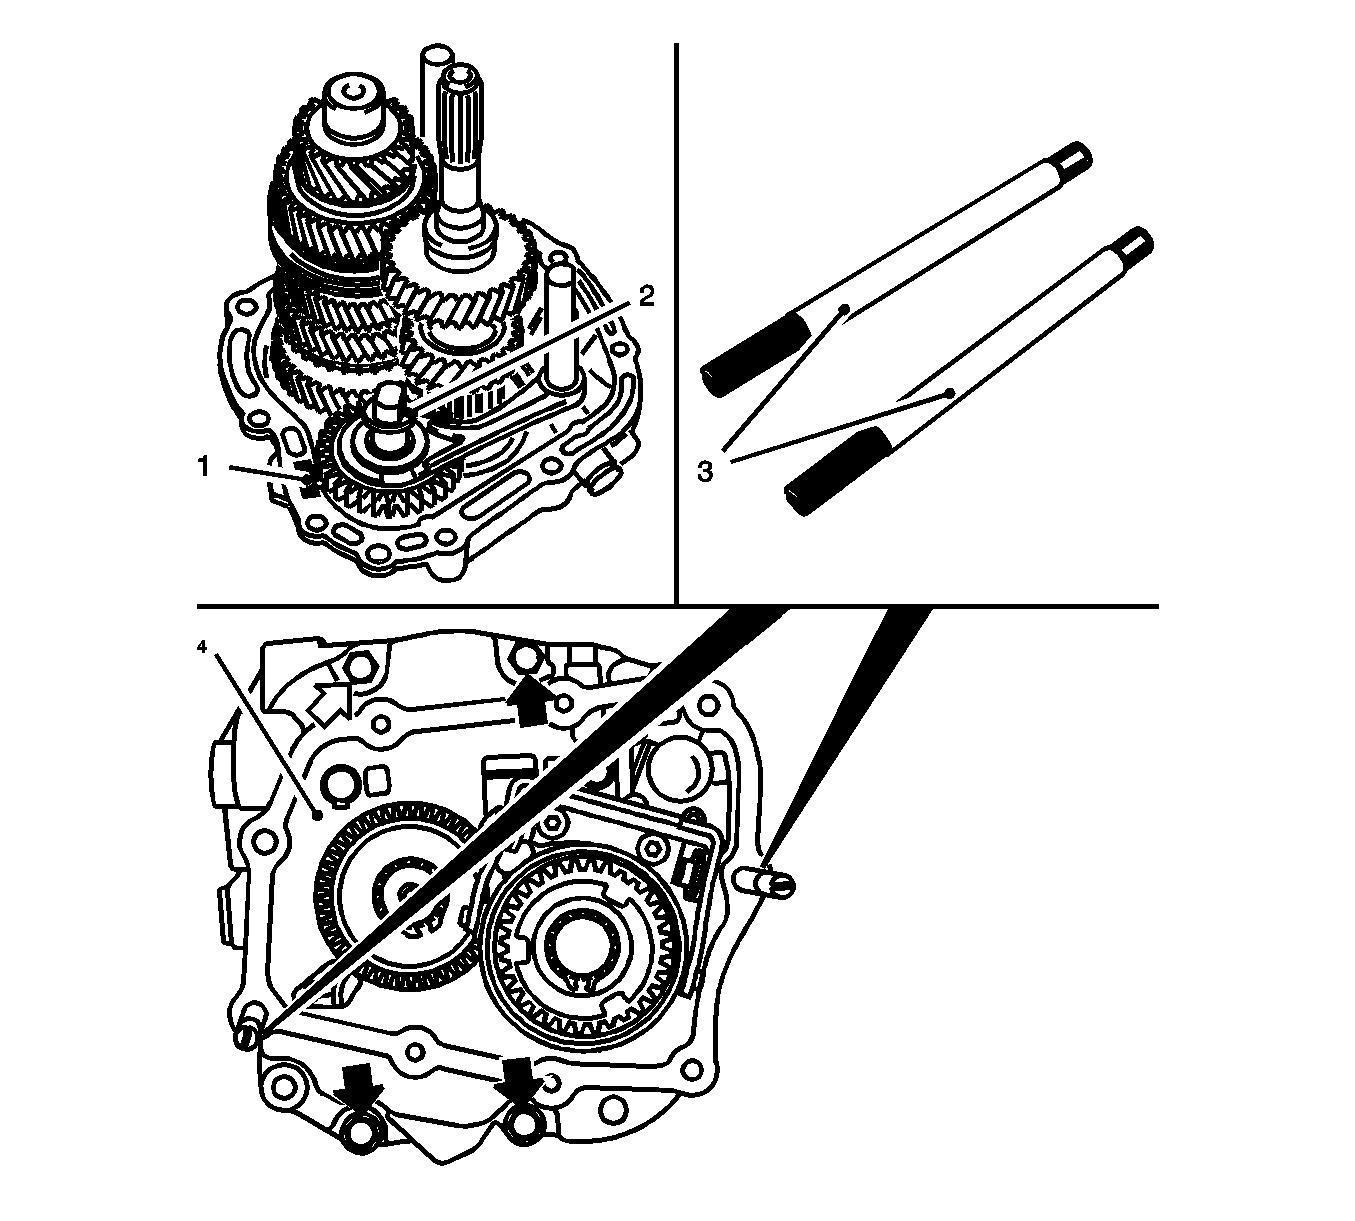
- Install bearing for main and drive shafts.
| • | Fit 2x retaining rings (3) -- check retaining ring for proper seating. |
Important: Check shaft for proper seating.
- Fit main and drive shafts.
| • | Place main shaft (1) and drive shaft (4) on
KM-6337
(5) |
| • | Place end shield (3) on main shaft and drive shaft and press on with
KM-6338
(2) |

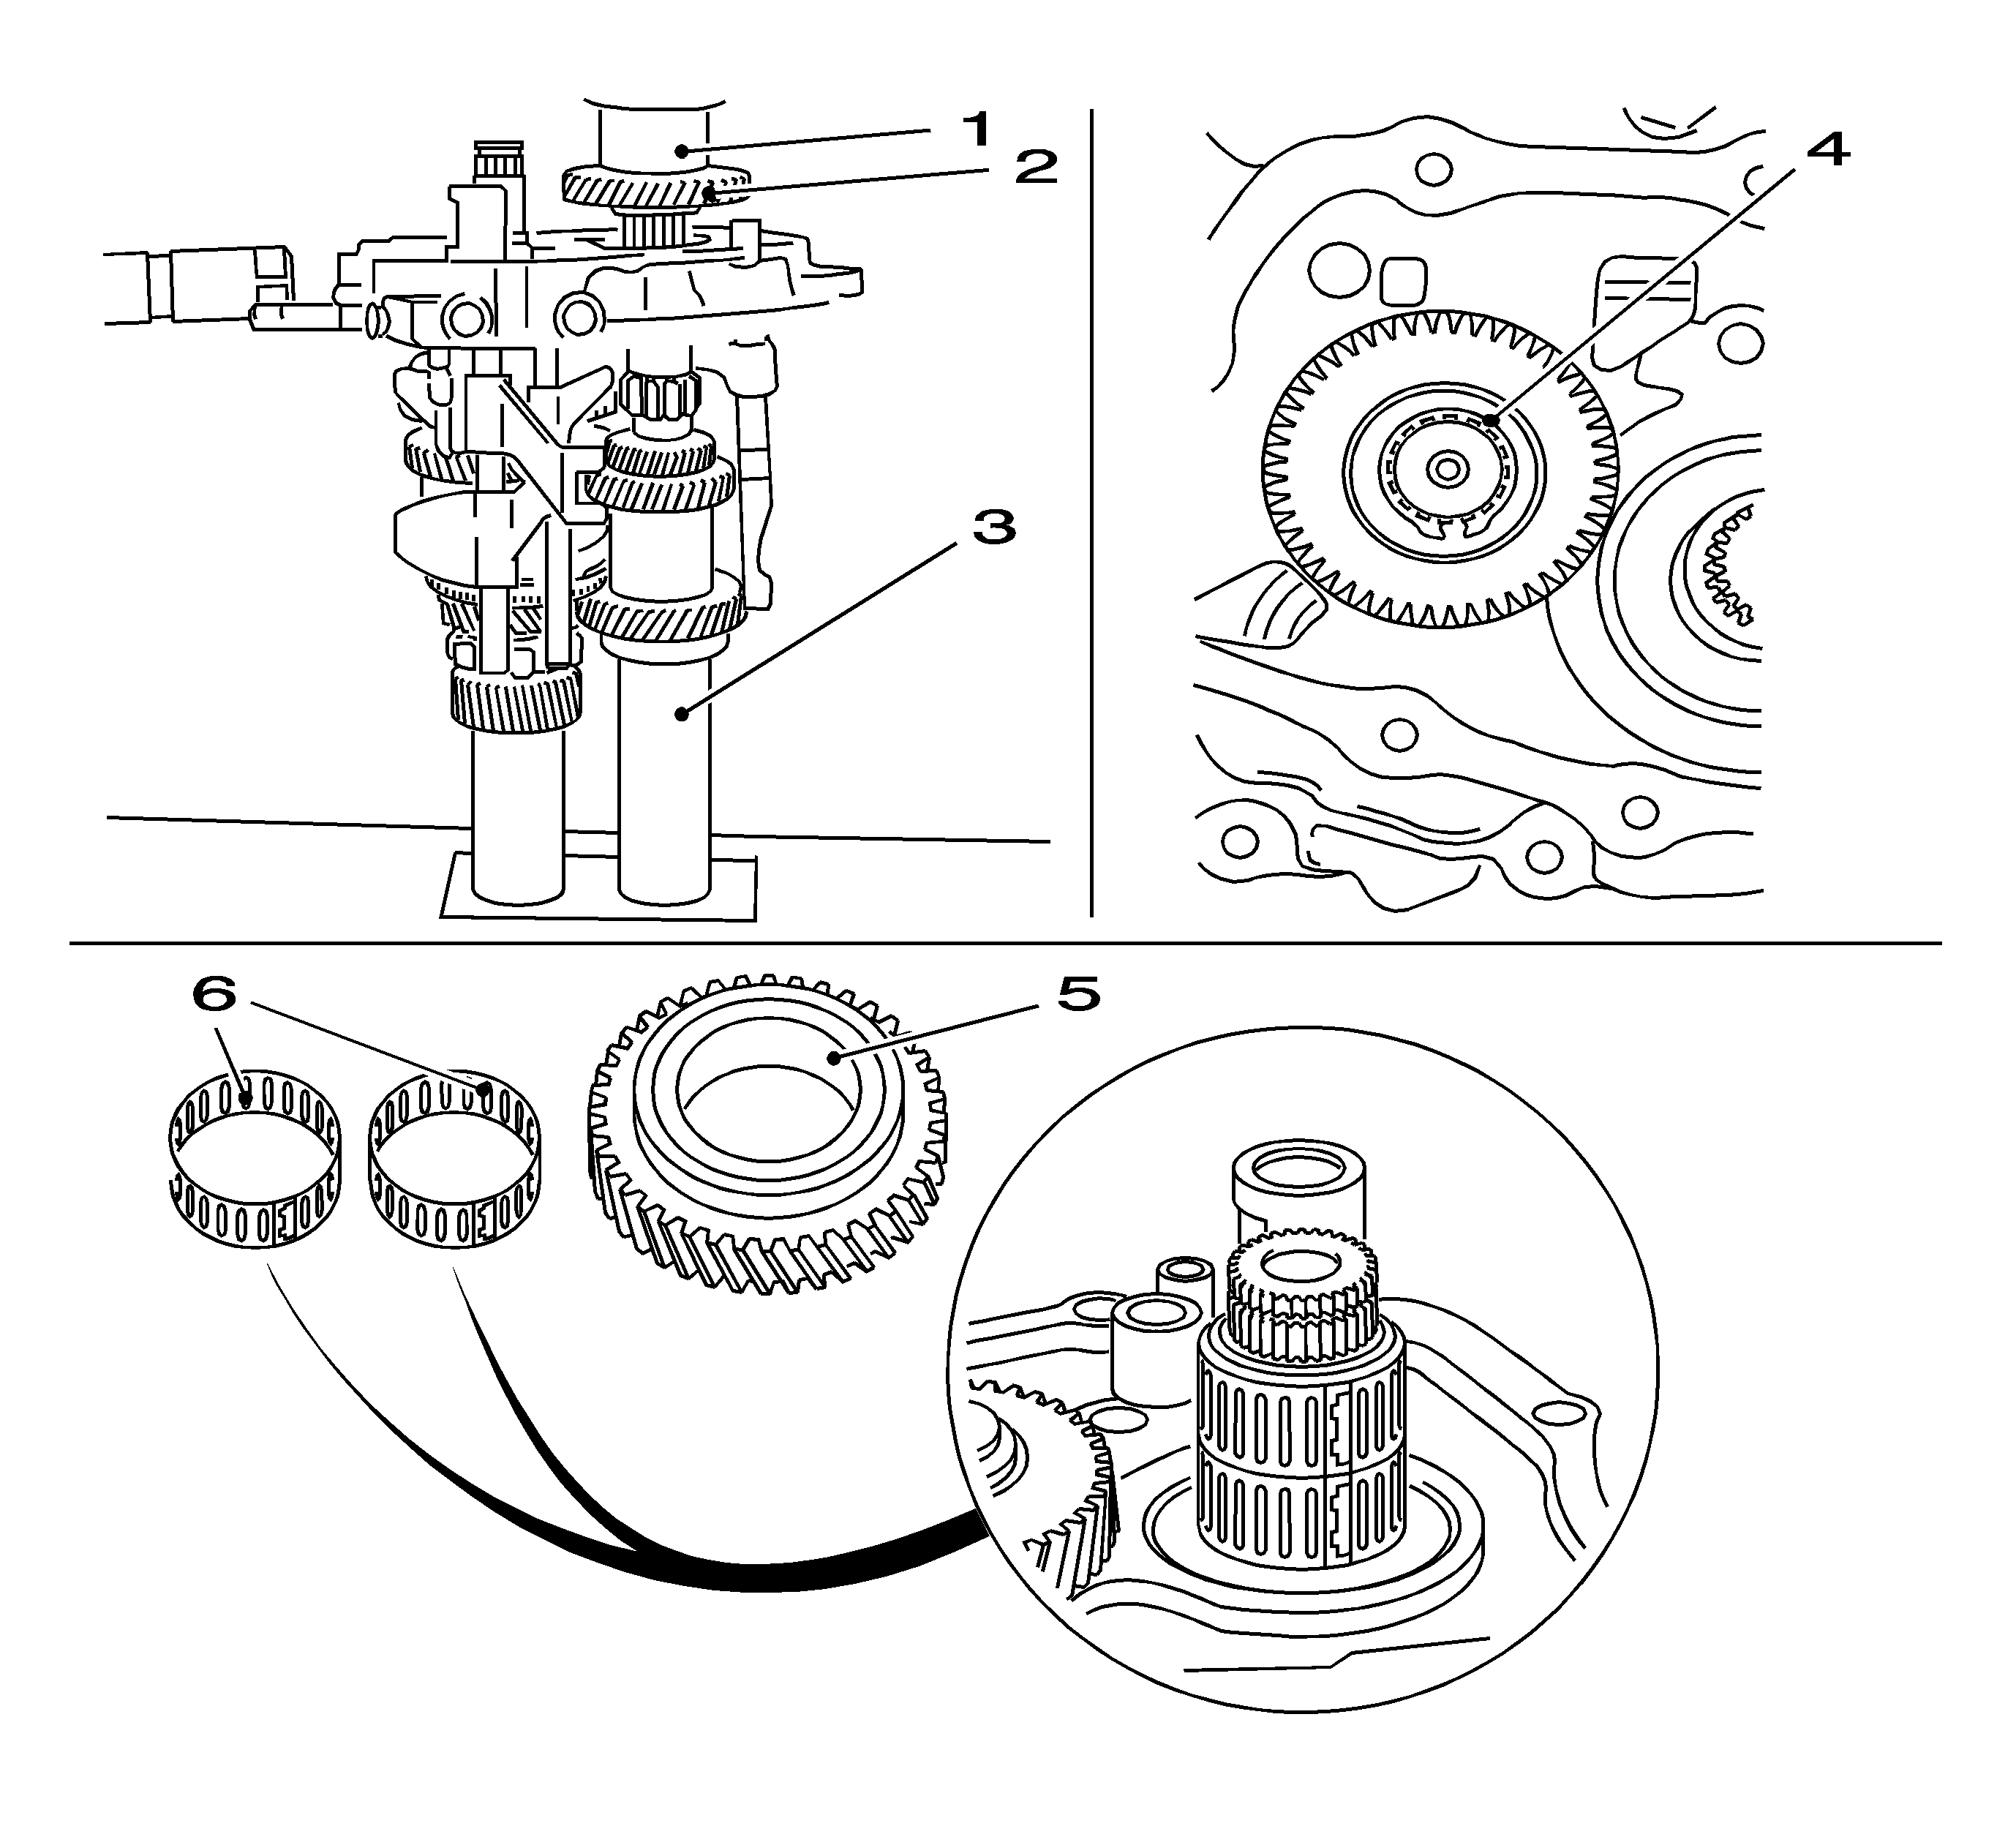
- Fit 5th gear bearing sleeve (1).
| • | Press bearing sleeve on main shaft using
KM-6339
(2) |

Important: Note installation position.
- Fit reverse gear axle (1).
| • | Locate reverse idler on axle -- note installation position, shift fork groove to top |
| • | Press reverse gear axle with inserted lock ball (arrow) to stop in end shield |

- Attach end shield to
KM-552
(2) .
- Attach end shield to
KM-113-2
(1) using
KM-552
(2) .

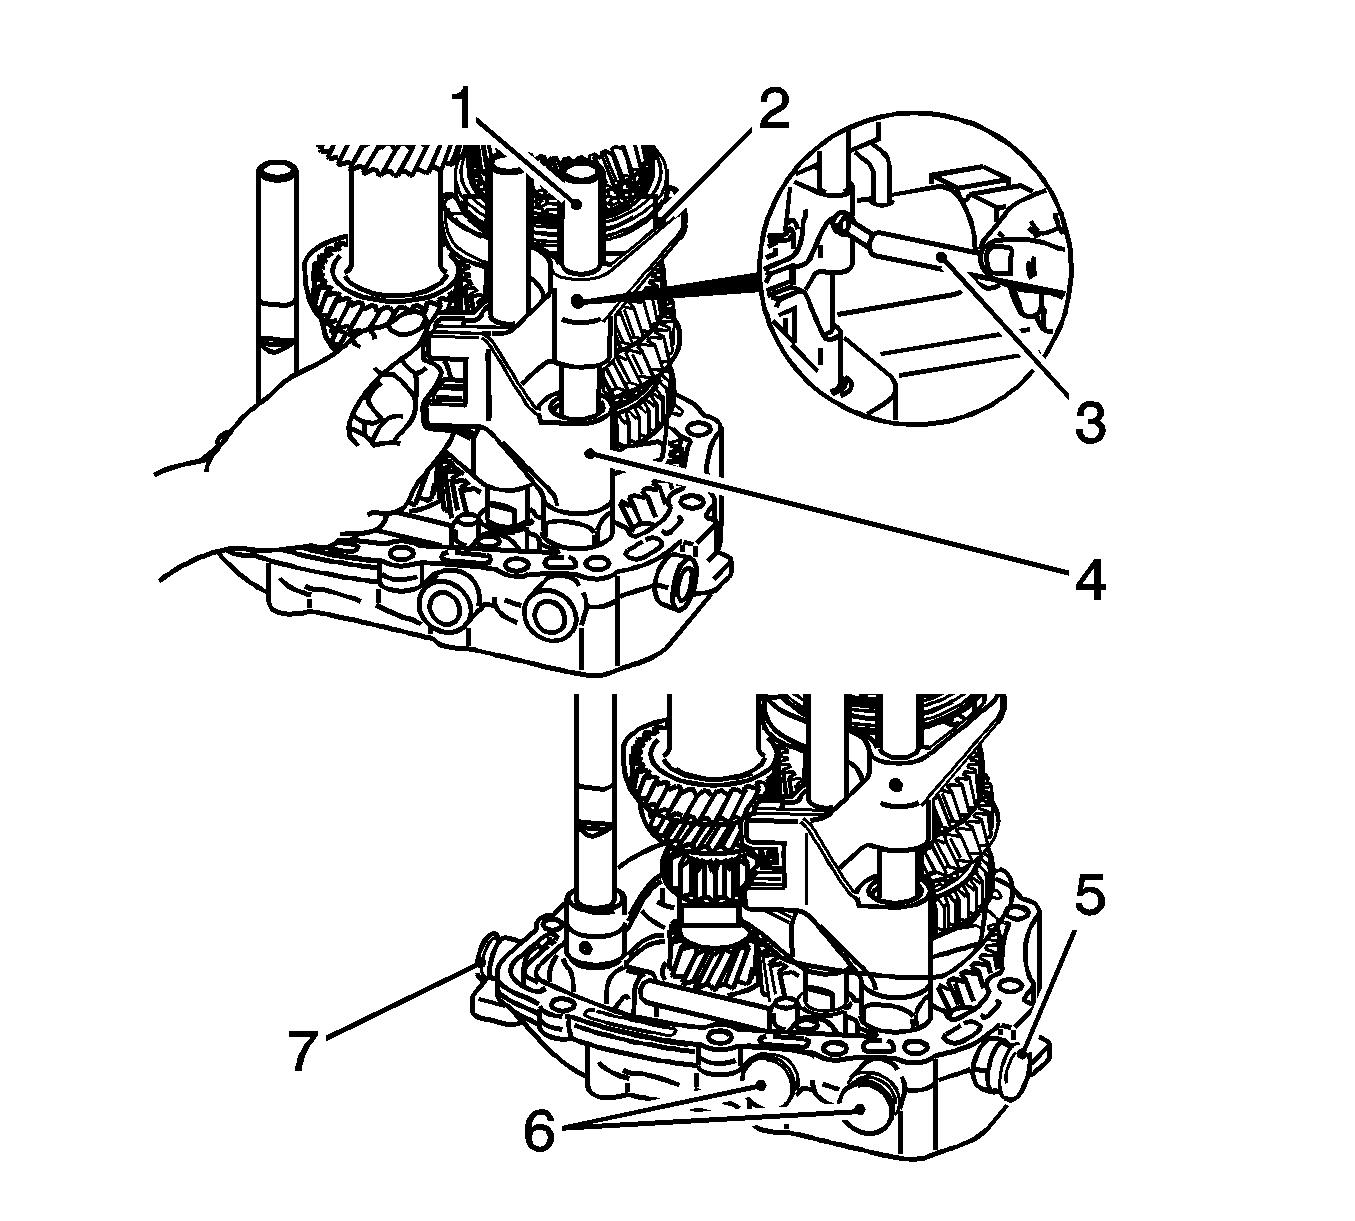
- Fit locking pin (5). Insert 3rd/4th gear and reverse gear locking pins.
Important: To relieve pressure on gearshift rod guides in end shield, support gearshift rods with wooden wedge (1) when securing with pin.
- Fit reverse gear shift fork.
| • | Insert reverse gear shift fork (6) and gearshift rod |
| • | Insert new roll pin using
KM-308
(arrow) -- allow new roll pin to protrude approximately 2 mm (0.08 in) |

Important: To relieve pressure on gearshift rod guides in end shield, support gearshift rods with wooden wedge (2) when securing with pin.
- Fit 1st/2nd gear shift fork.
| • | Insert 1st/2nd gear shift fork (4) and gearshift rod (1) |
| • | Insert new roll pin using
KM-308
(3) -- allow new roll pin to protrude approximately 2 mm (0.08 in) |
- Insert 5th gear (4) shift driver.
Important: To relieve pressure on gearshift rod guides in end shield, support gearshift rods with wooden wedge when securing with pin.
- Fit 3rd/4th gear shift fork.
| • | Insert 3rd/4th gear shift fork (2) and gearshift rod (1) |
| • | Insert new roll pin using
KM-308
(3) -- allow roll pin to protrude approximately 2 mm (0.08 in) |
- Fit locking plugs.
Install 4x locking plugs (5-7) -- drive to stop with plastic hammer or soft metal drift.
- Bring gear shift fork into neutral speed position.

- Engage gear 3x.
- Attach bridge (2) for locking bolt on end shield.
Important: Coat bolts with locking compound
- Screw in 2x new bolt.
- Move gearshift fork 1st/2nd gear into neutral.
- Fasten 2x bolt for bridge.
Tighten
Tighten 2x bolt for bridge 7 N·m (62 lb ft)
- Bring shift fork into neutral position.
- Attach bearing support (4) to end shield with pawl (3).
Important: Coat bolts with locking compound.
- Tighten 2x bolt.
Tighten
Tighten 2x bolt 9 N·m (80 lb ft).
Important: Note installation direction. Long gear hub points to end shield.
- Install 5th gear (driven) (2).
| • | Insert end shield with main and drive shafts in
KM-6337
(3) |
| • | Press on 5th gear using
KM-473
(1) |
| | Important: Retaining ring must engage completely.
|
- Fit 5th gear (5) (driven).
| | Important: Ensure correct seating of slotted needle bearings.
|
| • | Coat needle bearings (6) with transmission fluid and place on main shaft |
| • | Locate 5th gear and 5th gear synchronizer ring on main shaft |

- Press on 5th gear synchro body assembly.
| | Important: Synchronizer ring lugs must be aligned with synchro body grooves.
|
| • | Place synchro body assembly (1) on main shaft |
| • | Press synchro body in
KM-473
on to main shaft |
| | Important: Retaining ring must engage completely
|
- Fit bearing support with rocker arm.
| • | Insert 2x crosshead shoes (arrow) in 5th gear shift fork (3) |
| • | Insert bearing support with rocker arm in end shield |
| • | Insert 2x bolts with locking compound |
Tighten
Tighten 2x bolt 22 N·m (16 lb ft)
- Install friction washer and magnet.
| • | Fit friction washer (arrow) on axle, reverse gear wheel, with grease |
| • | Insert magnet with grease |
| | Important: Before installing end shield, check following items for position and seating:
|
| 40.1. | 3rd/4th gear shift fork |
| 40.2. | 3rd/4th gear shift rod |
| 40.3. | 5th gear shift driver |
| 40.4. | 1st/2nd gear shift rod |
| 40.5. | Lock pin for gear stop |
| 40.6. | 1st/2nd gear shift fork |
| 40.7. | Reverse gear shift fork |
| 40.8. | Reverse gear shift rod |
- Detach end shield from
KM-113-2
. Detach end shield from
KM-552
.
- Attach
KM-6155
to transmission.
- Stick new end shield gasket to transmission with roller bearing grease.
Important: Check that magnet (1) and friction washer (2) are correctly seated.
- Install end shield (4).
| • | Carefully insert end shield into transmission housing |
Tighten
Tighten 4x bolt (arrows) 22 N·m (16 lb ft)
- Unscrew
KM-6155
(3).

Important: Note close tolerance bolts.
- Attach end shield cover.
| • | Attach with new gasket to transmission housing |
Tighten
Tighten 4x bolt M7 15 N·m (11 lb ft)
Tighten
Tighten 5x bolt M8 20 N·m (15 lb ft)
Important: Coat seal ring with grease.
- Drive new seal ring with matching sleeve (1) flush into housing.
- Push gearshift rod into gearbox cover and gearshift finger.
Important: Allow roll pin to protrude approximately 2 mm (0.0787 in)
- Drive new roll pin into gearshift finger and gearshift rod.
Important: Gearshift finger must sit in gearbox intermediate lever.
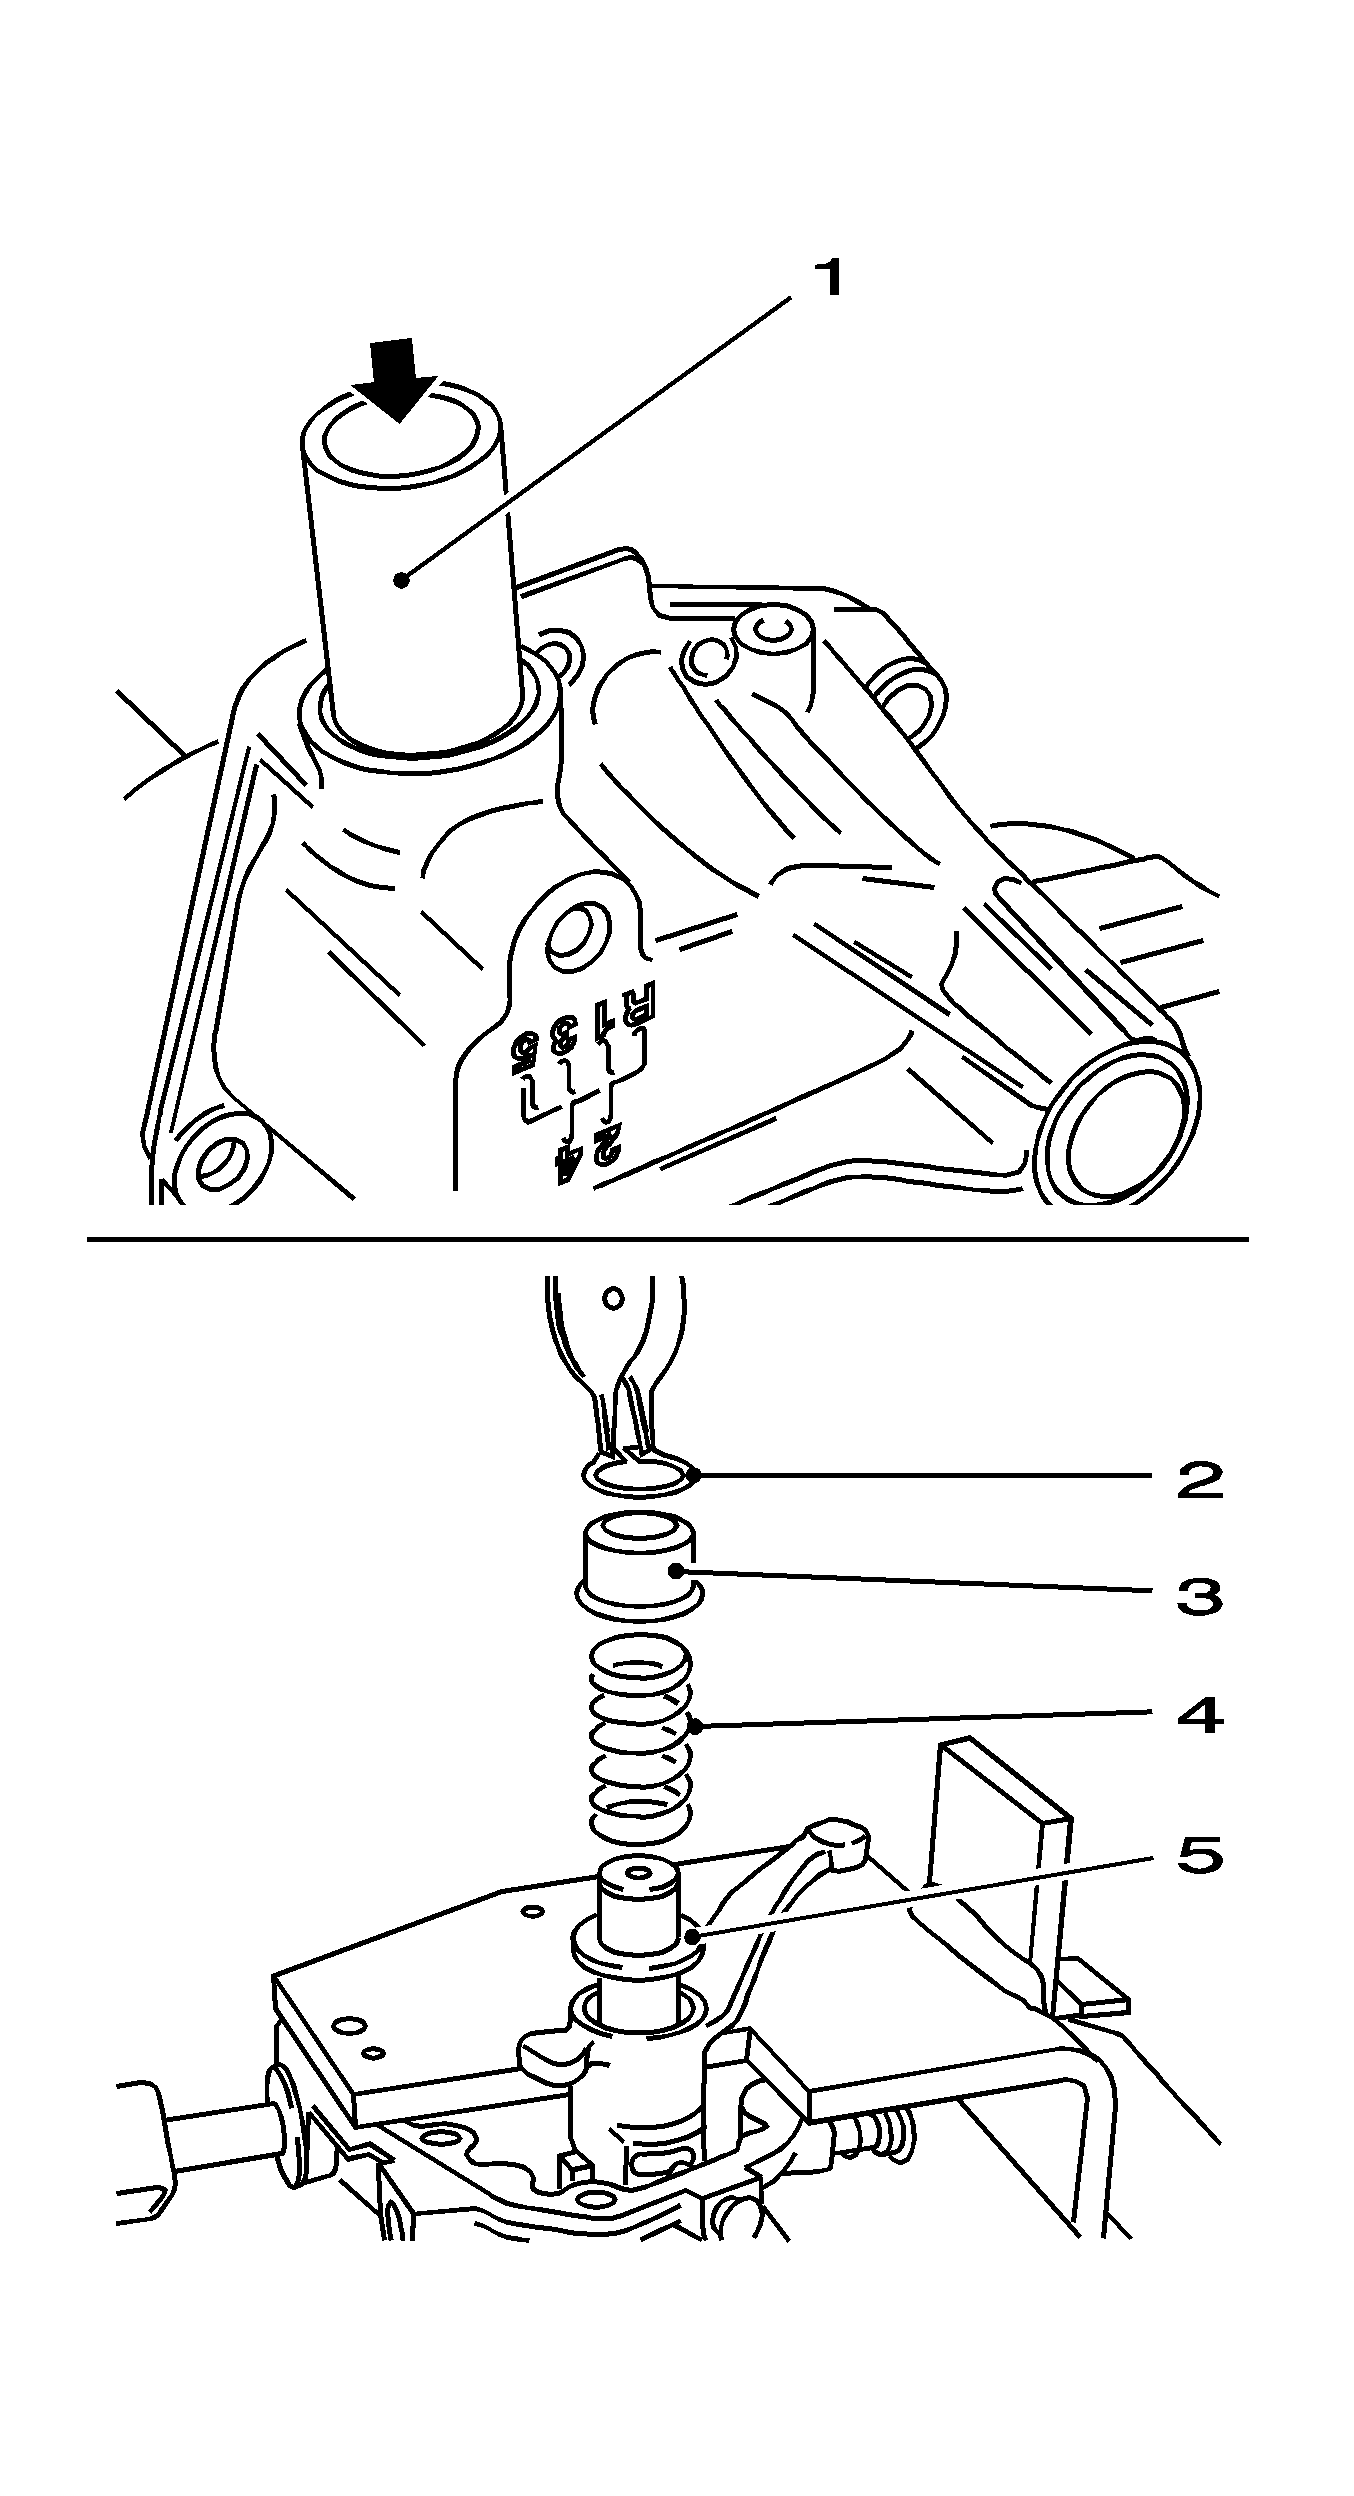
- Insert intermediate gearshift lever into gearbox cover.
- Place washer (5), spring (4) and sleeve (3) on gearshift lever shaft.
Fit new retaining ring (2).
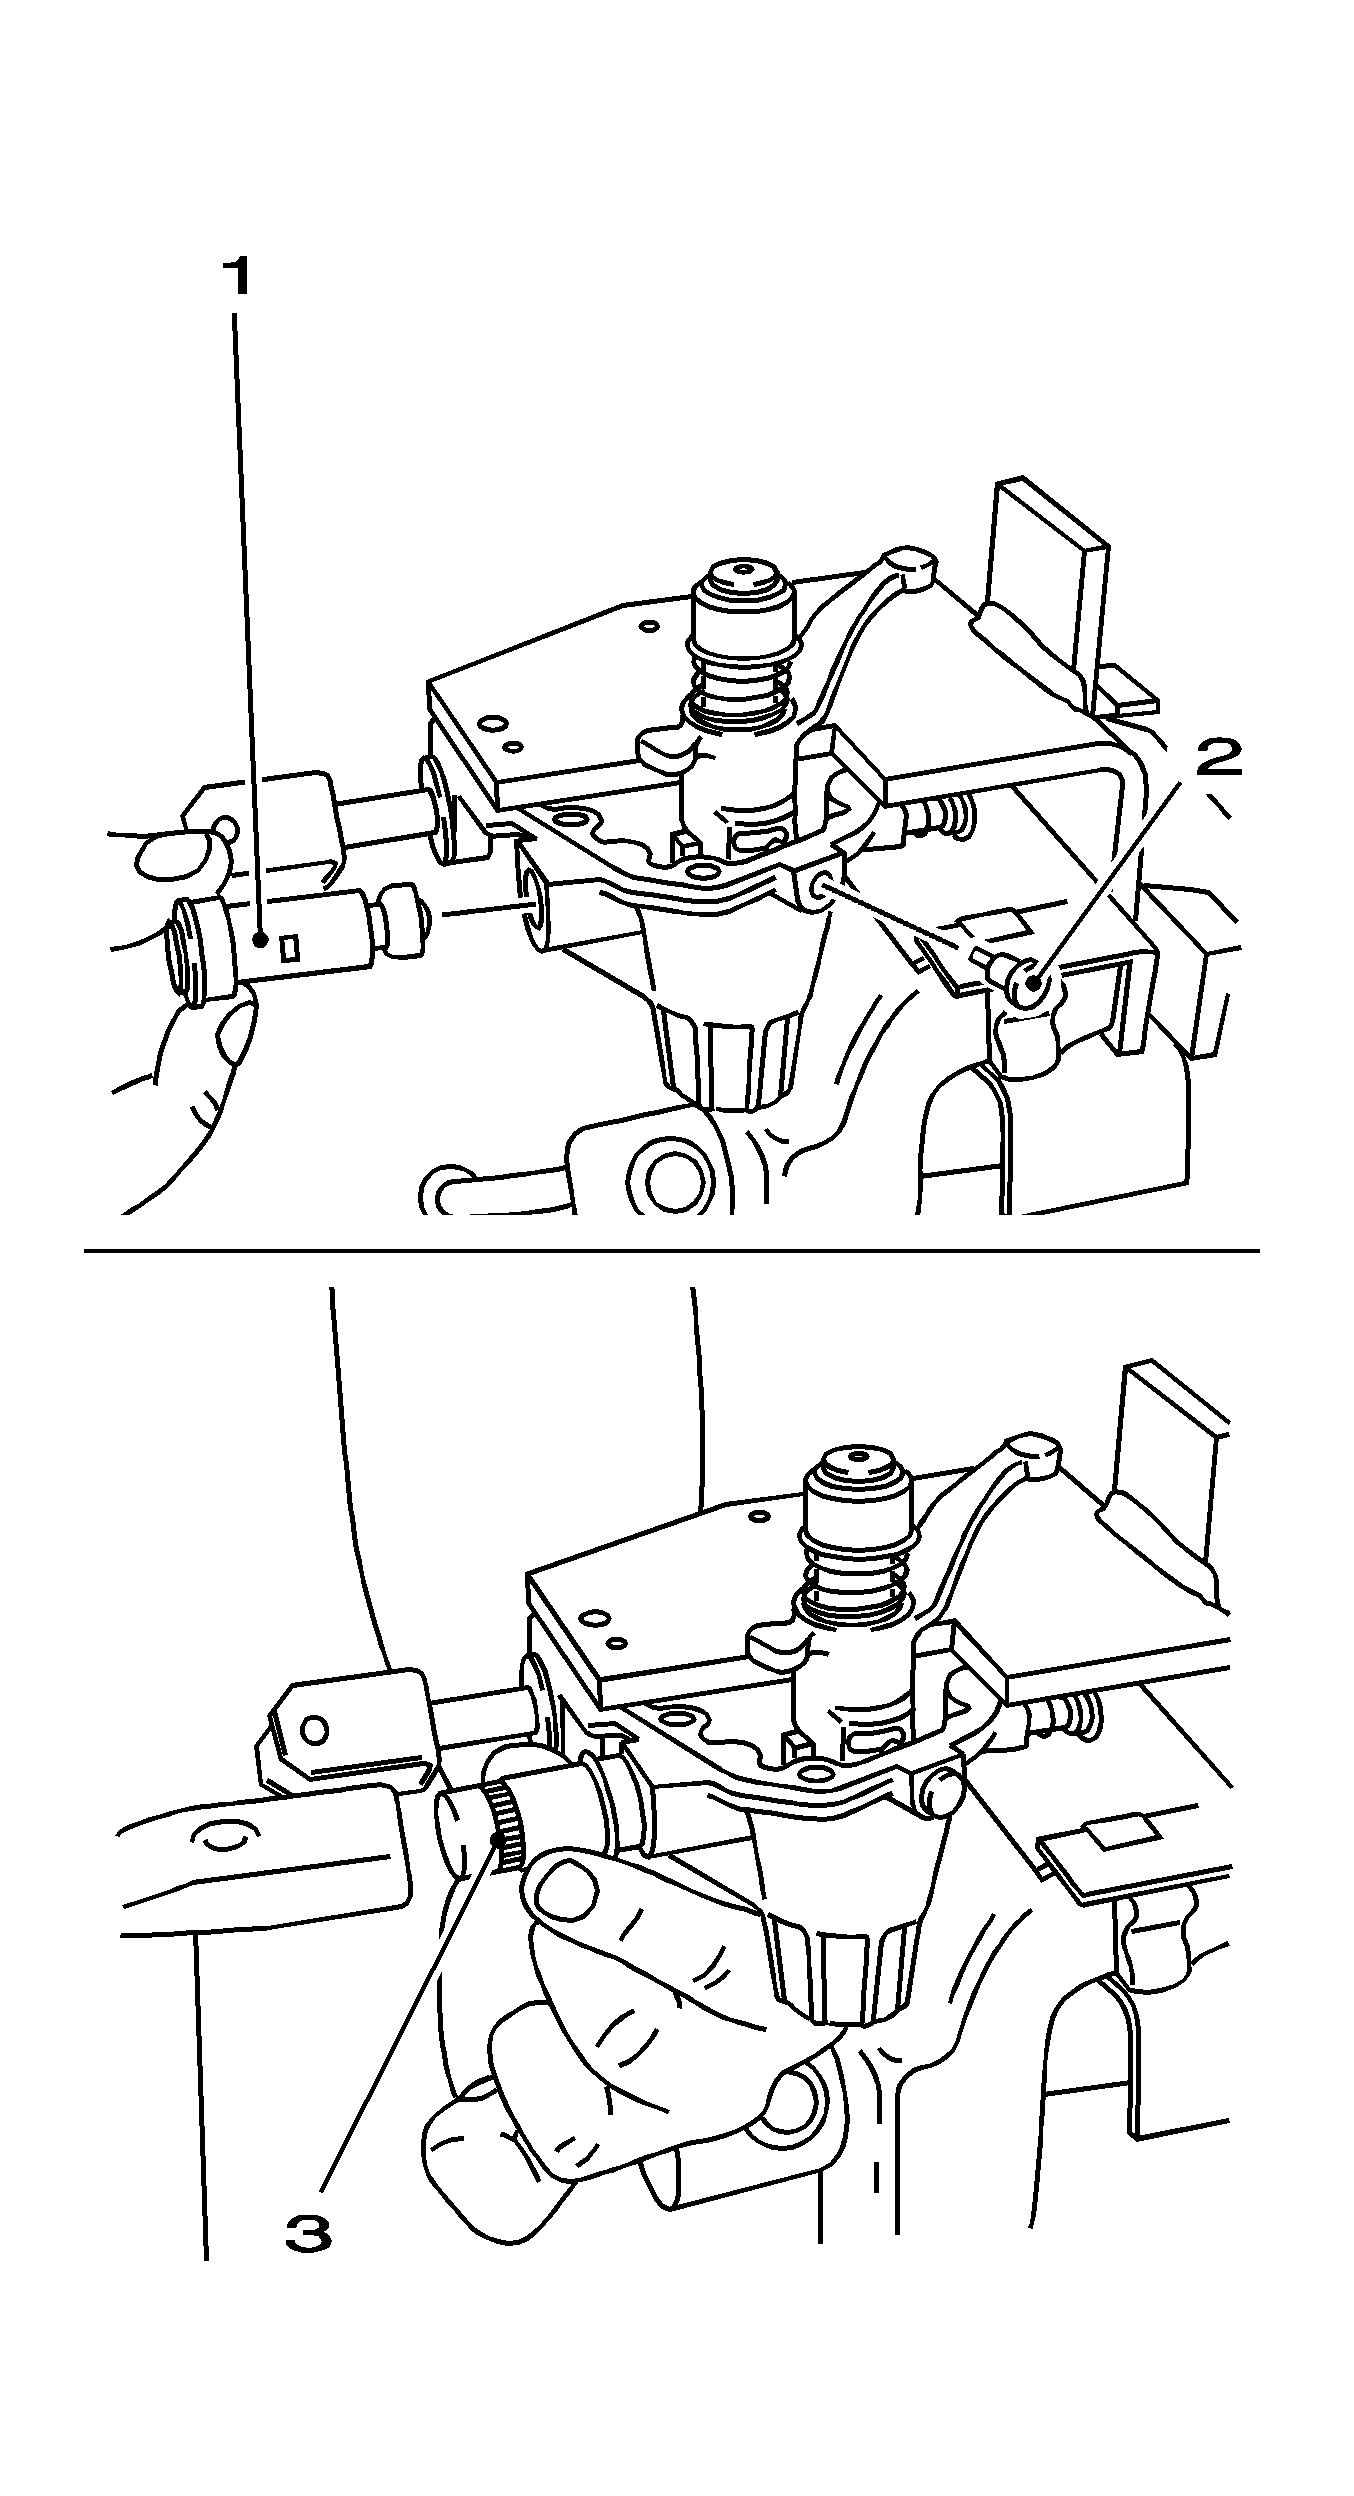
- Attach gearbox cover to
KM-982
.
Important: Guide bolt must sit in connecting link.
- Drive guide bolt for connecting link (2) in gearbox cover.
Important: Do not damage engaging sleeve.
- Drive engaging sleeve for intermediate shaft (1) with matching sleeve (3) into gearbox cover.
- Detach gearbox cover from
KM-982
.
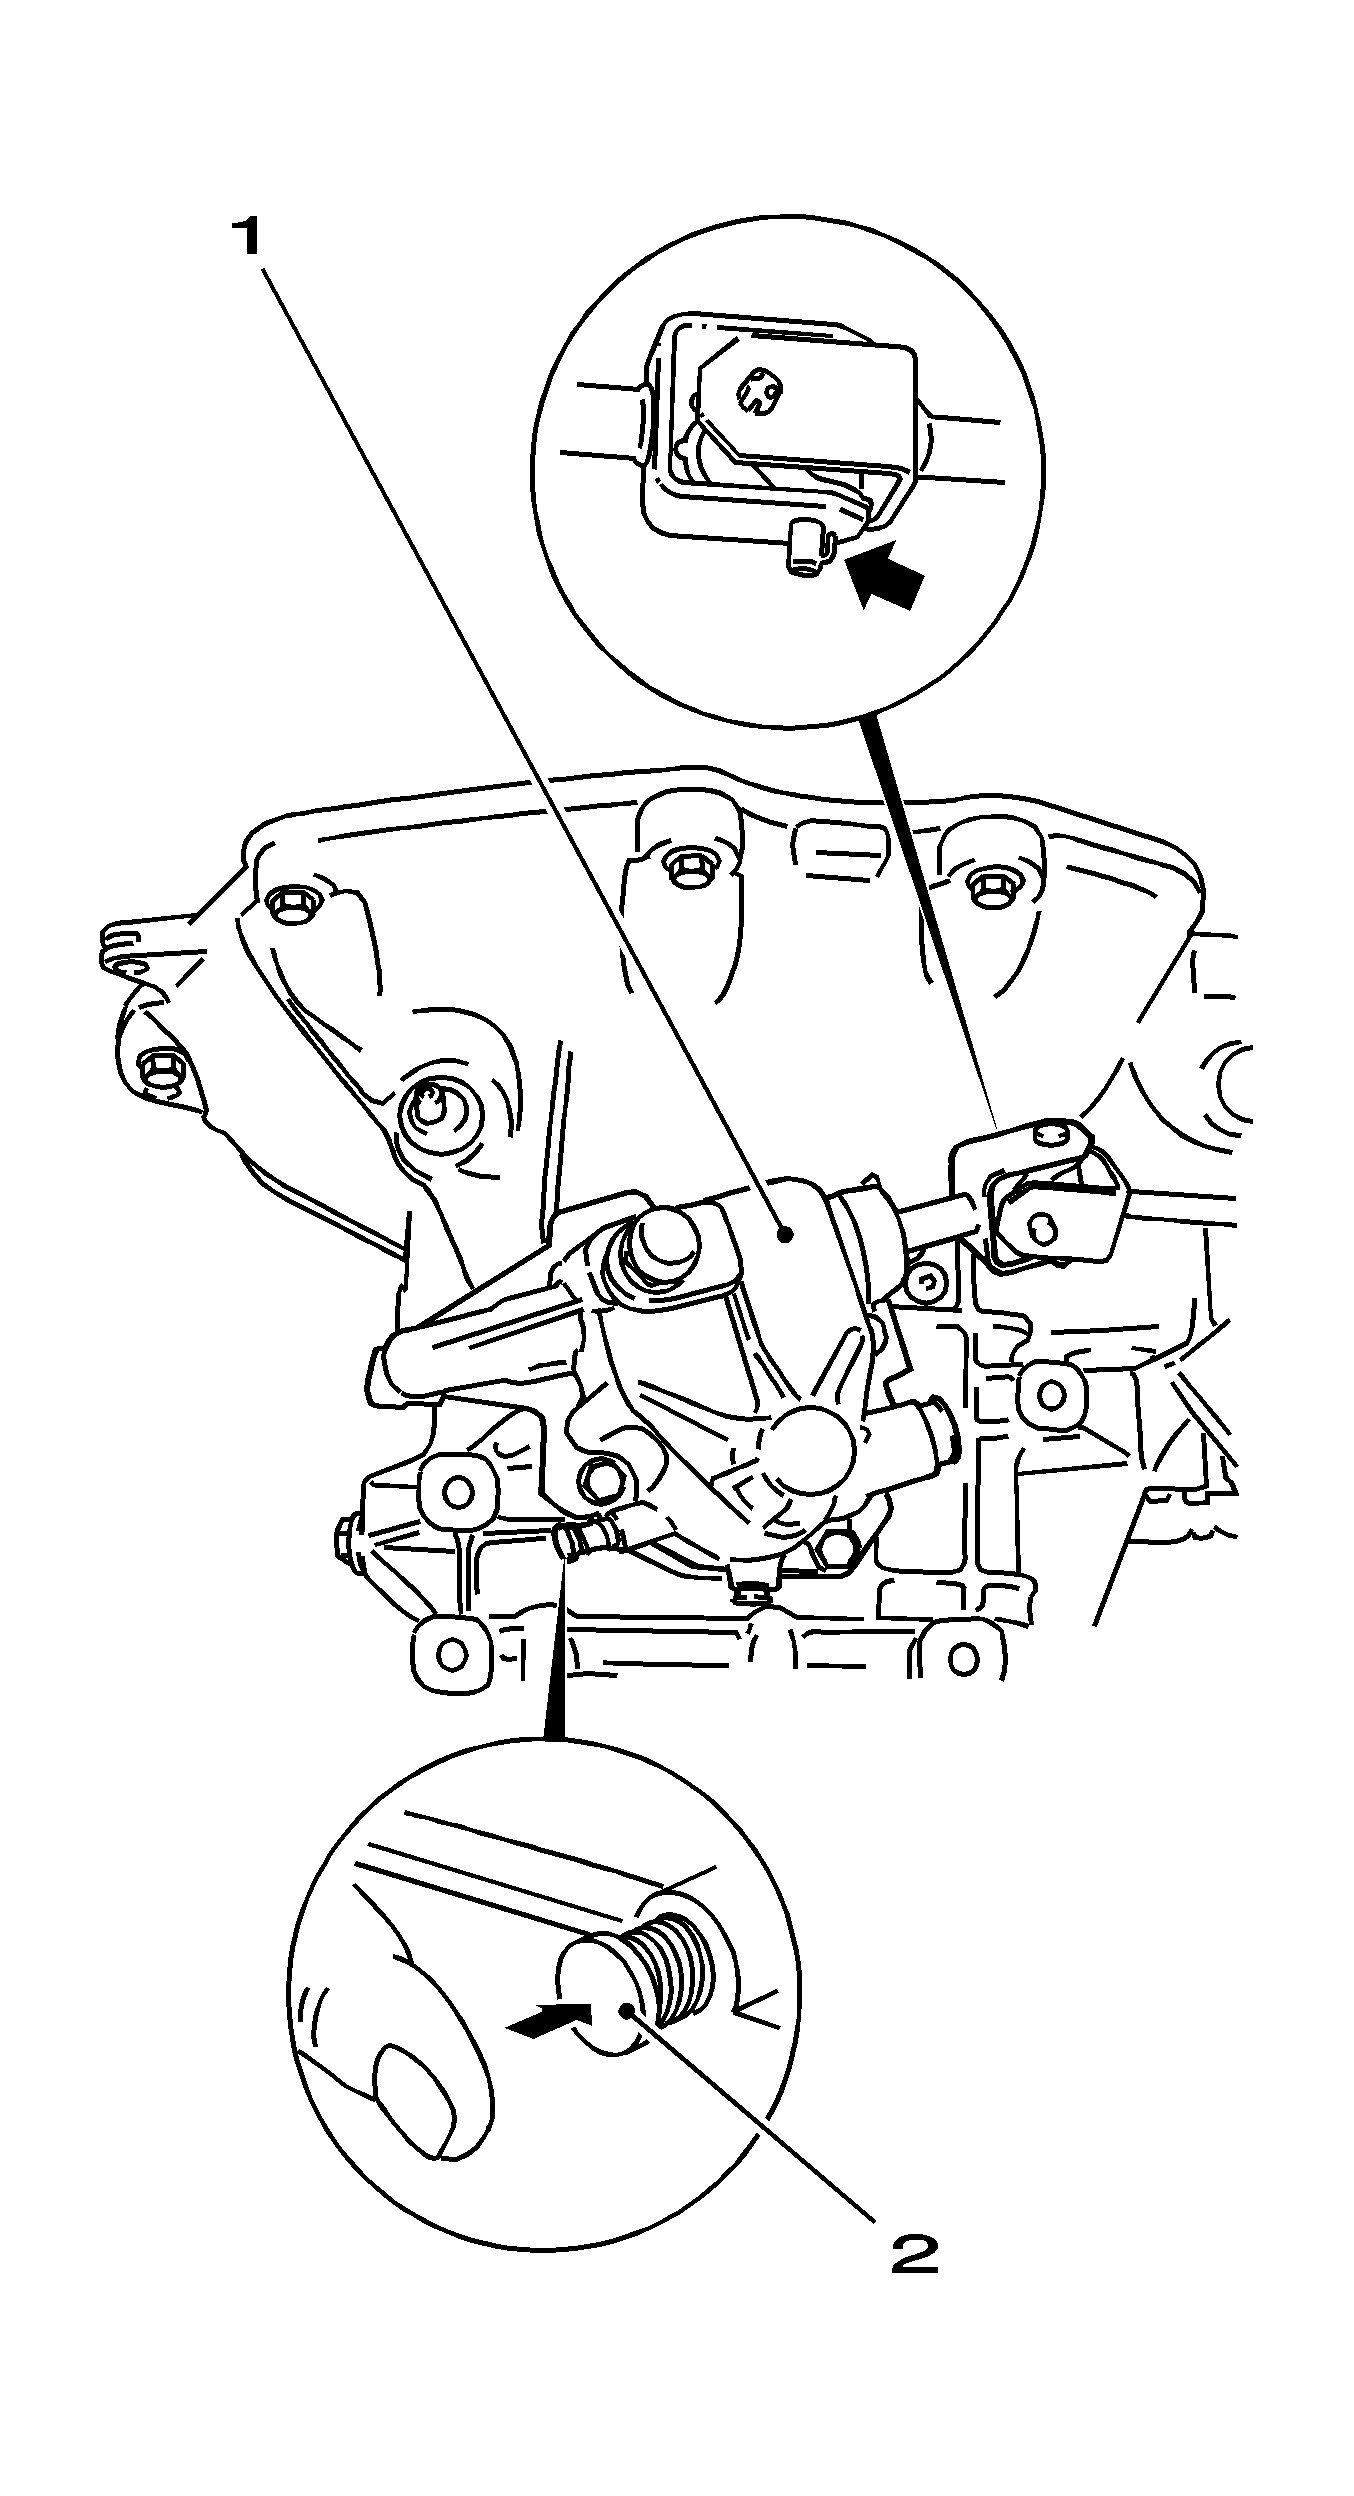
- Attach gearbox cover (1) to transmission.
| • | Cement new gasket to transmission housing with grease |
| | Important: Adjusting pin must sit in adjusting bore and lock the gearbox.
|
| • | Place gearbox cover on transmission |
Tighten
Tighten 4x bolt 15 N·m (11 lb ft)
| • | Draw adjusting pin (2) out of adjusting bore |
Important: Use new seal ring.
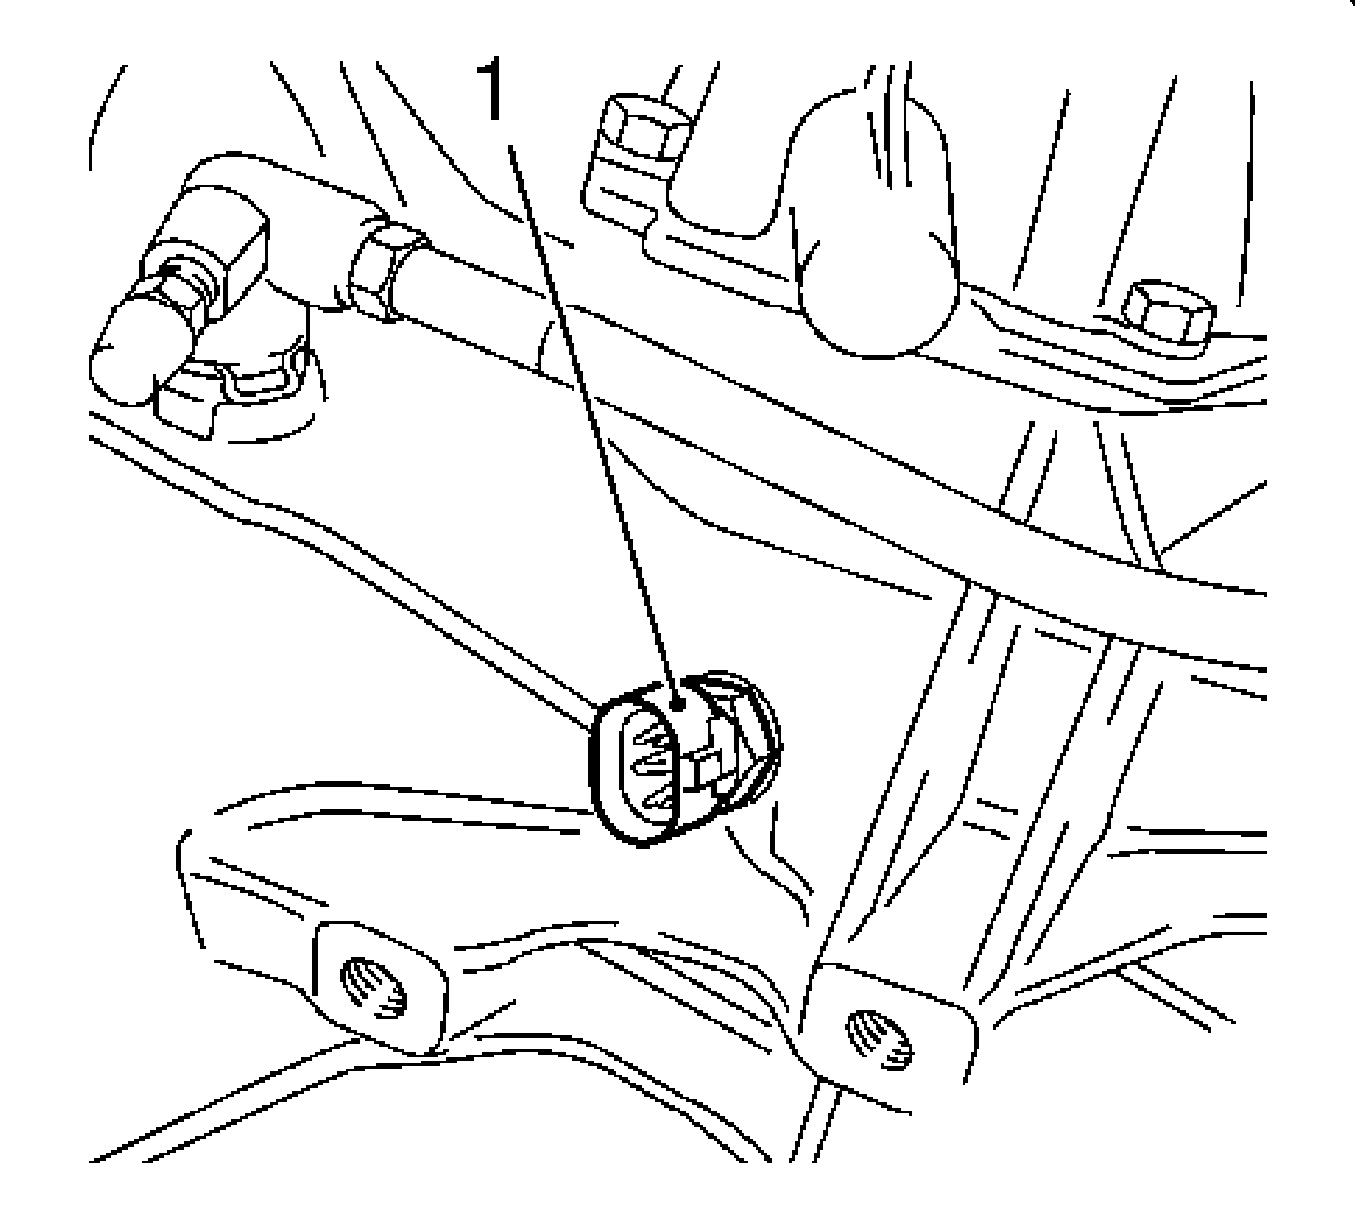
- Fit reversing lamp switch (1).
Tighten reversing lamp switch (1).
Tighten
Tighten reversing lamp switch 20 N·m (15 lb ft)
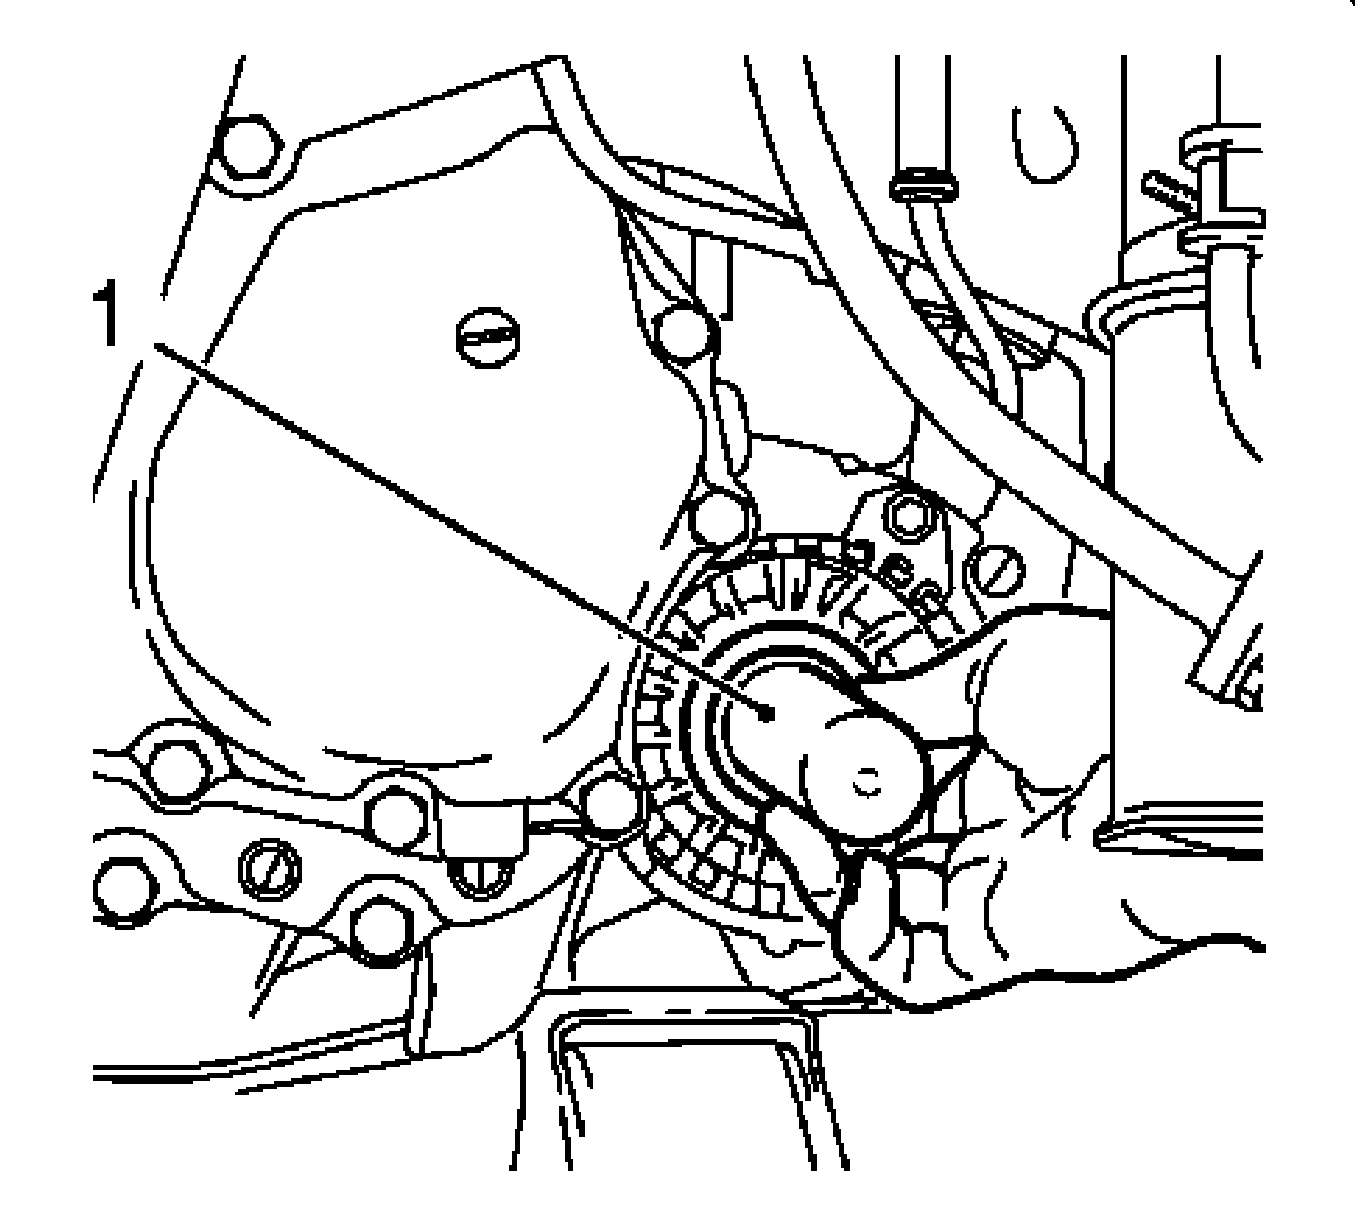
- Install new axle shaft seal ring.
| • | Coat axle shaft seal ring with transmission fluid. |
| • | Install axle shaft seal ring flush in the transmission with
KM-446
. |

- Install left engine damping block.
Tighten
Tighten 3x bolt 55 N·m (41 lb ft).
- Detach transmission from
KM-113-2
(1) using
KM-6115
(2).
- Detach transmission from
KM-6115
.
