Removal Procedure
Caution: Refer to Battery Disconnect Caution in the Preface section.

- Disconnect the battery.
- Remove the complete sill trim panel right and left.
| 2.2. | Remove the sill panel upwards. |
- Remove the front floor console. Refer to
Front Floor Console Replacement
.

Important: Ensure that the retaining wire is not bent.
- Remove the airbag.
| 4.1. | Turn the steering wheel 90 degrees (I). |
| 4.2. | Push the retaining wire in direction of steering column using small screwdriver in service opening (II) and remove airbag module. |
| 4.3. | Release and disconnect the wiring harness plug. |
Important: Position the steering wheel straight.
- Remove the steering wheel.
| 5.2. | Disconnect the wiring harness plug. |
| 5.3. | Remove the steering wheel. |

- Remove the steering column panel.
| 6.1. | Remove the 2 panels. |
| 6.3. | Tilt the upper steering column panel upwards. |
| 6.4. | Remove the ignition lock panel (1). |
| 6.6. | Remove the lower panel. |

- Remove the steering column electronics module (CIM module).
| 7.1. | Remove the 3 bolts (1). |
| 7.2. | Release and disconnect the wiring harness plug. |
| 7.3. | Remove the cable harness clamp. |
Important: The rotary light switch center can be pressed inwards and is unlocked.
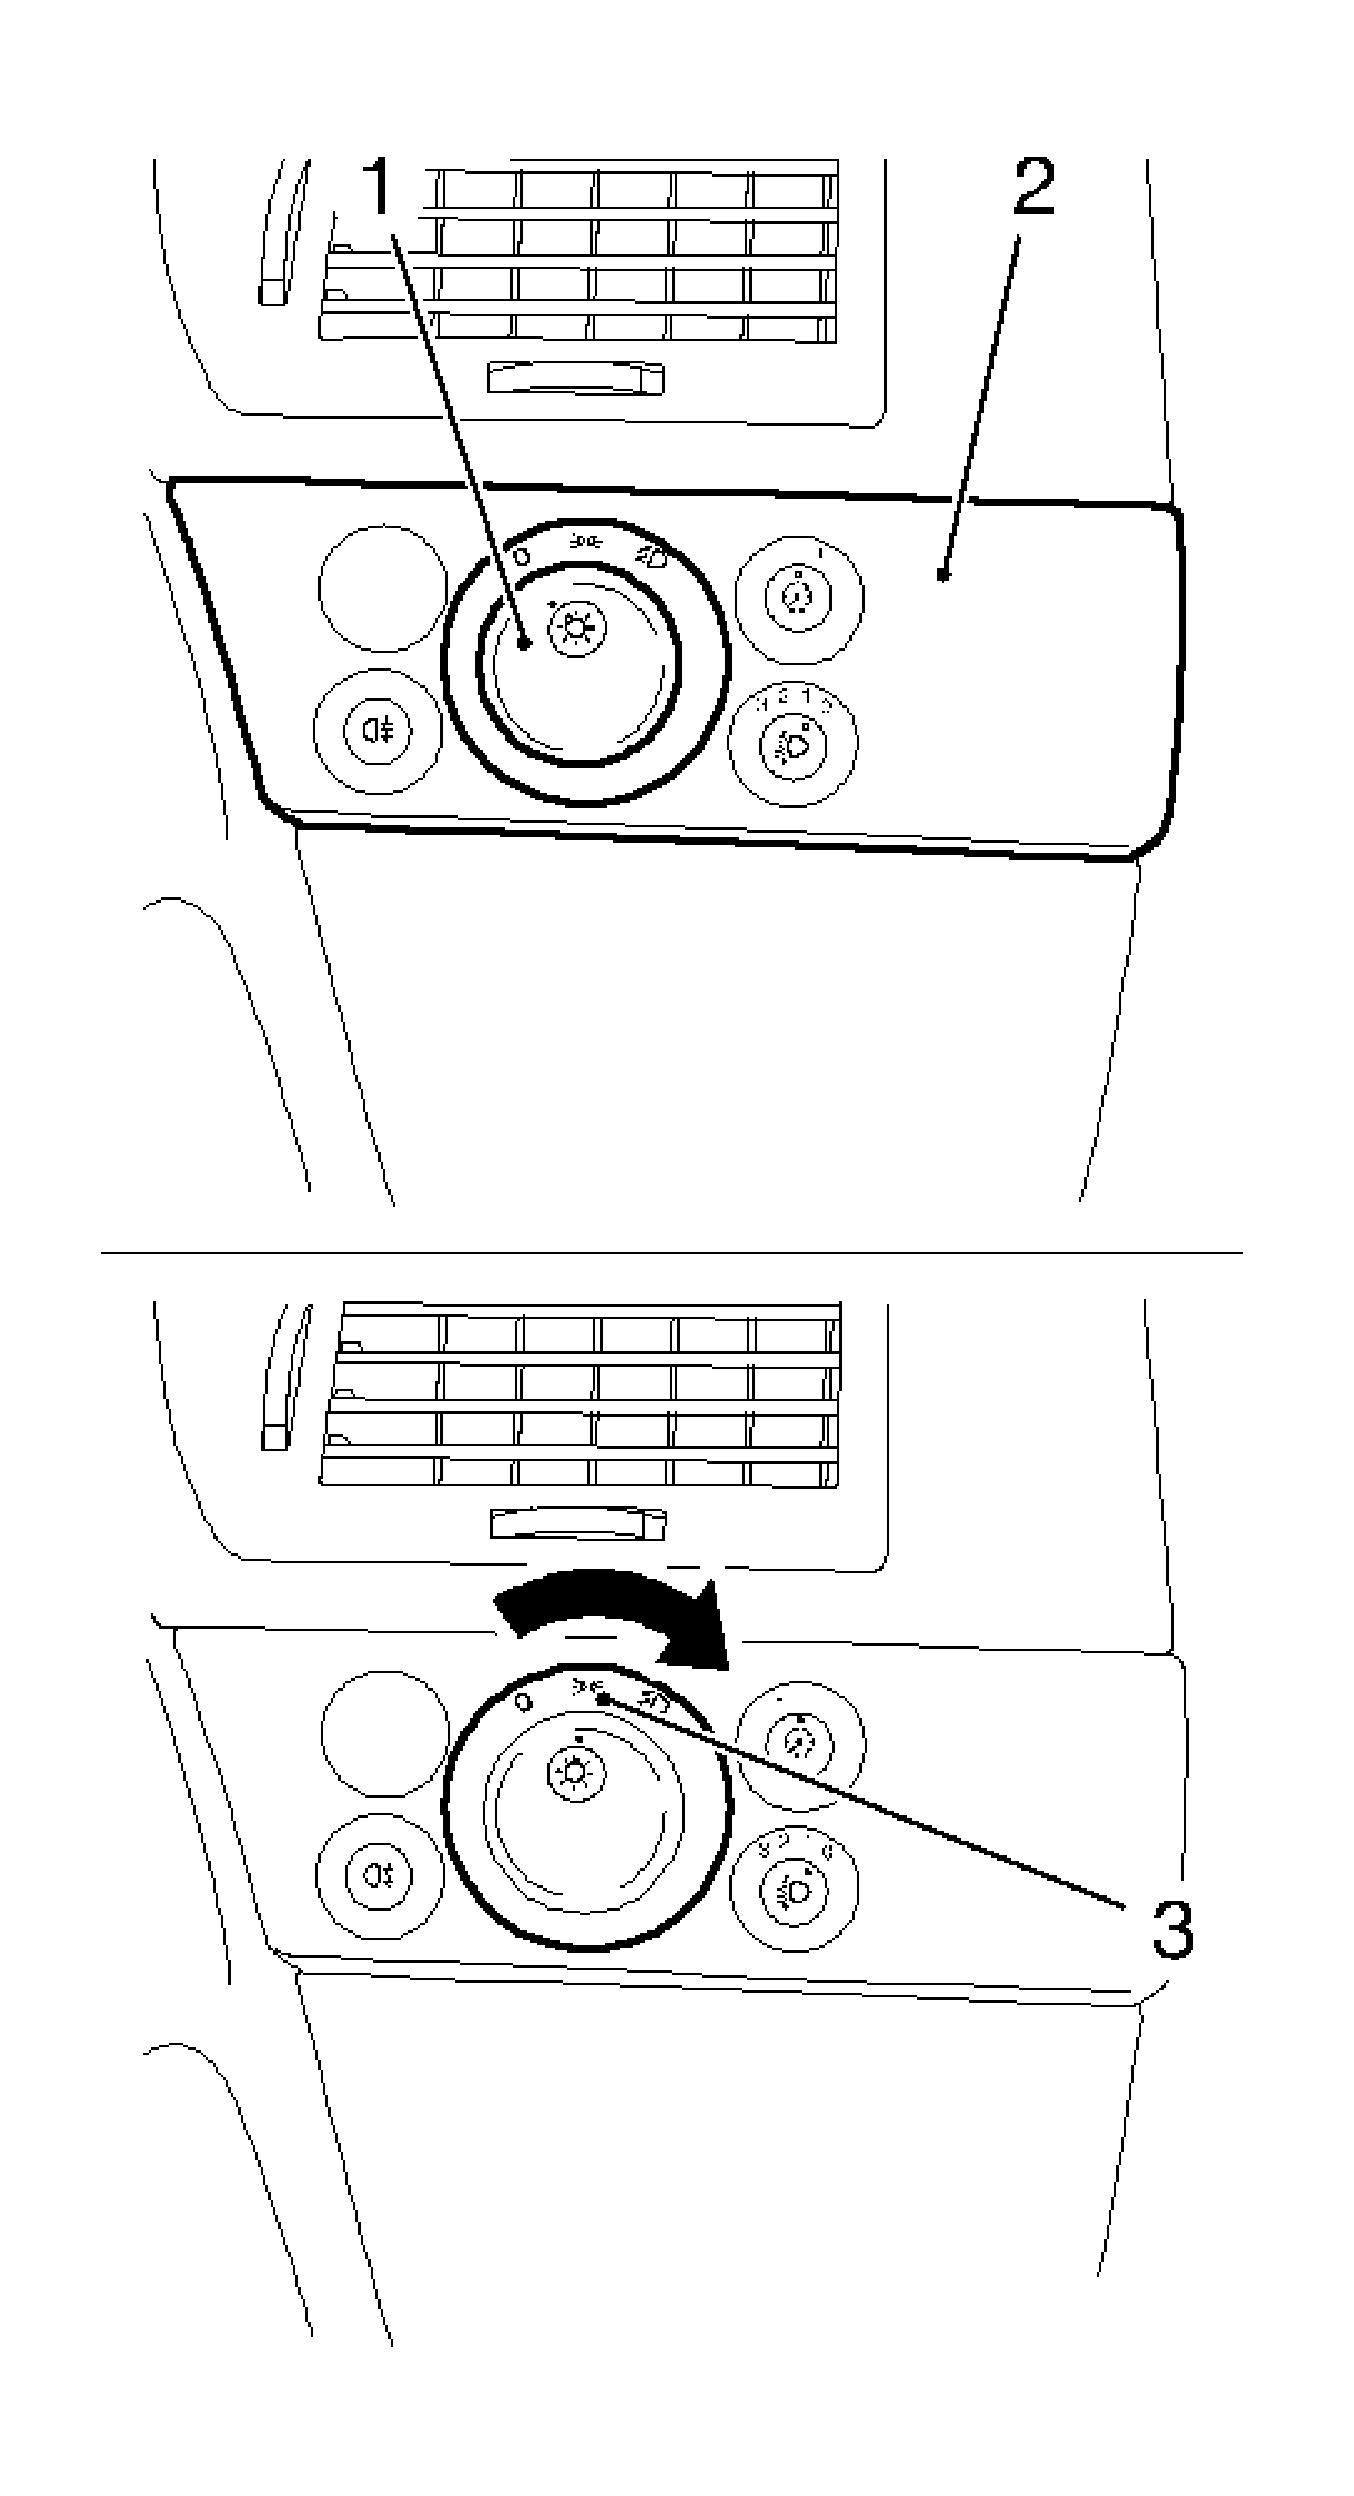
- Remove the light switch center.
| 8.1. | Press the rotary switch (1) in position "0", move pressed rotary switch to the middle position (3) and remove the light switch center (2). |
| 8.2. | Release and disconnect the wiring harness plug. |

- Remove the radio.
| 9.1. | Disconnect with dismantling strap (arrow). |
| 9.2. | Disconnect the wiring harness plug (2). |
| 9.3. | Disconnect the antenna (1). |

- Remove the heating/air conditioning control module.
| 10.1. | Loosen the 2 top clips (1). |
| 10.2. | Loosen the 2 bottom clips. |
| 10.3. | Release the 2 wiring harness plugs and disconnect (2). |
- Remove the accessory switch panel.
| 11.1. | Remove the 2 bolts (2). |
| 11.2. | Release and disconnect the wiring harness plug (1). |

- Remove the right instrument trim panel.
| 12.1. | Release with the plastic wedge. |
| 12.2. | Disconnect the 4 clips. |
- Remove the information display.
| 13.1. | Remove the 2 bolts. |
| 13.2. | Release and disconnect the wiring harness plug. |
- Remove the instrument panel knee bolster, drivers side.
| 14.1. | Remove the 4 bolts. |
| 14.2. | Disconnect and remove the cowling from bracket. |
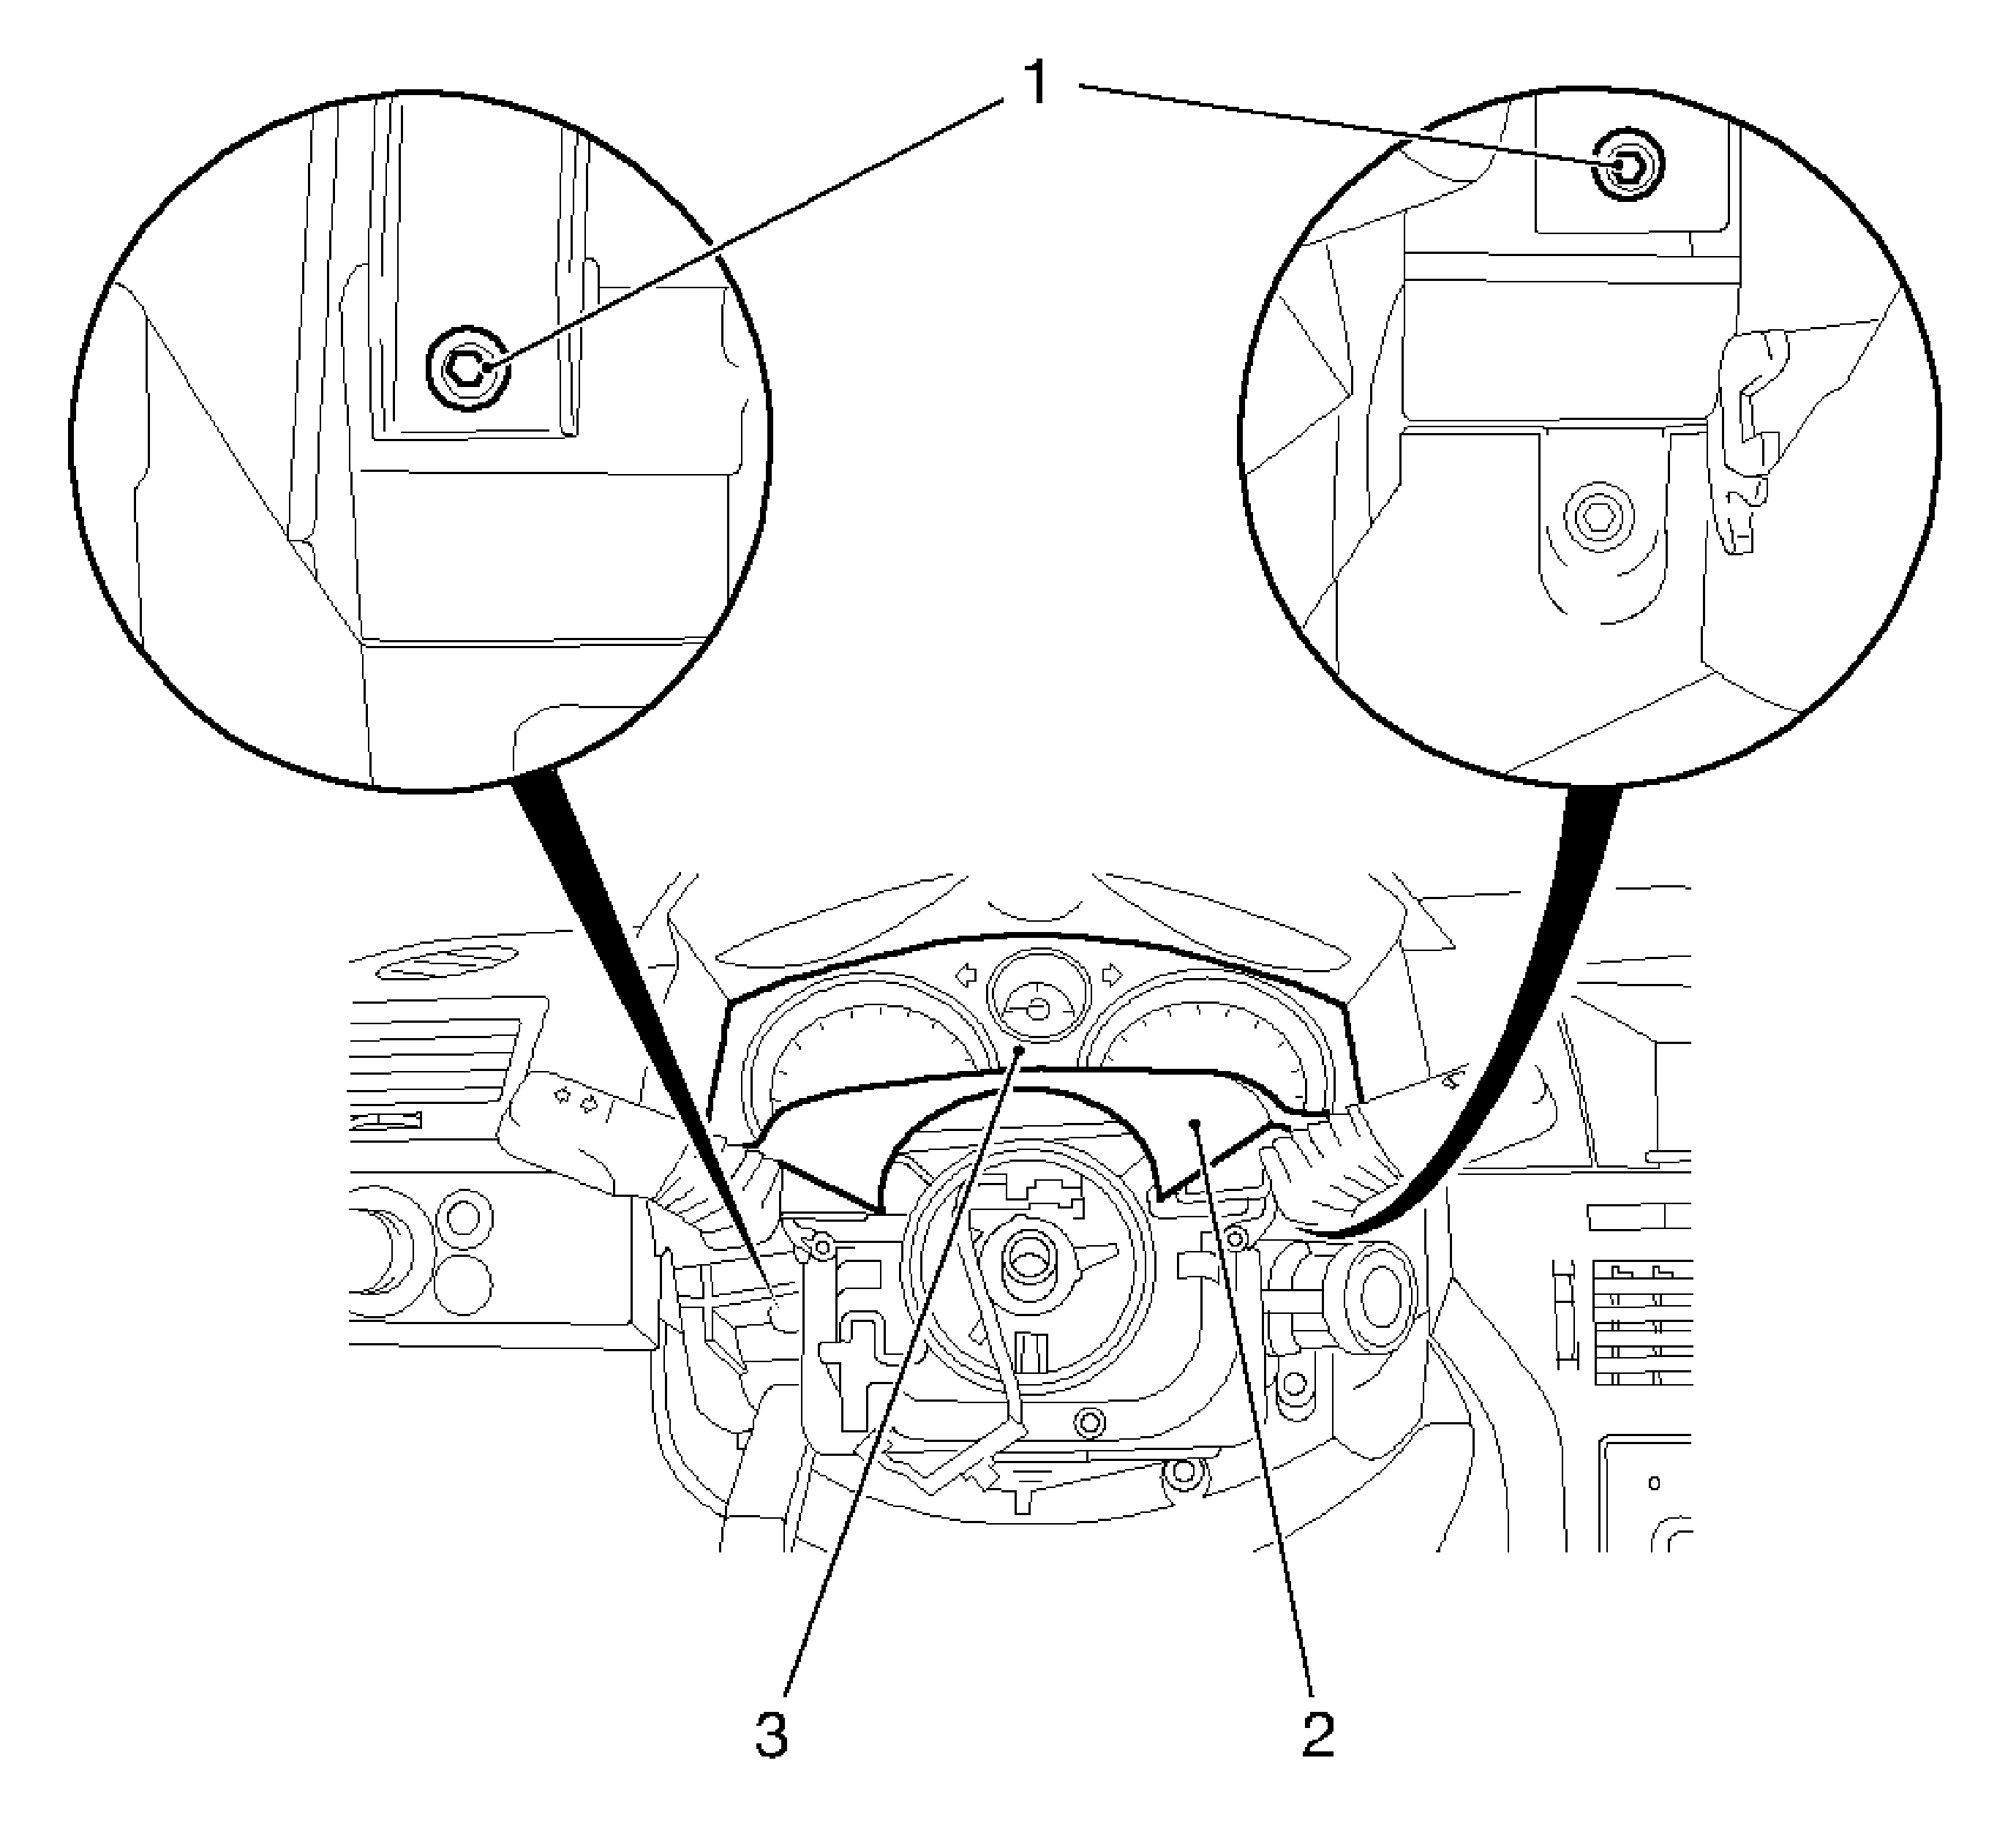
- Remove the instrument cluster.
| 15.1. | Remove the 2 bolts (1). |
| 15.2. | Lift the upper steering column paneling (2) upwards and remove instrument cluster (3). |
| 15.3. | Release and disconnect the wiring harness plug. |
- Remove the I/P compartment.
| 16.1. | Open the I/P compartment cover. |
| 16.2. | Remove the 4 bolts (1). |
| 16.3. | Disconnect the wiring harness plug. |
| 16.4. | Remove the I/P compartment. |
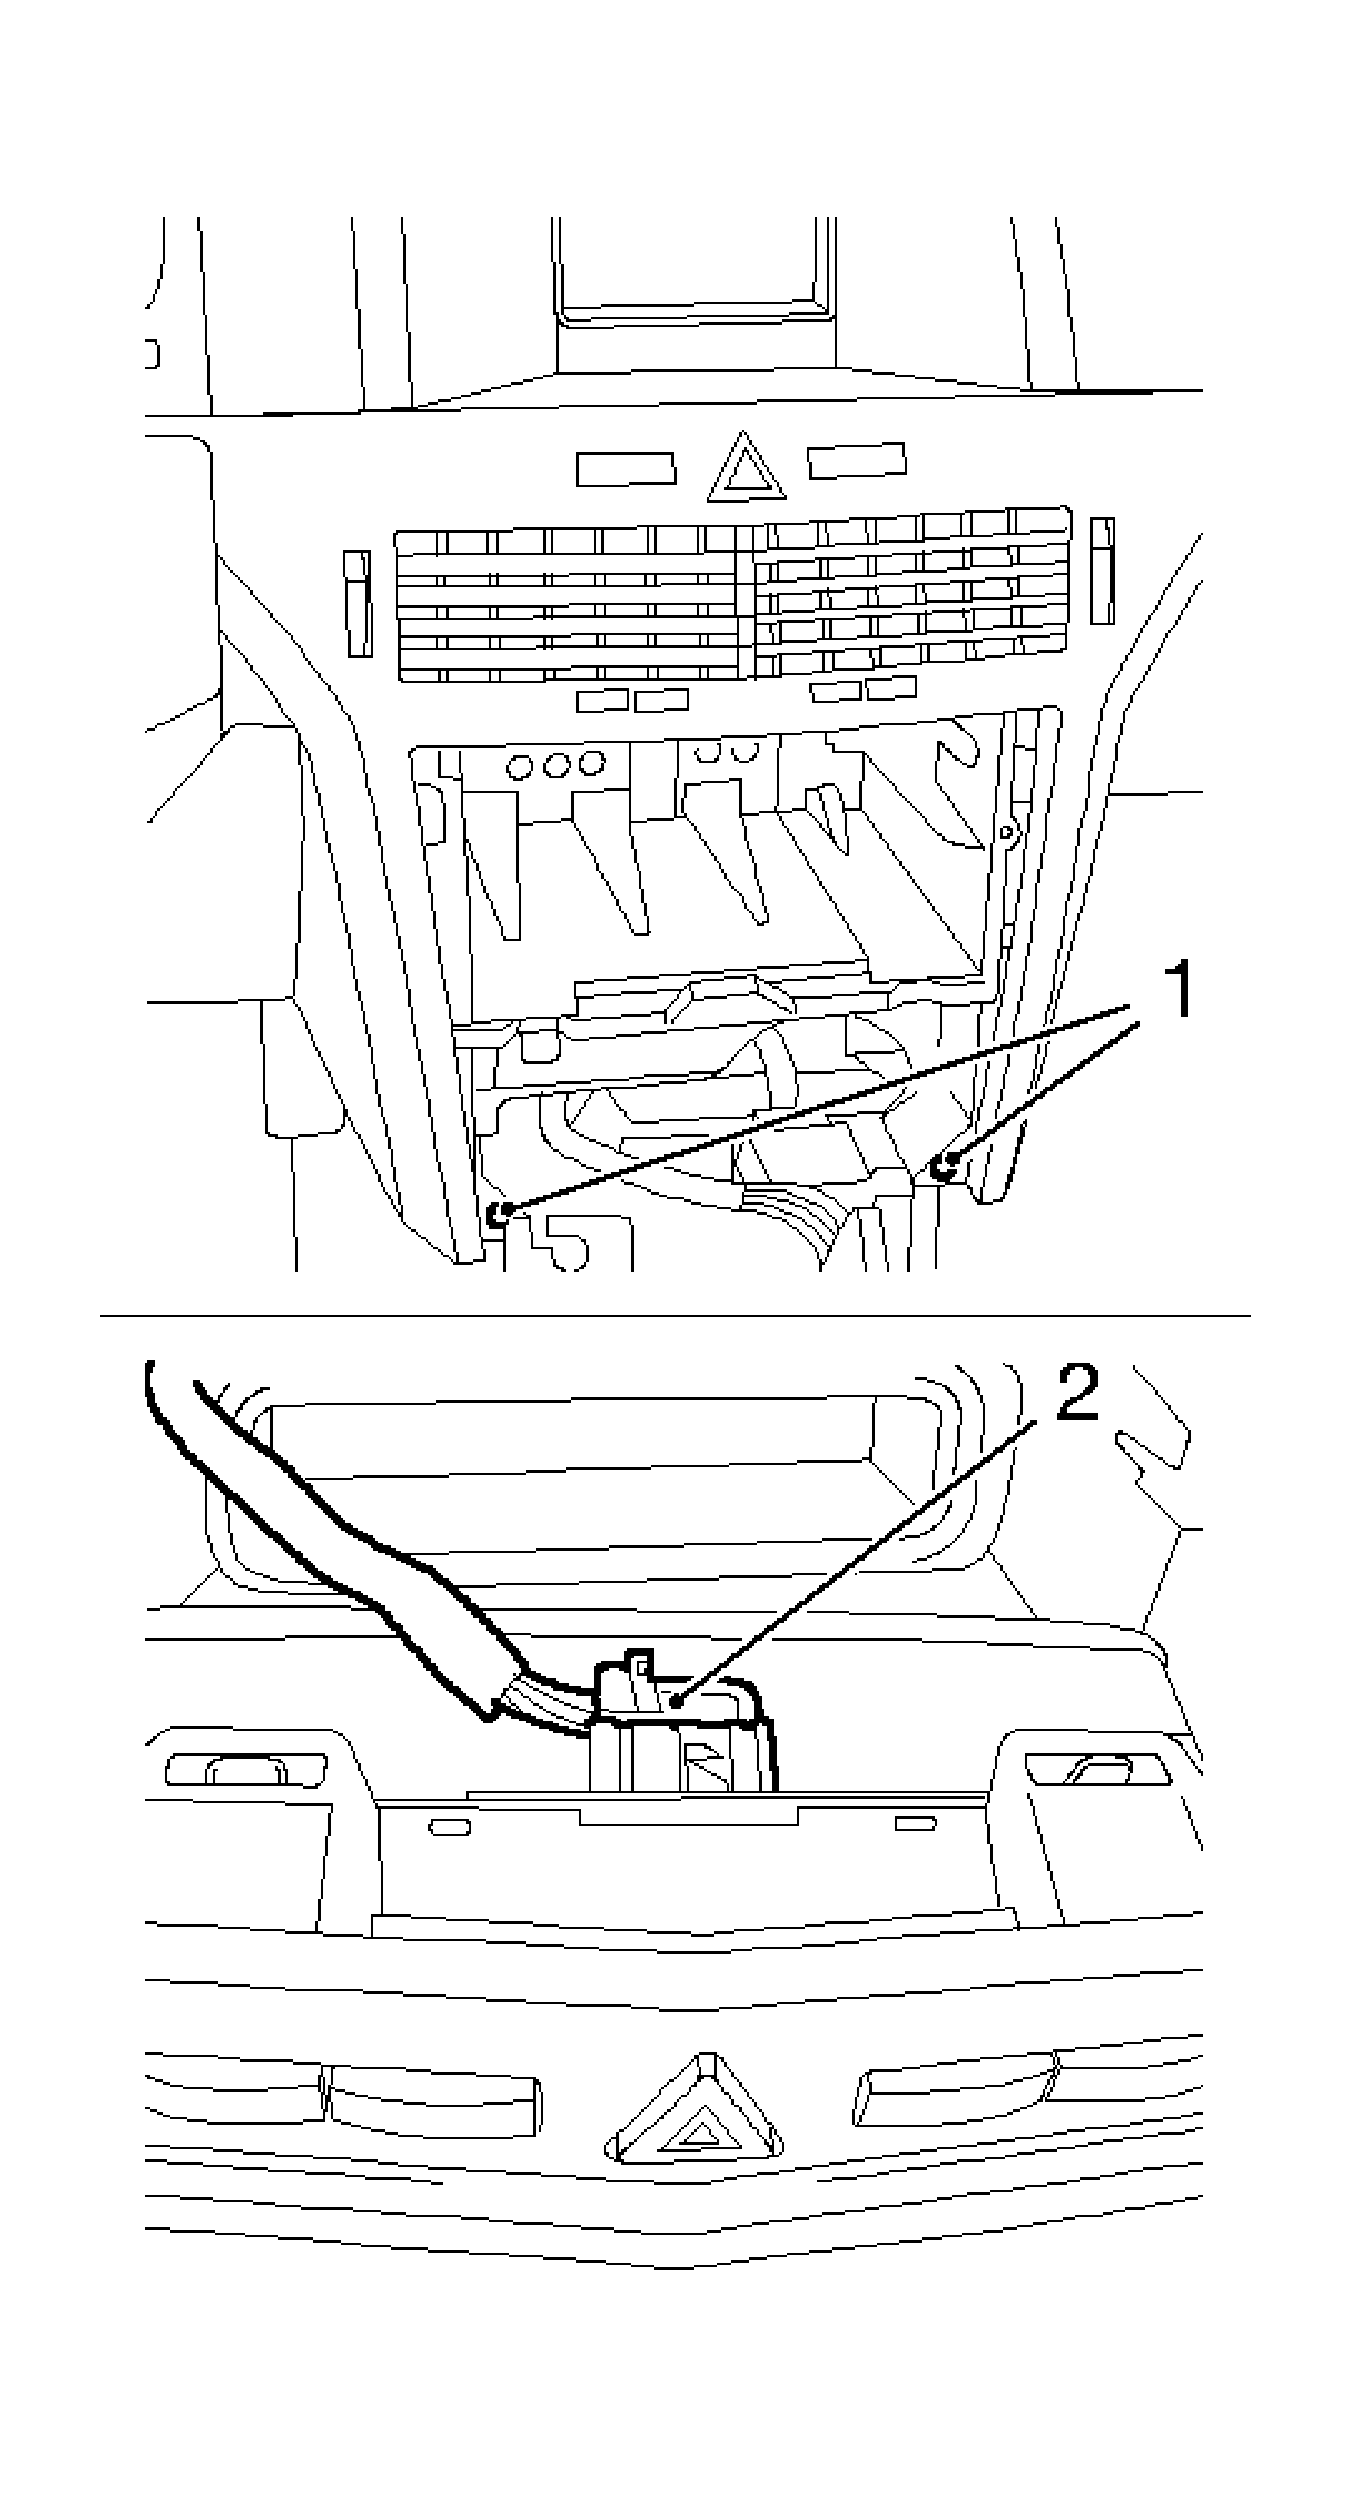
- Remove the air duct for the front driver side footwell.
Loosen the clip (1) and remove the air duct.
- Remove the air duct for the front passenger side footwell.
Loosen the clips (2) and remove the air duct.
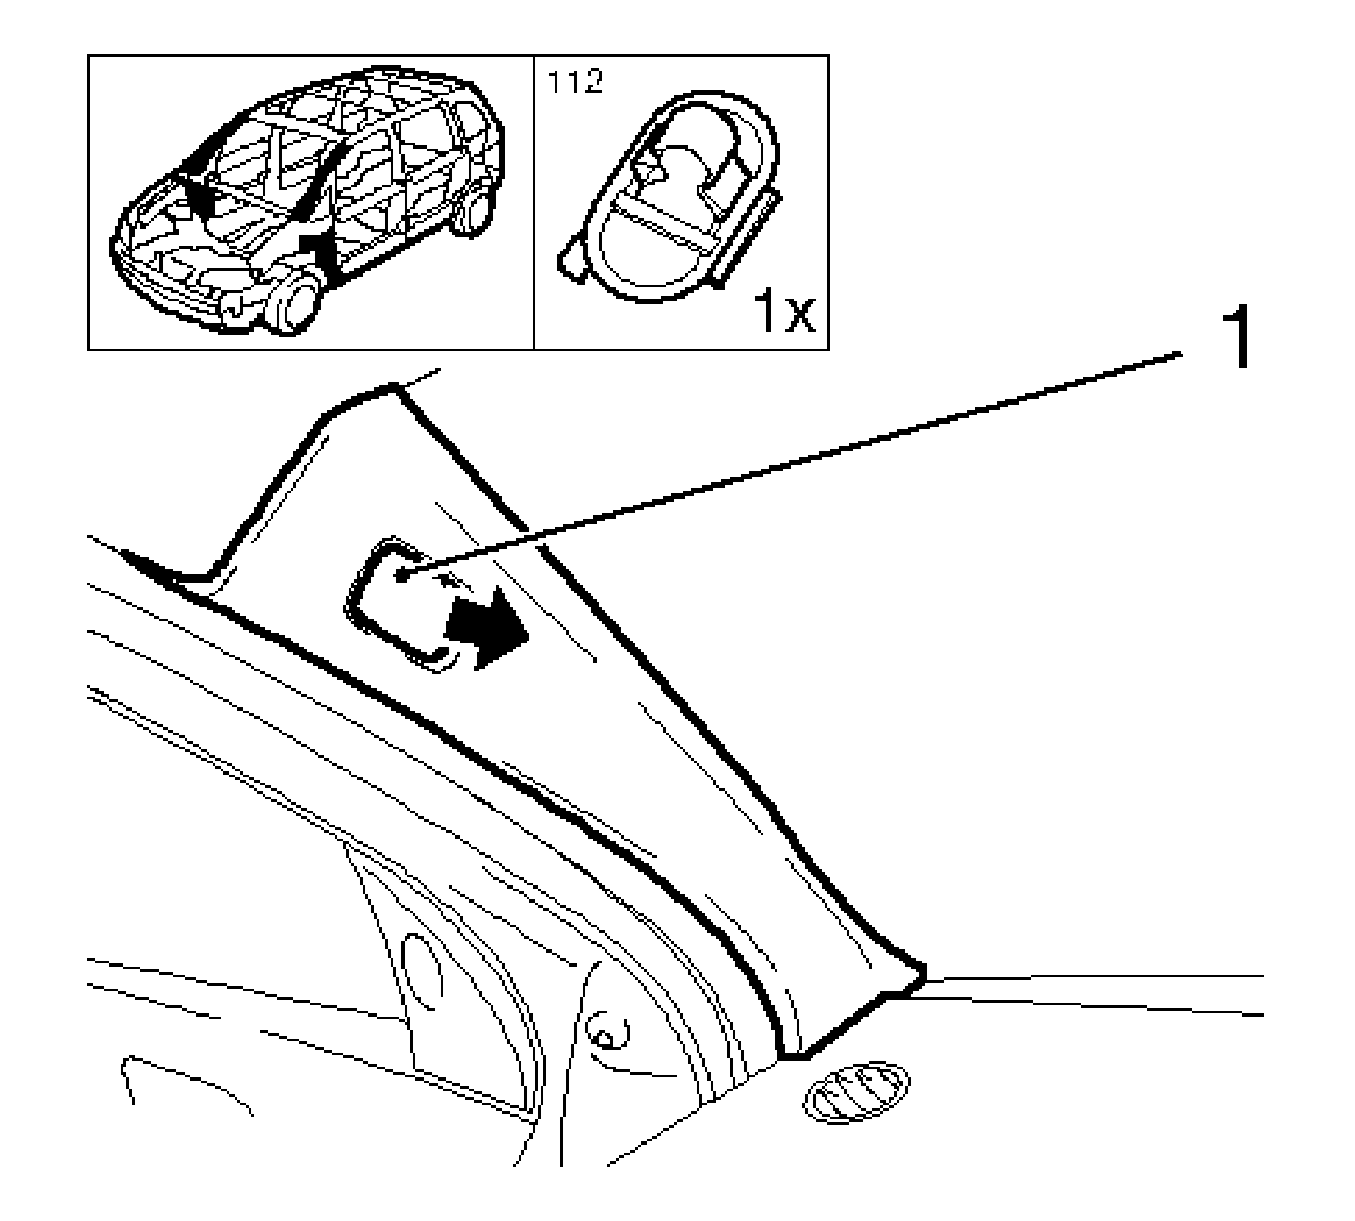
- Remove the inner paneling for the left windshield garnish molding.
| 19.1. | Remove the access panel (1). |
| 19.2. | Disconnect the clip. |
| 19.3. | Remove the windshield garnish molding. |
- Remove the inner paneling for the right windshield garnish molding.
| 20.1. | Remove the access panel (1). |
| 20.2. | Disconnect the clip. |
| 20.3. | Remove the windshield garnish molding. |
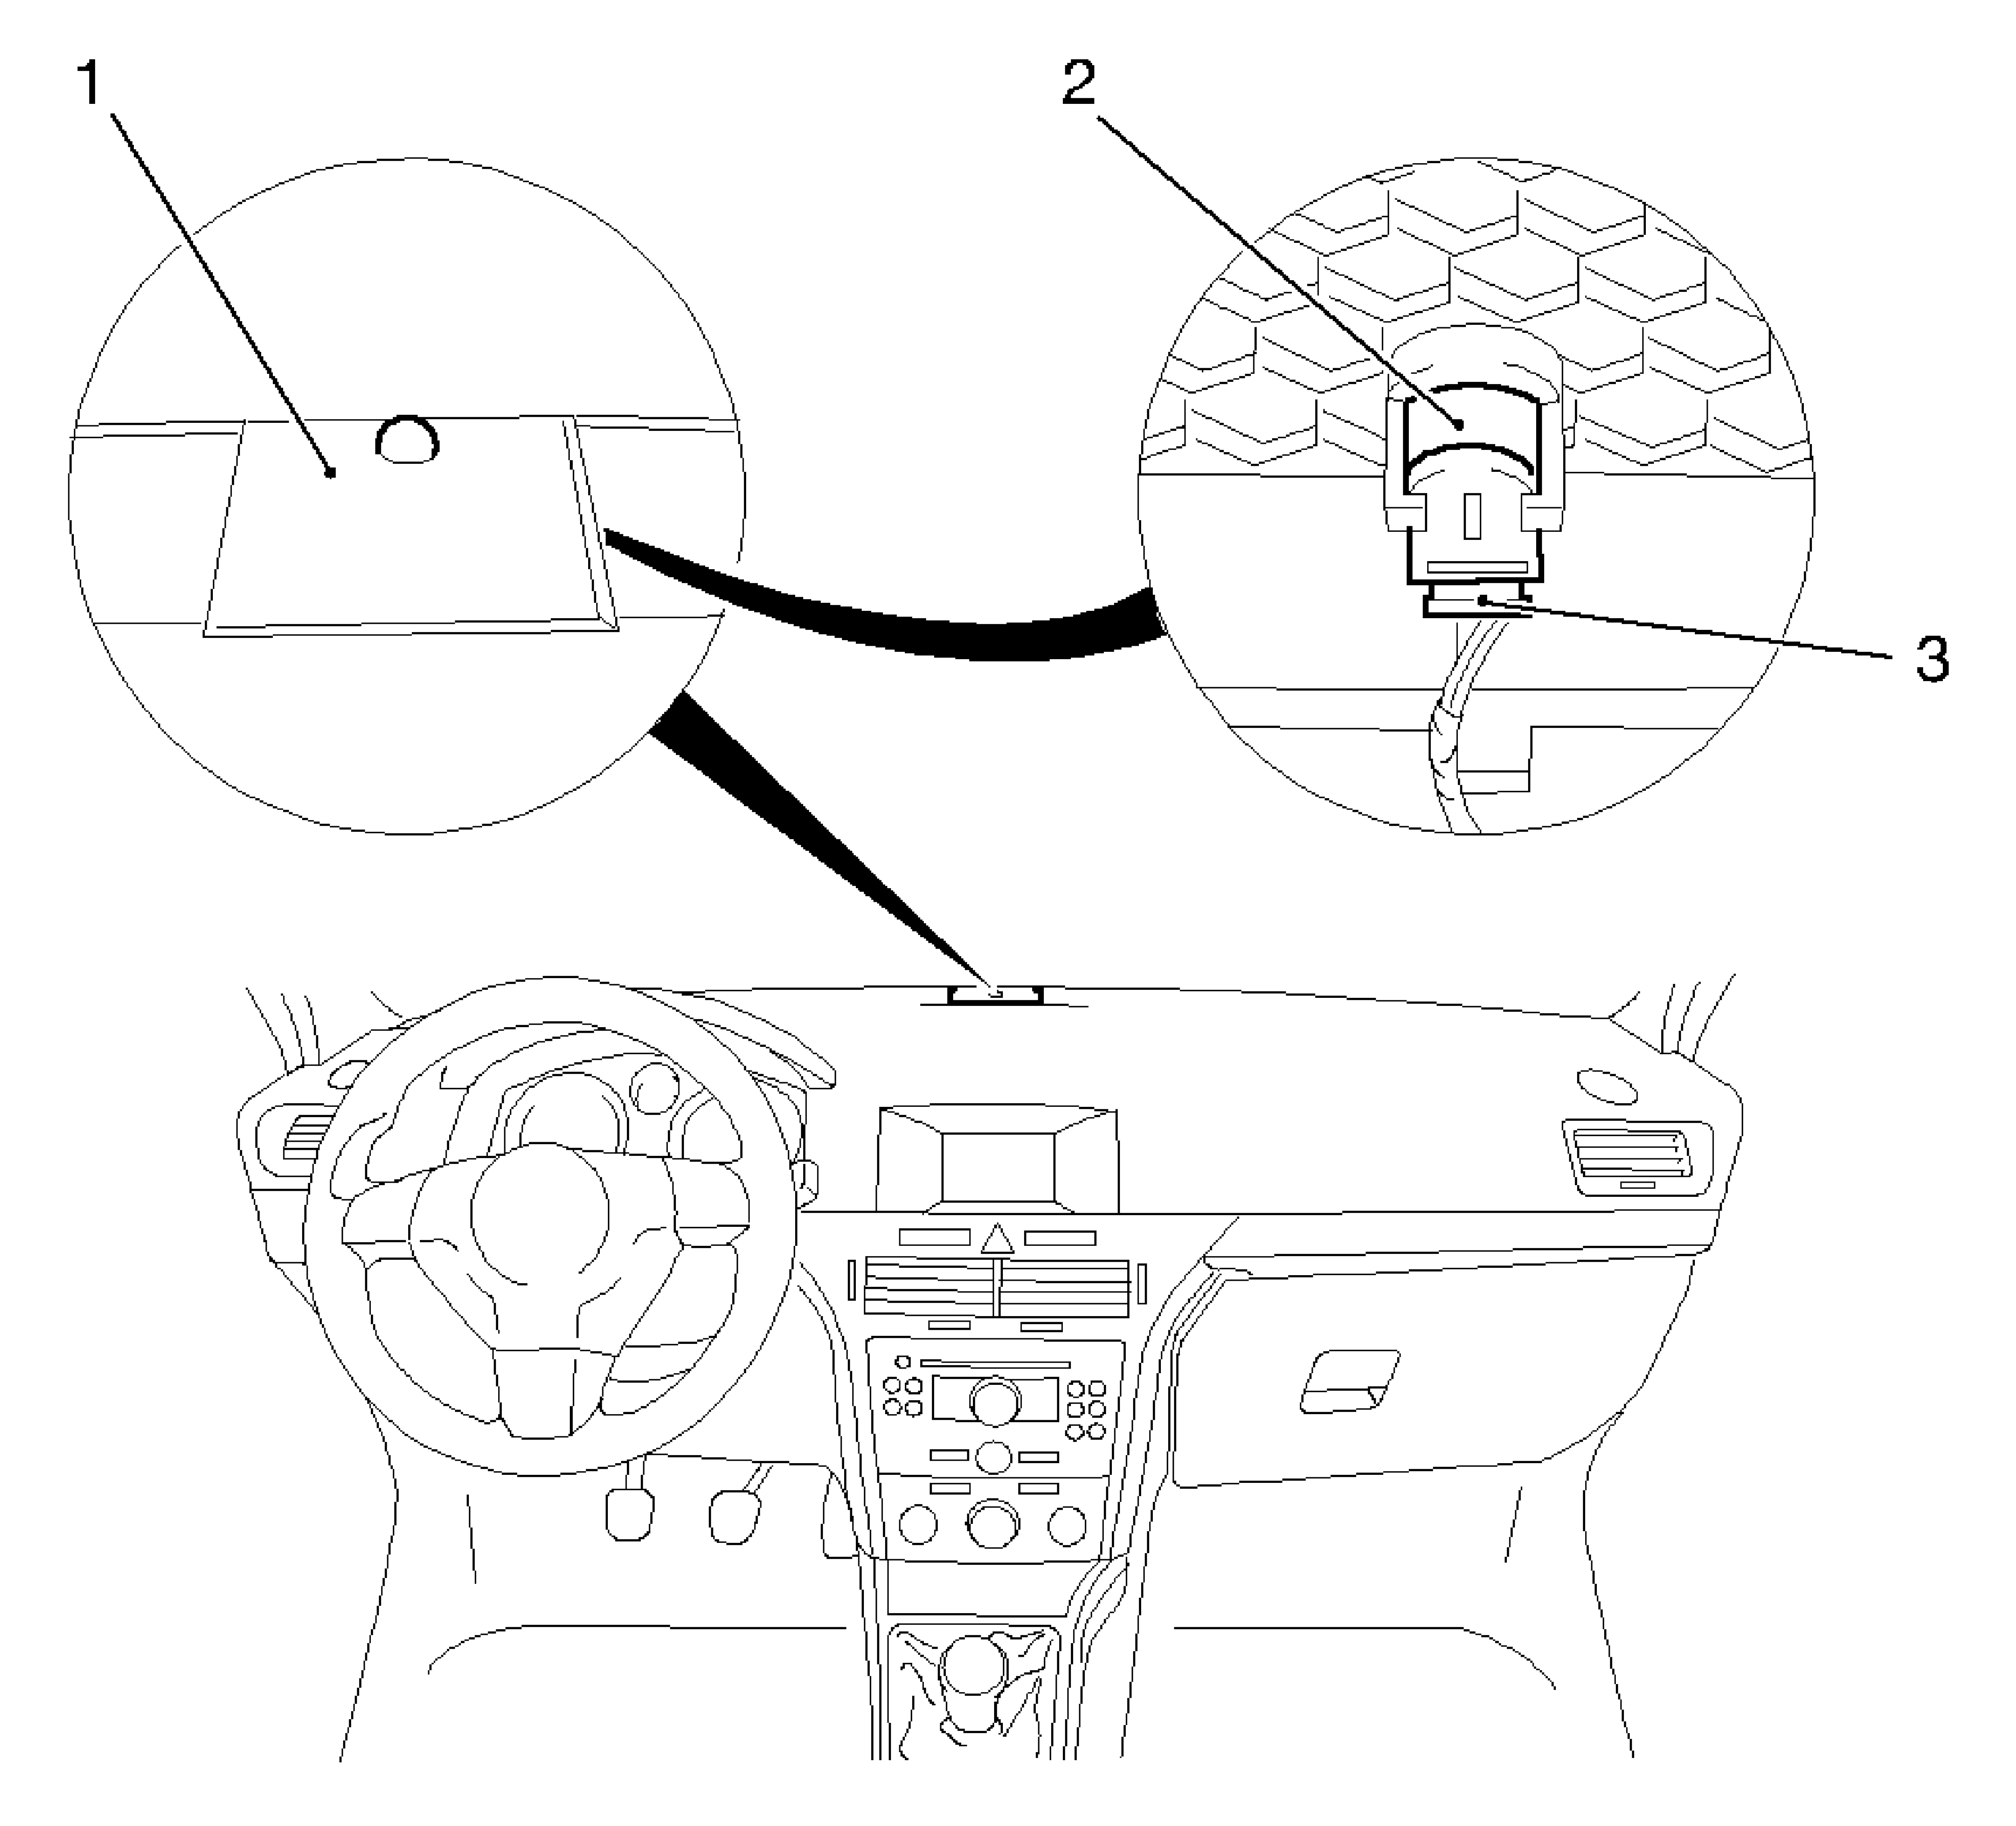
- Remove the central speaker I/P padding panel.
| 21.1. | Remove the central speaker panel (1). |
| 21.2. | Disconnect the wiring harness plug (3) from the sun sensor (2). |

- Remove the steering column. Refer to
Steering Column Replacement
.
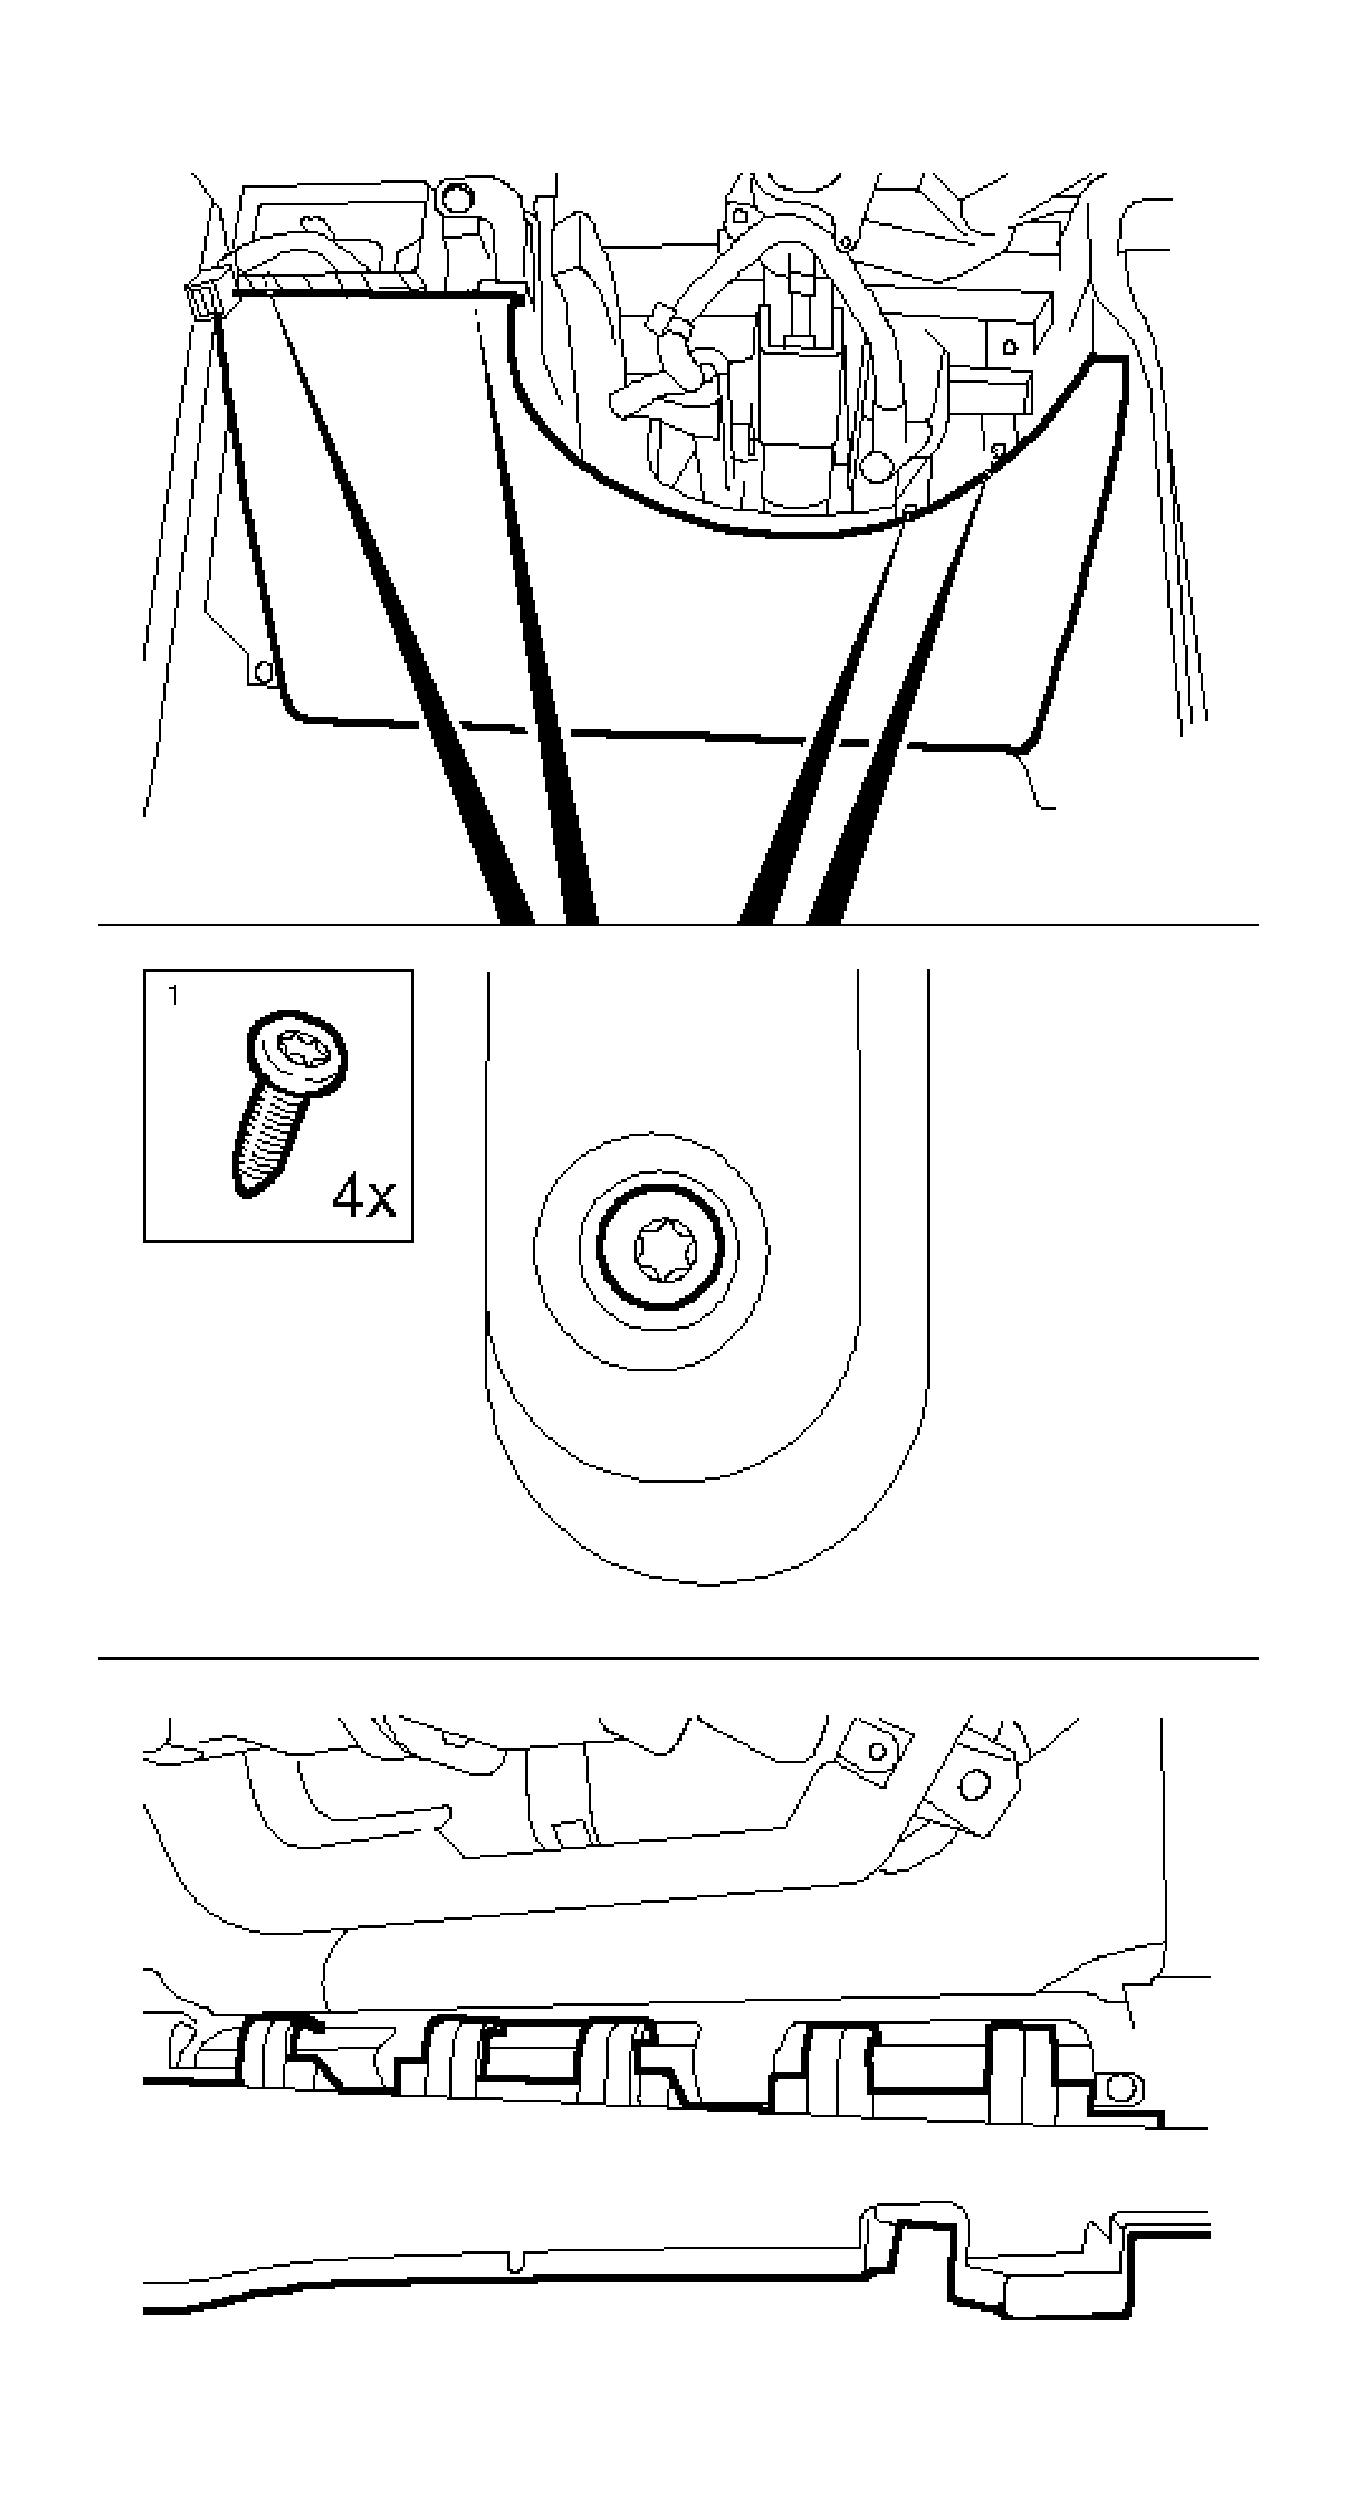
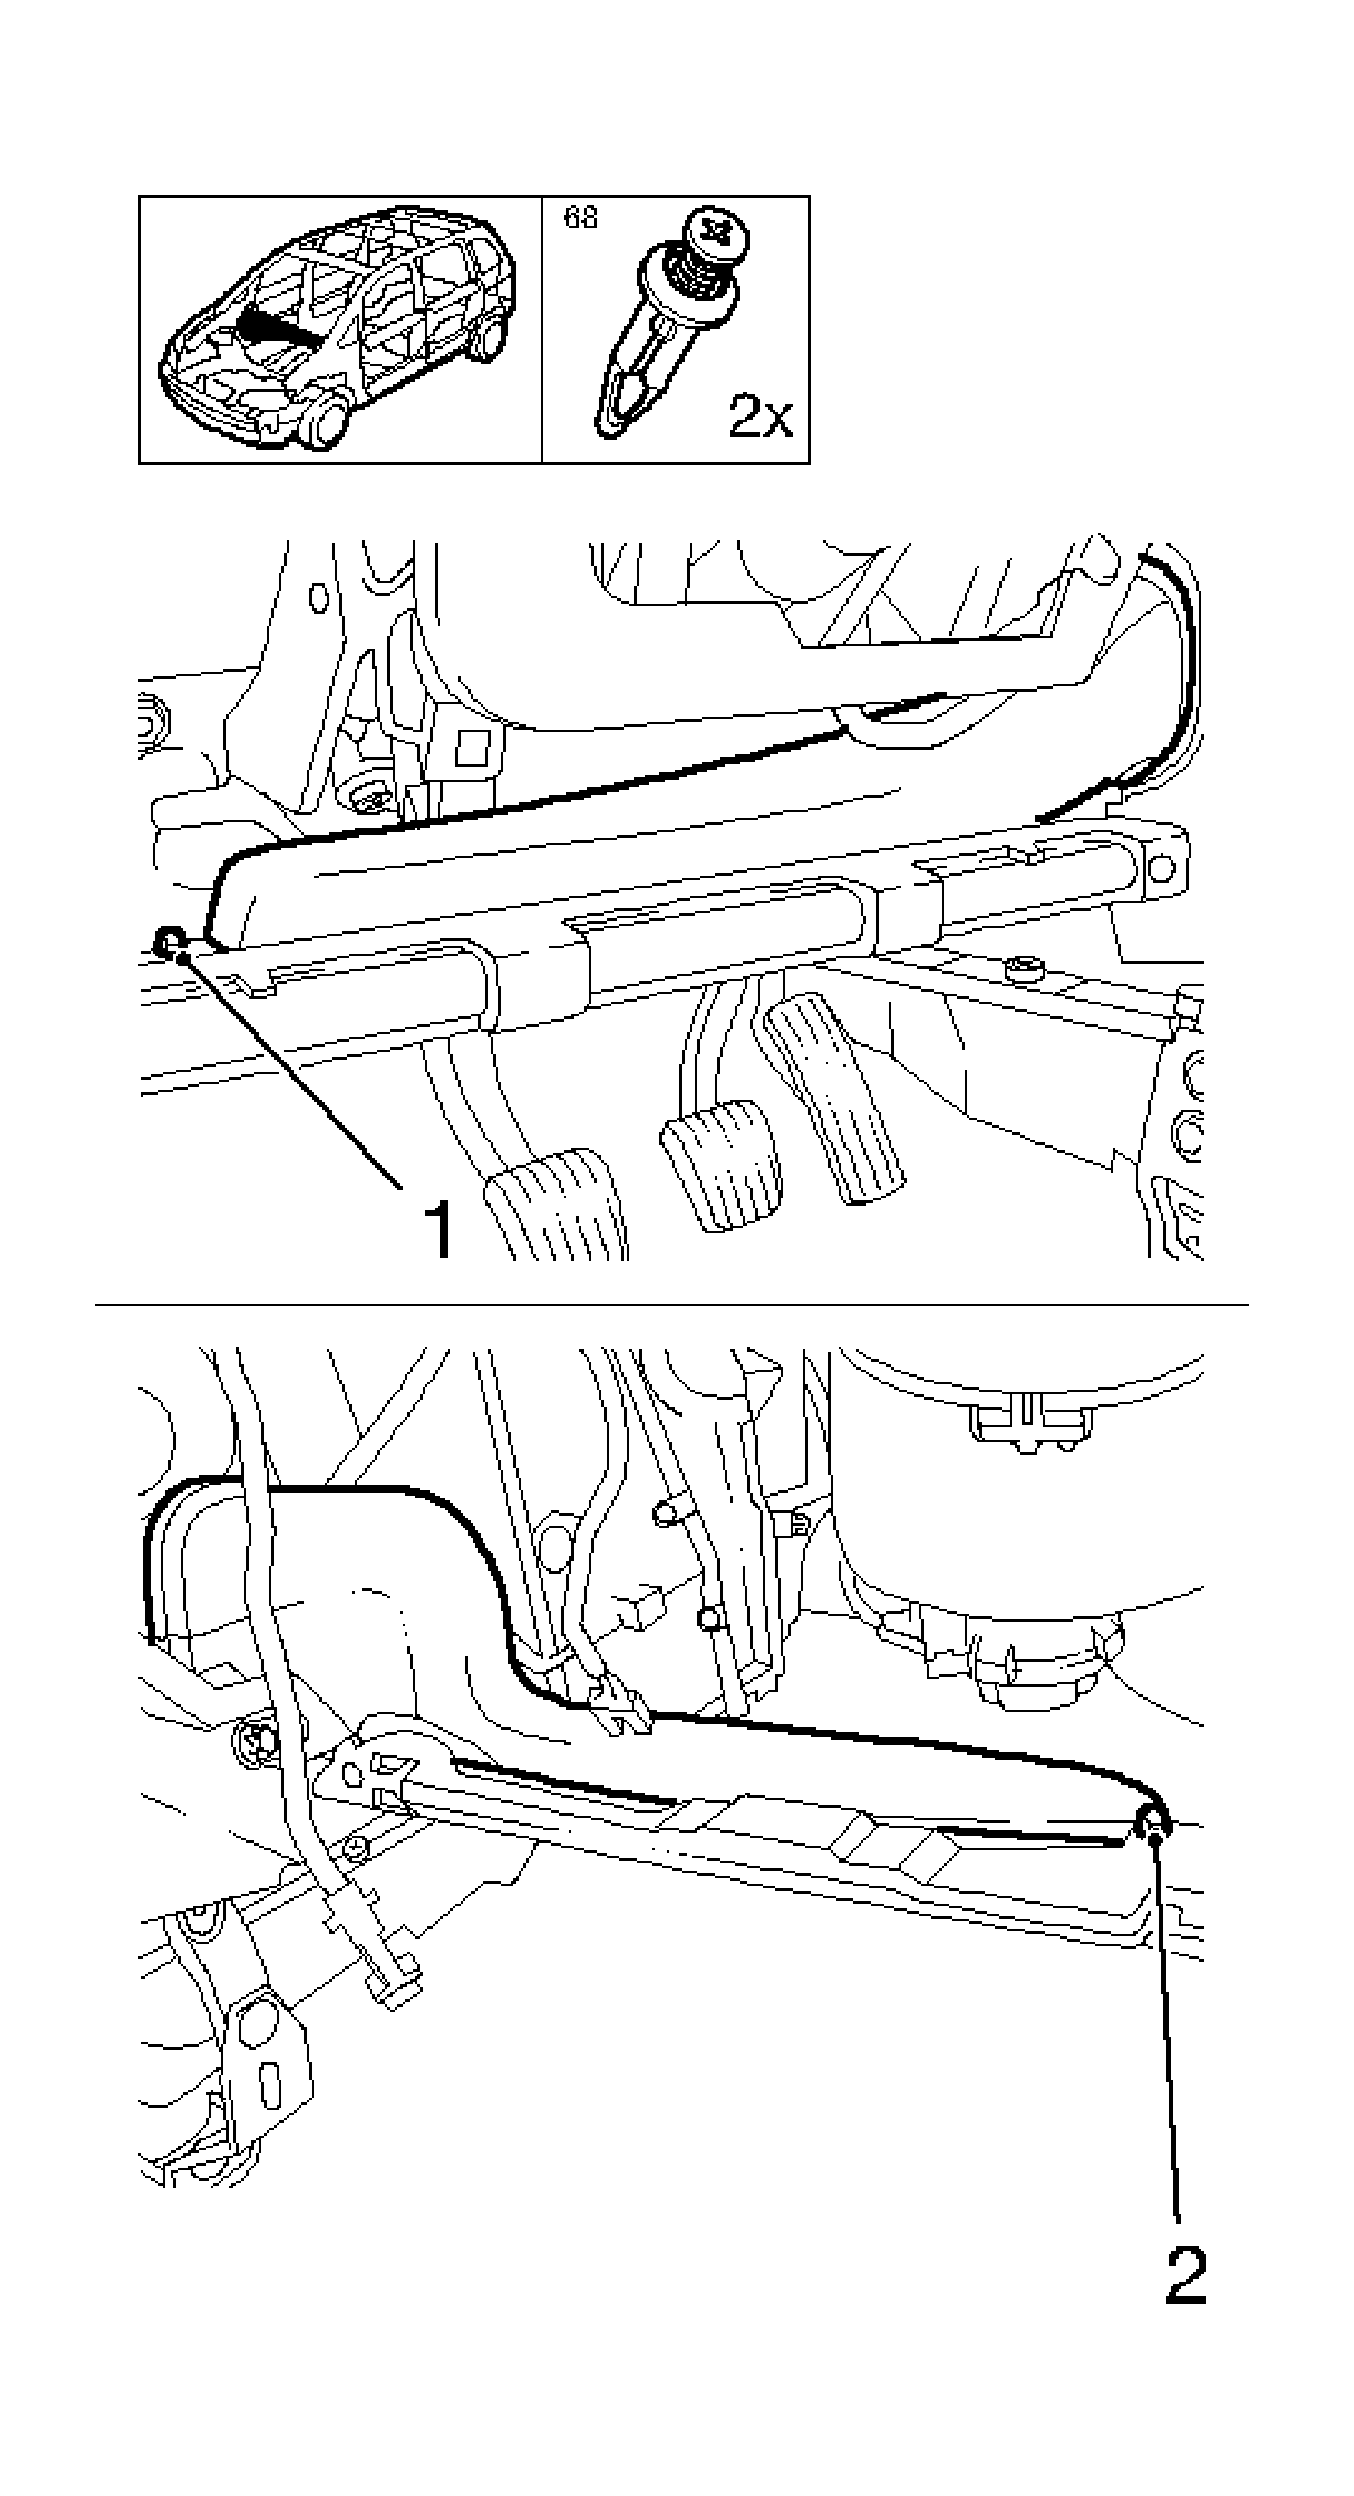
- Loosen the I/P padding.
| 23.1. | Remove the top bolt (1). |
| 23.2. | Remove the 4 bolts at the bottom (2, 3). |

- Loosen the instrument trim panel.
| 24.1. | Unclip both the I/P padding covers, side. |
| 24.2. | Remove the 2 bolts (1). |
| 24.3. | Remove the 2 footwell bolts (2, 3). |
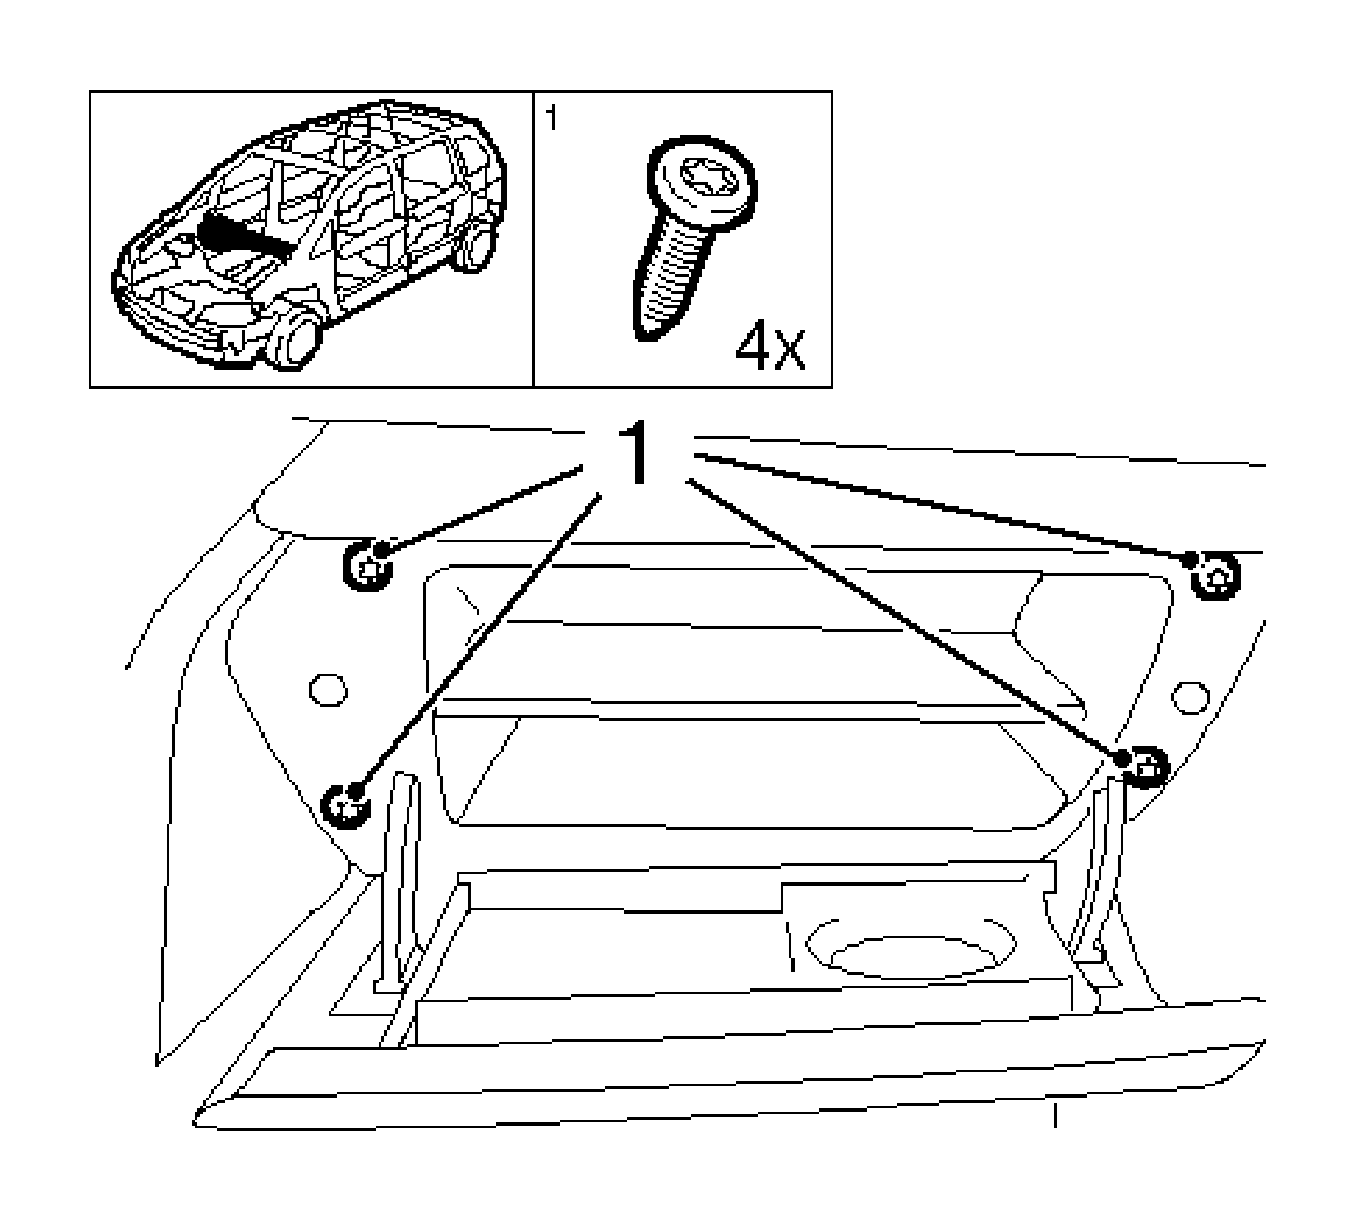
- Remove the instrument trim panel.
Remove the 2 wiring harness clamps and remove the I/P padding.
Installation Procedure
- Insert the instrument trim panel.
| 1.1. | Install the 2 wiring harness clamps. |
| 1.2. | Insert the instrument trim panel. |
Notice: Refer to Fastener Notice in the Preface section.
- Fasten the instrument trim panel.
Tighten
| • | Tighten the top 4 bolts to 13 N·m(113 lb in). |
| • | Tighten the lower 5 bolts to 6 N·m (53 lb in). |
- Clip in the both instrument trim panel covers, side.
- Install the steering column. Refer to
Steering Column Replacement
.
- Install the central speaker I/P padding panel.
| 5.1. | Connect the sun sensor wiring harness. |
| 5.2. | Install the central speaker panel. |
- Install the air duct for front passenger side footwell.
| 6.1. | Insert the air duct. |
- Install the inner paneling for the upper left windshield garnish molding.
| 7.1. | Insert the windshield garnish molding inner paneling. |
- Install the upper right windshield garnish molding inner paneling.
| 8.1. | Insert the windshield garnish molding inner paneling. |
- Install the air duct for the front passenger side footwell.
- Insert the air duct.
- Install the I/P compartment.
| 11.1. | Connect the wiring harness plug. |
| 11.2. | Insert the I/P compartment. |
Tighten
Tighten the 4 bolts to 4 N·m (35 lb in).
| 11.3. | Close the I/P compartment cover. |
- Install the instrument cluster.
| 12.1. | Connect and latch the wiring harness plug. |
| 12.2. | Insert the instrument cluster. |
Tighten
Tighten the 2 bolts to 3 N·m (26 lb in).
- Install the inner paneling for the knee bolster, driver side.
Install the drivers side knee bolster.
Tighten
Tighten the 4 bolts to 3 N·m (26 lb in).
- Install the information display.
- Connect and latch the wiring harness plug.
Tighten
Tighten the 2 bolts to 3 N·m (26 lb in).
- Install the right instrument trim panel.
Install the 4 clips.
- Install the accessory strip panel.
Connect and latch the wiring harness plug.
Tighten
Tighten the 2 bolts to 3 N·m (26 lb in).
- Install the heating/air conditioning control module.
| 18.1. | Connect and lock the 2 wiring harness plugs. |
| 18.2. | Install the 4 clips. |
- Install the radio.
| 19.1. | Install the antenna. |
| 19.2. | Connect the wiring harness plug. |
| 19.3. | Slide the radio in until it clicks in. |
- Install the light switch center.
| 20.1. | Connect and latch the wiring harness plug. |
| 20.2. | Install the light switch center. |
- Install the steering column electronics module (CIM module).
| 21.1. | Connect the wiring harness plug. |
Tighten
Tighten the 3 bolts to 3.8 N·m (34 lb in).
- Install the bottom steering column paneling.
Tighten
Tighten the 3 bolts to 1 N·m (9 lb in).
- Install the top steering column paneling.
Tilt the upper steering column paneling downwards.
Tighten
Tighten the 2 bolts to 2.5 N·m (22 lb in).
- Install the 2 panels.
- Install the steering wheel.
Tighten
Tighten the bolt to 30 N·m (22 lb ft).
| • | Use the screw locking compound. |
| • | Connect the wiring harness plug. |
- Install the airbag.
| 26.1. | Connect and latch the wiring harness plug. |
| 26.2. | Install the 2 clips. |
- Install the center front floor console. Refer to
Front Floor Console Replacement
.
- Install the sill strip completely, both sides.
Install the 5 clips.
- Connect the battery.
- For reprogramming procedures, refer to
Control Module References
.
