Removal Procedure

- Remove the instrument panel (I/P) compartment.
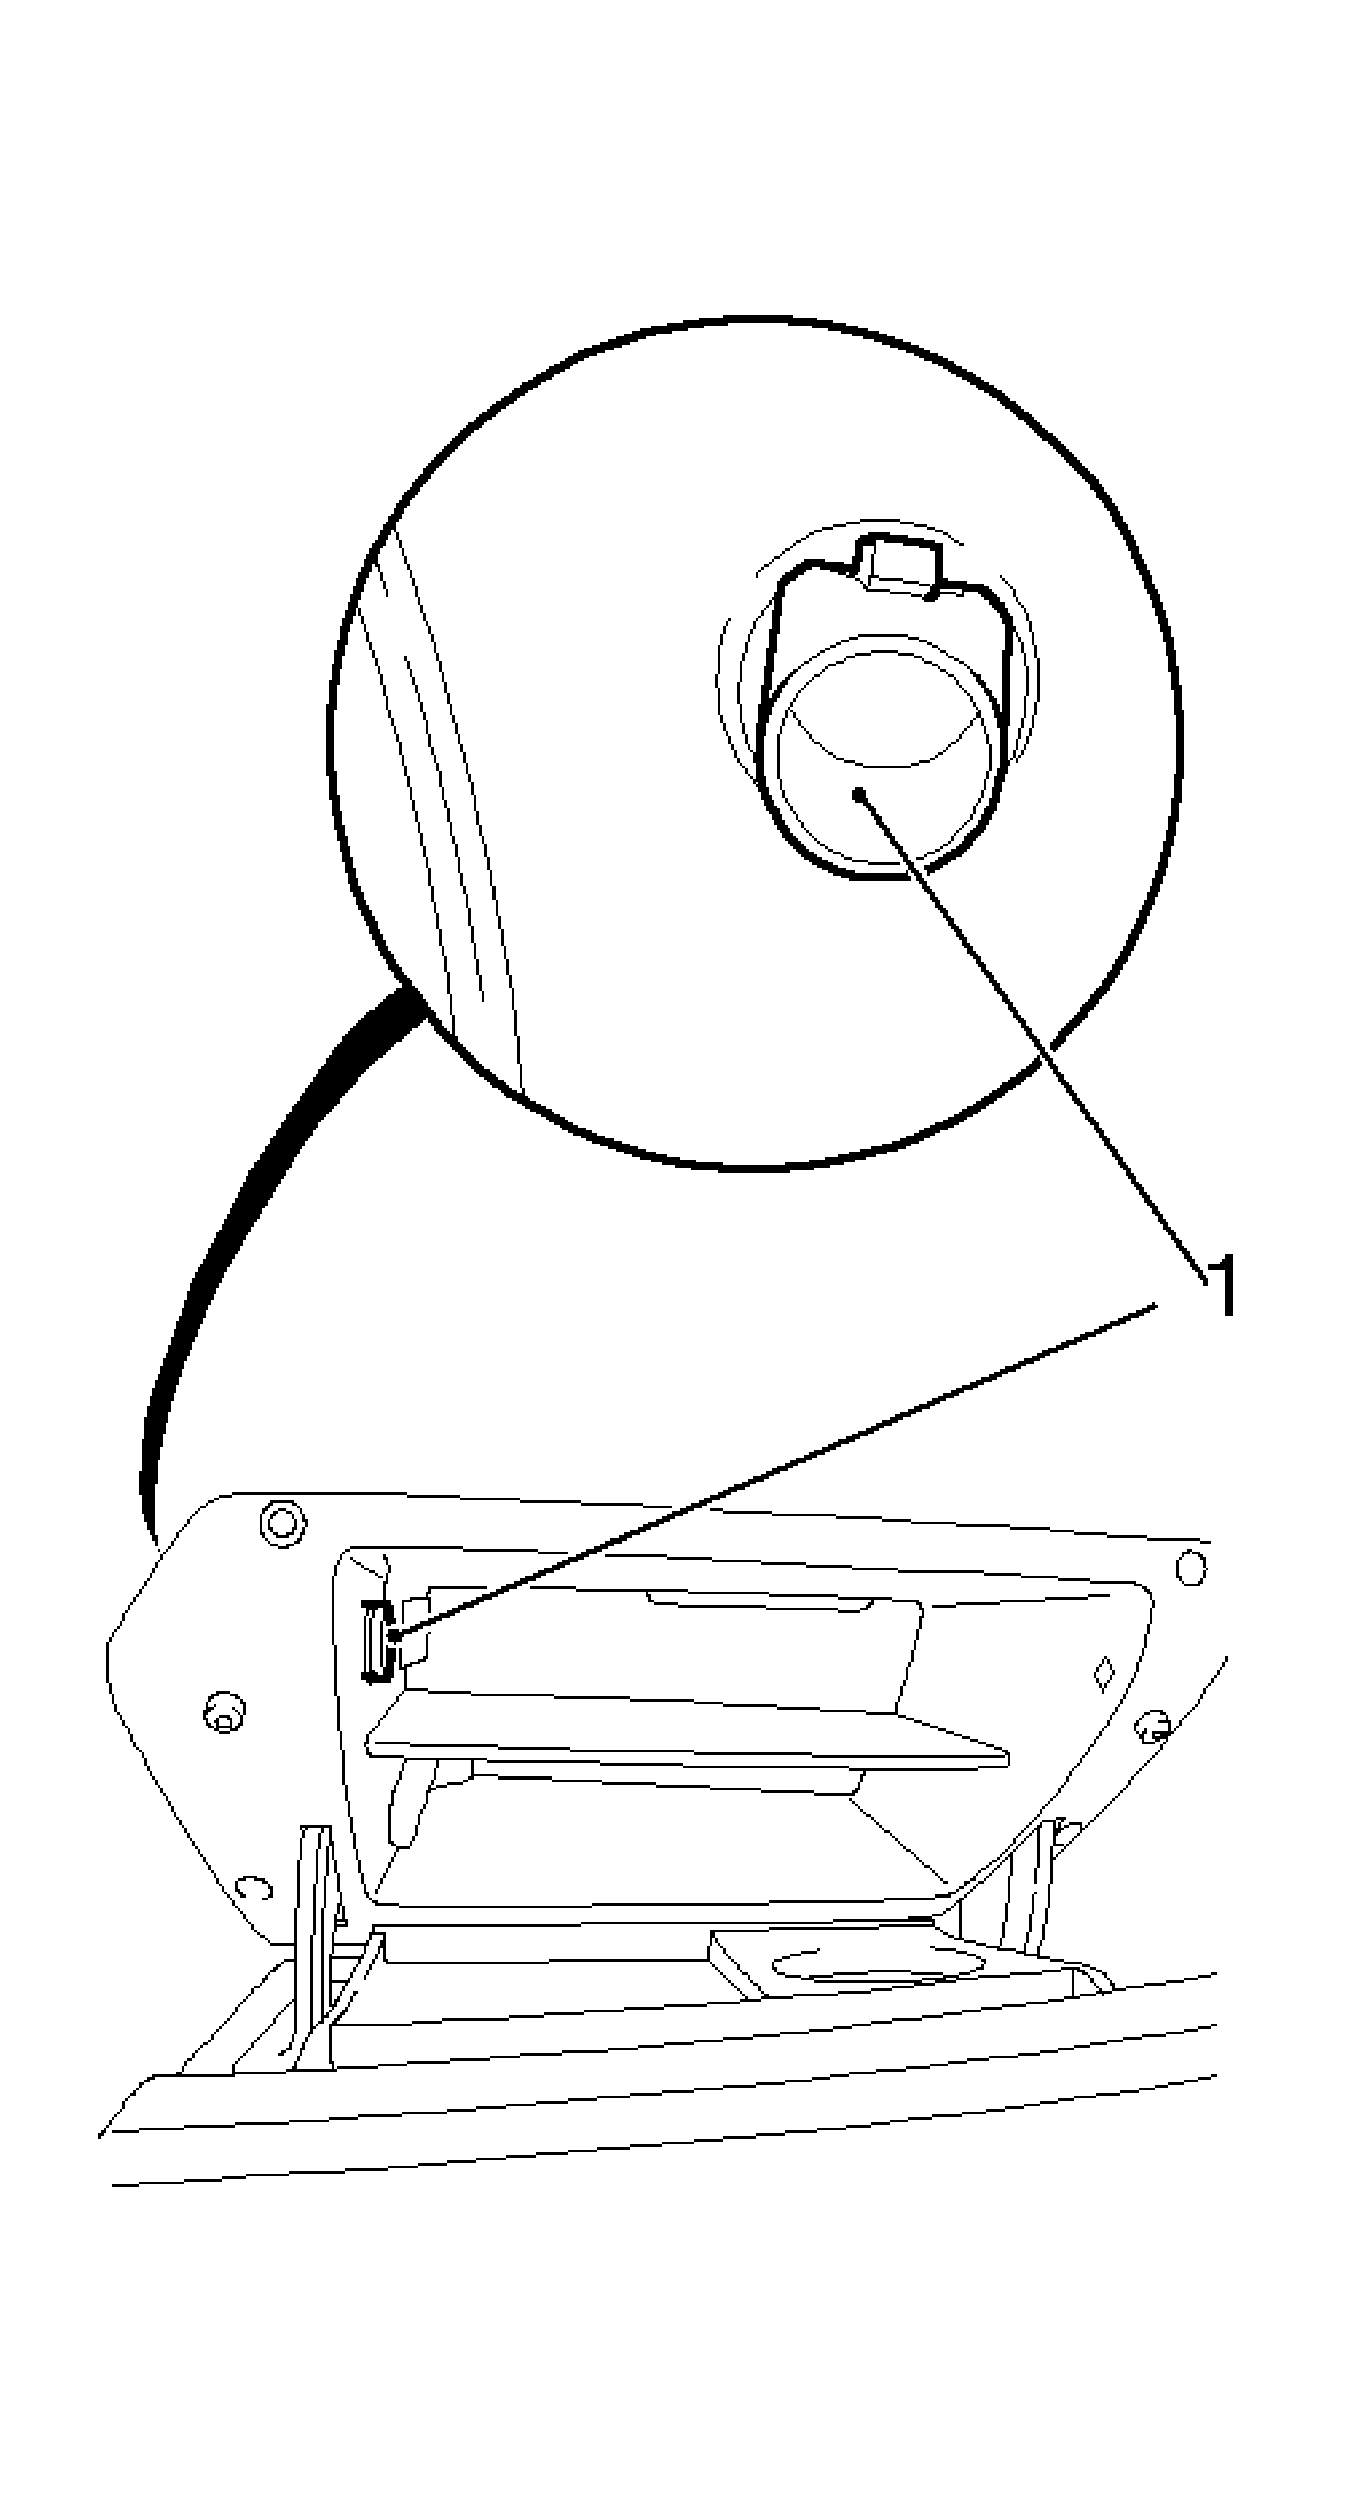
| 1.2. | Disconnect the wiring harness plug for the I/P compartment lighting. |
- Remove the panel on I/P center trim panel. Refer to
Instrument Panel Center Trim Panel Replacement.

Note: Remove the air and radio duct through the heater control slot.
- Release and remove the air and radio cooling duct.
| 3.1. | Release the radio cooling duct (1) in the radio recess. |
| 3.2. | Release and remove the air duct (2). |
| 3.3. | Remove the air and radio cooling duct. |
- If necessary, remove I/P compartment valve.
Installation Procedure
- If removed, install the I/P compartment valve.
Note: Insert the air and radio cooling duct through the slot in the heater control unit.
- Install the air and radio cooling duct.
| 2.1. | Insert the air duct. |
| 2.2. | Connect the air duct. |
| 2.3. | Install the radio cooling duct in the radio recess. |
- Install the I/P center trim panel. Refer to
Instrument Panel Center Trim Panel Replacement.
- Install the I/P compartment.
Caution: Refer to Fastener Caution in the Preface section.
- Connect the wiring harness plug.
Tighten
Tighten the 4 bolts to 4 N·m (35 lb in).
