Tools Required
J 43482 Clutch Alignment Arbor
Removal Procedure
- Remove the transaxle. Refer to Transmission Replacement .
- Inspect the actuator release bearing minimal bearing drag.
- Replace the actuator assembly if no or little drag is found. Refer to Clutch Actuator Cylinder Replacement .
- Remove the pressure plate assembly to flywheel bolts.
- Remove the pressure plate assembly and clutch disc.
- Inspect the clutch pressure plate assembly surface for the following conditions:
- Replace the clutch pressure plate assembly if damaged.
- Using a straight edge and a feeler gage, inspect the clutch pressure plate assembly for warpage.
- Inspect the clutch disc facings for oil or burnt spots.
- Replace the clutch disc if necessary.
- Inspect the clutch disc for the following conditions:
- Replace the clutch disc if any components are broken or excessively loose.
- Inspect the flywheel ring gear for wear or damage.
- Replace the flywheel if damaged.
- Inspect the flywheel to clutch disc contact surface for the following conditions:
- Repair or replace the flywheel if necessary.
- Using a dial indicator, for at least two revolutions, measure flywheel runout.
- Repair or replace the flywheel if not within specification.
- Using a straight edge and a feeler gage, inspect the flywheel for warpage.
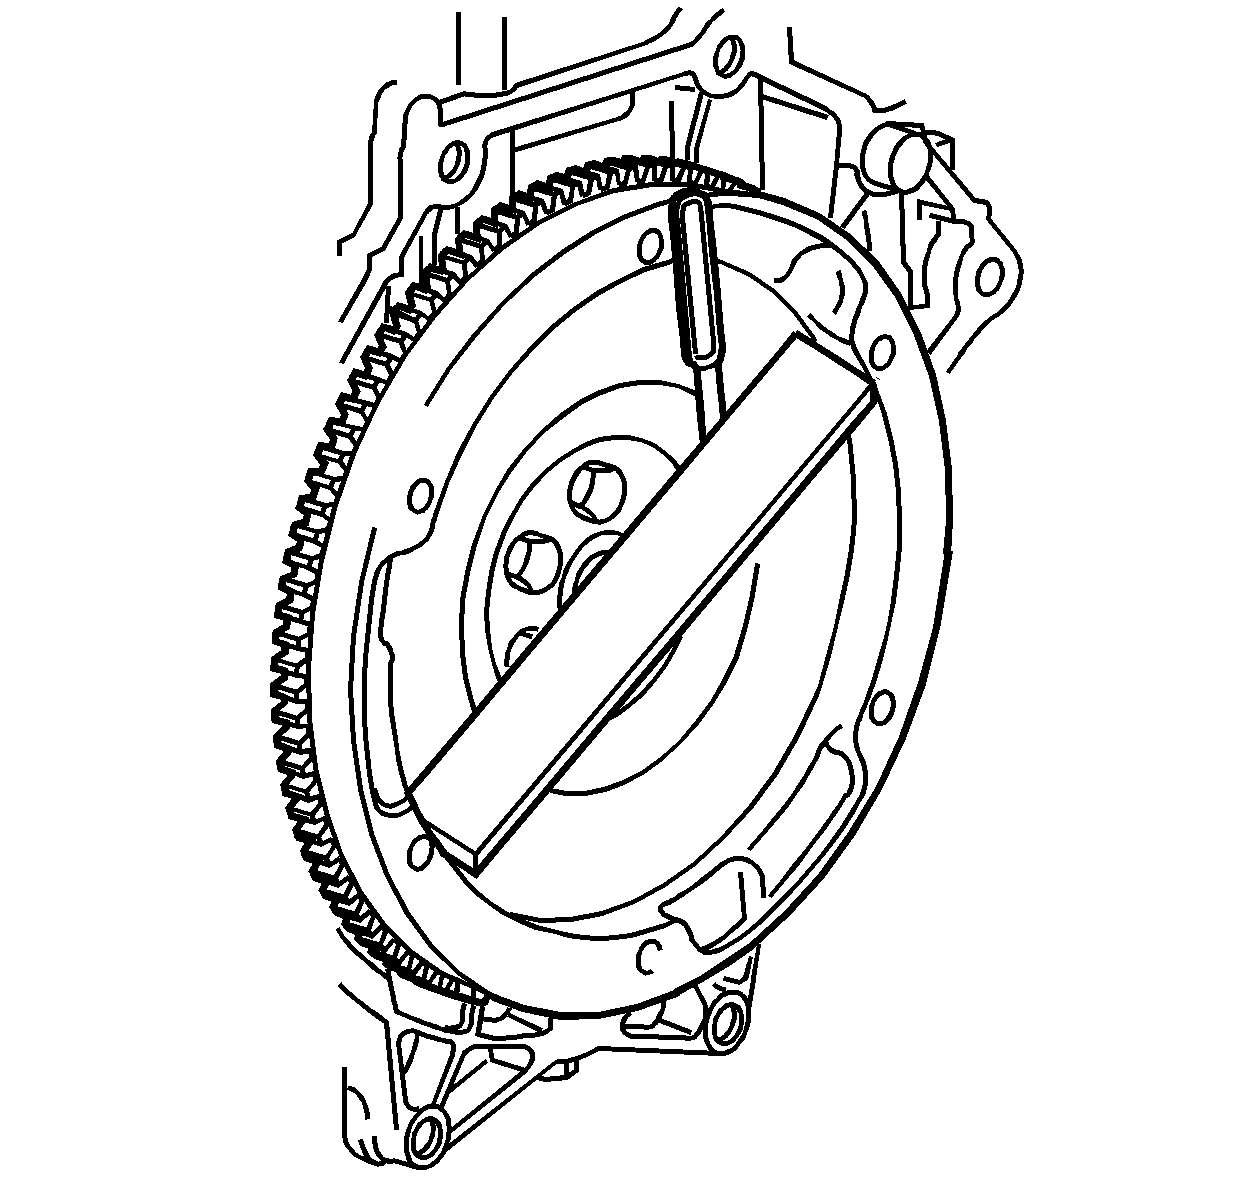
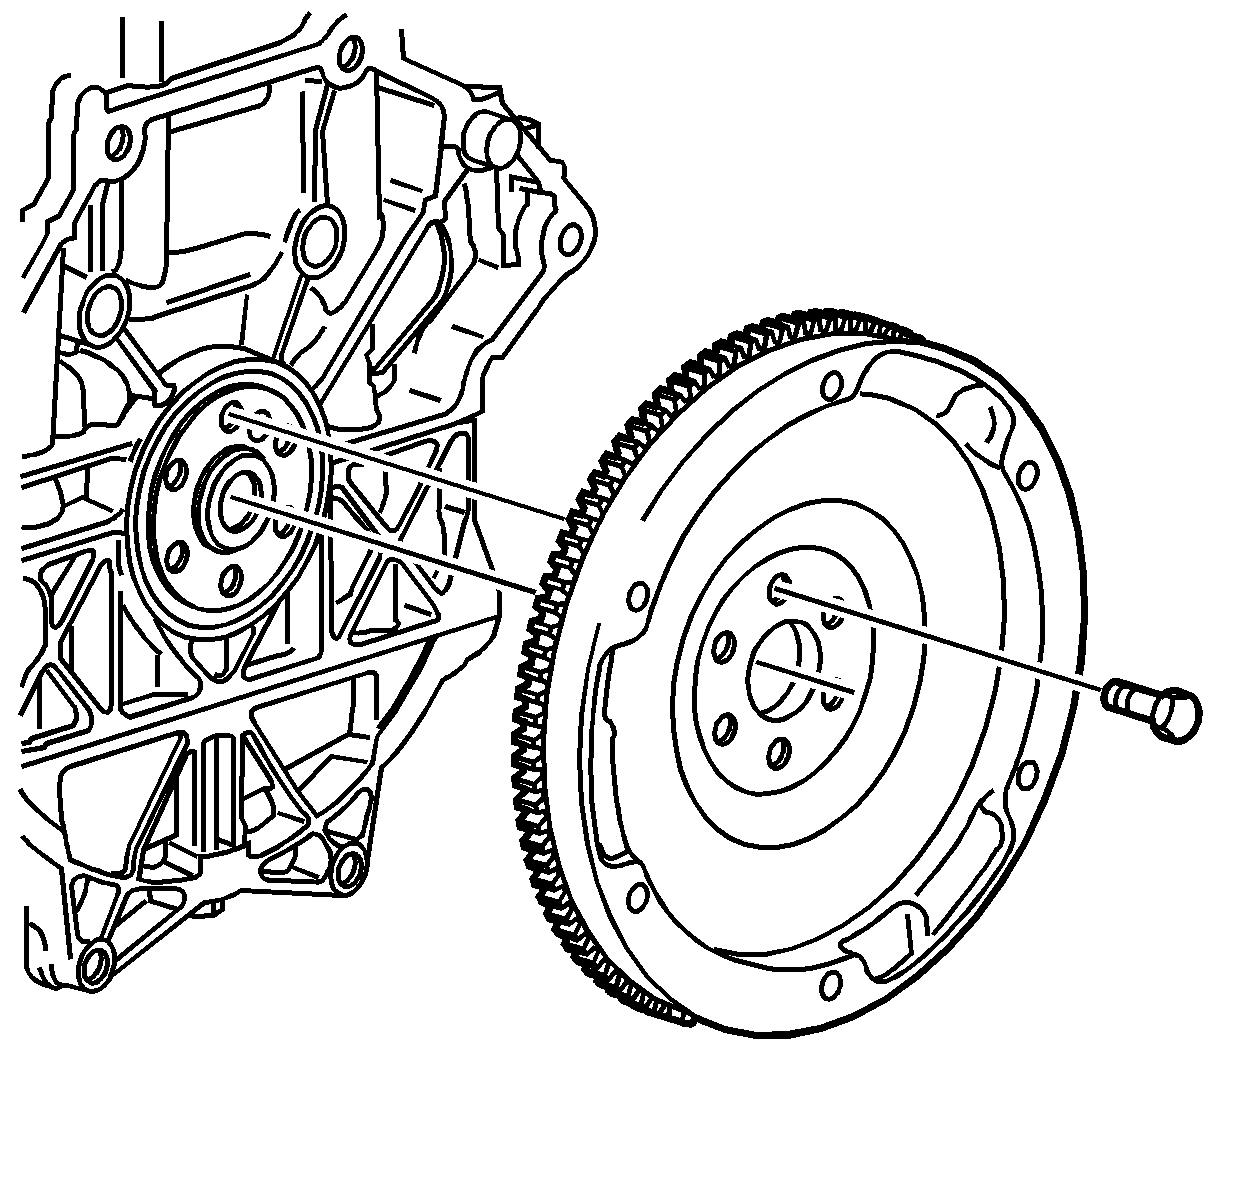
- If the flywheel is being replaced, remove and discard the flywheel-to-crankshaft bolts and remove the flywheel.

Important: Remove the bolts in a progressive crisscross pattern to prevent warping of the cover stamping.
Important: Random black spotting on the friction surface of the clutch pressure plate assembly is normal.
| • | Excessive wear |
| • | Chatter marks |
| • | Cracks |
| • | Overheating - indicated by blue discoloration |
Specification
Maximum warpage: 0.15 mm (0.006 in)
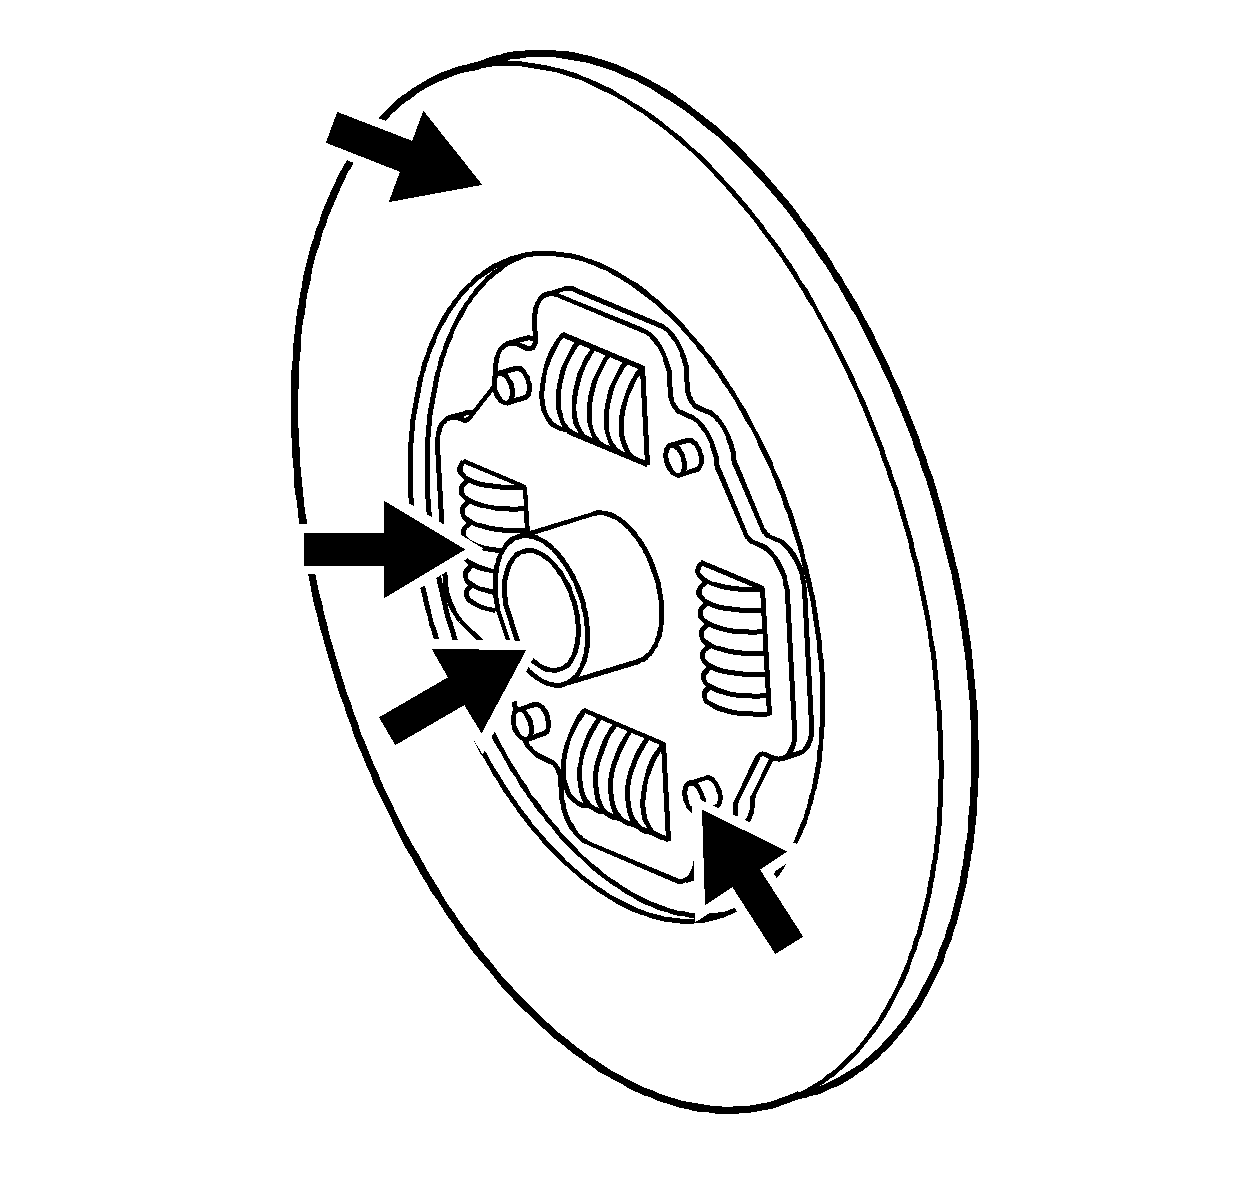
| • | Loose damper springs |
| • | Hub |
| • | Rivets |

Important: Random black spotting on the friction surface of the flywheel is normal.
| • | Wear |
| • | Cracks |
| • | Chatter marks |
| • | Overheating - indicated by blue discoloration |

Specification
Maximum runout: 0.15 mm (0.006 in)
Specification
Maximum warpage: 0.15 mm (0.006 in)
Installation Procedure
- Install the flywheel and the new flywheel-to-crankshaft bolts. Hand start the bolts.
- Tighten the flywheel-to-crankshaft bolts in a crisscross pattern.
- Install the clutch disc and the clutch pressure plate assembly to the flywheel.
- Loosely install the clutch pressure plate bolts.
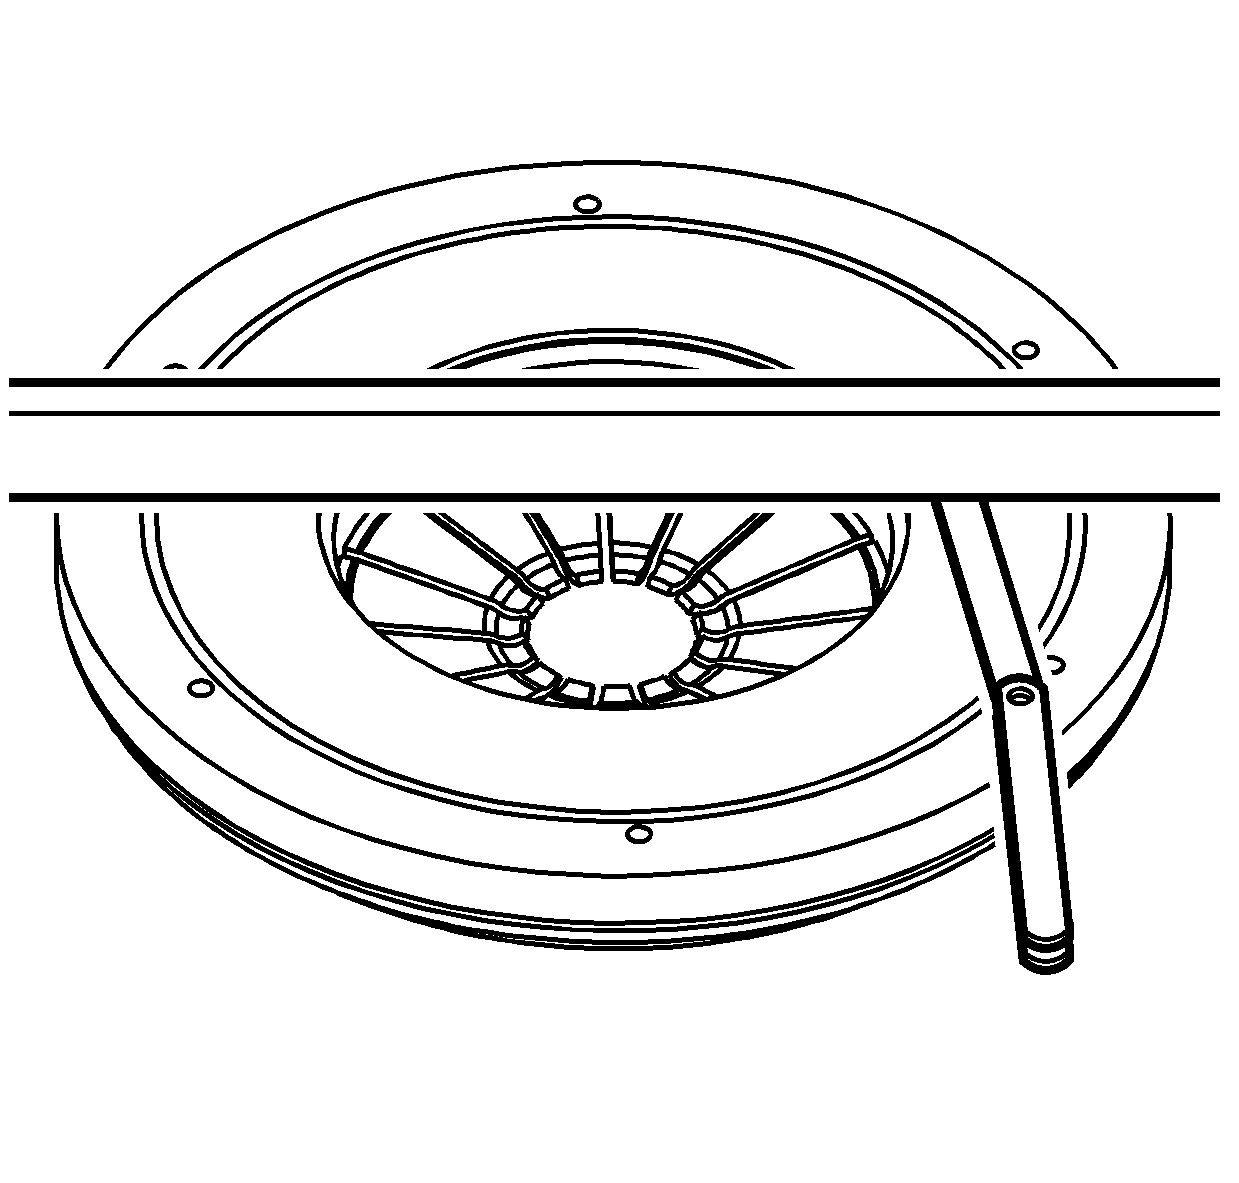
- Install the J 43482 in the clutch disc and push in until it bottoms out in the crankshaft.
- Tighten the pressure plate assembly bolts using a progressive crisscross pattern to prevent warping of the pressure plate assembly.
- Lightly lubricate the input shaft splines with clutch spline lubricant P/N 21005995 or equivalent.
- Install the transaxle. Refer to Transmission Replacement .
- Bleed the clutch hydraulic system. Refer to Hydraulic Clutch Bleeding .
Notice: Refer to Fastener Notice in the Preface section.
Tighten
Tighten the bolts to 53 N·m plus 25 degrees (39 lb ft) plus 25 degrees.
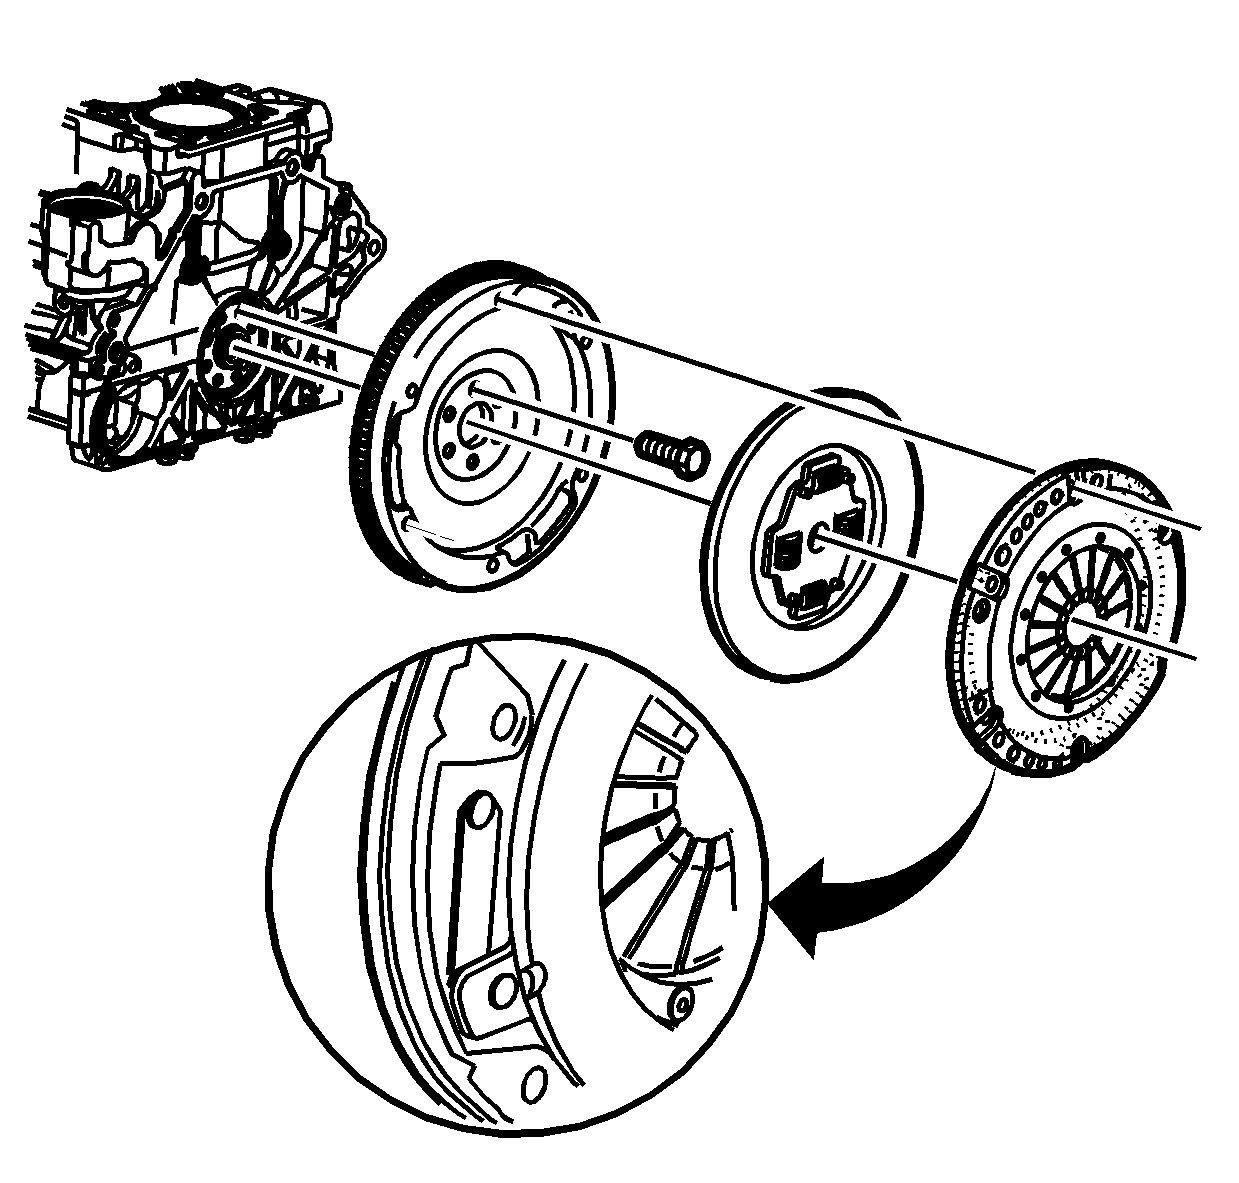
Important: Ensure that the straps on the clutch pressure plate fit into the slots on the flywheel, flexplate.


Important: Do not tighten the pressure plate assembly bolts more than half a turn at a time or the pressure plate assembly may warp.
Tighten
Tighten the bolts to 24 N·m (17 lb ft).
Important: Excessive amounts of lubricant on the input shaft splines can contaminate the clutch disc and cause clutch shudder.
